How to Make Your Own Robes

For this month's project, How to Make Your Own Robes, I will be using this Vogue pattern. If you are sized out of this pattern, try this Simplicity pattern. We will be using these patterns as a base. I will not be following the Vogue pattern instructions. In this lesson I will show you how I altered a basic pattern to create three different looks.
Materials Needed:
- Vogue Pattern V9015 – This can be purchased in sizes 6-14 or 14-22. Please take a look at the size chart before buying, as pattern sizes are not the same as clothing sizes. I wear a 14 in clothing but take a size 22 in this pattern.
- Any knit, woven or lace fabric. Yardage will depend on the length of the robe. I recommend purchasing at least 3 yards per garment.
- 1 or 2 spools of thread
- A spool of ribbon
- Tracing paper
- Tracing wheel
- Scissors and snips (Snips are tiny scissors, very useful for tight curves.)
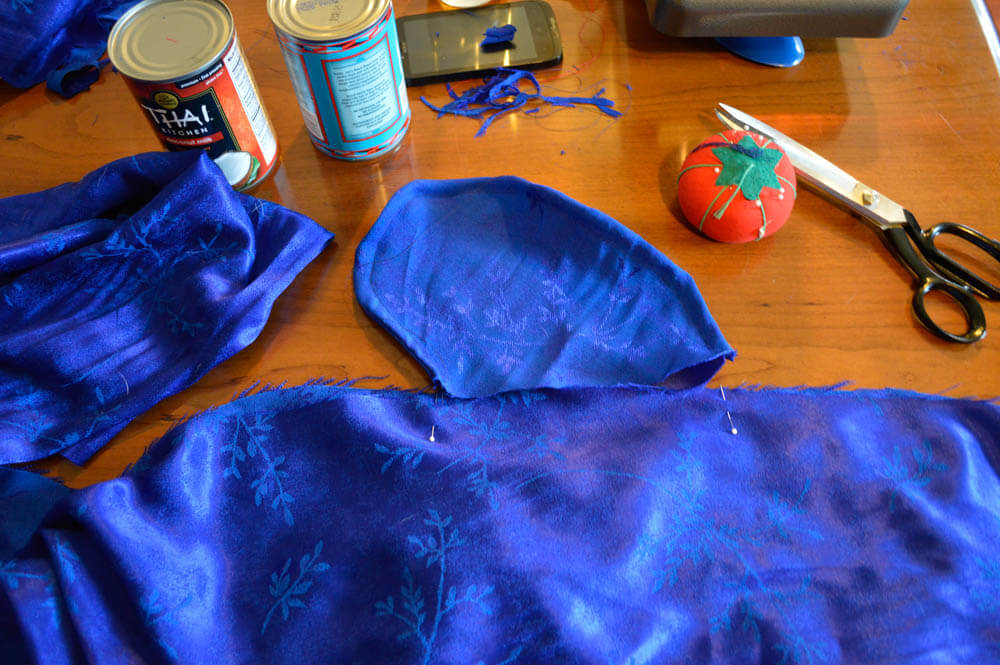
- Weights (You can buy fabric weights, or you can do what I do and use canned goods.)
- Tailors chalk
- Vary Form Curve
- Iron and ironing board
- Sewing machine
A few notes before we start:
- This column is set up like course curriculum. During the last few months I have been teaching some basics that I will not go over in future posts. If you find yourself lost, please feel free to look back at Where to Start or Making Your Own Loungewear Part 1 and Part 2.
- From this point on, you may choose how you would like to finish your seams. I will be using french seams throughout this entire project.
- If you have been following along, you have sewn with woven and knit fabric. This time I will be sewing two of the robes out of lace. Lace is a little more difficult to sew with because it is delicate; therefore, if you decide to use lace, take it slowly. Remember: if you are sewing with stretch lace, you should be using the zig-zag stitch.
Project 5: Robes
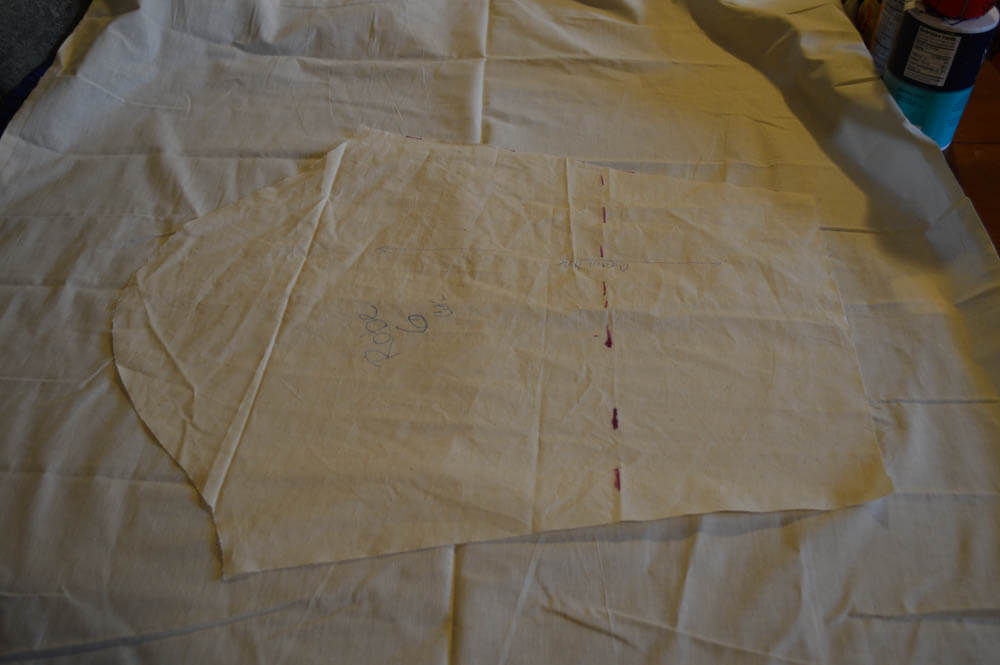
Last week we transferred the paper pattern onto muslin. This week we will baste the muslin pattern together in order to adjust the pattern. However, since we are not adjusting for fit, so much as for style, you will not need to make an entire mock up.
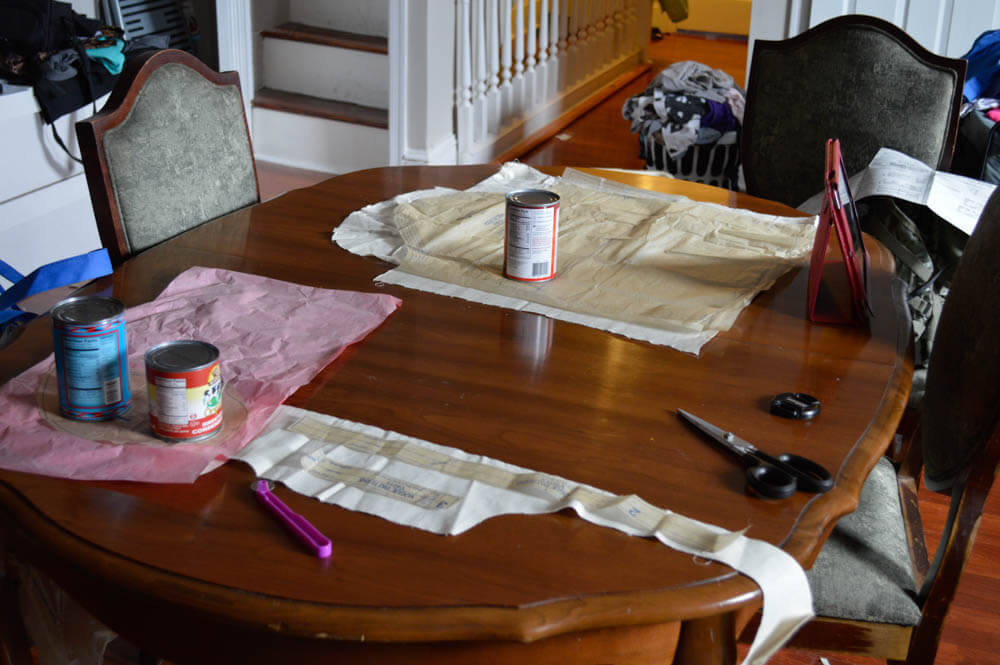
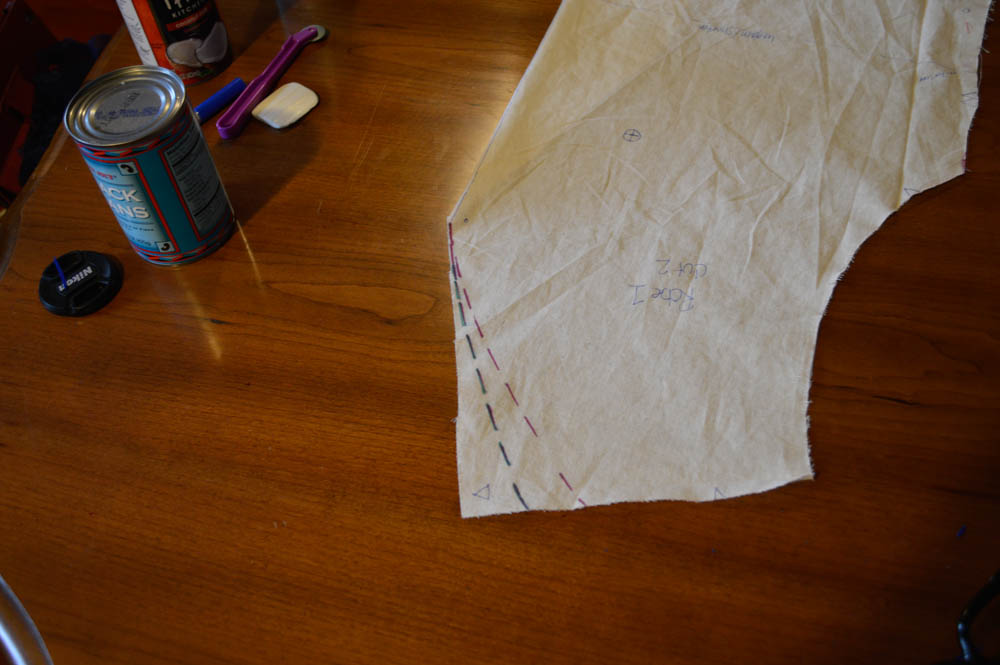
1) Using tracing paper and a tracing wheel transfer your pattern pieces onto muslin. Cut out the muslin pattern pieces.
2) Using the notches as a guide, baste bodice front (1) to bodice back (5) at the side seam.

3) Using the notches as a guide, baste the sleeve together, then baste the sleeve to the bodice.
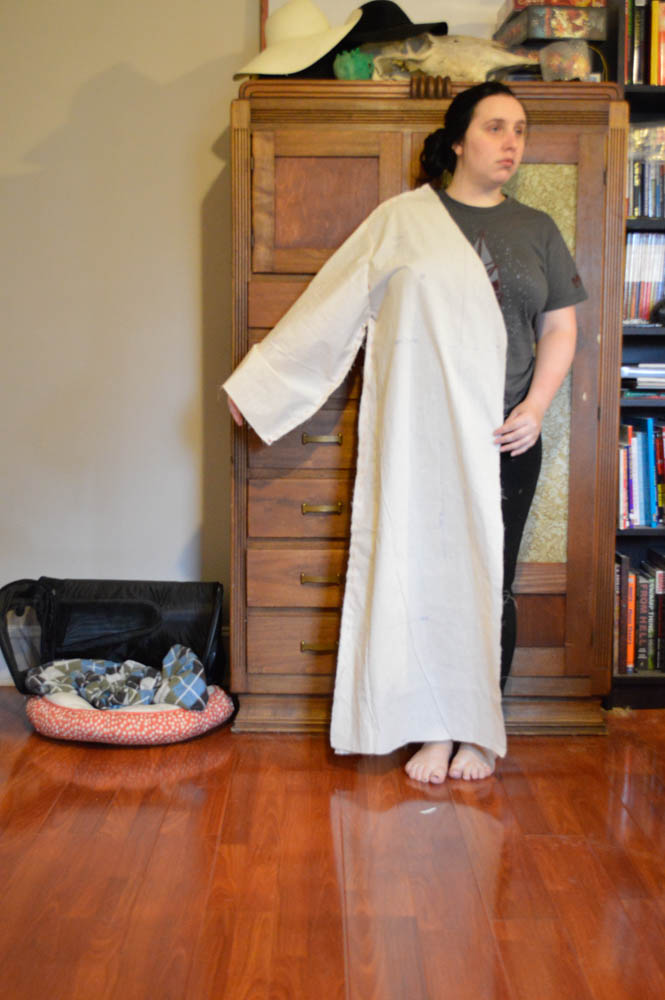
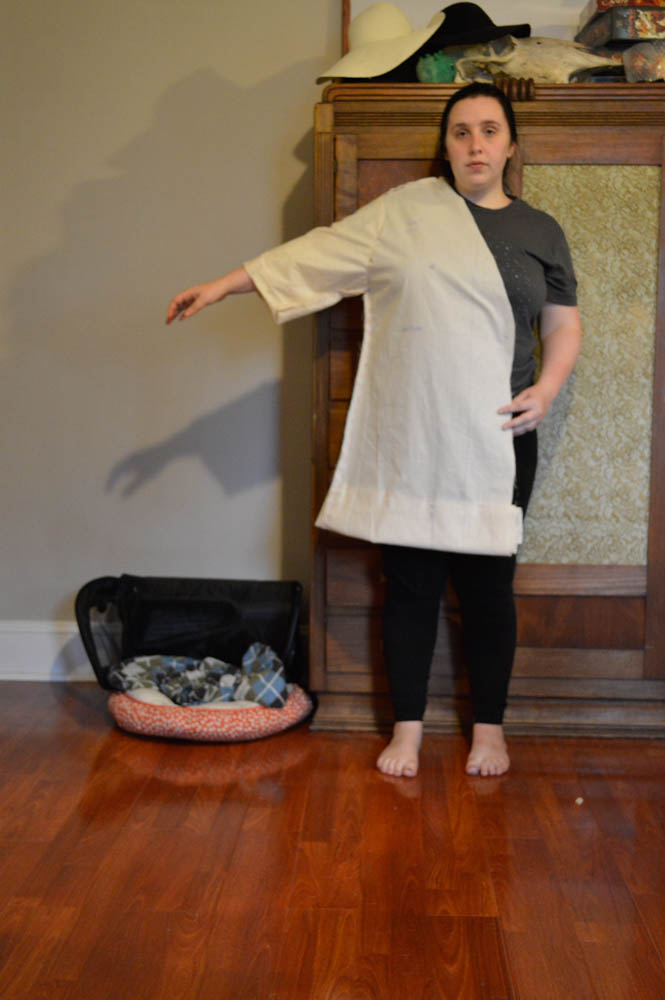
4) Try on the muslin. At this point, you should have a half a garment.
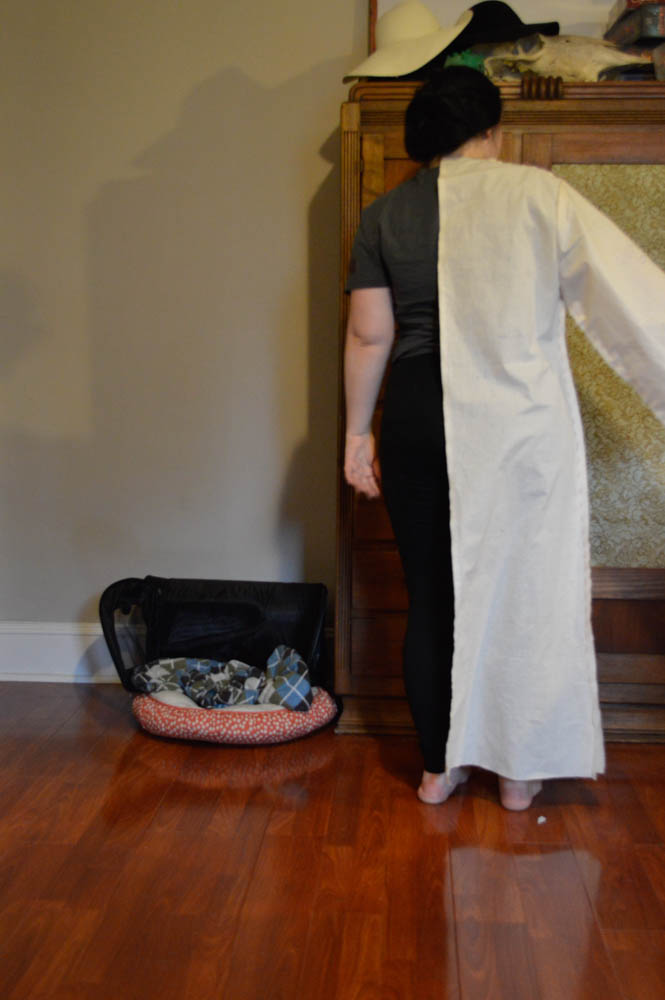
5) If you can, take a picture from the front and the back in order to assess the style. Take note of how you might want to alter the garment.
When I took a look at my muslin I realized I would like to shorten the hem and the sleeves. I also wanted to create a more fitted sleeve.
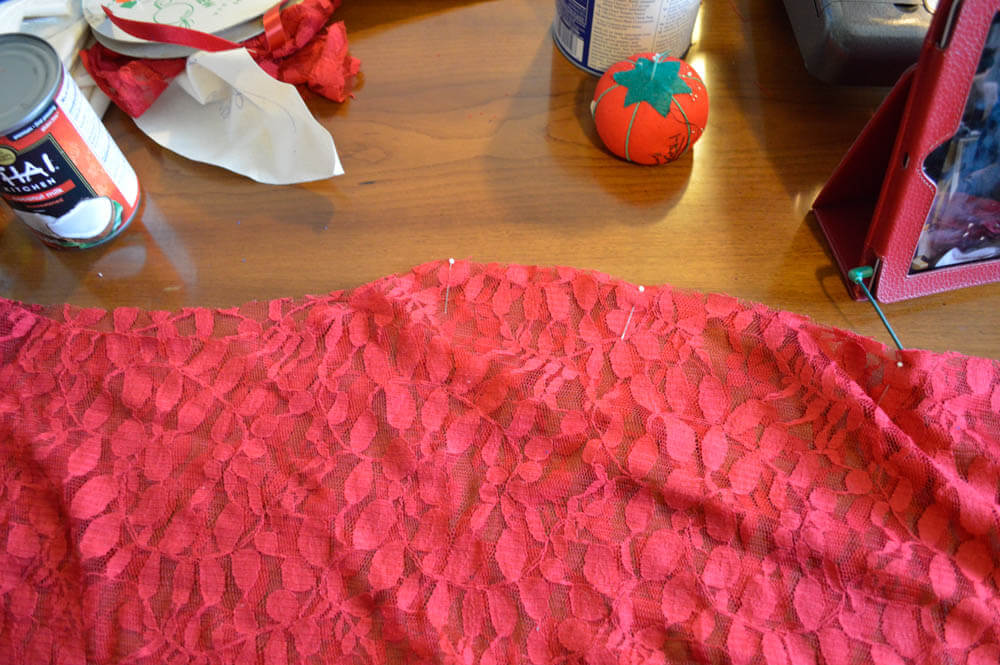
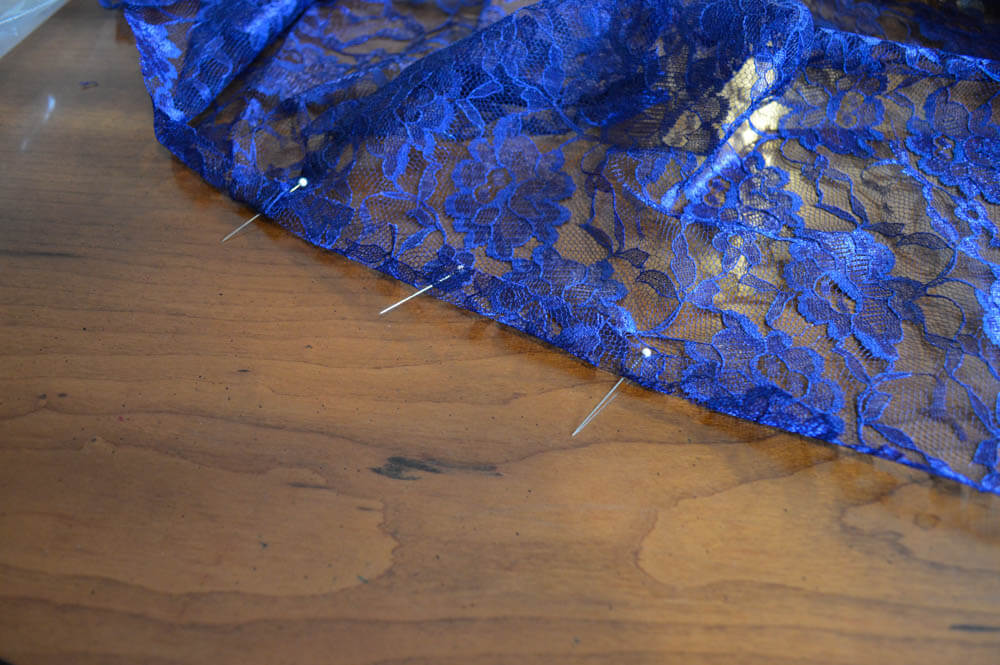
6) Pin the fabric in places where you would like to make alterations. DO NOT cut the fabric yet.
I brought the hem up to the knee, shortened the sleeve to a 3/4 length and took in the sleeve about an inch.
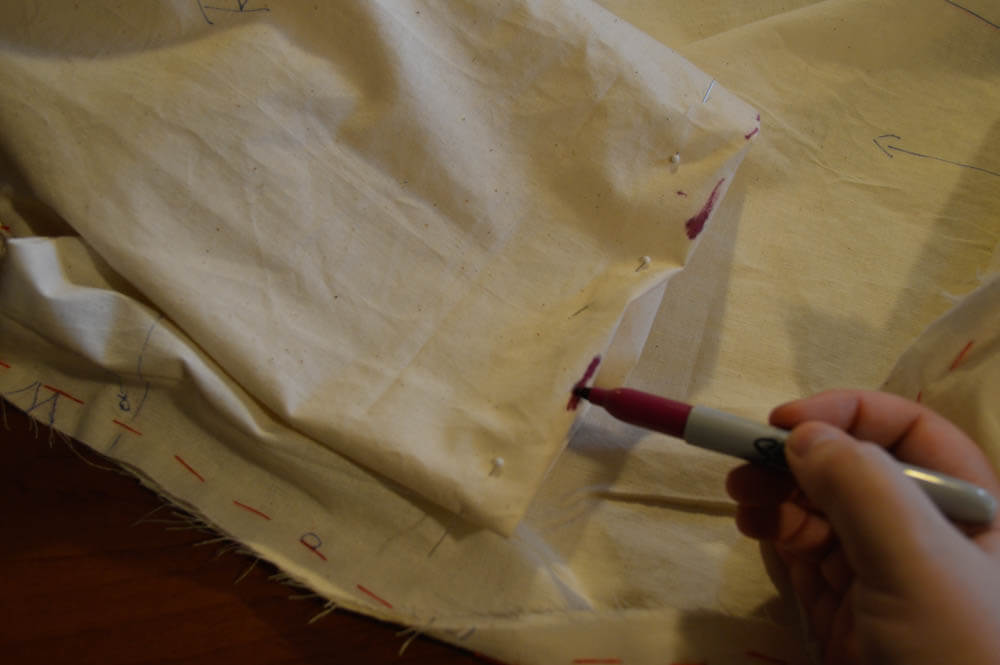
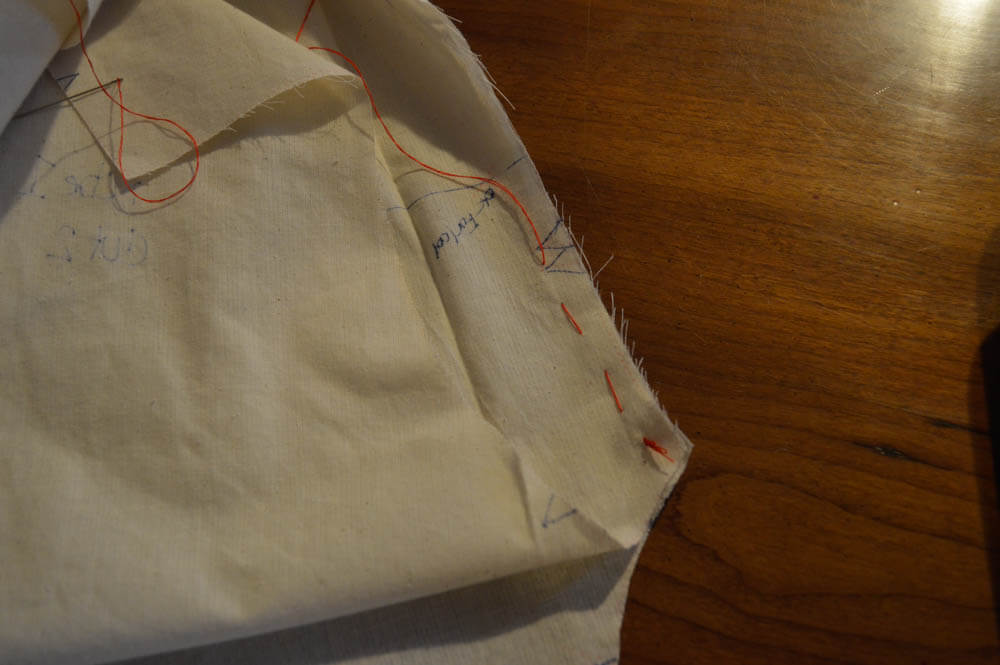
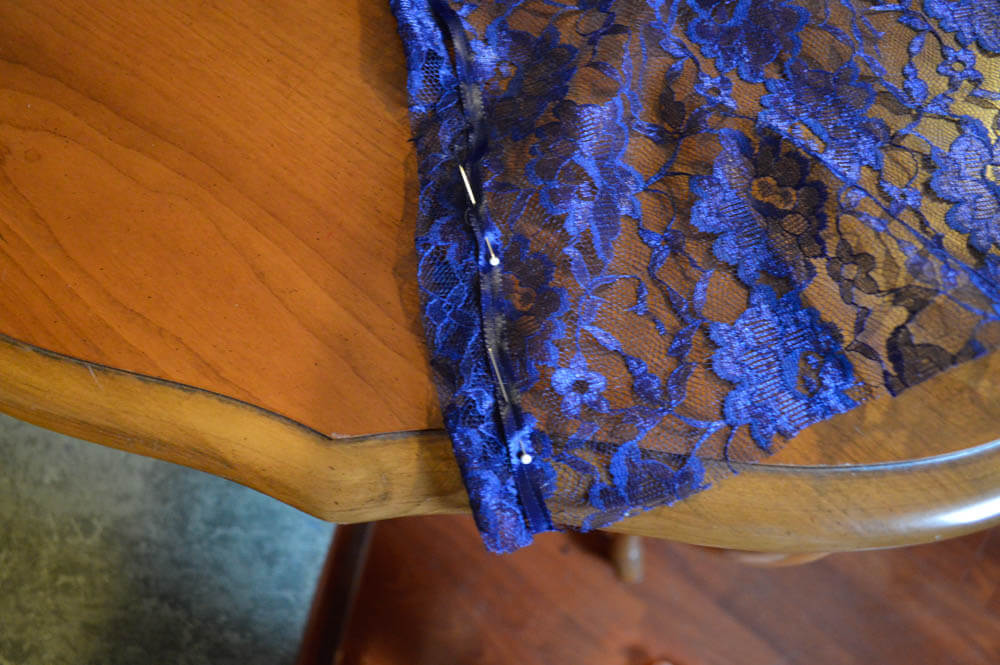
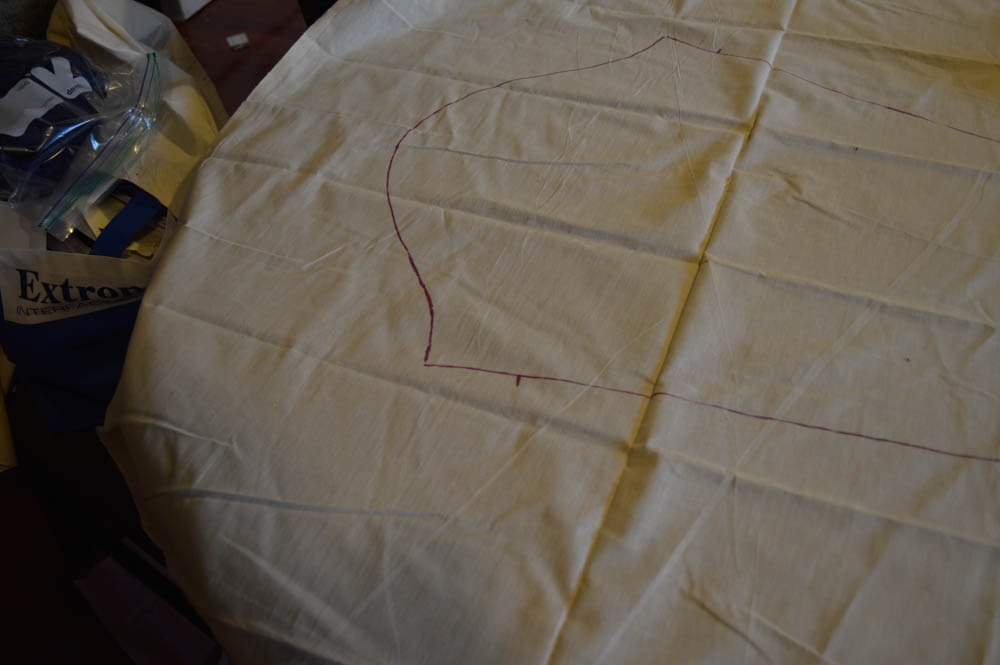
7) If you are happy with your alterations, remove the garment and use a pencil or tailors chalk to mark your alterations. (I'm using a sharpie here so that you can actually see where I'm marking. Do as I say, not as I do.)
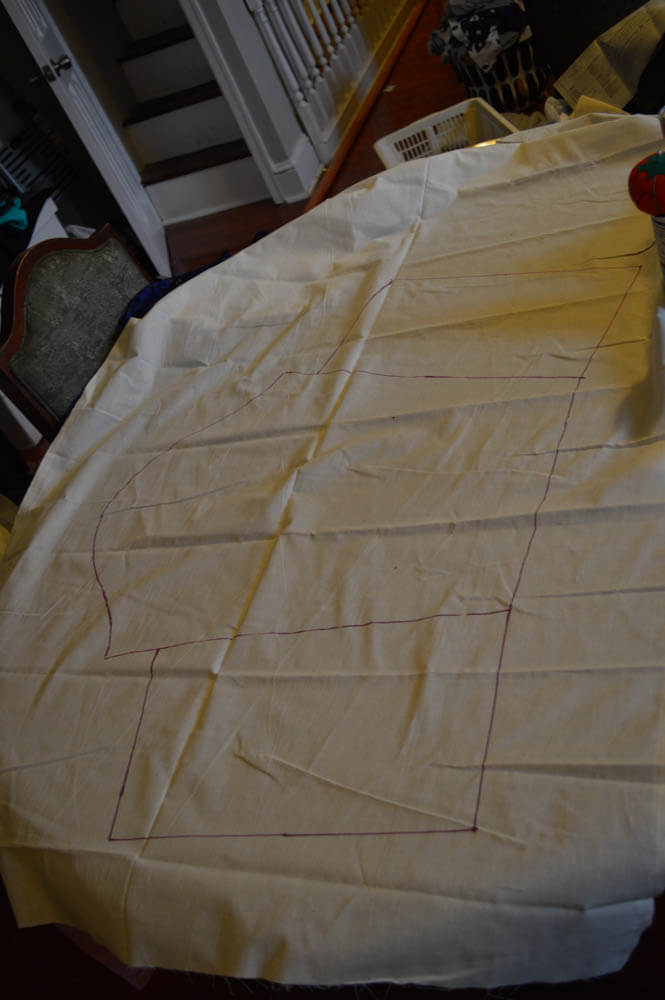
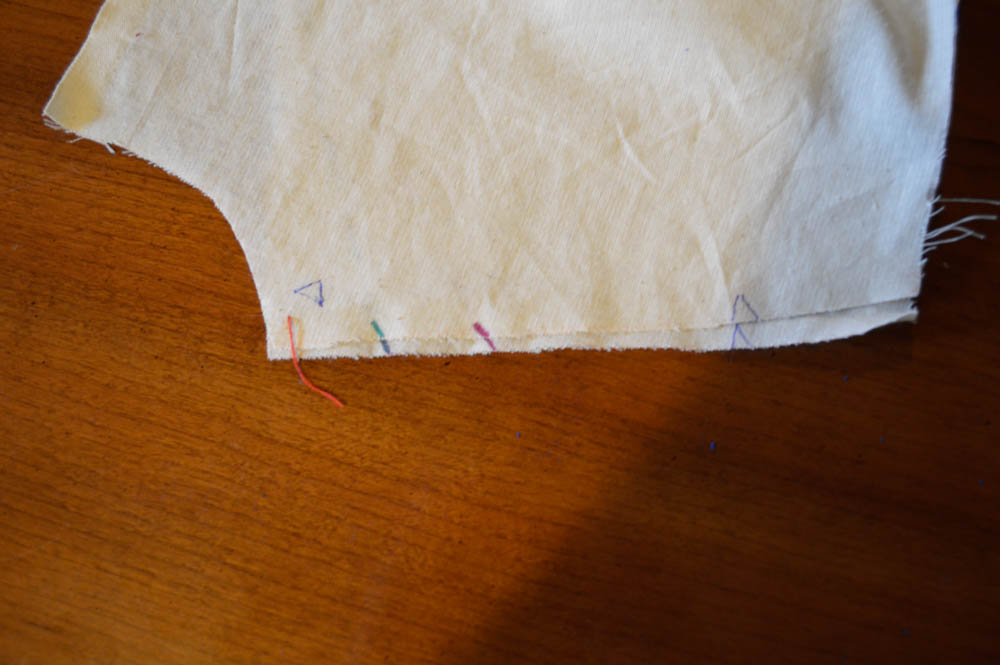
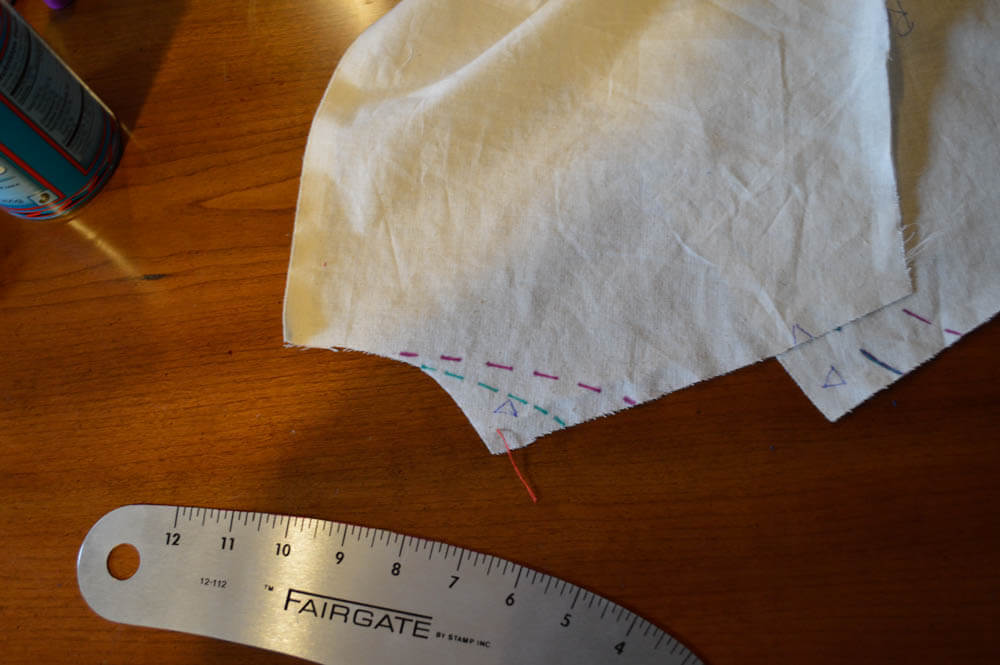
8) Unpin your fabric and, using a ruler or straight edge, mark in sharpie where you would like to take in the fabric.
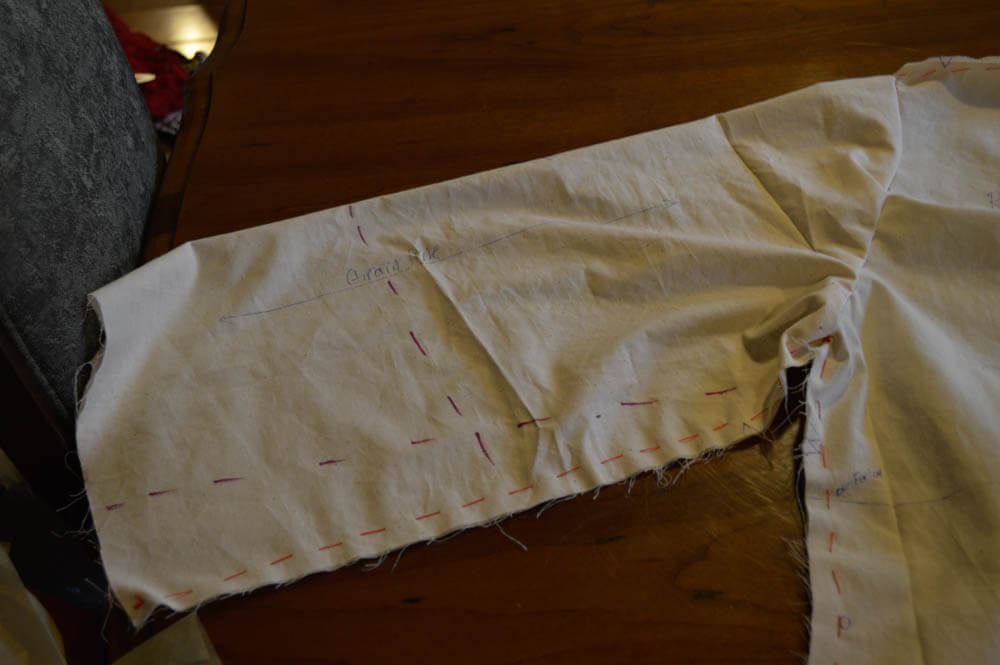
9) Analyze your alterations. You should only cut the fabric if you know that you will want to use the alteration moving forward.
I hated the over-sized sleeves, so I cut where I was altering the width of the sleeve. However, I did not cut the length of the sleeve, as I know I may want longer sleeves for other robes.

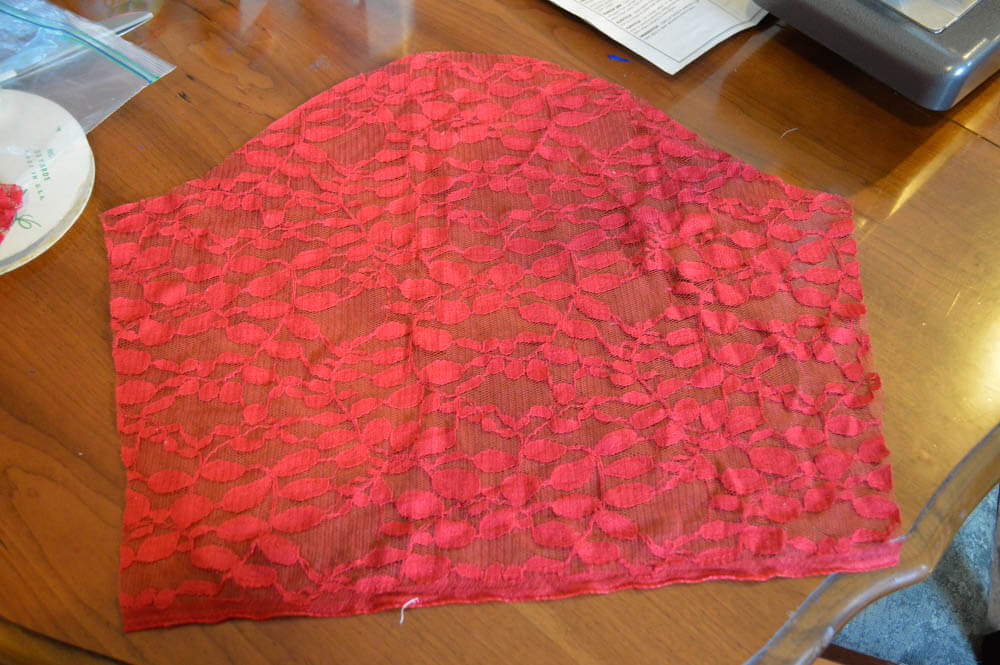
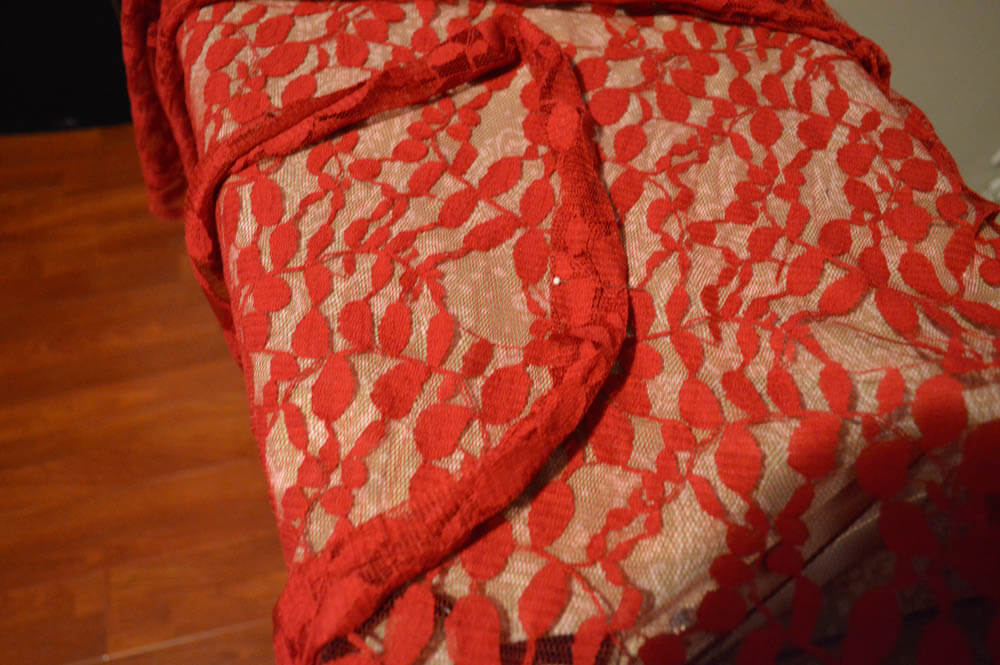
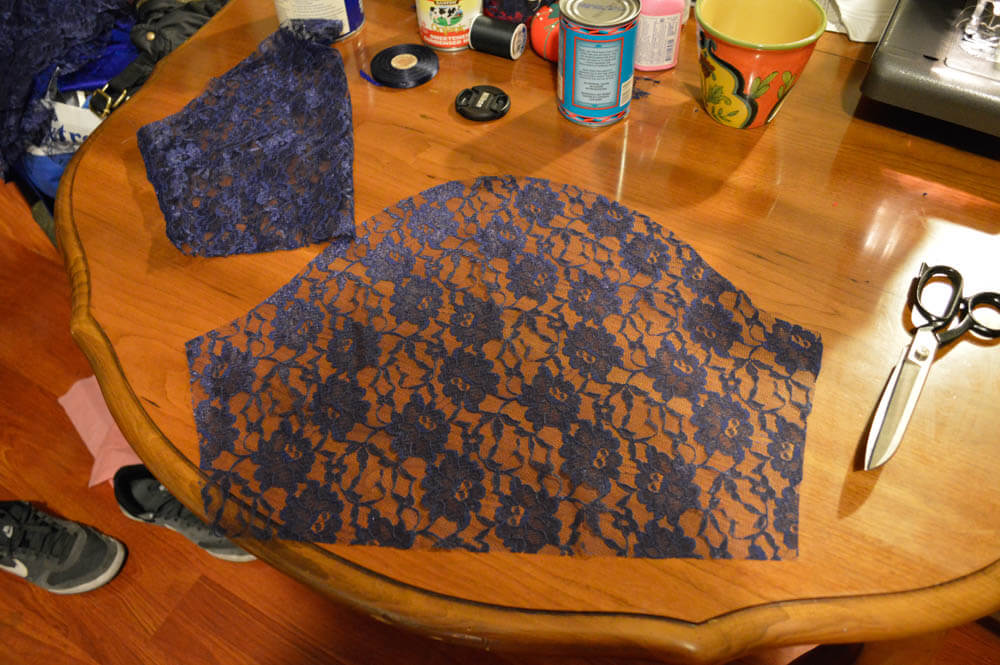
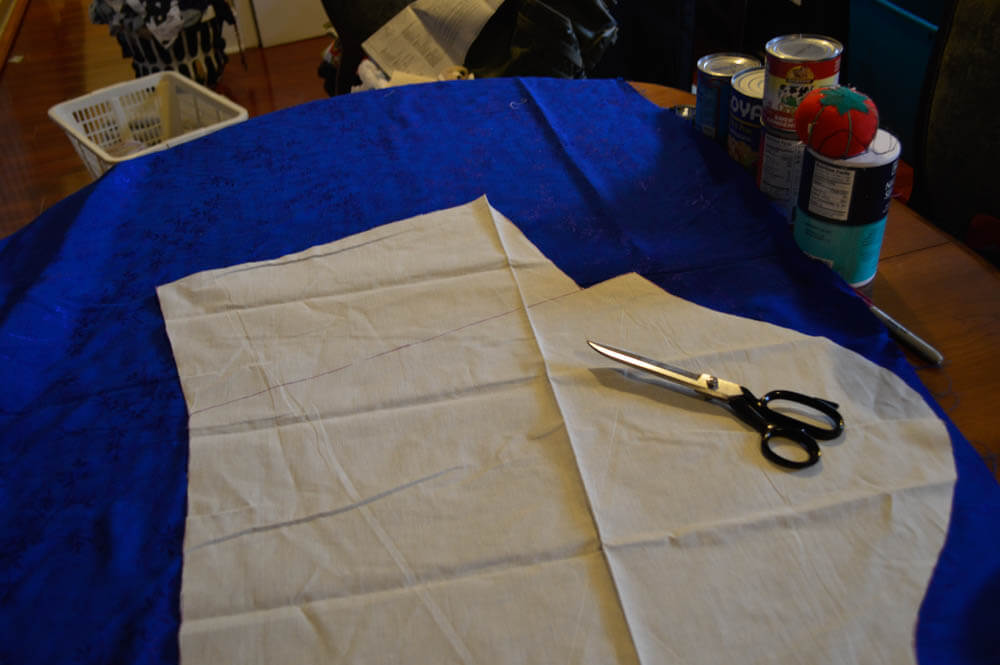
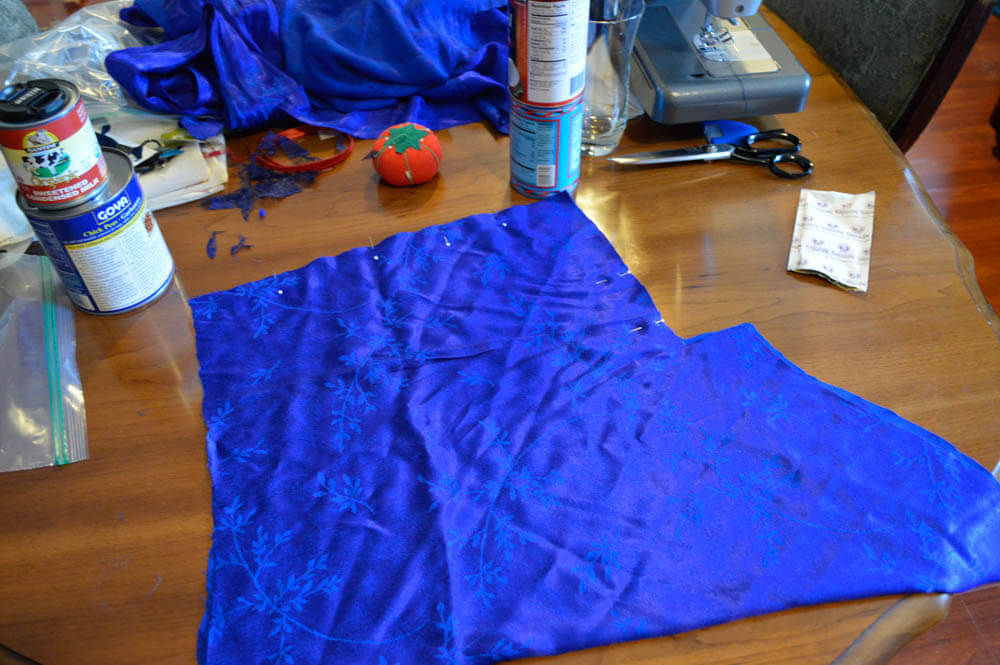
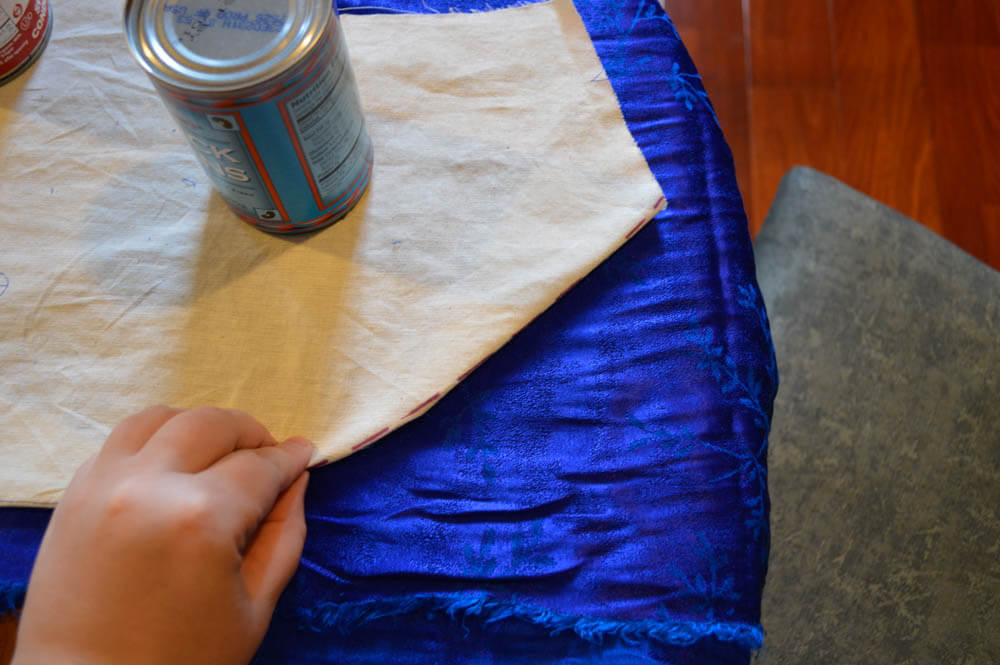
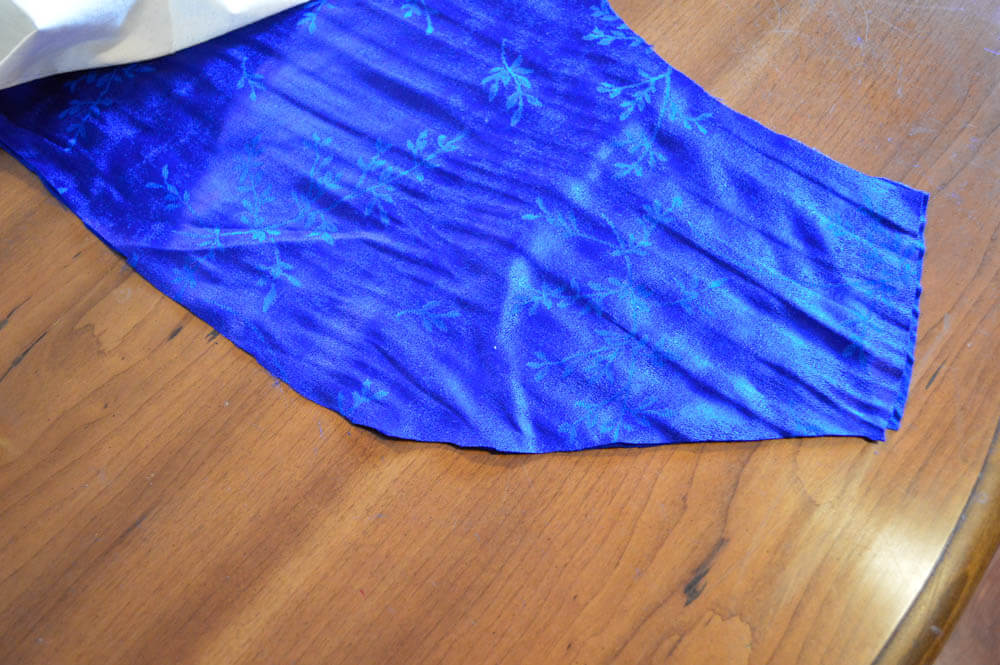
10) Using your newly altered pattern pieces, prepare and cut out your fabric. Remember to cut the bodice back (5) at the seam.
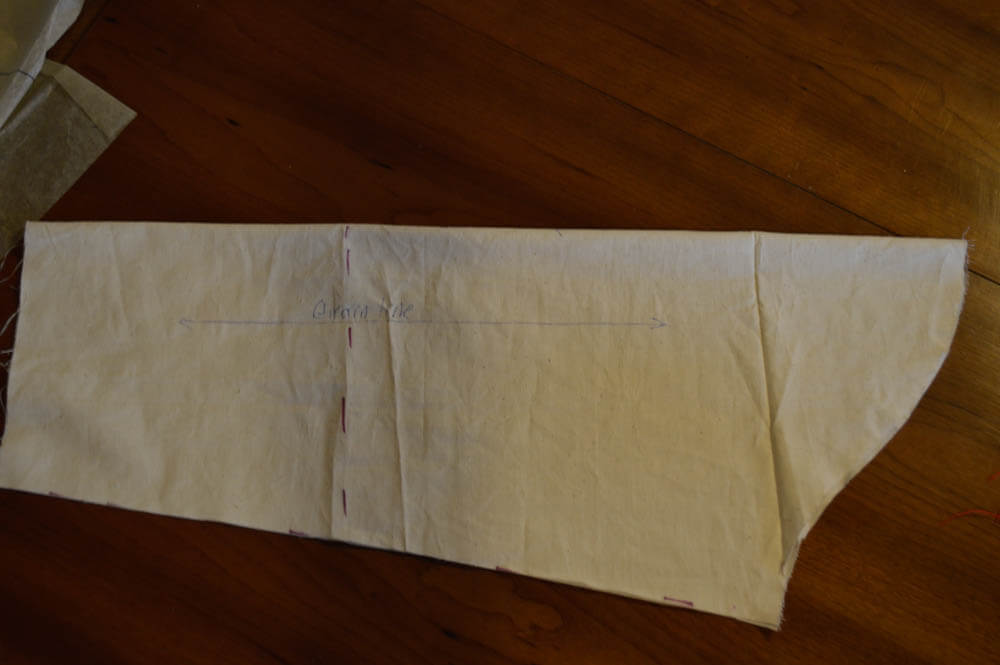
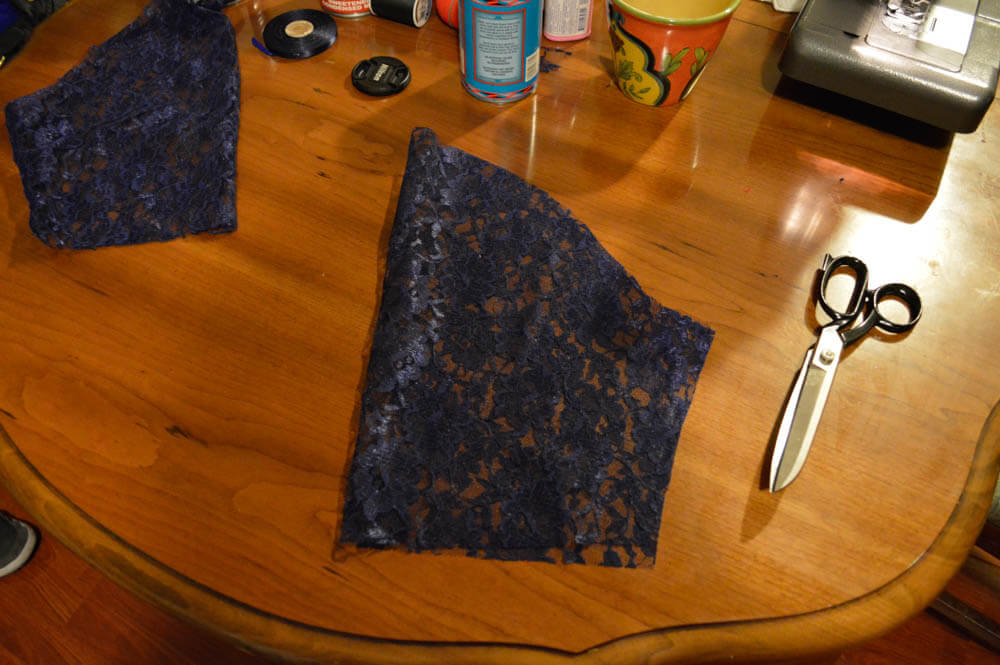
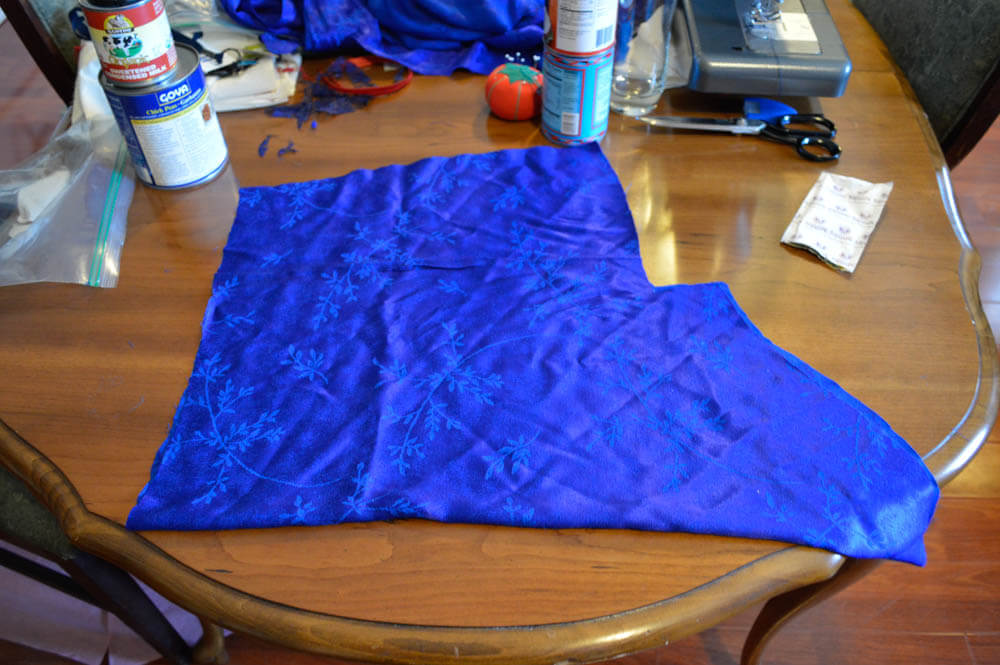
11) Pull aside your sleeves.
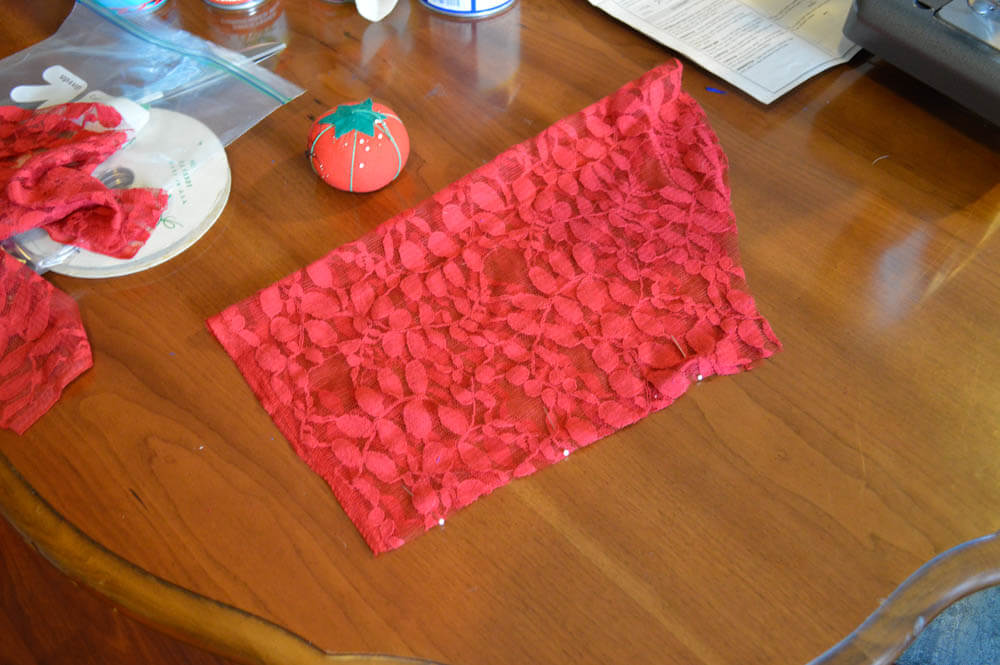
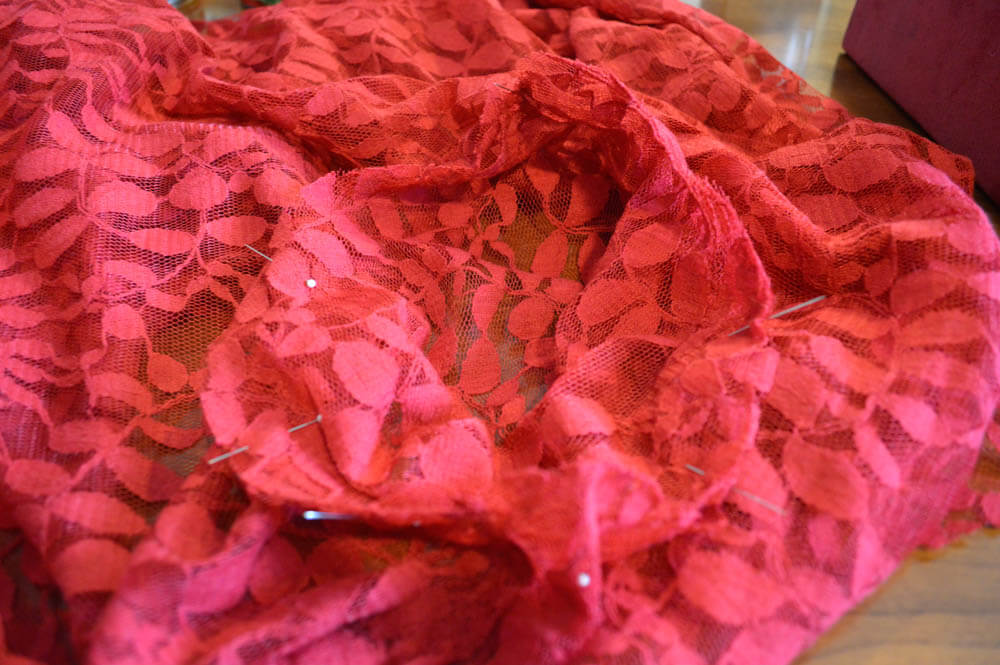
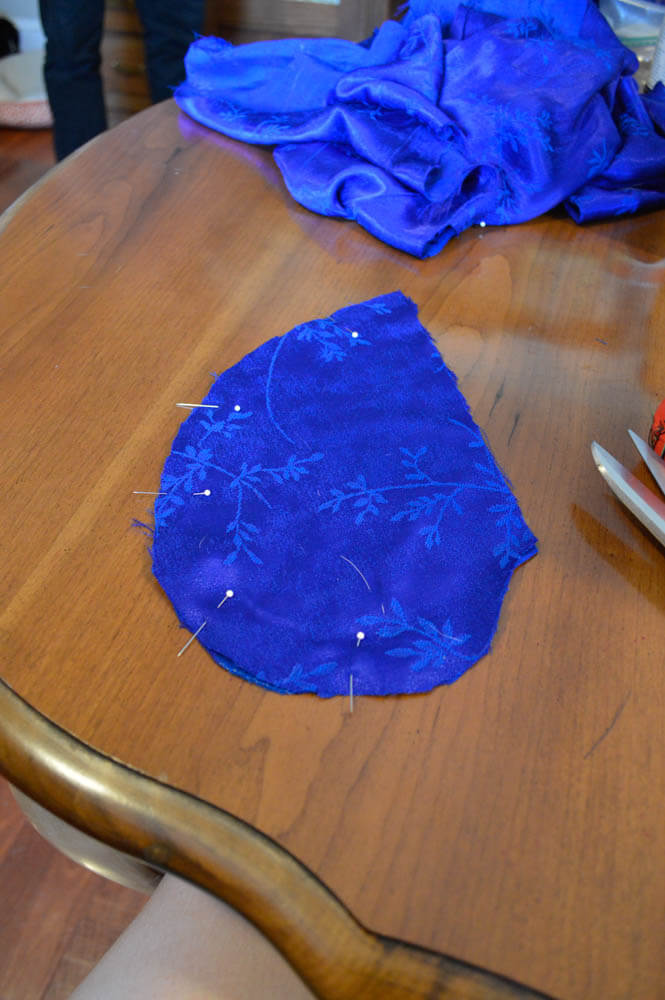
12) Fold the sleeve in half and pin together.
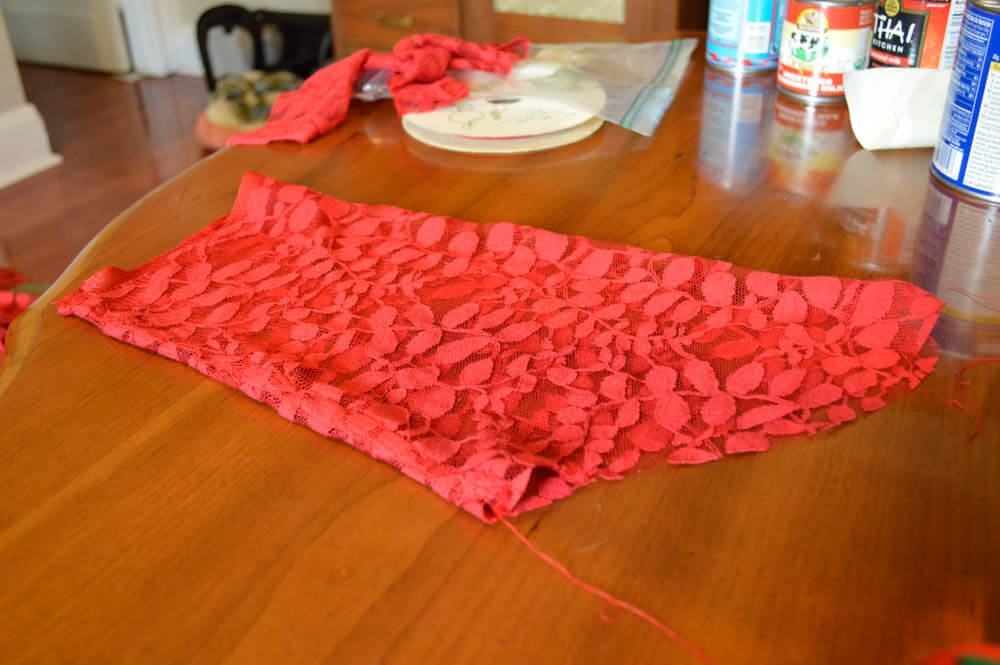
13) Stitch your sleeves.
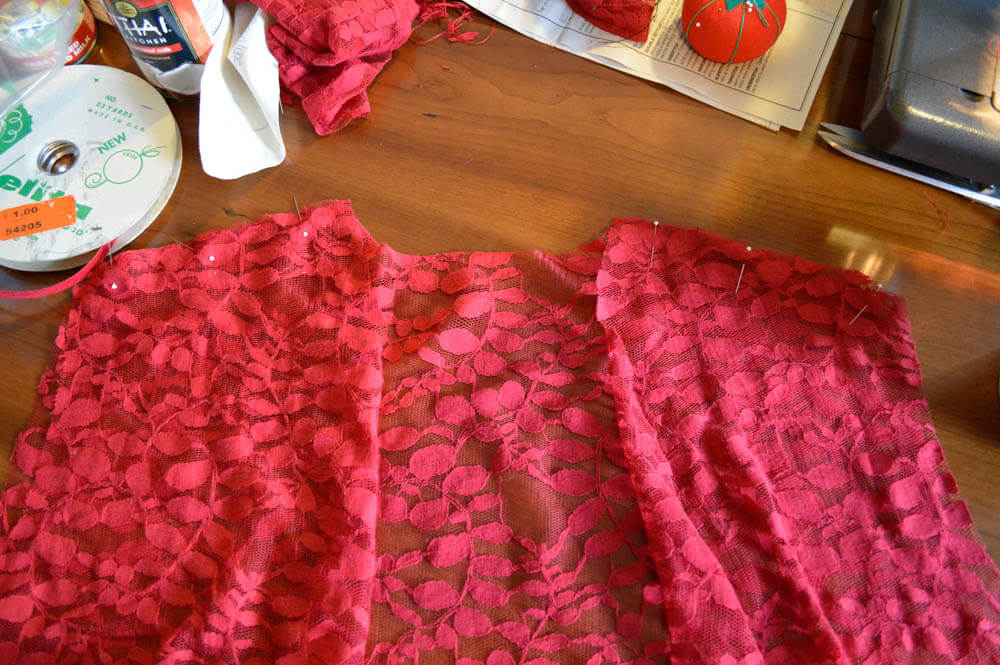
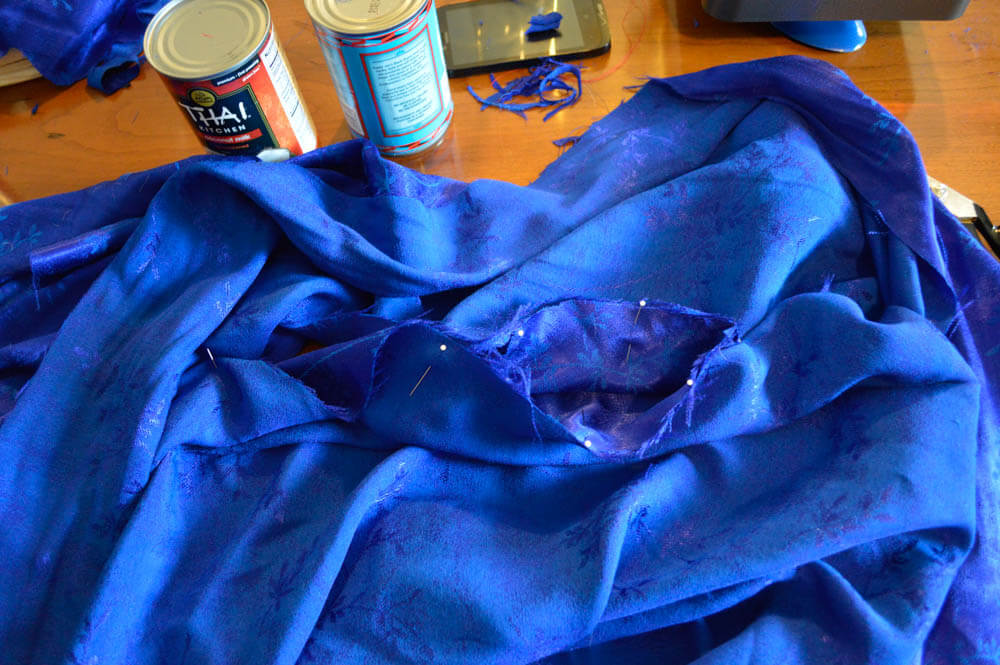
14) Pin and stitch the both bodice front pieces (1) to the bodice back (5).
15) Pin and stitch the bodice at the side seams.
16) Pin and stitch the sleeves onto the bodice.
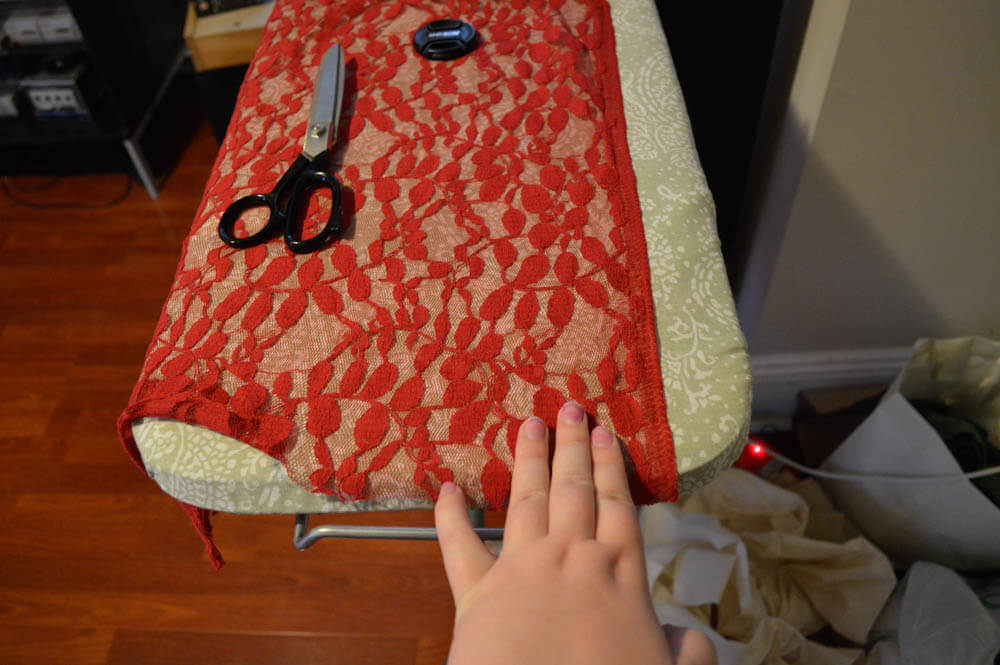
17) Finish your hem and the front of the robe.
18) You should now have a fairly complete-looking robe -- but we still have to add the sash! You can make the sash just about any width you want. Take into consideration that once the sash is completed, it will be approximately half the width of what you originally cut.
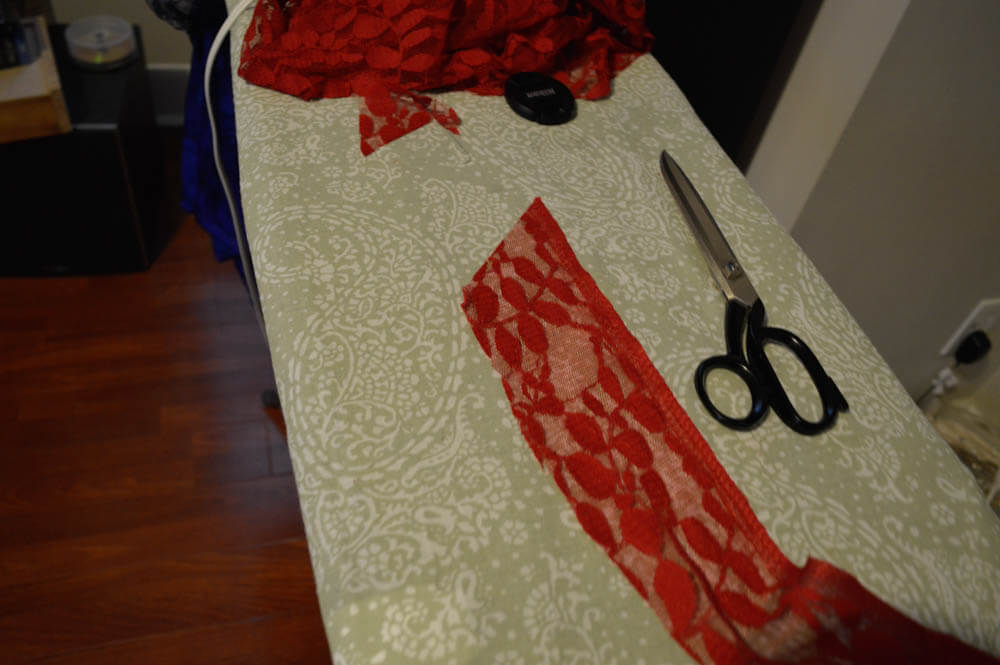
19) If the strip of fabric that you have cut for your sash isn't long enough, cut two strips and stitch them together.
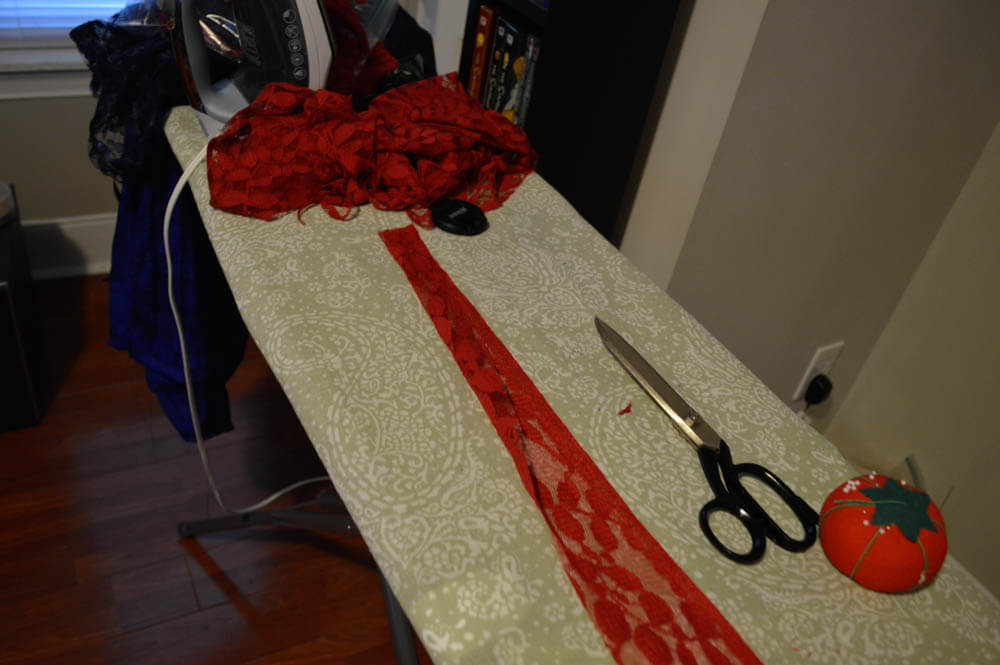
20) Fold the fabric in half, pin it together, and stitch.
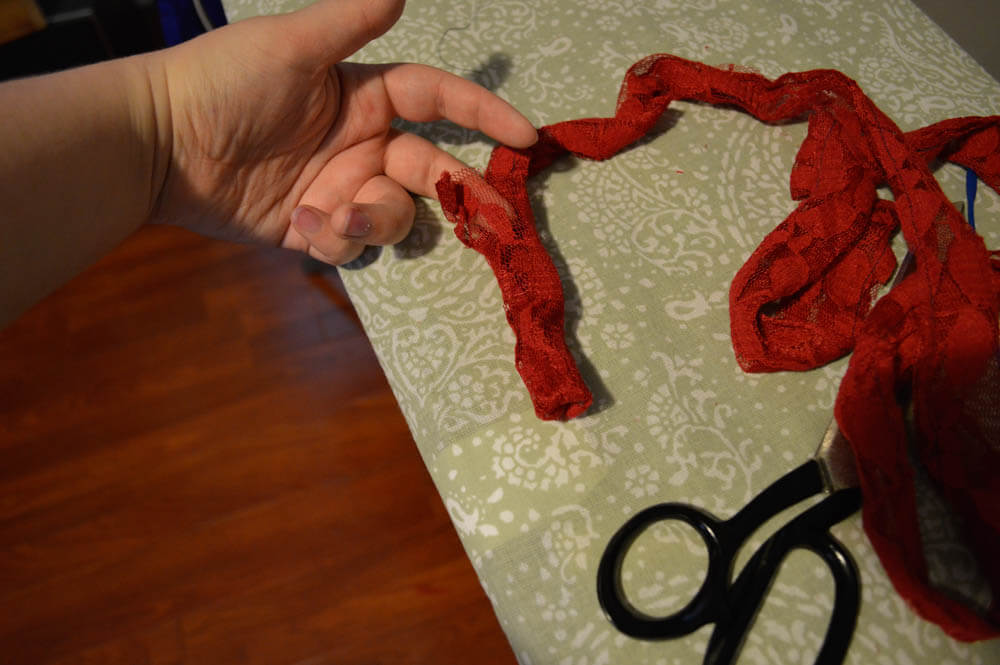
21) You will now need to reverse the fabric so that the raw edge is encased. This process is a lot like turning a pair of nylons inside out.
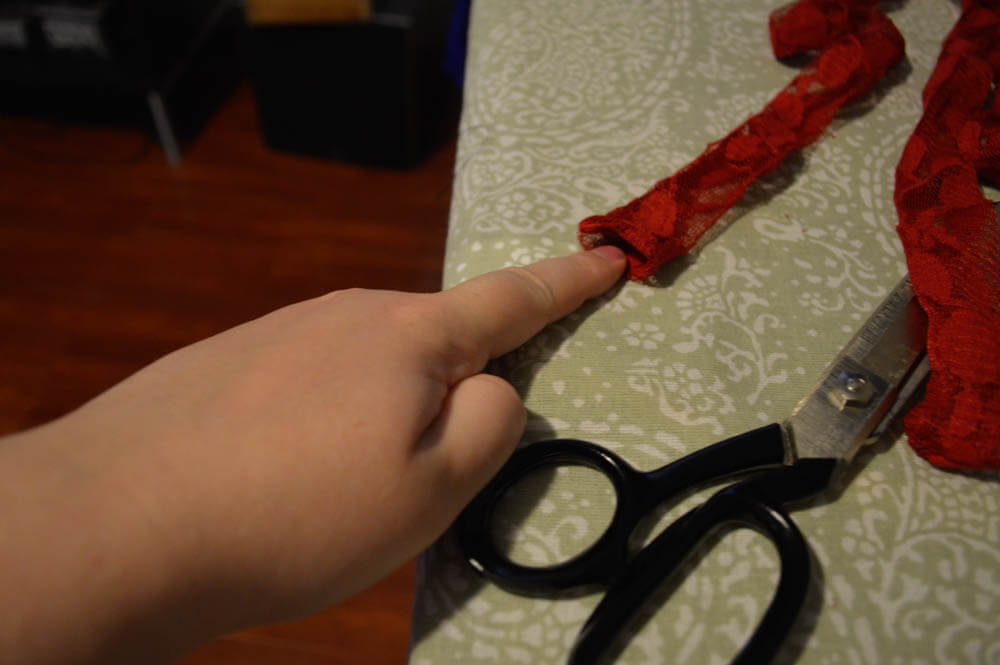
22) Once you've reversed your fabric, tuck the raw edges in.
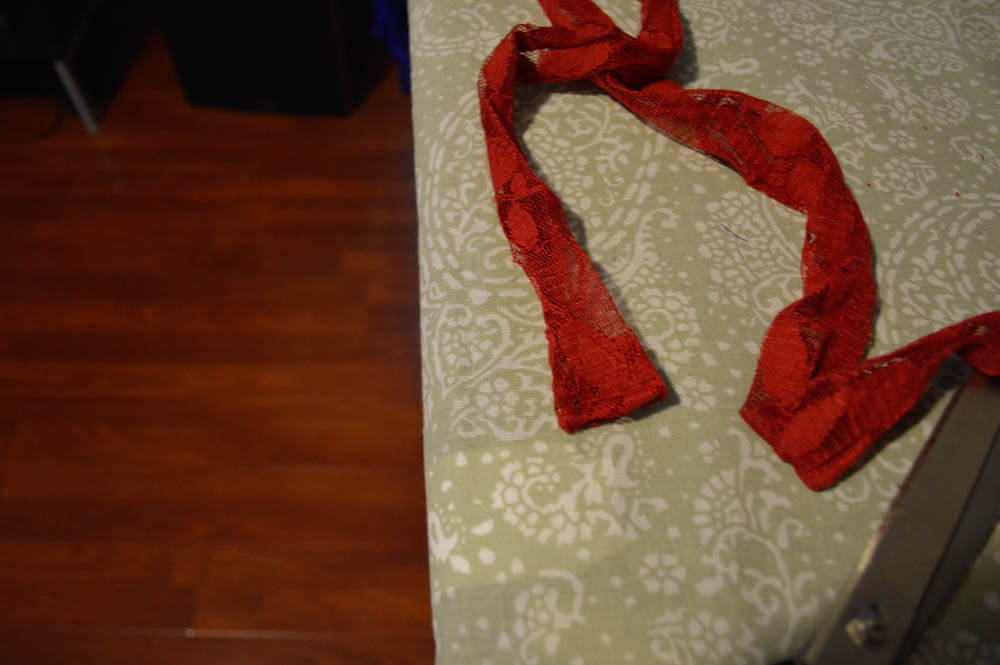
23) Stitch.
24) Now all you have left to do is attach the sash to the robe. You can do this methodically, by using measurements to find the center of the back and where your waist sits, or you can try on the robe and attempt to find the perfect position. I always settle for the latter. Once the sash is pinned, stitch it on and you have completed your first robe!
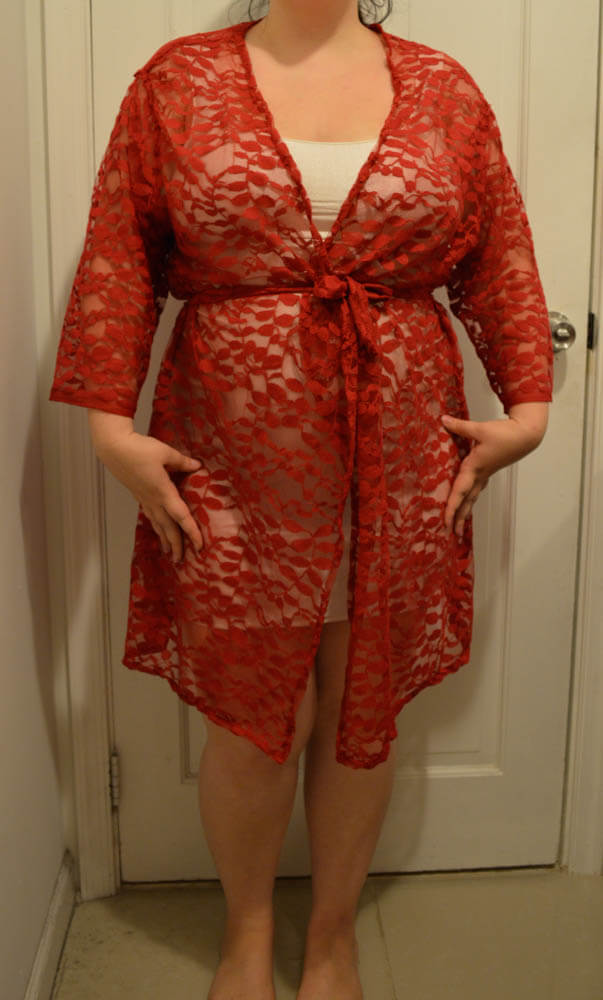
Now that you have made a basic robe, let's try making another, but this time with some alterations. You can take a look at what I did for inspiration, or follow along. Either way, remember to have fun! Sewing your own lingerie means you don't have to follow the rules.
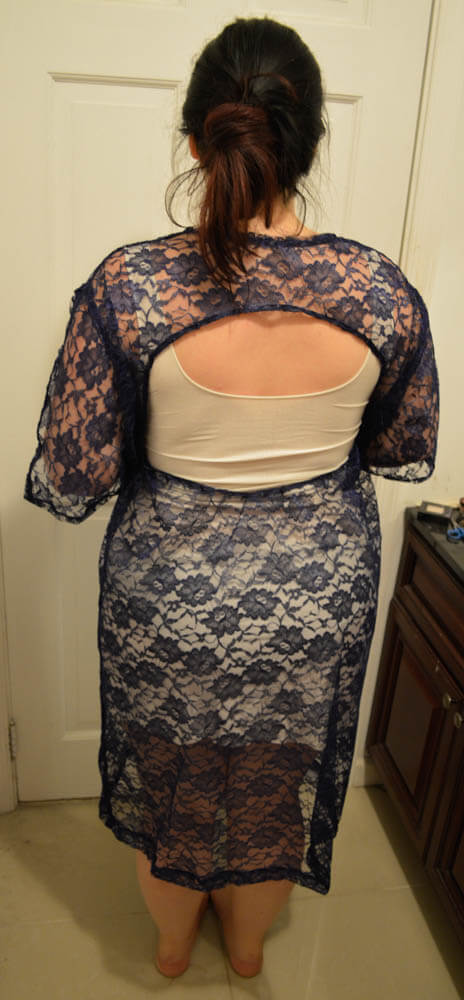
Alteration 1: Cutout Back
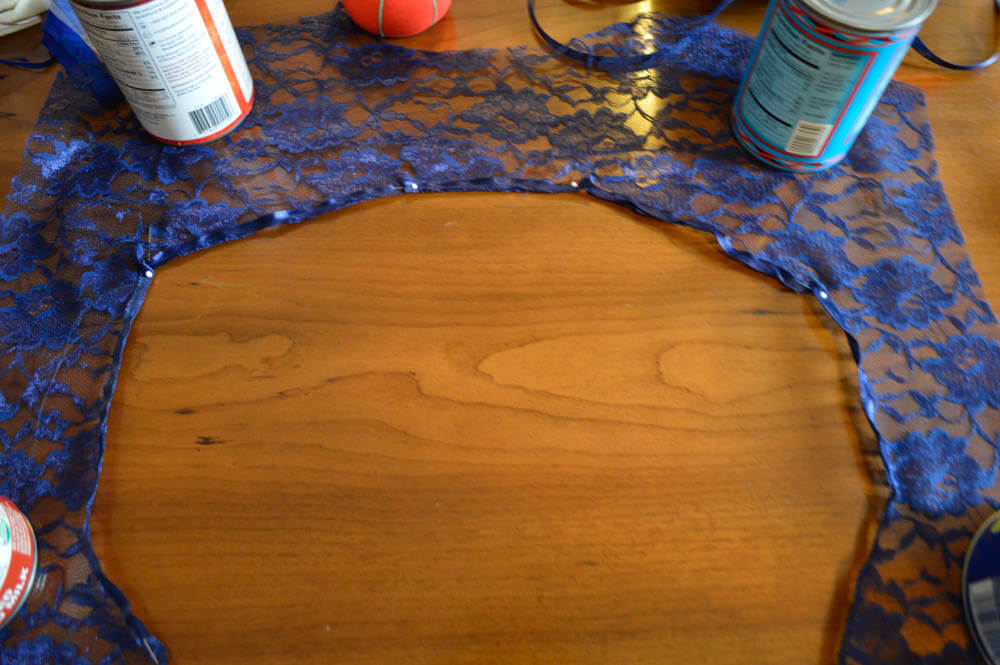
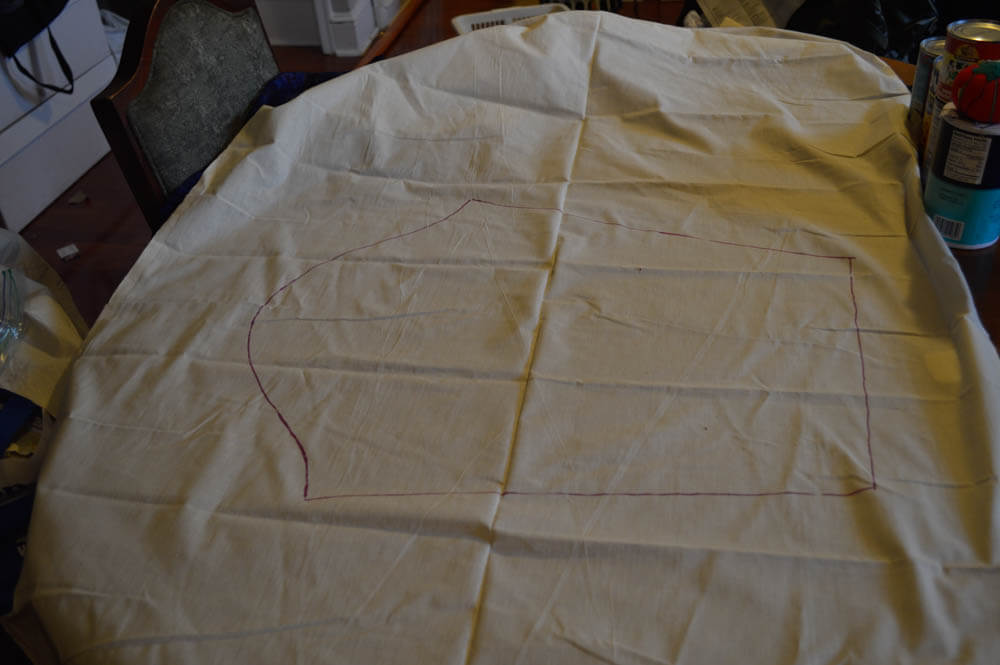
1) Using tailor's chalk, trace a shape on the bodice back. This shape can be as small or large as you would like.
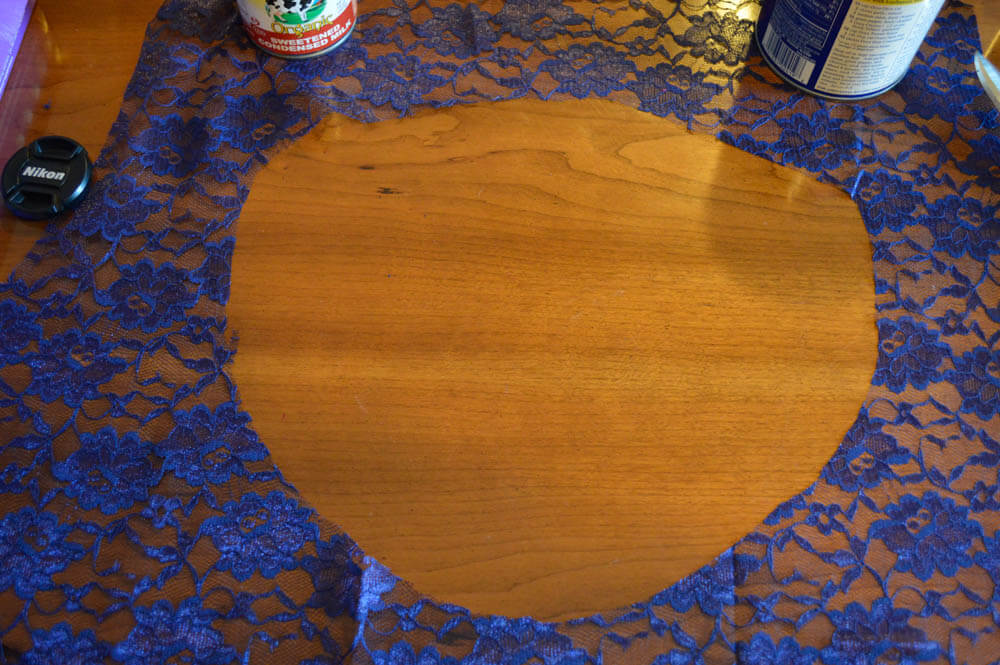
2) Cut out the shape.
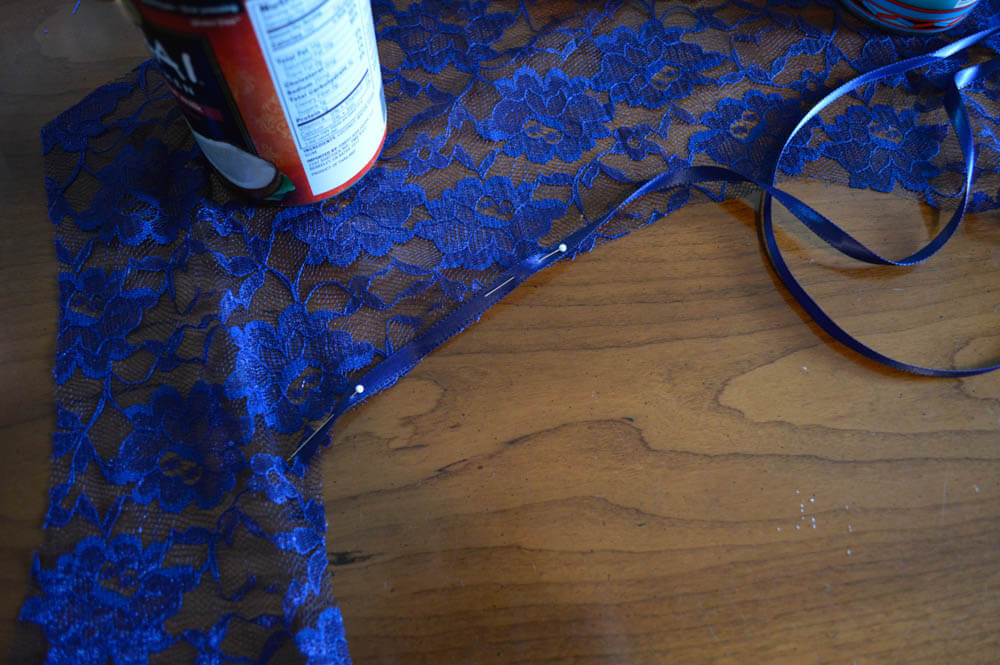
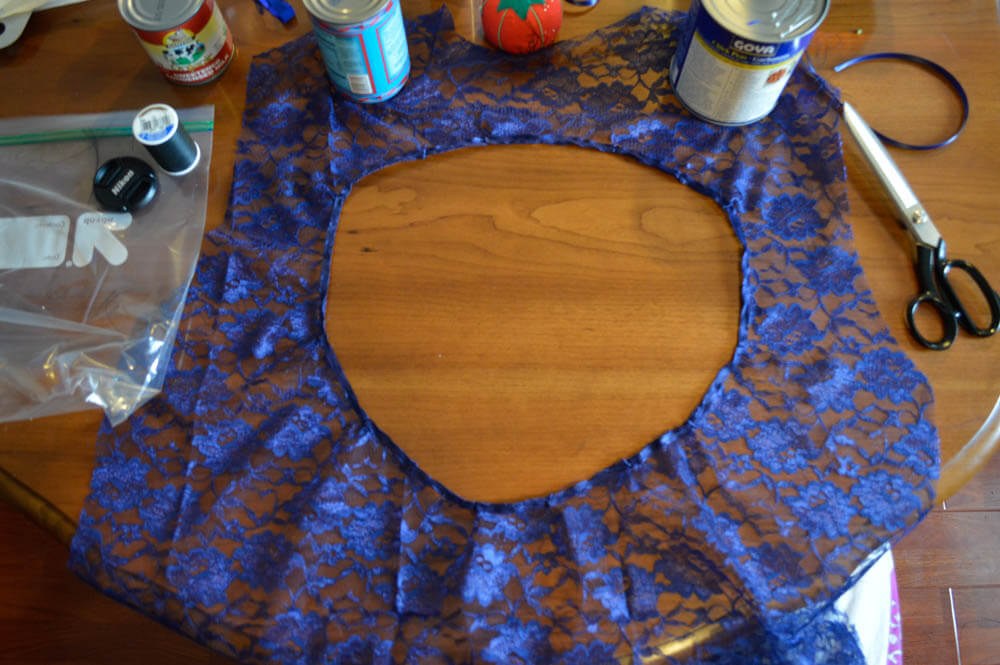
3) Around the cutout, pin a ribbon to the wrong side of the fabric, then stitch it in place.

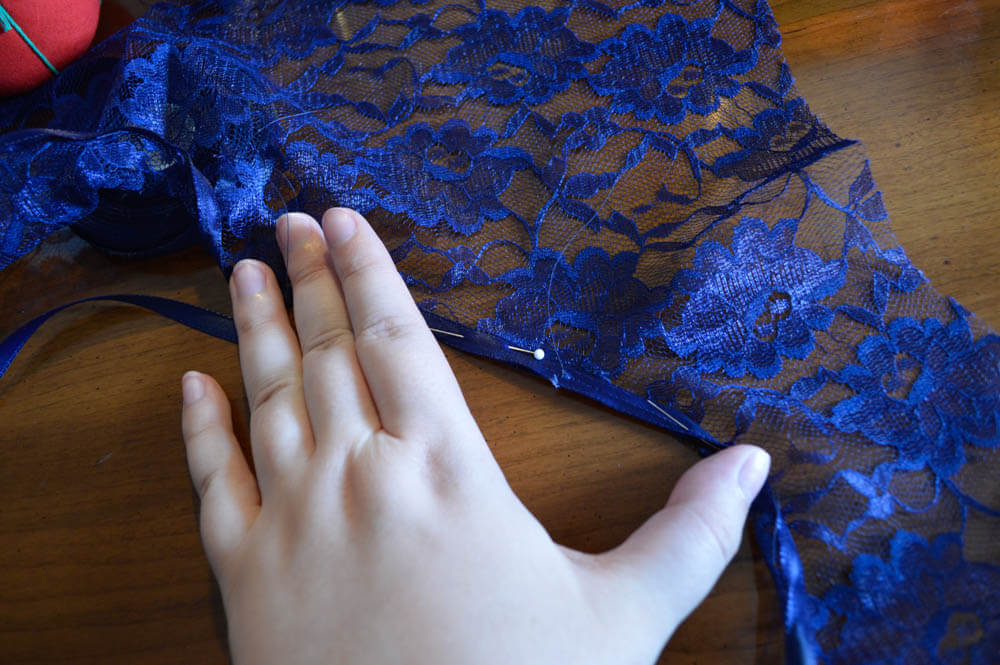
4) Fold the fabric so the ribbon is on the right side of the fabric.
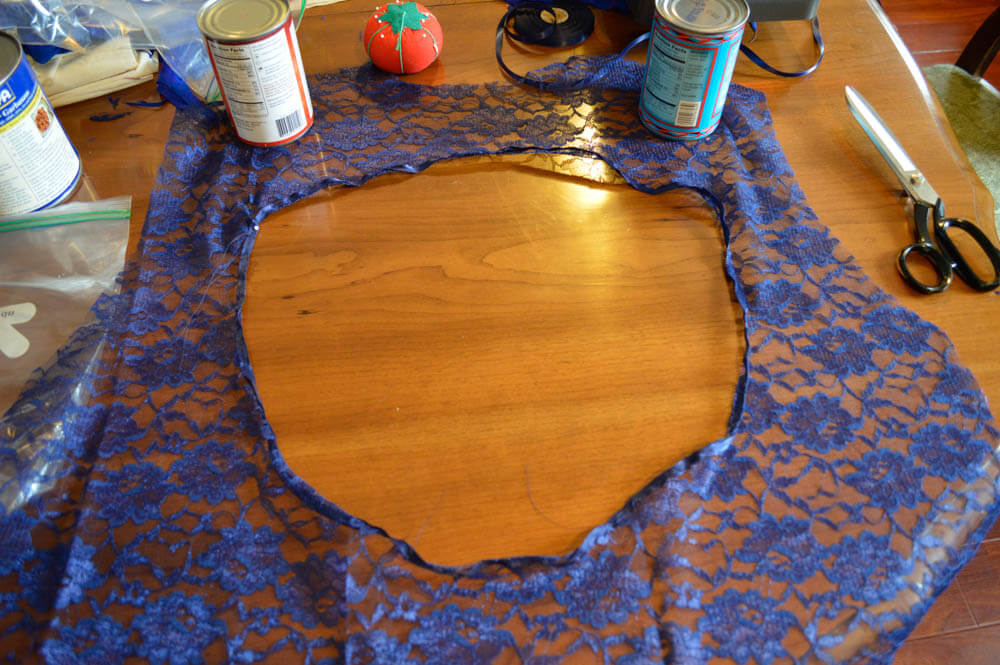
5) Stitch in place. Depending on the size and shape of your cutout, the ribbon around the edge may look rippled.
6) If it does look rippled, you will need to shape the cutout by creating small folds and stitching the fabric in place. Fold the ribbon 1/8 of an inch and pin. Do this at varying intervals until the fabric lays flat.
7) Stitch in place.
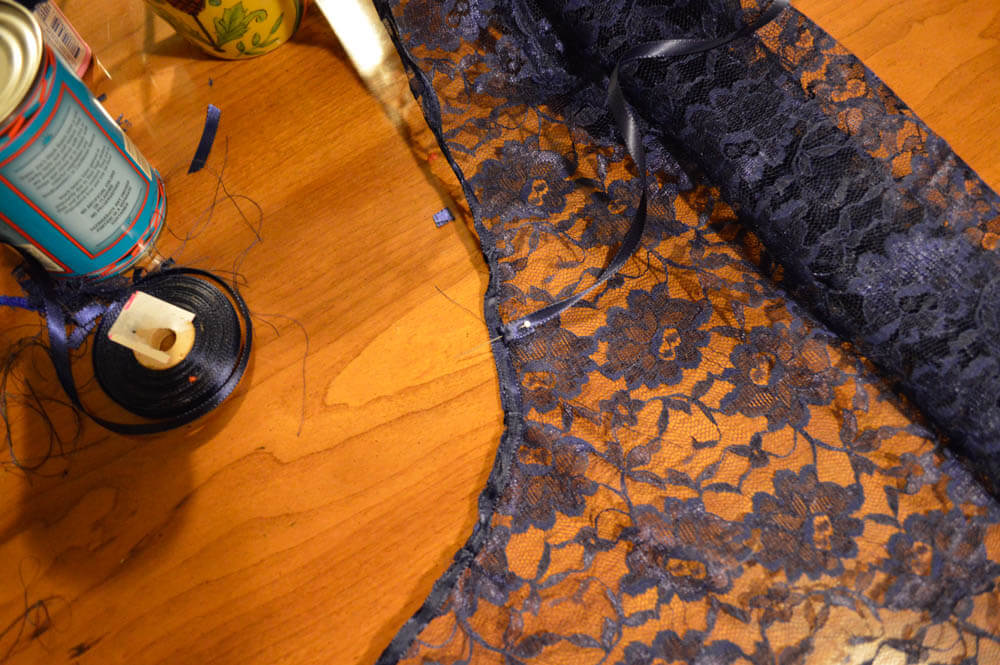
8) As an alternative to a sash, consider using the same ribbon. If the cutout you made extends to or below the waist, stitch the ribbon to the wrong side of the fabric at the edge of the cutout.
Alteration 2: Open Sleeves
1) Cut out your sleeves using the standard pattern piece you made at the beginning.
2) Fold the sleeve in half and mark the center.
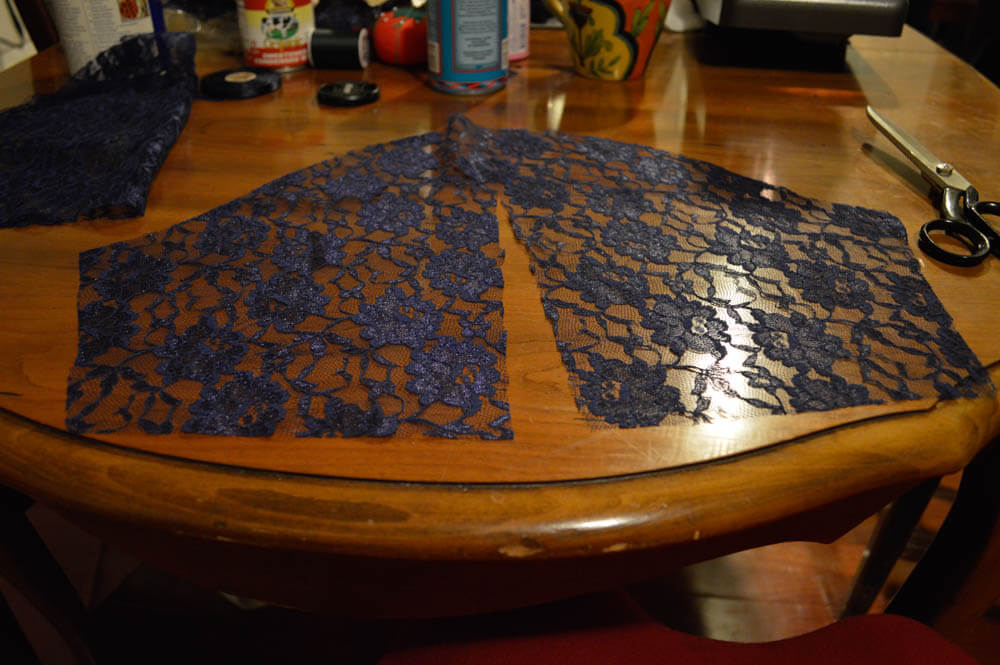
3) Cut along the marked line.
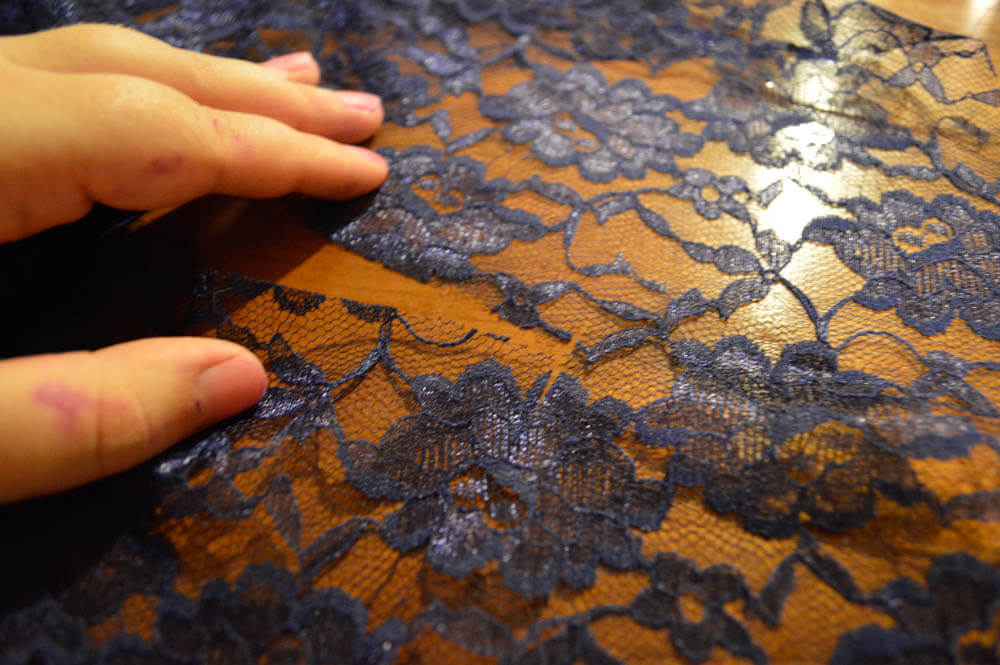
4) Cut 1/8 of an inch on either side of the line.
5) Finish the edges on the cut edge of the sleeve.
6) For a little extra flair, stitch a ribbon on the outer edge of the opening. Finish the sleeve as normal.

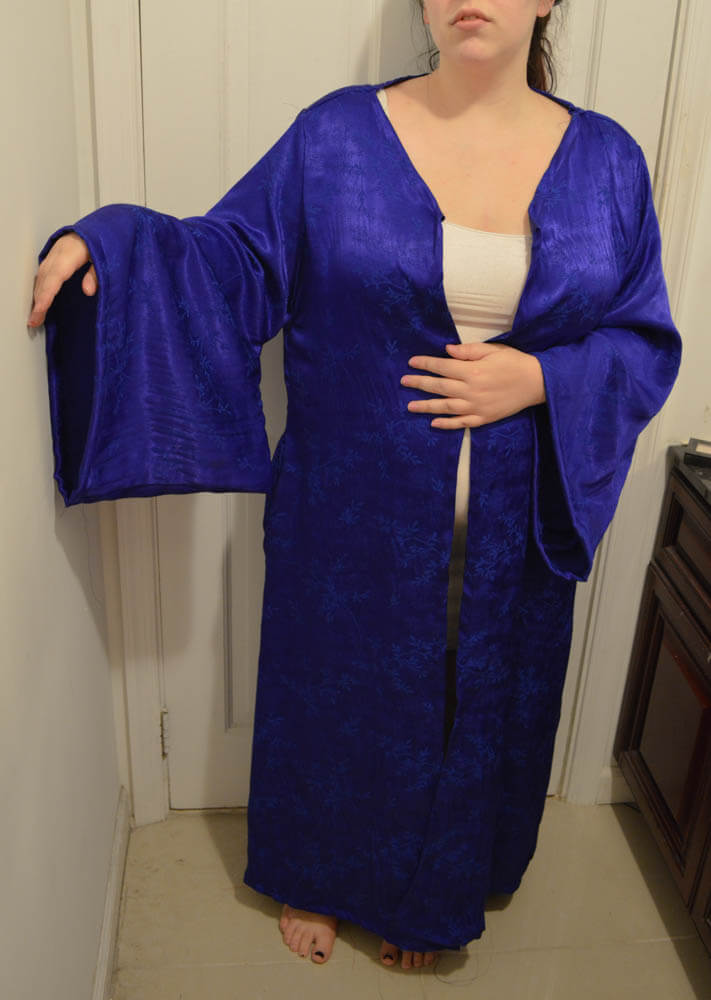
Alteration 3: Elongated Sleeves
1) Find the original sleeve pattern piece and trace it onto your muslin.
2) Place a marking about 1.5 inches from the top of the center seam on each side. Determine how long you would like the sleeves to be and use a straight edge and extend the mark.
3) Use the straight edge to draw a line continuing the edge of the sleeve. Draw a third line connecting each line. Make sure to do this evenly on each side, then cut out your new pattern piece.
4) Place your pattern piece on to the fabric and cut. Make sure you cut two sleeves!
5) Fold the sleeve in half.
6) Pin the sleeve, and stitch.
Alteration 4: Changing the Neckline and Bodice
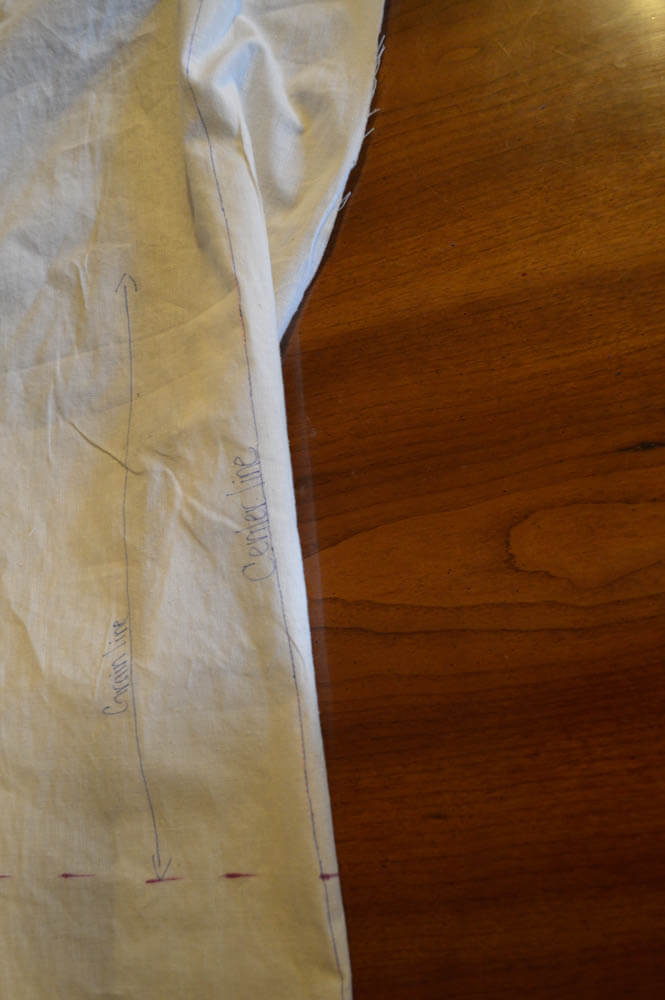
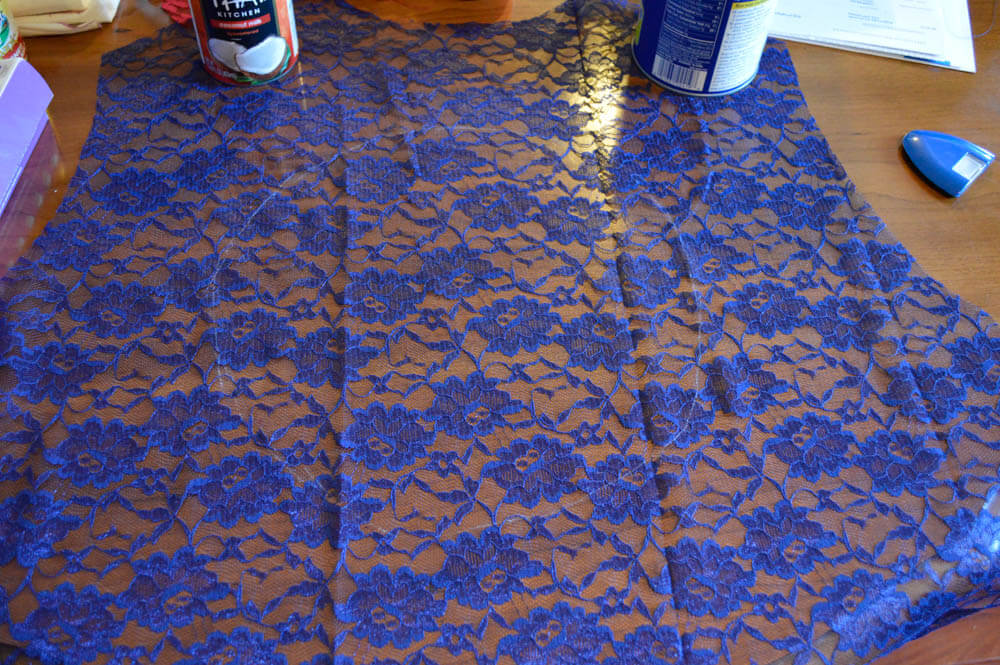
1) Fold the bodice at the the center front,
2) Using a vary form curve ruler or straight edge, trace a line from the top of the bodice to the center front.
3) The further from the original neckline, the more dramatic the difference will be.
4) Not that you have altered the front, you need to make sure you alter the back. The easiest way to do this is by placing the bodice back pattern piece (5) over top of the front, matching up the corners and the notches, then marking where the lines would meet.

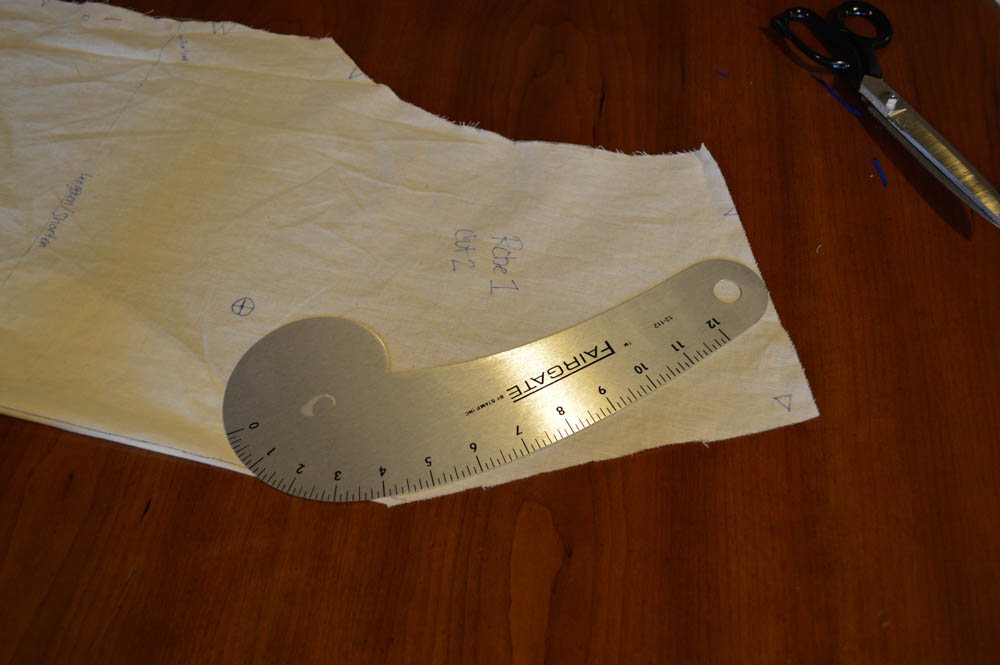
5) Now use the vary form curve to trace a curved line on the bodice back.
6) The alterations should look something like this.
7) Fold the neckline under and trace your pattern on to fabric.
8) Cut.
Alteration 5: Pockets
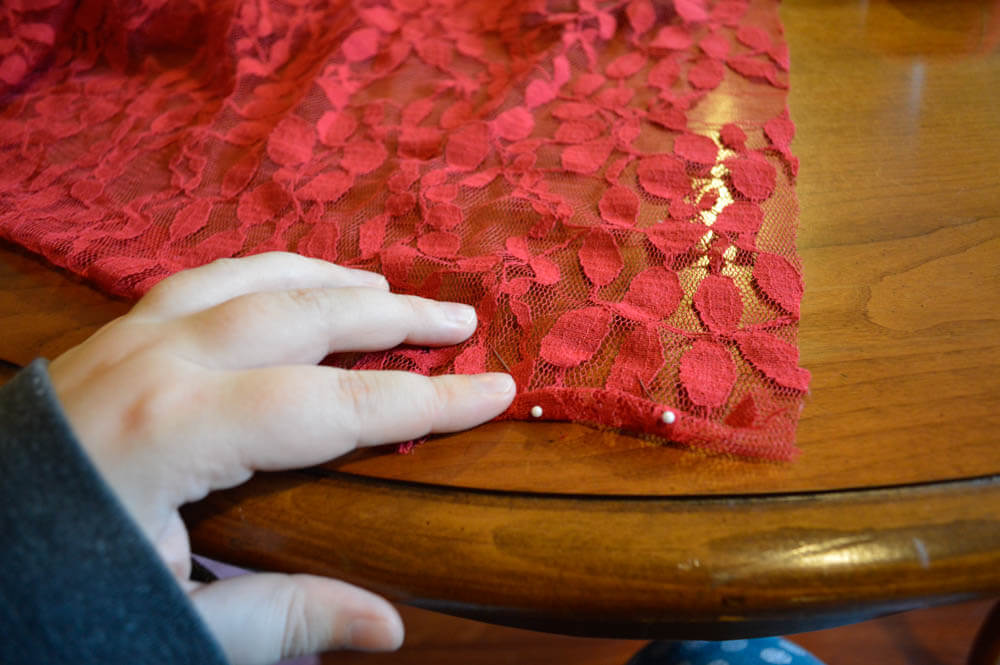
1) First start by pinning the two pocket pattern pieces together and stitching around the curved edge.
2) Try on the robe and find where you would like to place the pocket. Put a pin at the top and bottom of where you would like the pocket to sit.
3) Pin the pocket into place then stitch!
Skills and techniques learned from this project:
- How to baste a muslin and alter the alter the basic pattern.
- How to create a cutout.
- How to create elongated sleeves
- How to insert pockets into a garment.
- How a few simple changes can completely change the look of a garment.
Next time:
How to make your own slips! Next month we are going to make slips from the same Vogue Pattern I used this week. Slips C and D are the same cut, just different lengths, so you can choose either. Slip E contains built-in cups, so I will include a tutorial on how to alter the cups for larger breasts. If you buy the Vogue pattern, make sure you pay attention to the size chart, as pattern sizes and dress sizes don’t match up (I wear a 12/14 in off the rack clothing but am a 22 in this pattern).
Everything should be a bit more exciting from here on out. We have covered the basics and will be moving on to more complex projects -- no more sewing in a straight line! As I mentioned above, we will be covering slips in October, followed by burlesque goodies in November, and then we'll tackle panties in December!
I would love to hear from you -- if you have any comments, requests, suggestions or questions please leave them in the comments!