How to Make Your Own Panties
Now that we're back to our regular programming, this month we will be going over making your own panties. Please note that I do not follow the pattern instructions precisely; small changes were made for ease of construction.
Materials Needed:
- Kwik Sew Pattern K3881 – Available in sizes XS thru XL
- Knit fabric
- 2 to 4 packs of Dritz lingerie elastic - 2 packs per garment
- 1 or 2 spools of thread
- Tracing Paper
- Tracing wheel
- Scissors and Snips
- Weights (You can buy fabric weights, or you can do what I do and use canned goods.)
- Tailors Chalk
- Iron and Ironing Board
- Sewing Machine
A few notes before we start:
- This column is set up like course curriculum. During the last few months, I have been teaching some basics that I will not be going over in future posts. If you find yourself lost, please feel free to look back at Where to Start, Making Your Own Loungewear Part 1 and Part 2, Making Your Own Robes or Making Your Own Slips.
- If you use nylon milliskin fabric for the either project, you will not need to use the lingerie elastic to finish the edges.
- I will not be going over creating muslins, prepping fabric or patterns. If you find yourself having trouble, please look back at my previous posts.
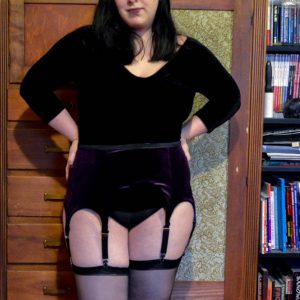
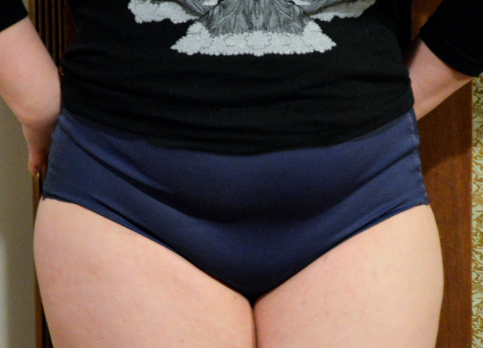
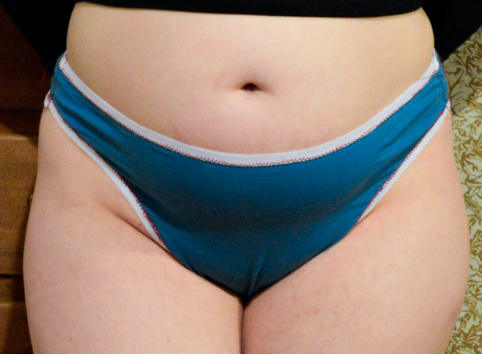
- While I felt the brief fit perfectly, in an unaltered size large, the same can not be said for the thong. I do however, size down in thongs since my rear-end accounts for a good portion of my hip measurement. I would recommend starting off with your average size for each style.
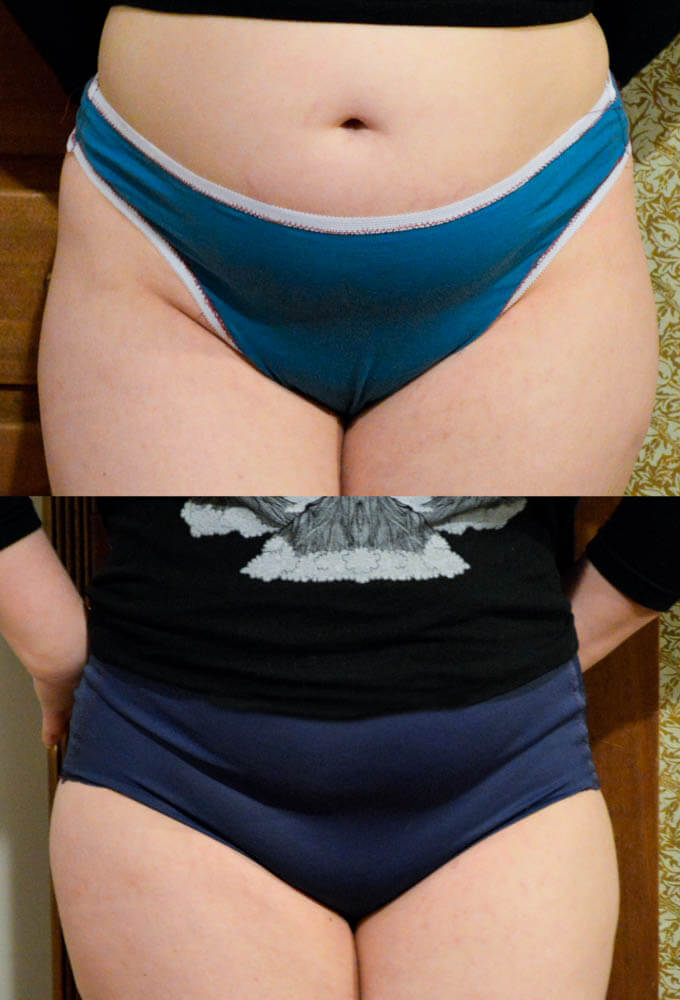
Project 13: Brief
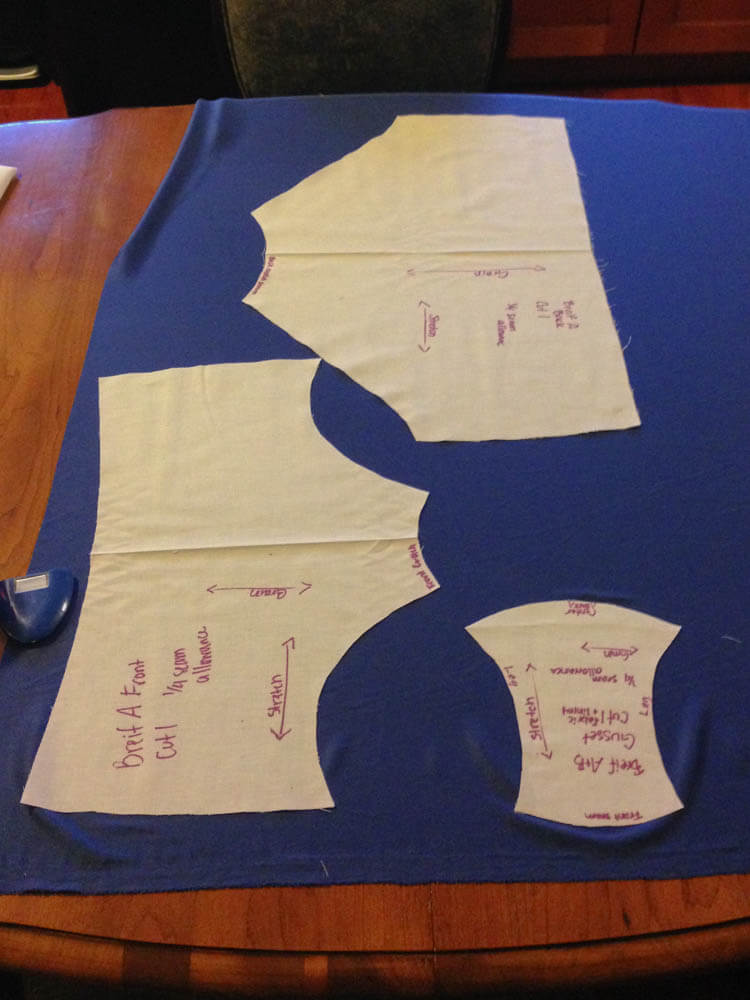
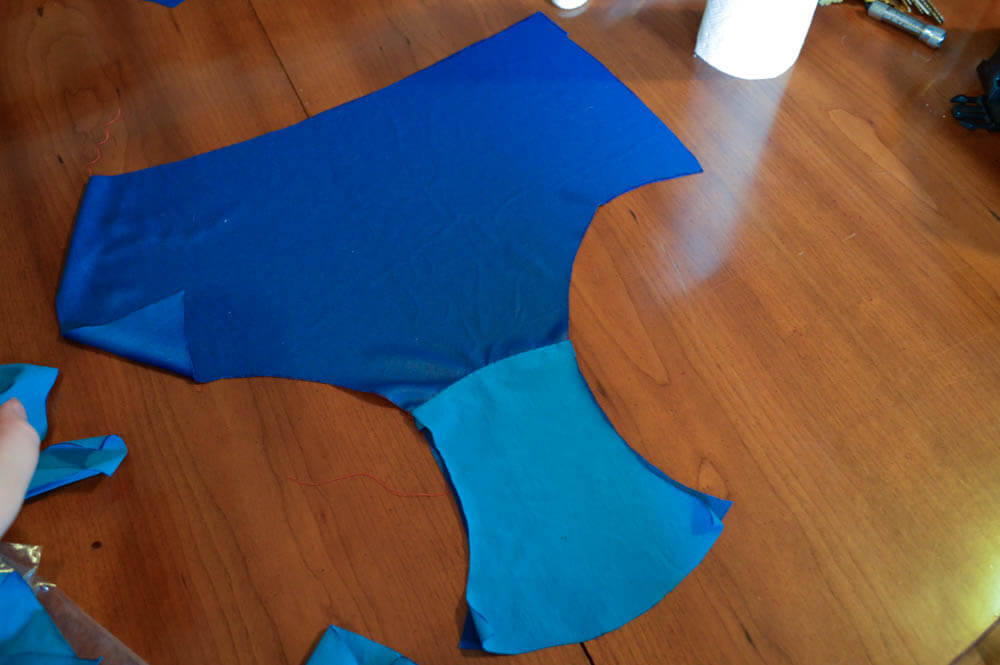
1) Prepare your fabric. Note: When laying out your pattern pieces make sure that you pay attention to the grain lines.
2) With the right sides facing one another, pin the gusset (3) to the front of the brief (1).

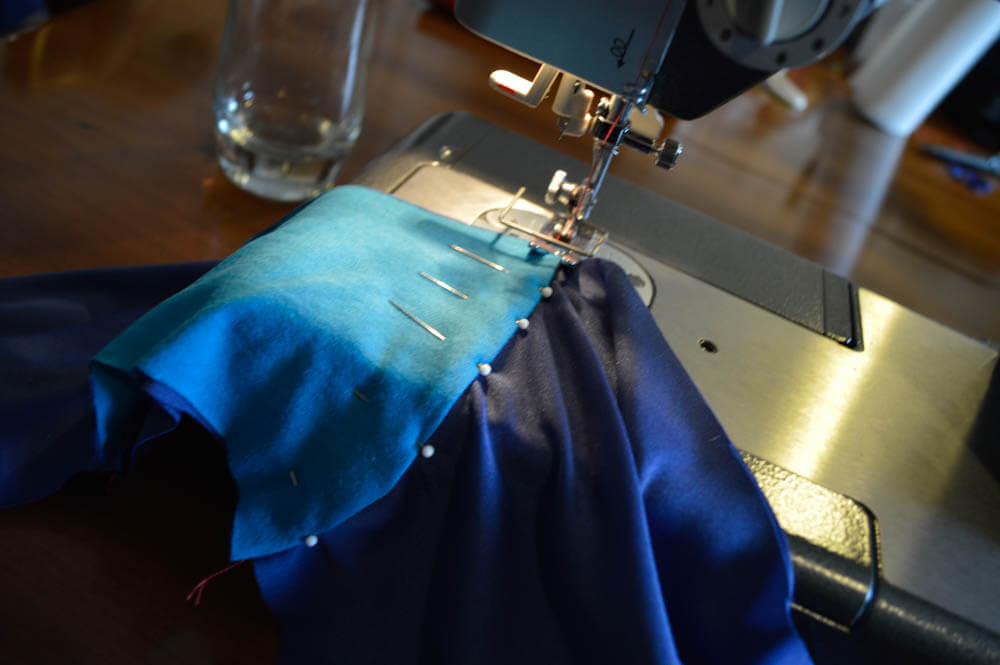
3) Stitch together using a stretch stitch, such as the zigzag stitch.
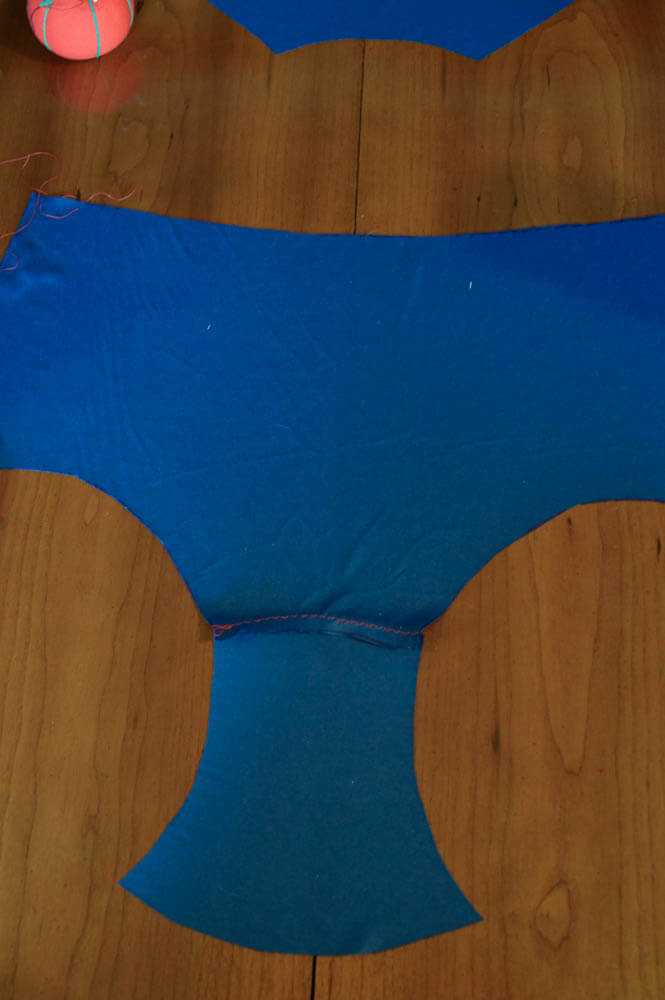
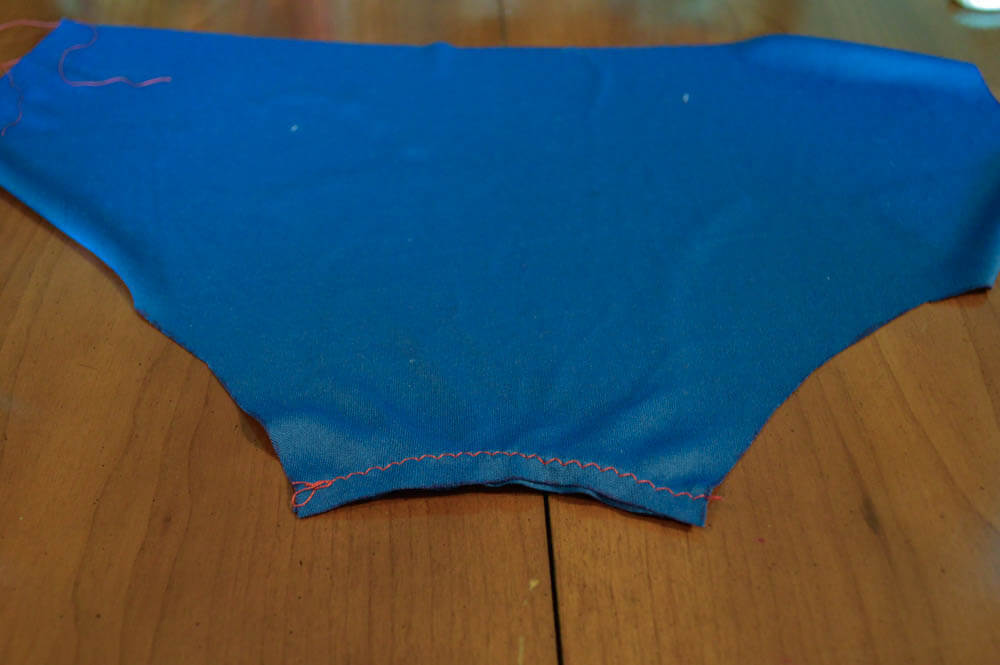
4) Trim any excess fabric.
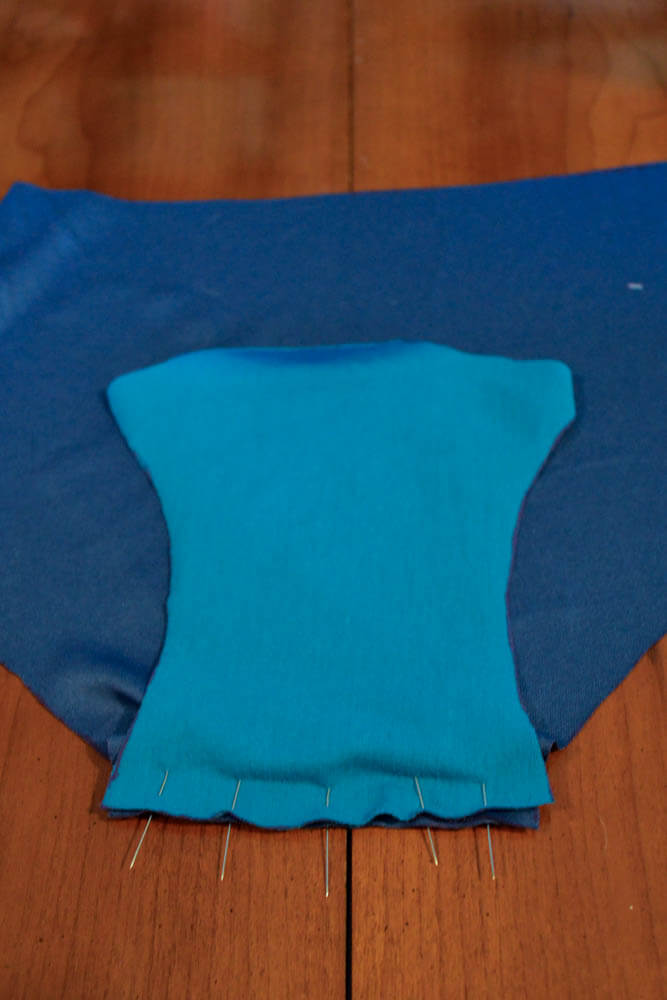
5) Pin the gusset lining to the brief, make sure the right side of the gusset lining is facing the wrong side of the brief.
6) Stitch in place.

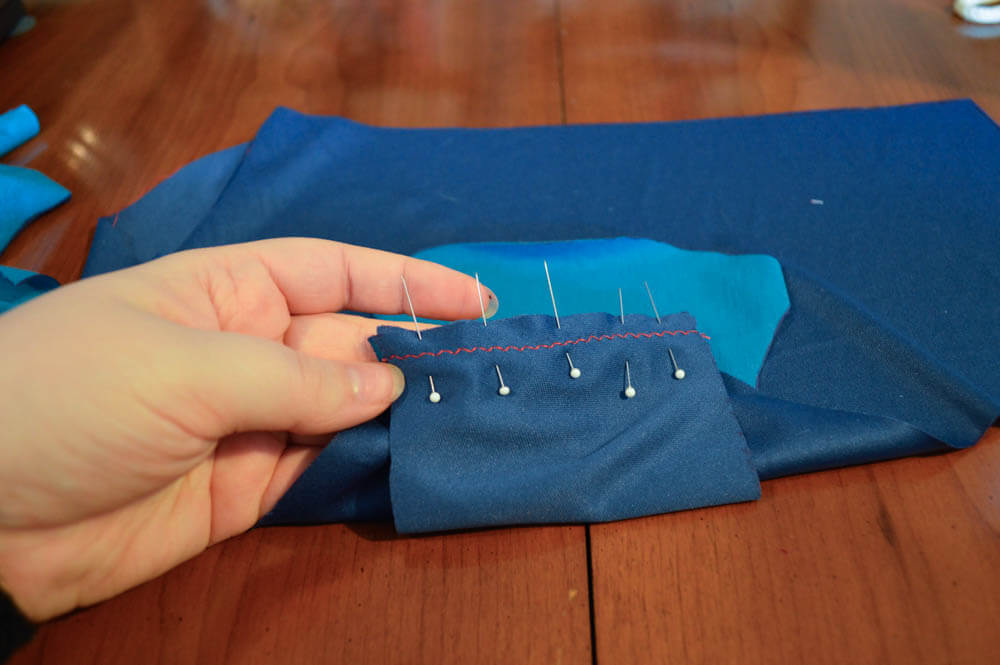
7) With the right sides together pin the gusset (3) to the back side of the brief (2).
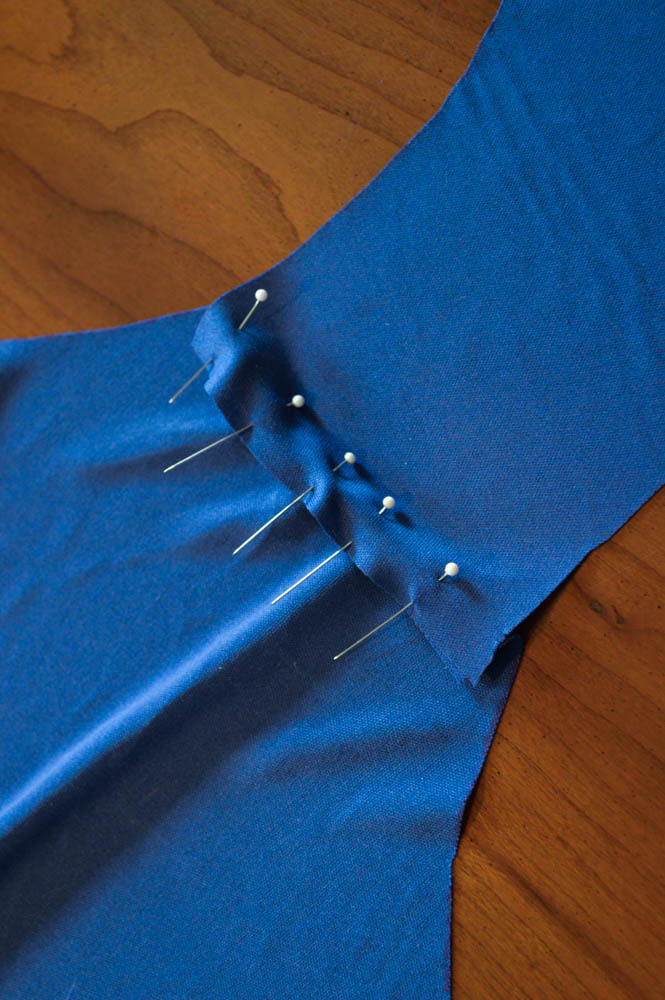
8) Fold the edge of the gusset under and pin in place.

9) Stitch in place. Take it slow if you need to, it's easy to skip a stitch.
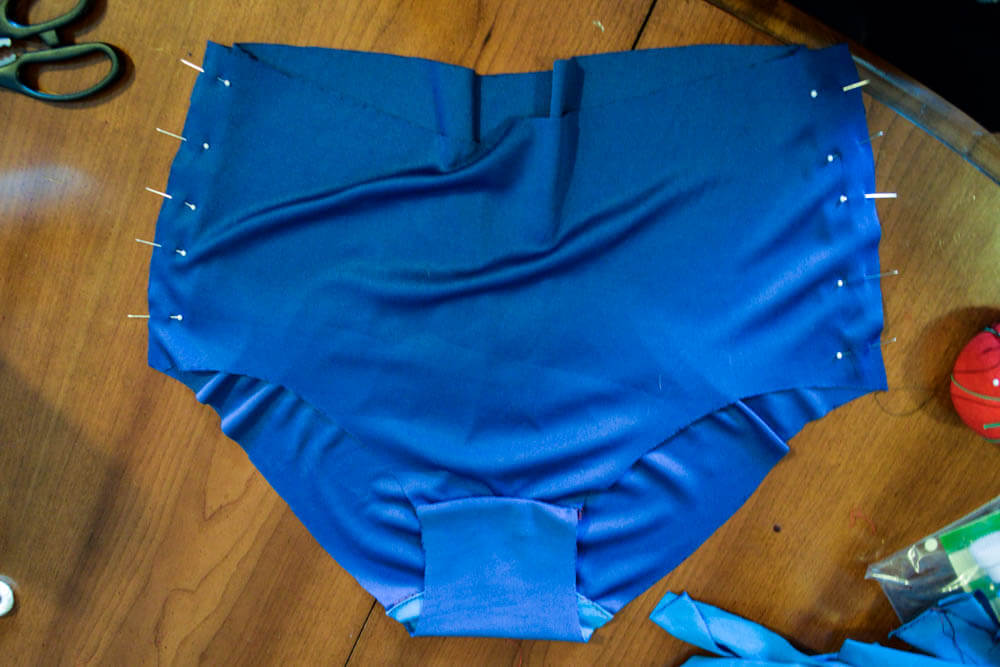
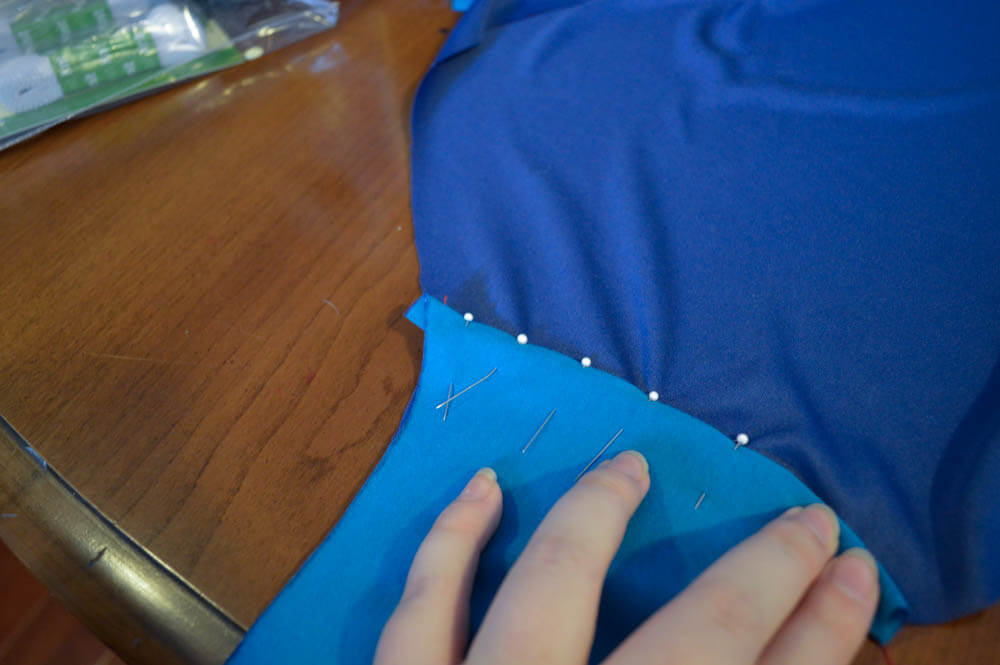
10) Pin the edges of the brief front (1) to the brief back (2), stitch in place. Note: I decided to use a french seam.
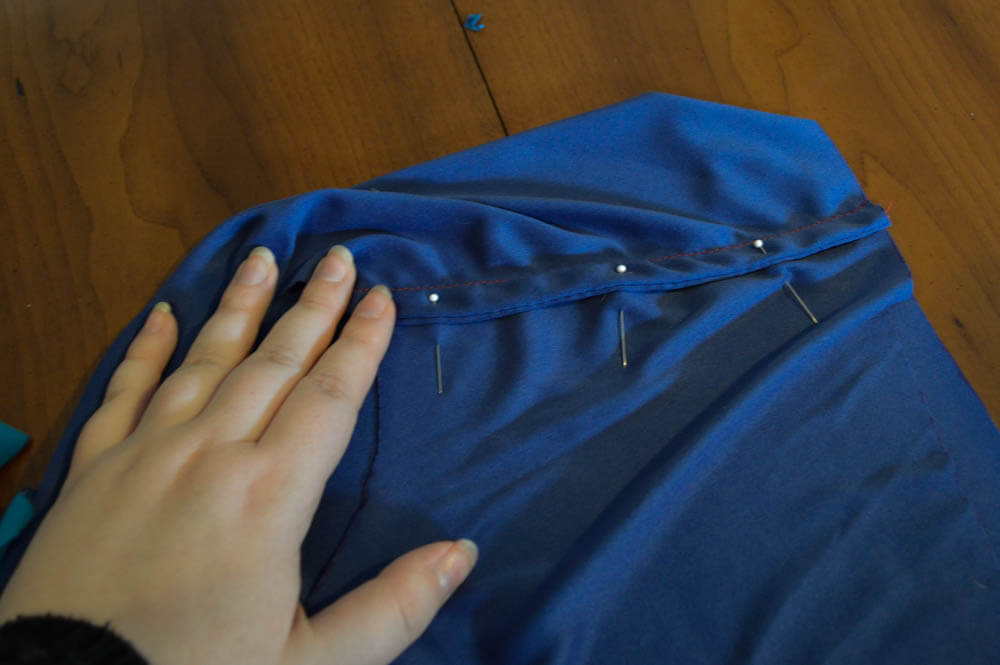
11) Optional: If you would like a smoother seam, stitch the edges of your seam flat against the fabric.
Project 14: Thong
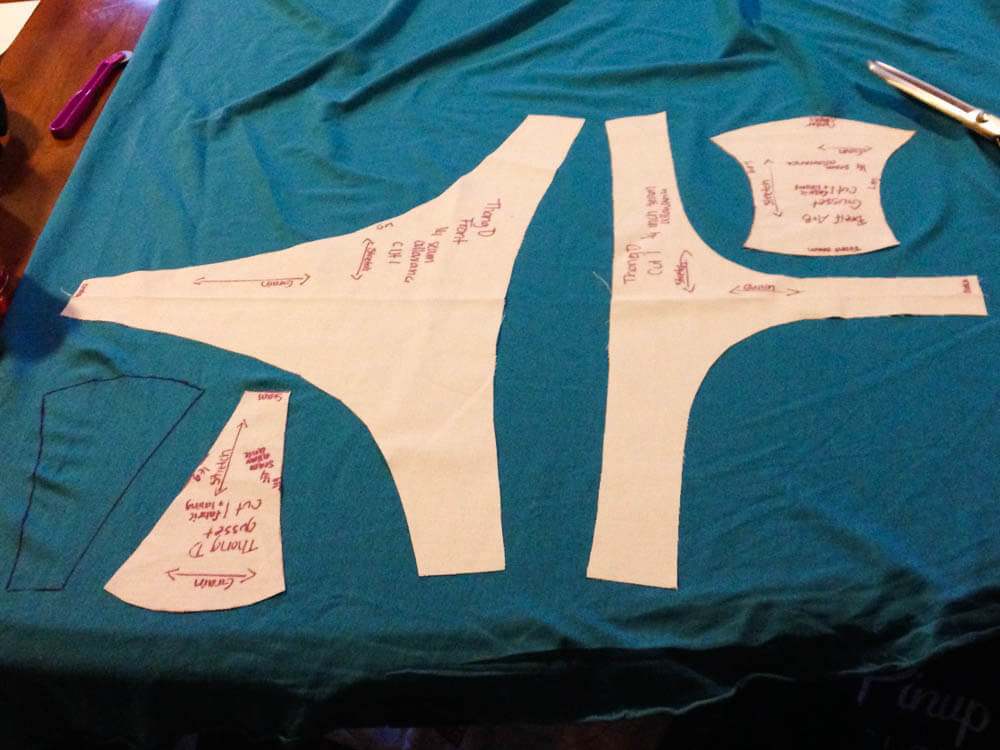
1) Prepare your fabric. Note: While the pattern states that you will need to cut two of the gusset pattern piece (9) you only need to cut one.
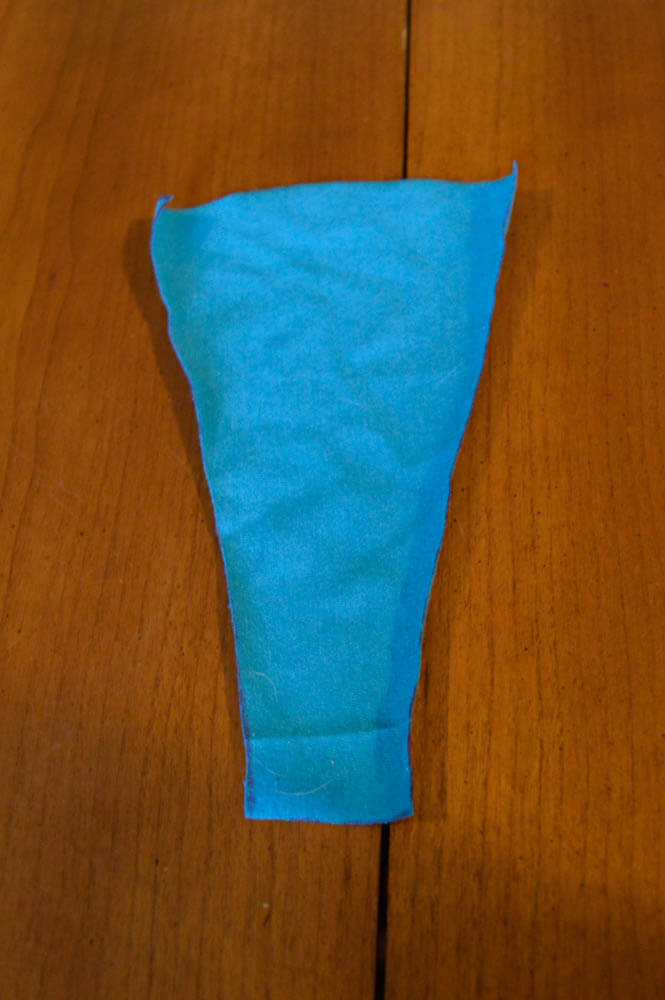
2) Using the zigzag or overlock, stitch the top edge of the gusset, set aside.

3) With the right sides together, pin the thong front (7) to the thong back (8).
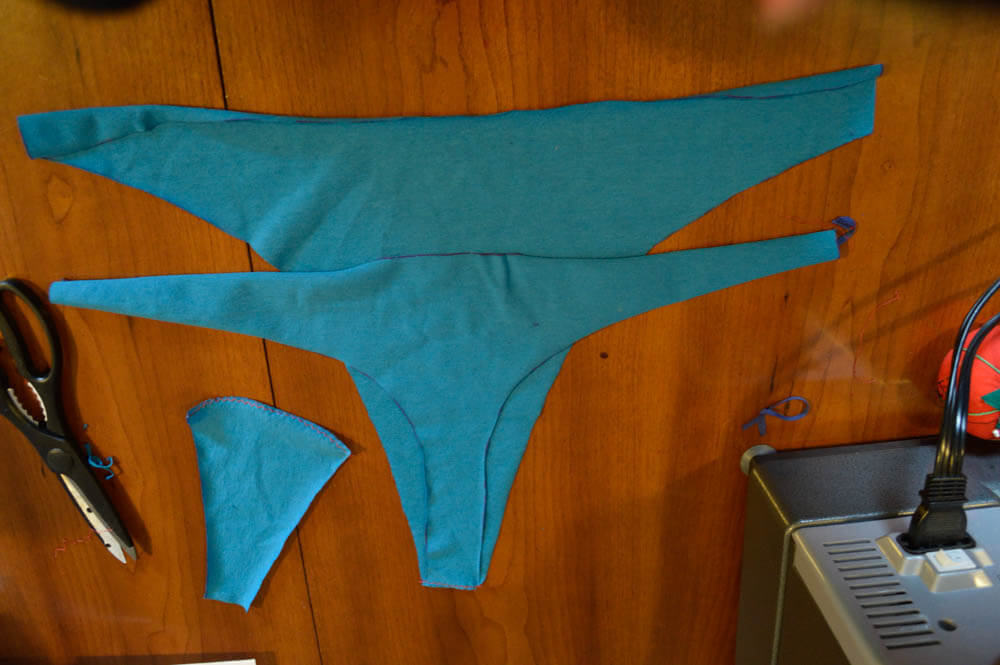
4) Pin the gusset lining to the thong, make sure the right side of the gusset lining (9) is facing the wrong side of the thong back (8).

5) Pin the sides of the gusset (9) to the thong front (7) with the wrong sides facing together.
6) Stitch in place, trim any excess edges.
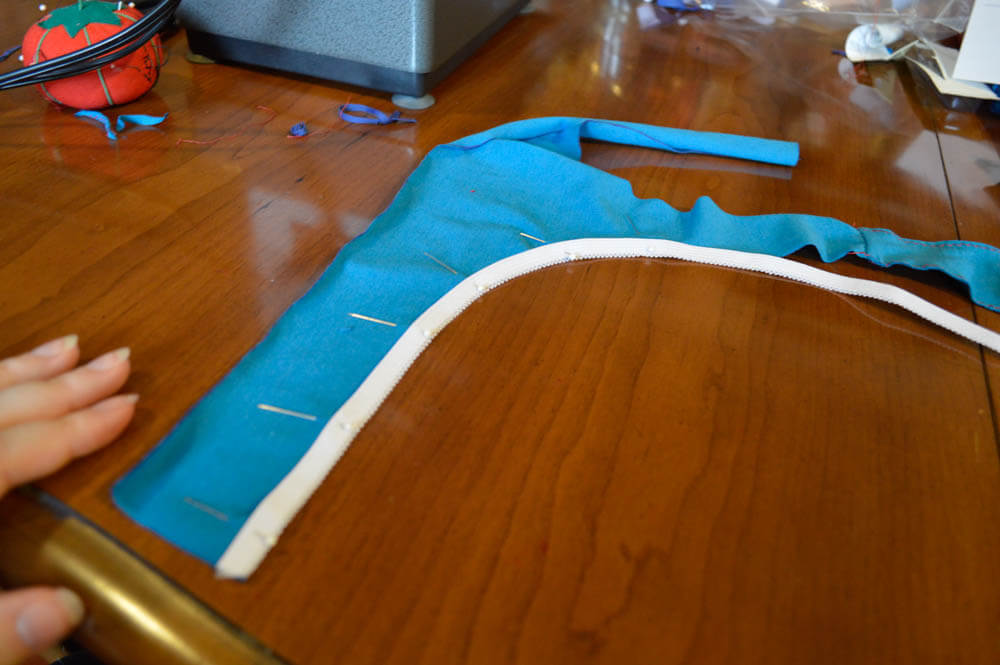

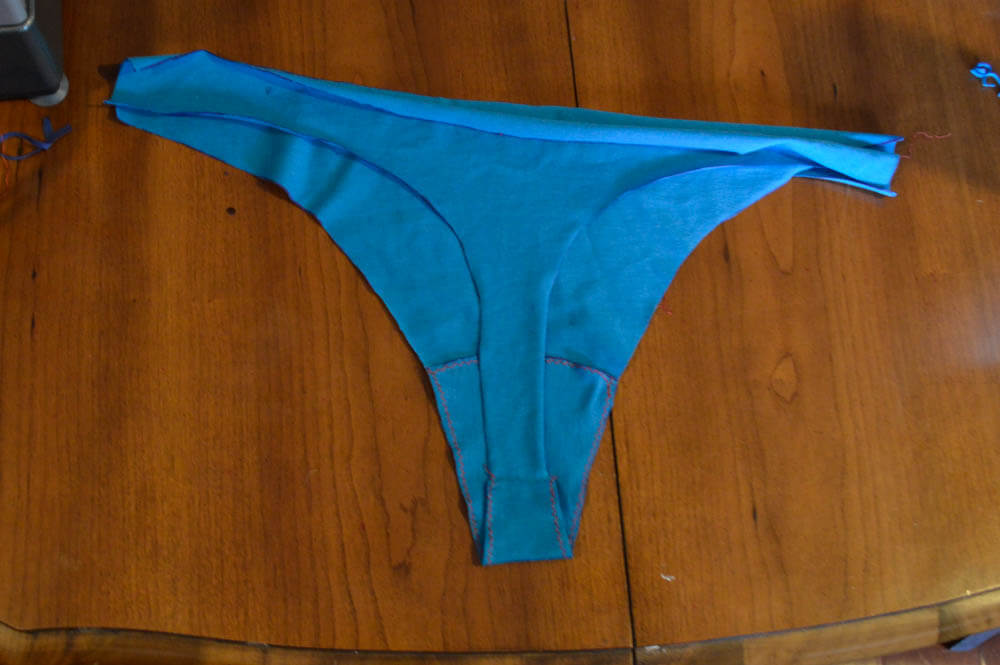
7) Pin the elastic to the legs on each side, stitch in place.
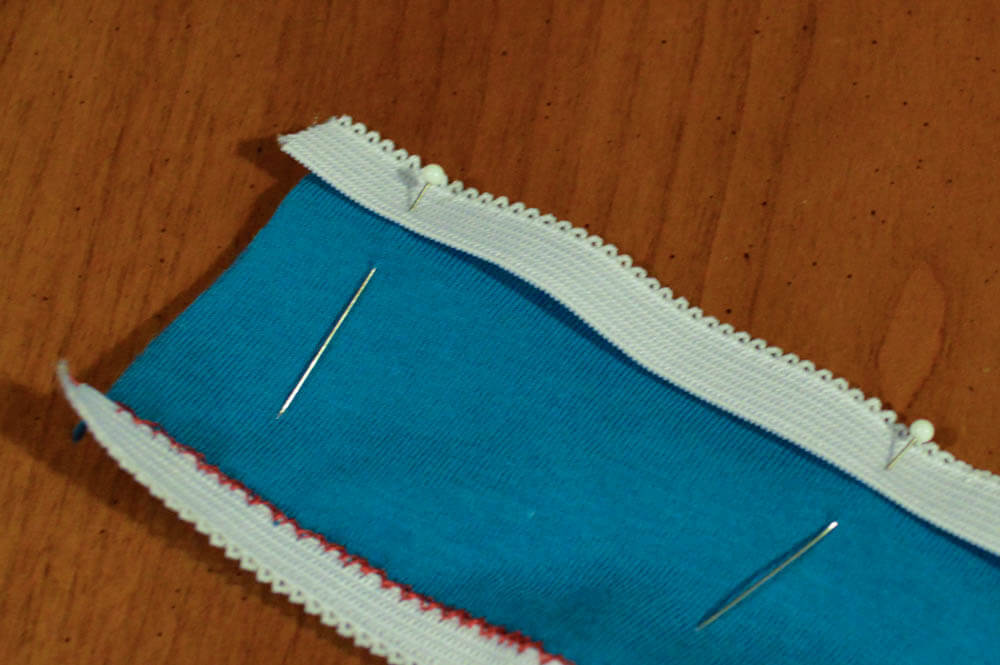
8) Pin elastic to the top of the front and back of the thong, stitch in place.
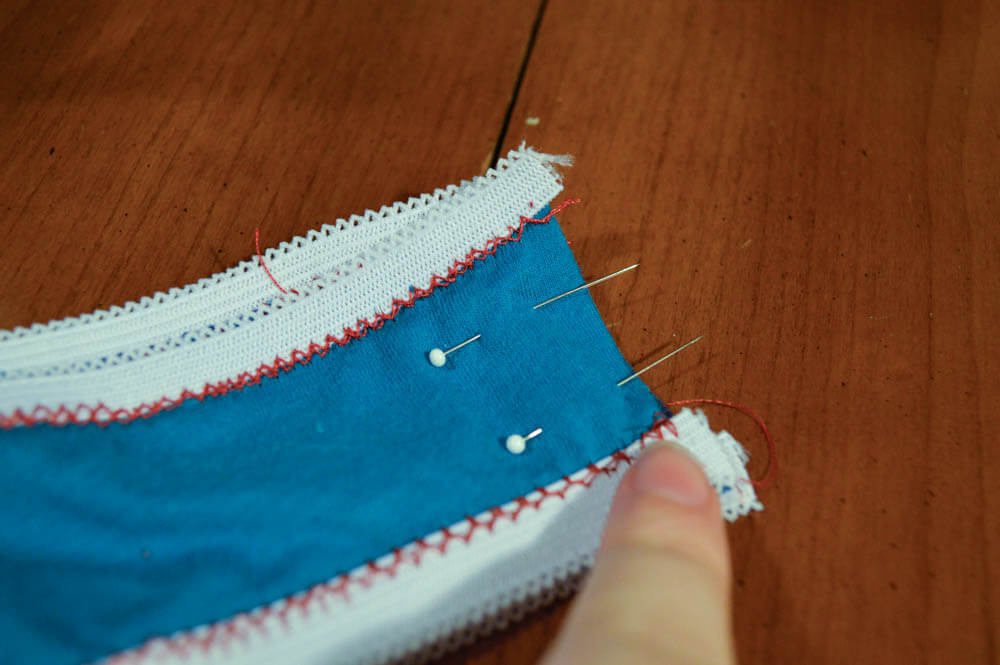
9) Pin the edges of the thong front (7) to the brief back (8), stitch in place. Note: I decided to use a french seam.
10) Optional: If you would like a smoother seam, stitch the edges of your seam flat against the fabric.
Next time:
A garter belt - that's right, a garter belt! Moving forward we will be working on intermediate level projects, which means 1-2 projects per post. Depending on material and pattern accessibility, I may do a few posts on garter belts before moving on to bralettes. No matter what, 2015 will bring a number of exciting projects.
Are there any particular styles or designs that you would like to try out? If so, let me know in the comments! Have you tried making anything yet? If so, how did it go? As always your feedback is welcome and appreciated. Please feel free to leave any comments, suggestions, or requests below!