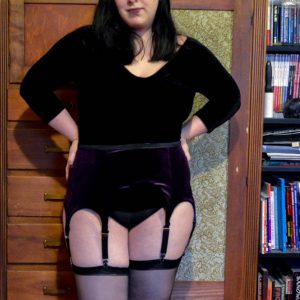
How to Make Your Own Bralette or Bikini Top

Materials Needed:
- Simplicity 14261950's Bra Top – Available in sizes 4-22.
- Knit or woven fabric (If you are creating a bathing suit top, make sure to use a swimwear fabric)
- 1 or 2 spools of thread
- Hand sewing needle
- Tracing Paper
- Tracing wheel
- Scissors and snips
- Weights (You can buy fabric weights, or you can do what I do and use canned goods.)
- Tailors chalk
- Iron and Ironing Board
- Sewing machine
A few notes before we start:
- In the past this column was set up like course curriculum. Moving forward, these columns will be self contained.
- For more sewing projects look back at: Where to Start, Making Your Own Loungewear Part 1 and Part 2, Making Your Own Robes, Making Your Own Slips, Make Your Own Panties or Make Your Own Garter Belt.
- I do not follow the pattern instructions precisely; small changes were made for ease of construction.
Project 16

1) Prepare pattern pieces 1, 2 and 3. Pattern piece 4 is optional; I do not use it for the purpose of this tutorial.

2) Stay stitch the the inside of pattern piece 1 and the top of pattern piece 2.
3) Pin and stitch the dart on pattern piece 1.
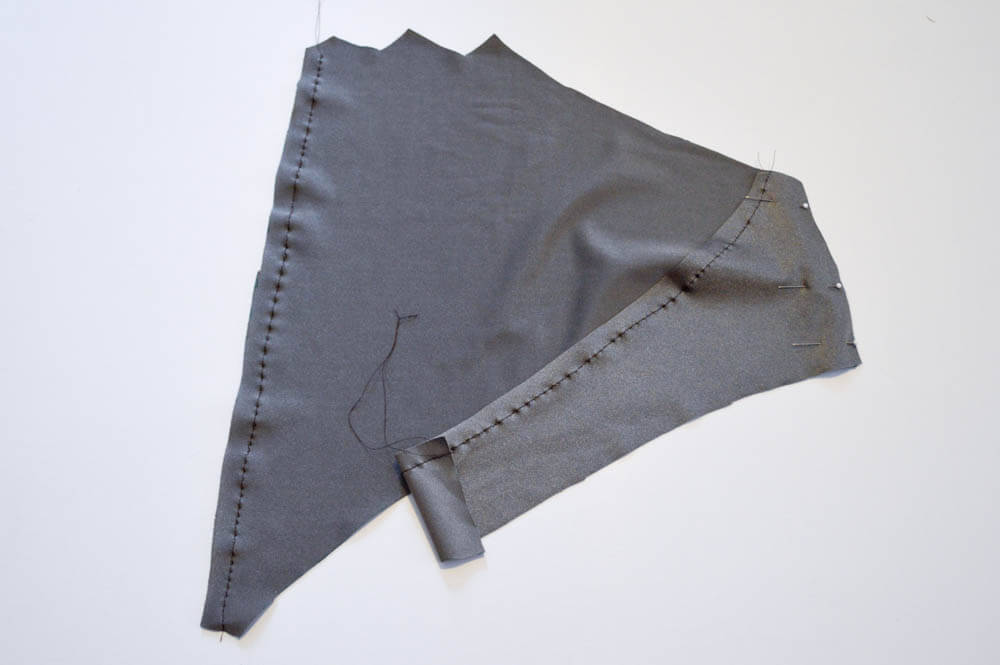
4) With the right sides facing together stitch pattern piece 1 to pattern piece 2. Repeat this with all four pattern pieces.
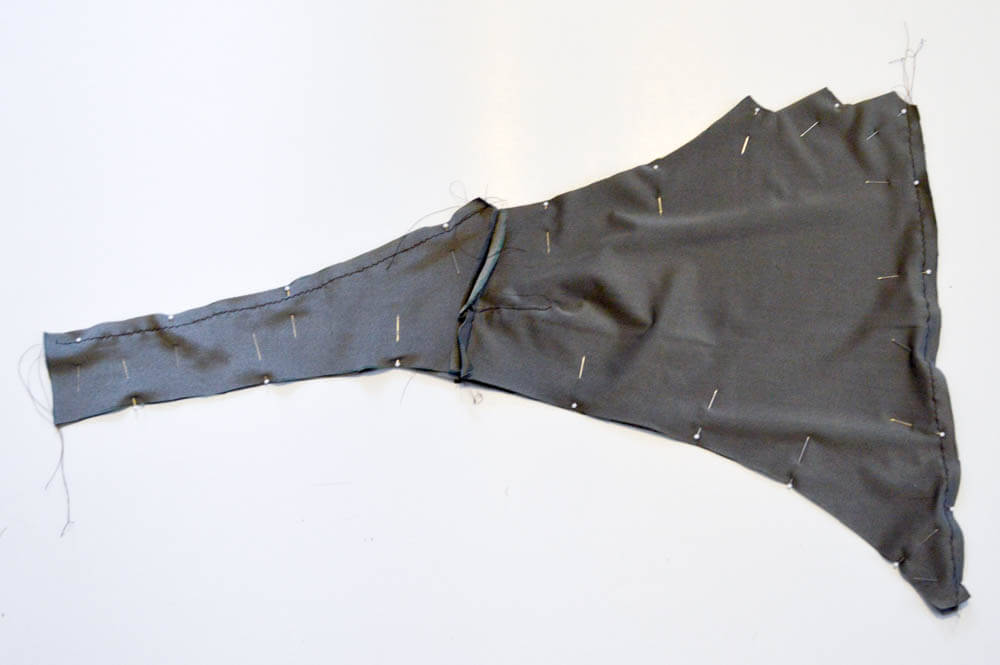
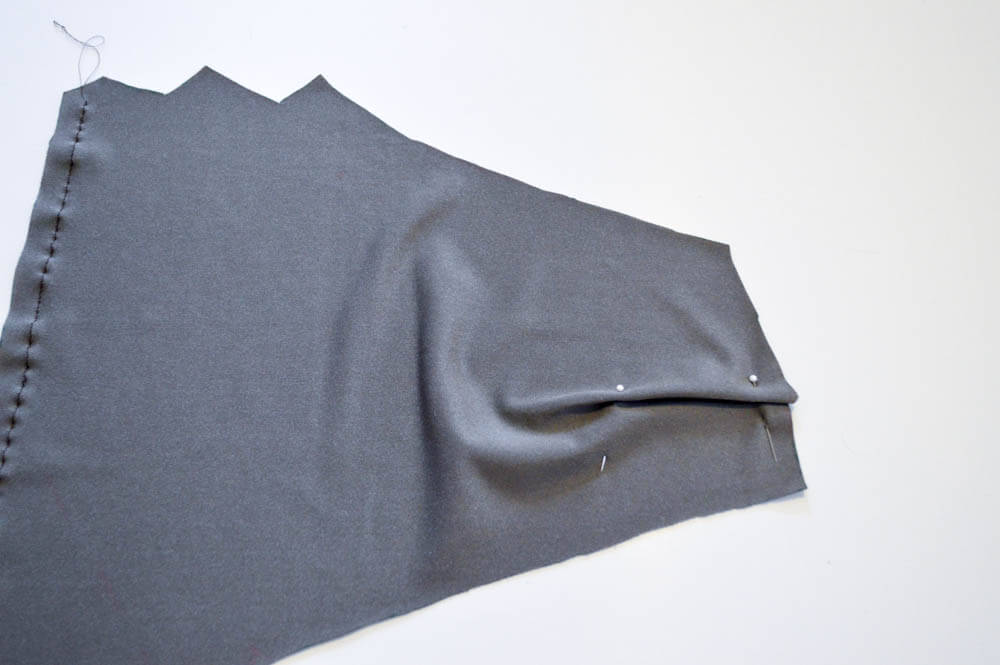
5) With the right sides together, pin the bodice together and sew around the edges. Leave the end of the wing unstitched, so that you can reverse the fabric.
6) Reverse the fabric.
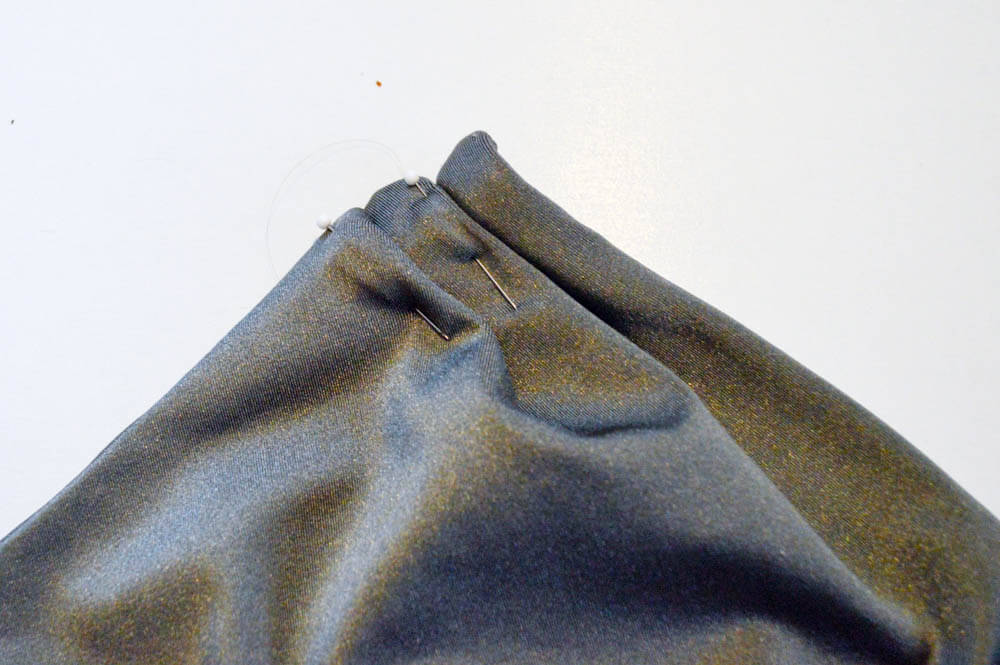
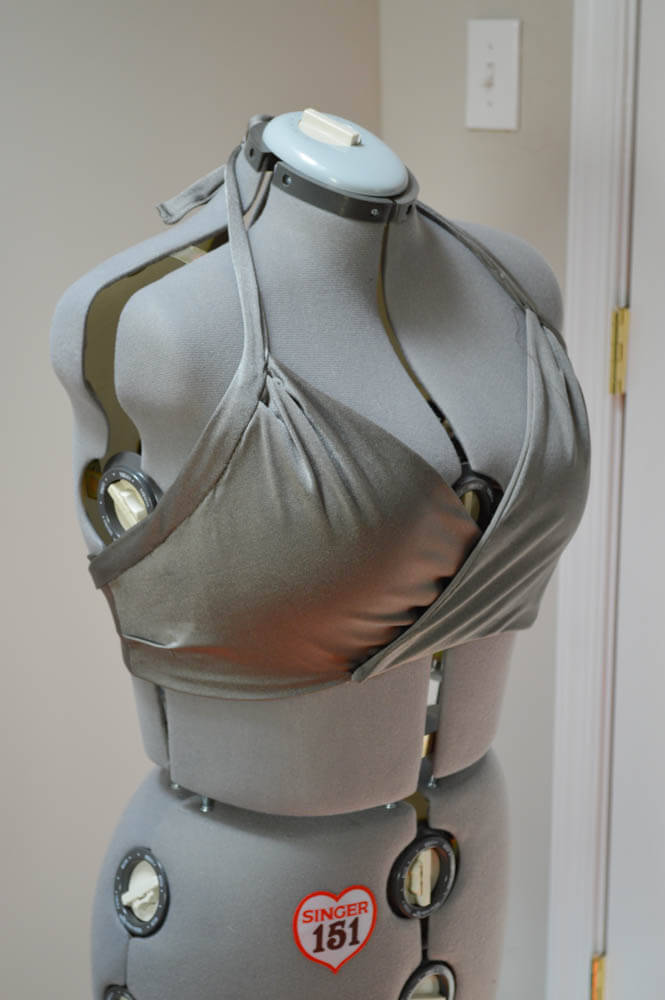
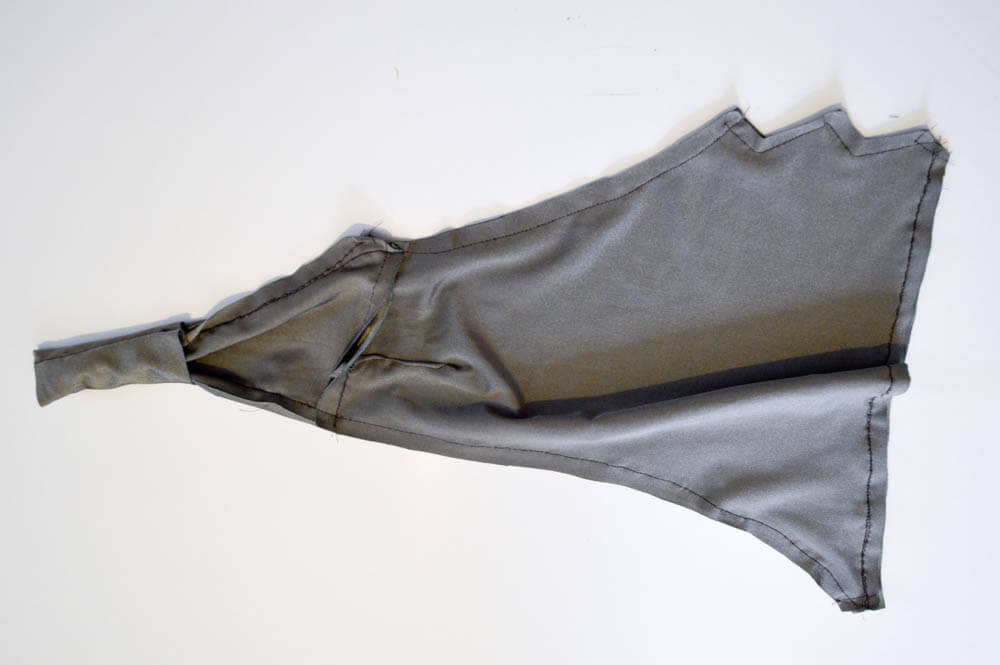
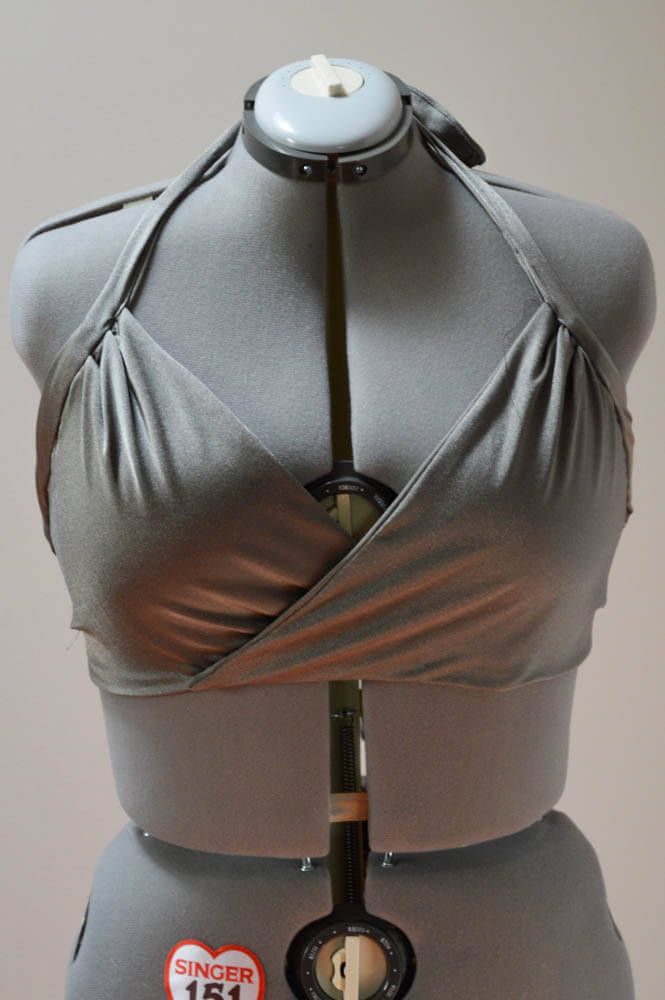
7) Pin the darts at the top of the bust.

8) Tack the darts in place. If you wish to stitch the darts flat, do so now. I opted not to stitch the darts in order to give the ruched look pictured above.
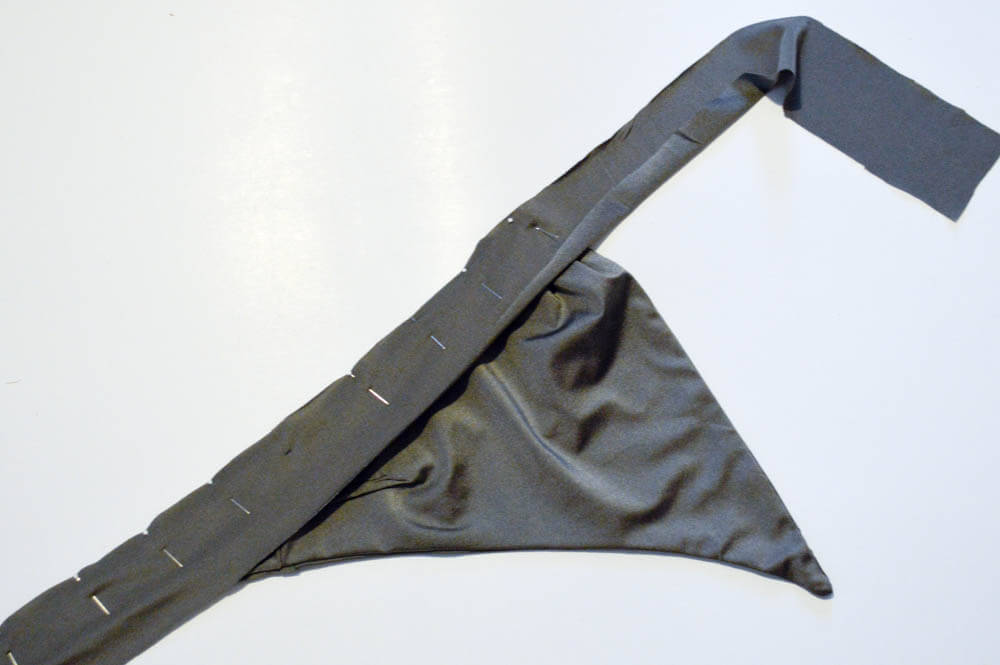
9) With the right side facing the front of the bodice, pin and stitch pattern piece 3 to the bodice.

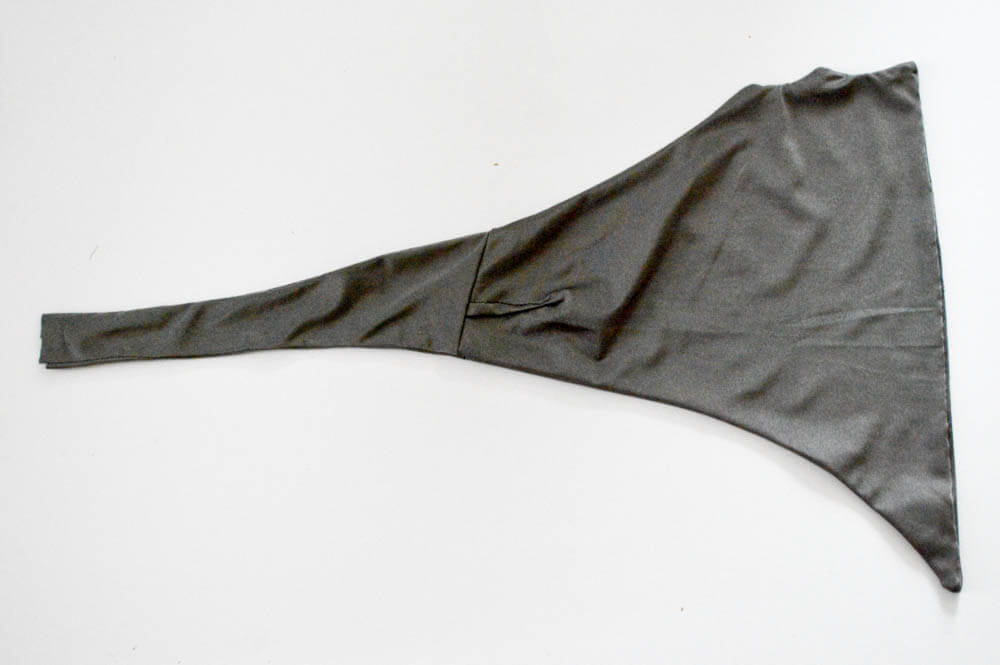
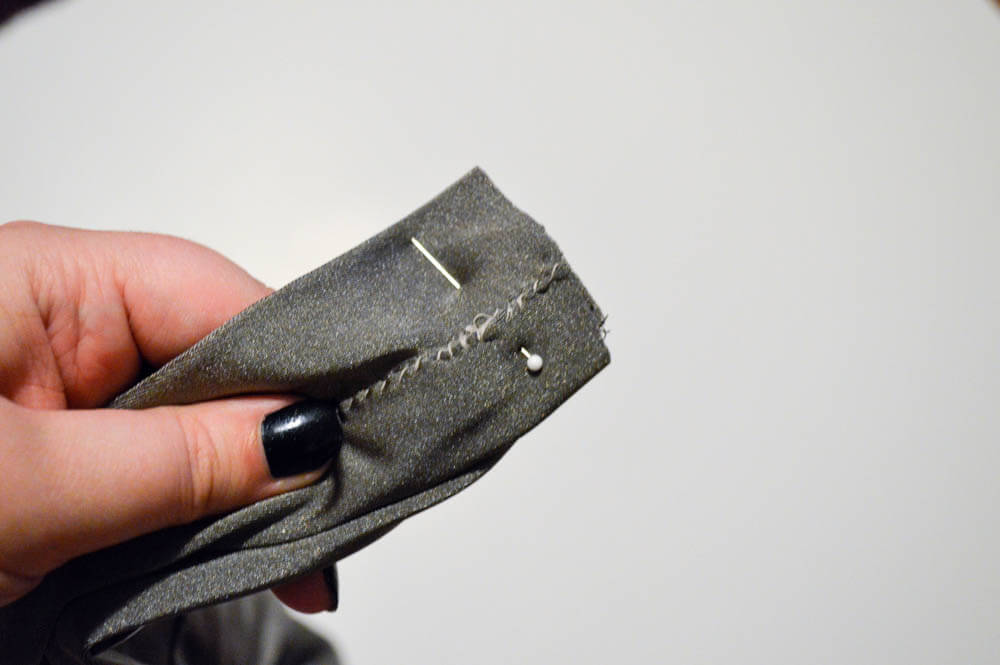
10) Fold pattern piece 3 over to the back of the bodice. Fold the raw edge of the fabric under pattern piece 3, and pin in place. Stitch across the bodice and up the strap. Note: I opted to use a hand sewing needle and thread on the bodice.
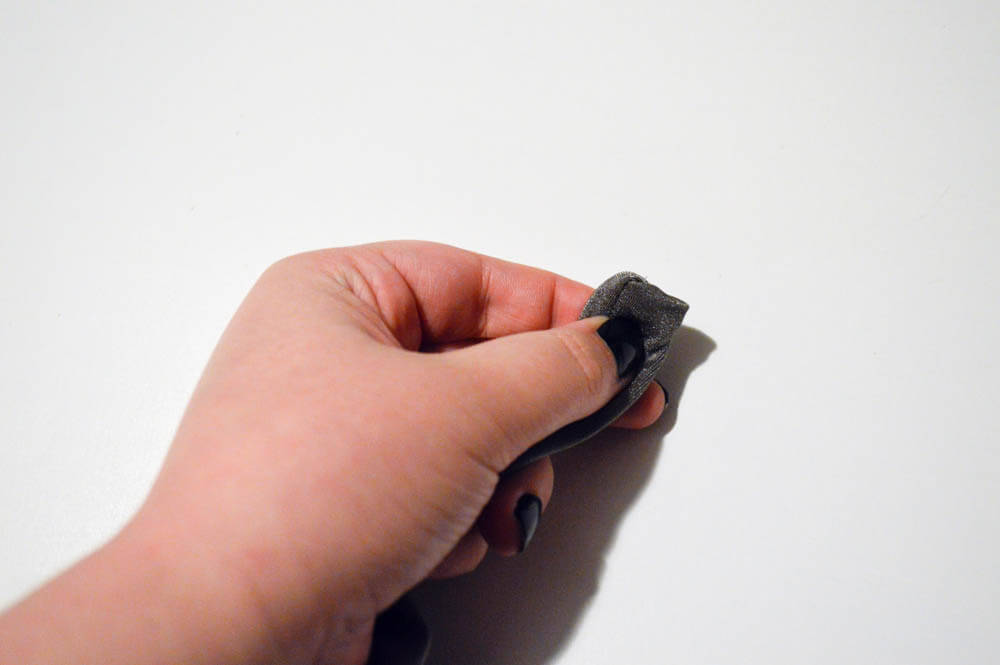
11) Tuck the raw edges of the strap in, and stitch in place.
12) Repeat steps 5 thru 11 with the remaining pattern pieces.
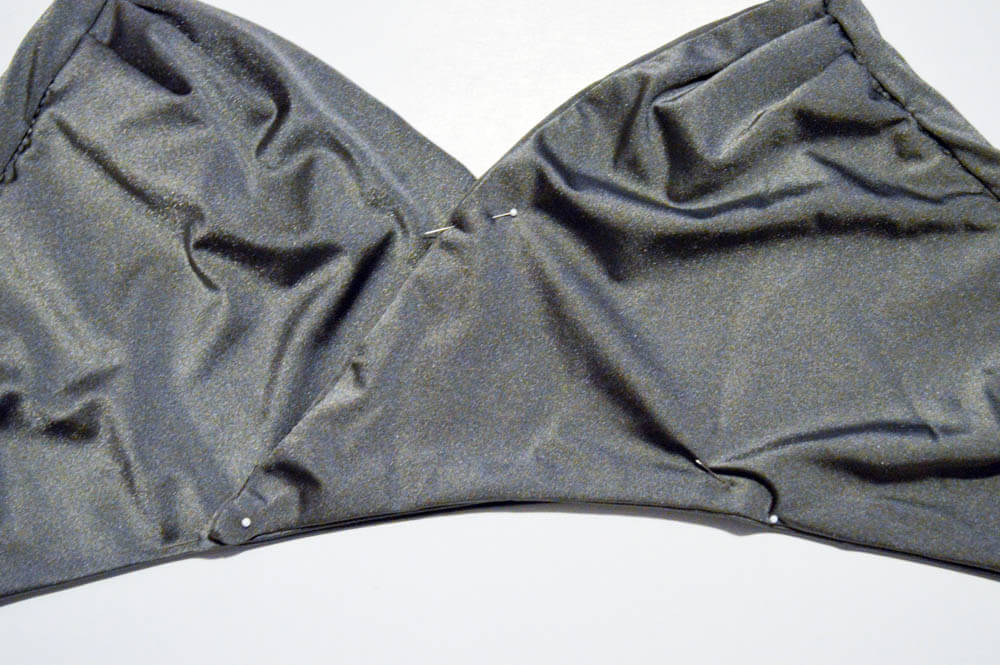
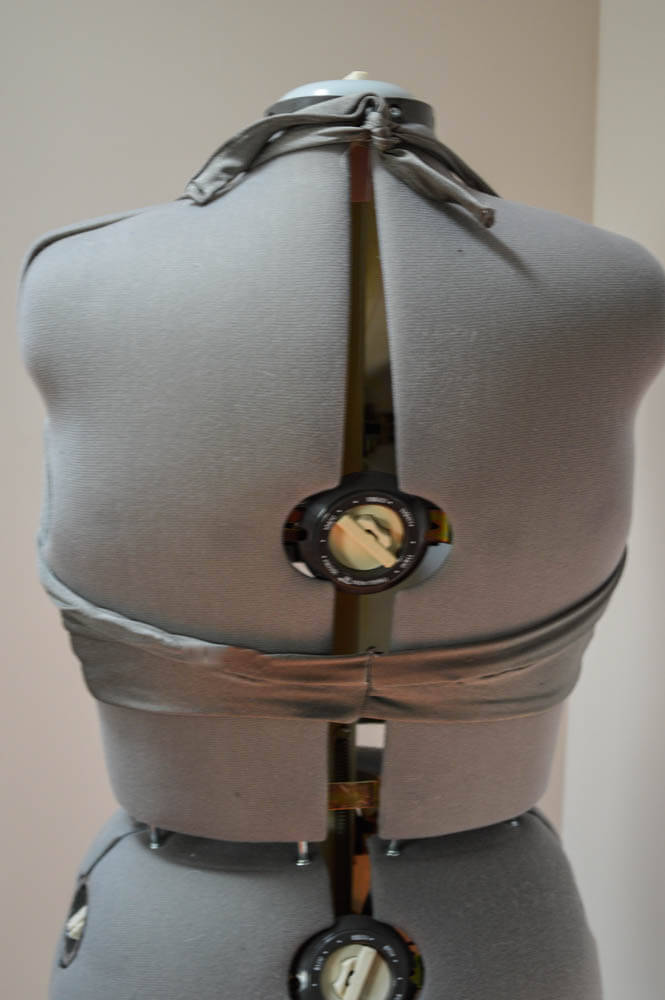
13) Pin the finished bodice pieces together, and stitch along the bottom edge.
14) With the right sides together, pin the raw edges of the bodice together and stitch together using a french seam. Note: If you need to shorten the length of the wings, do so before stitching.
15) If you chose to include the bottom binding, attach it now. Use the same method outlined in steps 9 thru 11.
Are there any particular styles or designs that you would like to try out? Have you tried making anything yet? If so, how did it go? Please feel free to leave any comments, suggestions, or requests below!