How to Make Your Own Garter Belt
A good garter belt pattern is hard to find, but fortunately for us, independent designer and pattern maker Sarah over at Ohhh Lulu created a beautiful six-strap style. When I reached out to Sarah to make sure it was okay to use her pattern for this sew-a-long, she kindly provided a coupon code for all of you to use! Use Addicted15 to receive 15% off your order. The coupon expires March 9th, so head over to Ohhh Lulu Sews now. [Note: for those of you who missed it, the pattern is still available in Sarah's Etsy shop at full price.]
Please note that I do not follow the pattern instructions precisely; small changes were made for ease of construction.
Materials Needed:
- Ohhh Lulu 1314 Greta High Waist Garter Belt – Available in sizes XS thru XL as a singular PDF download.
- Knit fabric
- 1 yard fold-over elastic
- 6 sew-in garter tabs
- 1/4 yard hook and eye tape
- 1 or 2 spools of thread
- Hand sewing needle
- Tape
- Access to a printer
- Tracing Paper
- Tracing wheel
- Scissors and snips
- Weights (You can buy fabric weights, or you can do what I do and use canned goods.)
- Tailors chalk
- Iron and Ironing Board
- Sewing machine
A few notes before we start:
- This column is set up like course curriculum. During the last few months, I have been teaching some basics that I will not be going over in future posts. If you find yourself lost, please feel free to look back at Where to Start, Making Your Own Loungewear Part 1 and Part 2, Making Your Own Robes, Making Your Own Slips or Make Your Own Panties.
- I will not be going over the construction of muslins, prepping fabric, or patterns. If you find yourself having trouble, please look back at my previous posts.
- As it is a new skill, I will be teaching you how to prepare PDF printed patterns.

Project 15
Before we start, I am going to give you a quick overview about how to cut and form PDF pattern pieces.
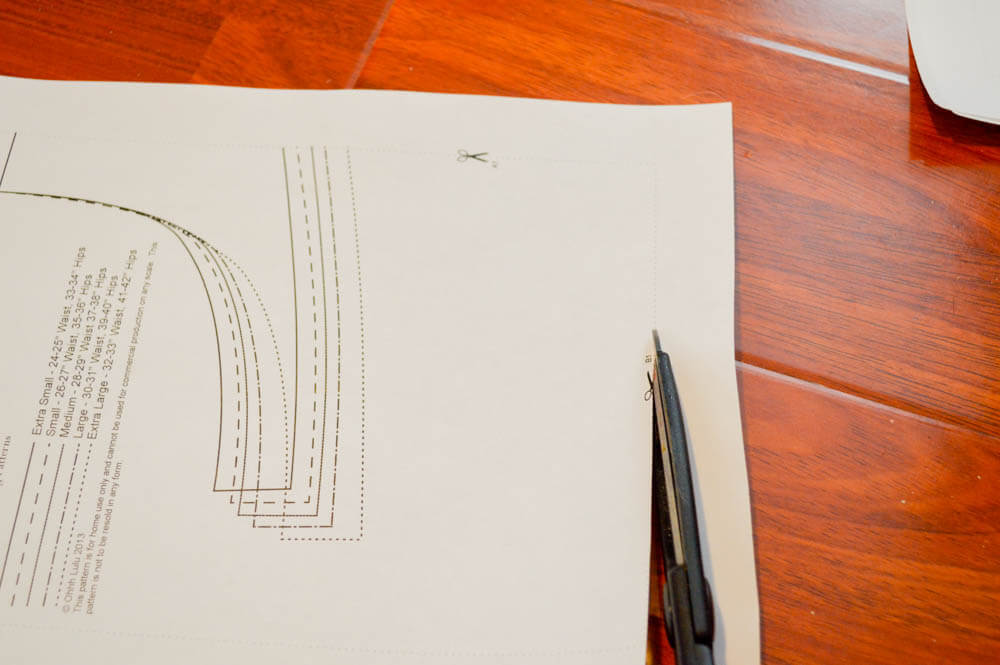
1) Cut the dotted line around the edge of each sheet of paper.
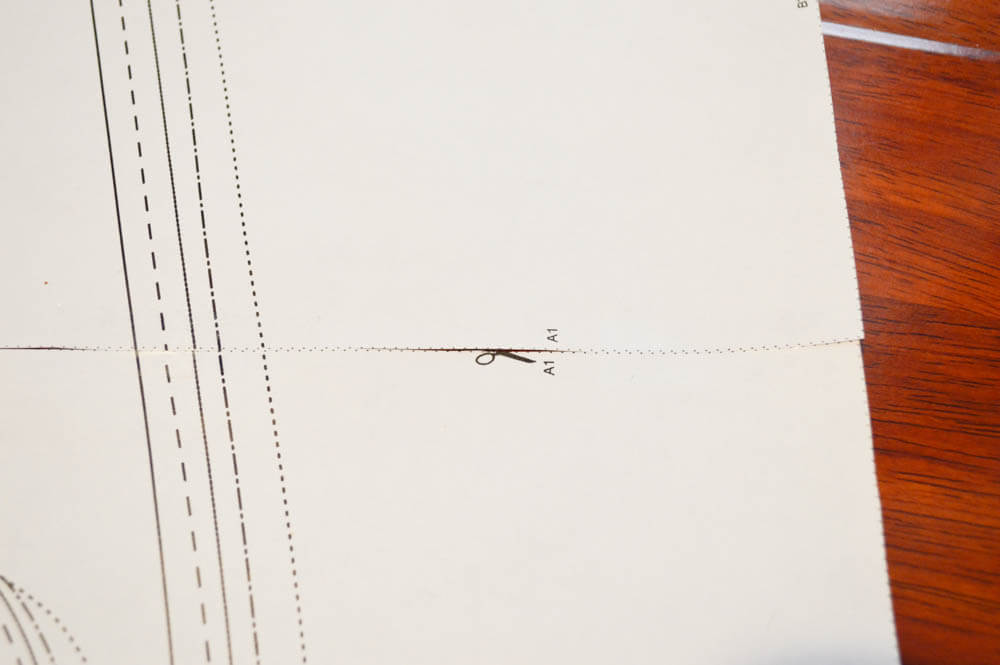
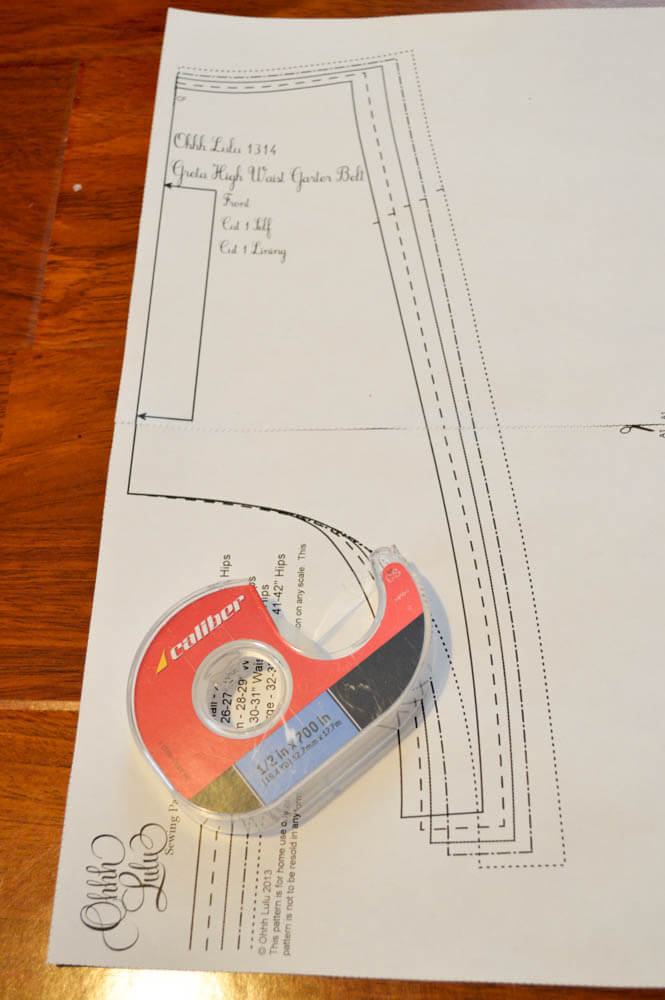
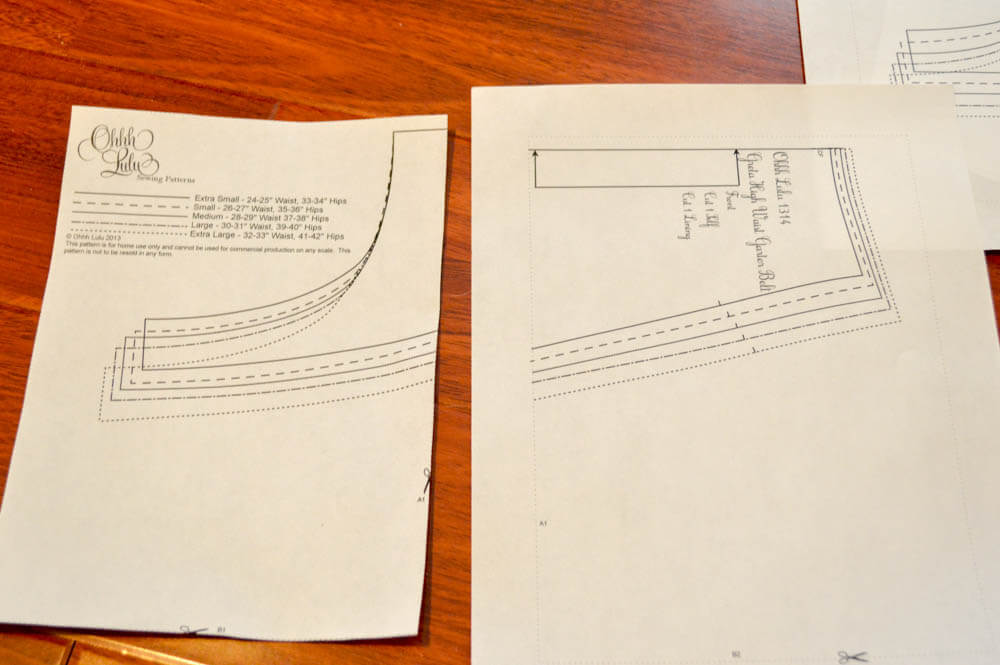
2) Match the pattern pieces together. On this particular pattern you will see a corresponding letter and number (ex. A1).
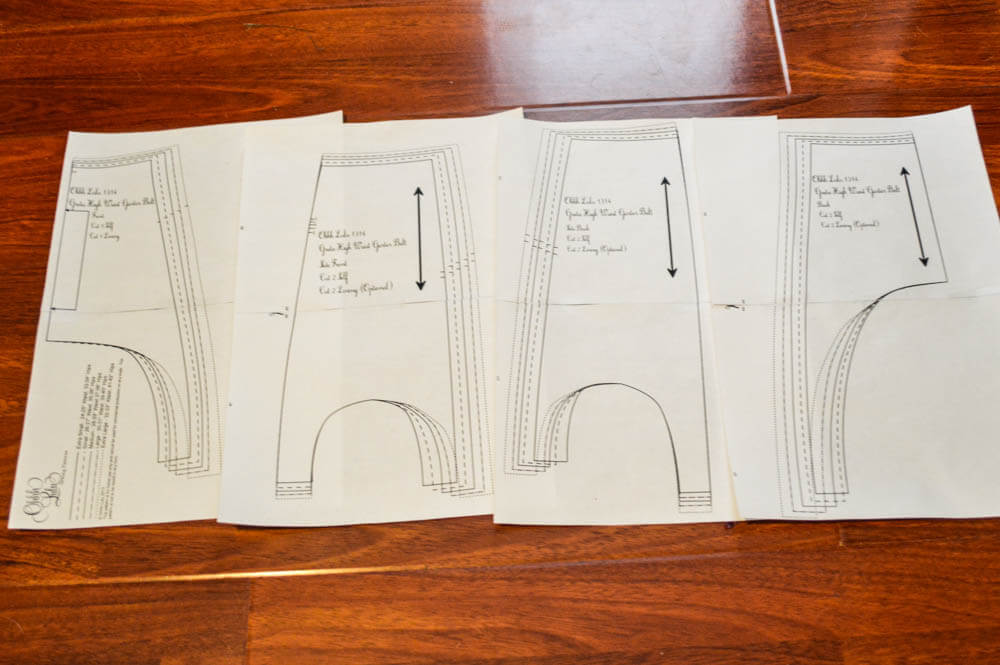
3) Once you have taped up all of your pattern pieces, begin treating each piece as you would any other pattern. Trim the edges, transfer to a muslin, etc.
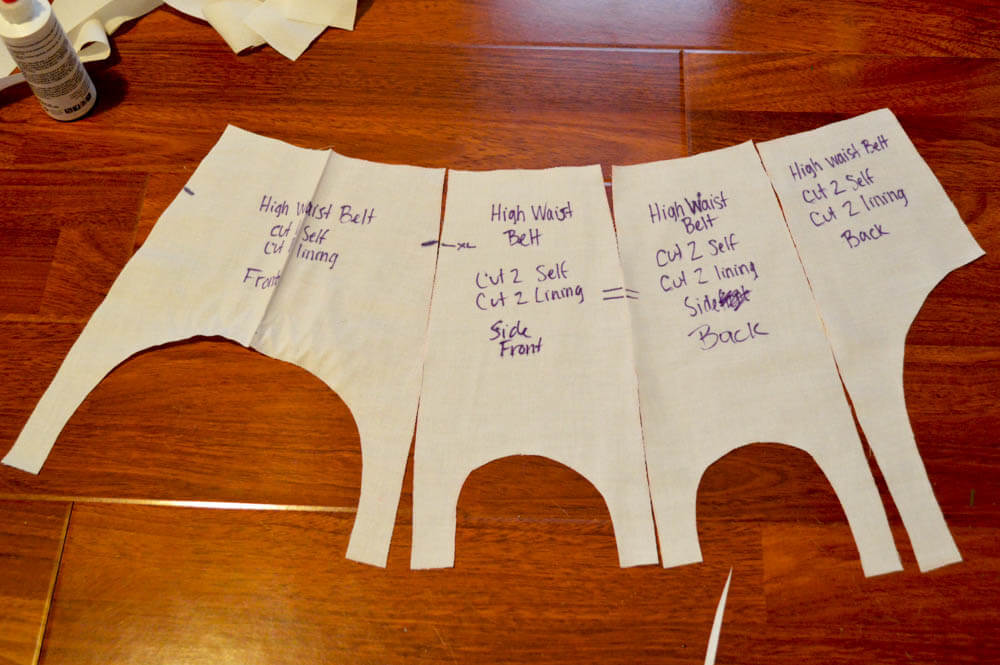
4) Start your project!
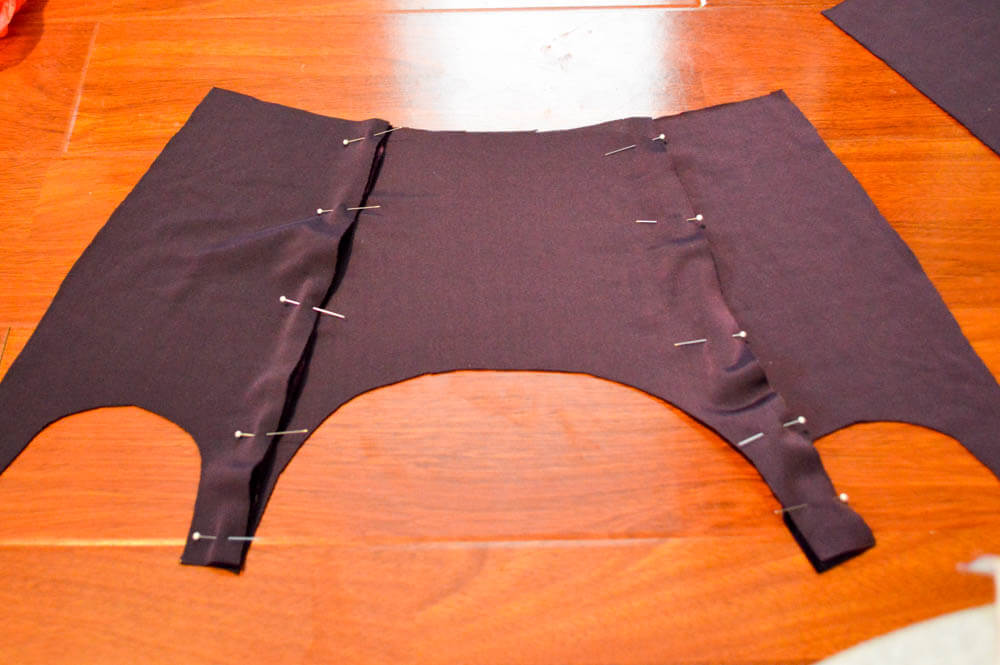
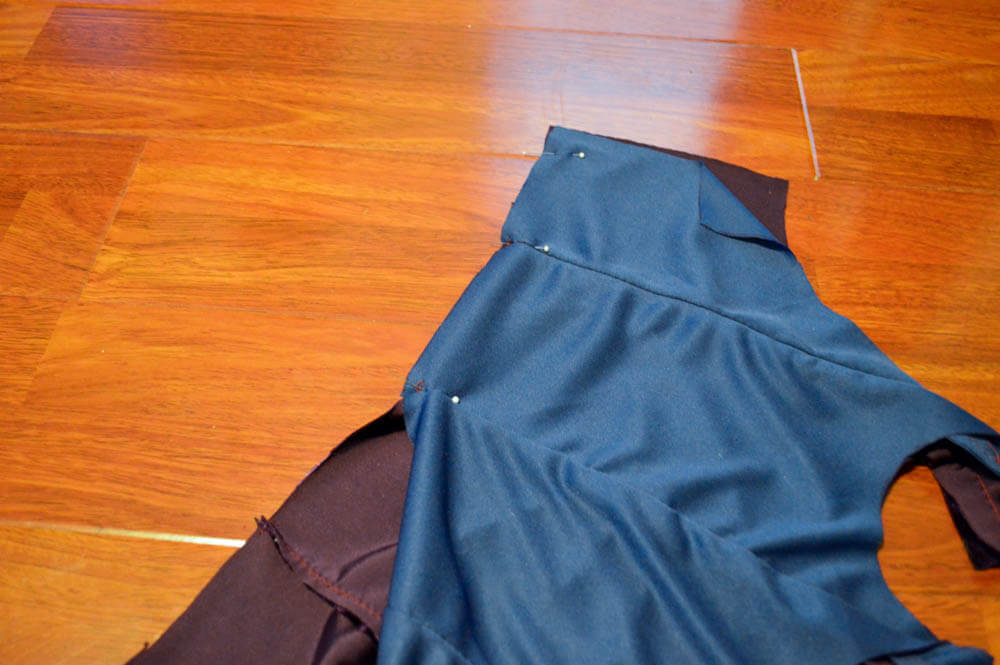
5) With the right sides together, pin all pieces of the self-fabric.
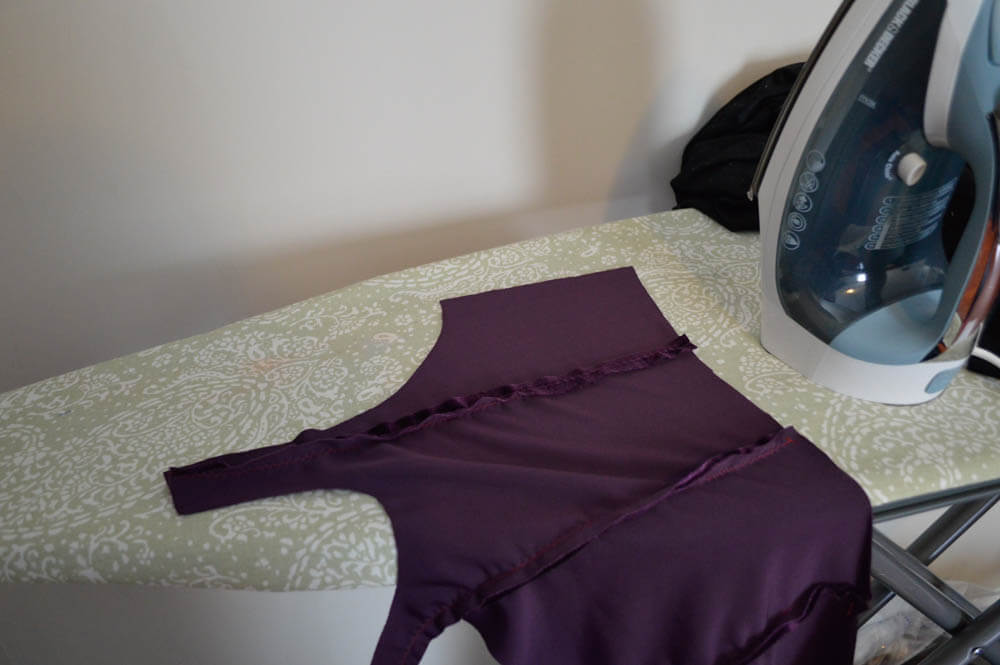
6) Sew all seams together, and then press flat.

7) Repeat steps 1 and 2 with the lining fabric.
8) With the wrong sides together, pin the lining to the self-fabric.
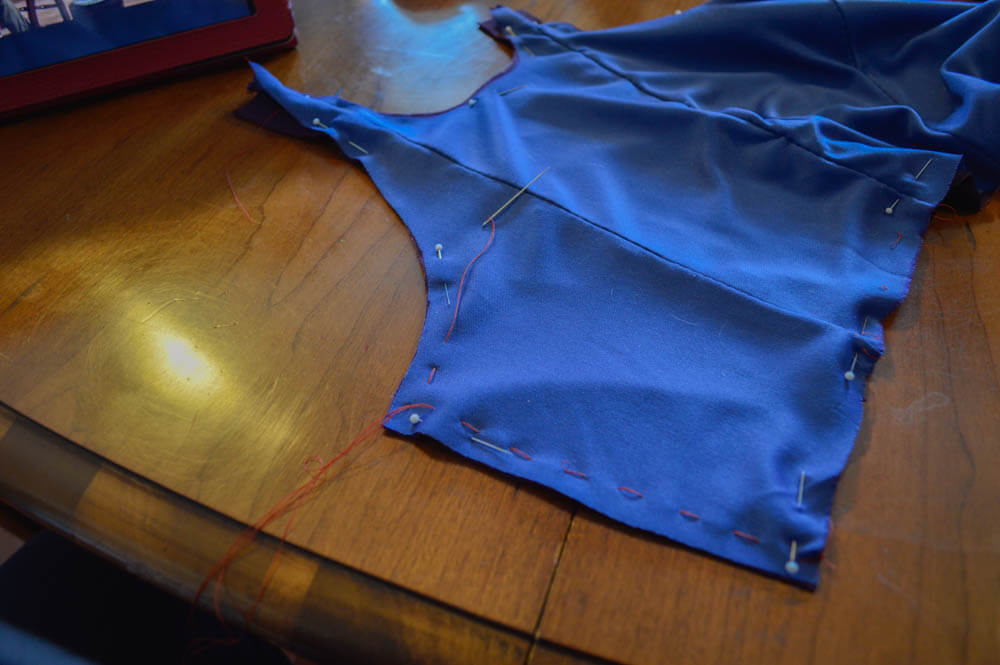
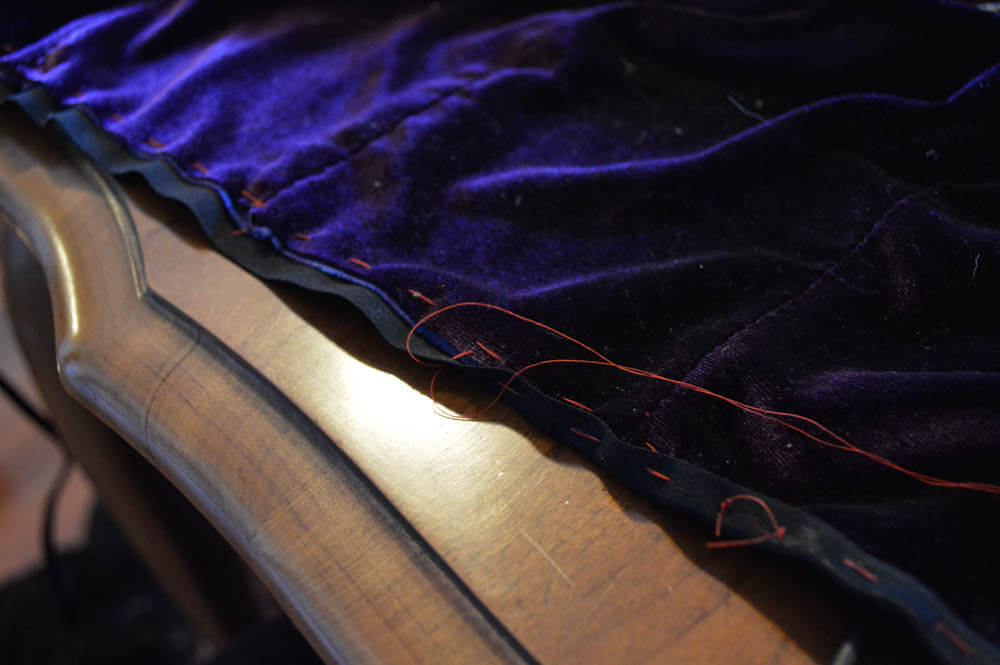
9) Using a hand sewing needle and thread, baste the self and lining together.
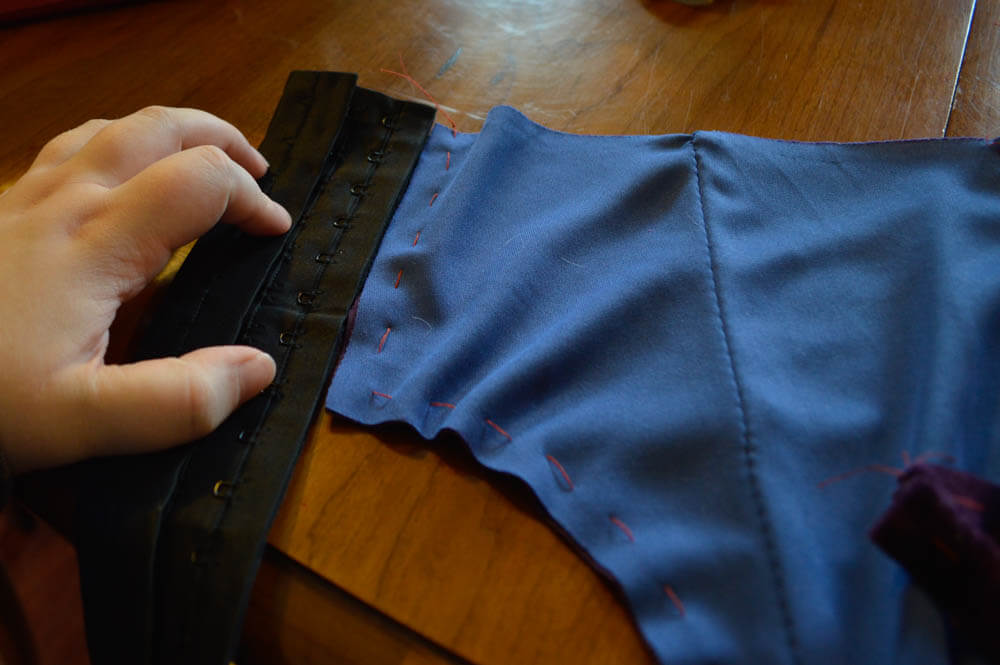
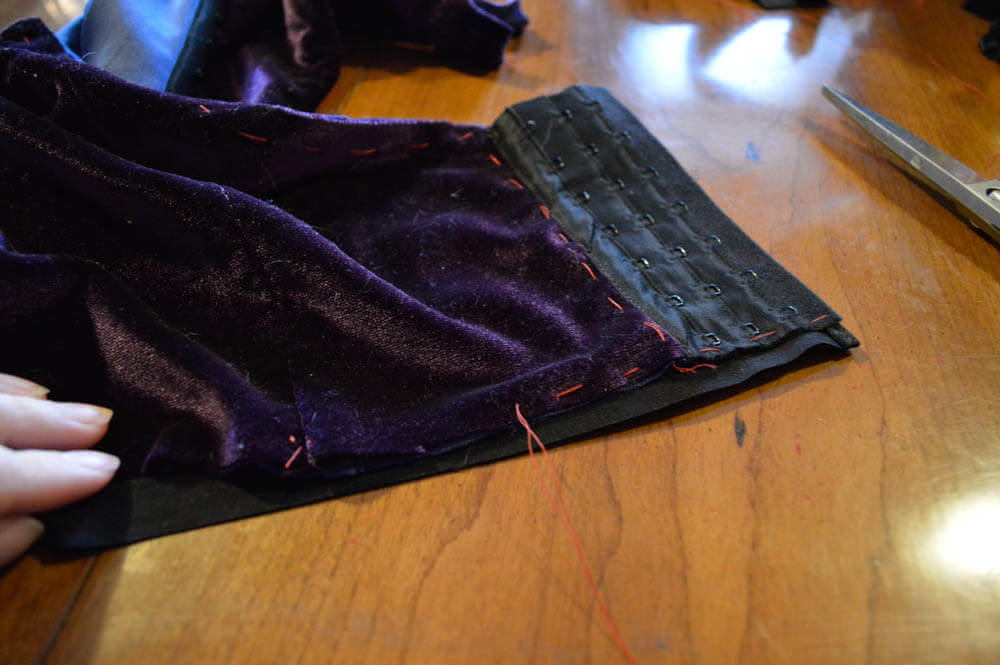
10) Cut a piece of hook and eye tape that is equivalent to the length of the back of your garter belt.
11) Place your fabric between the eye side of your hook and eyes, then pin and baste in place.

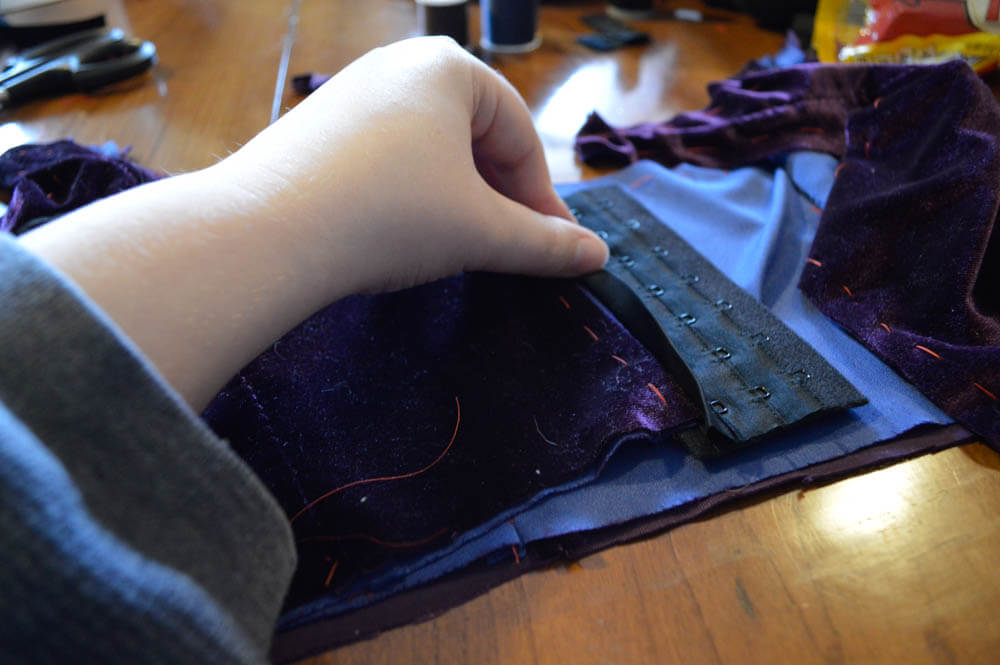
12) With the hooks facing down, place your fabric on top of the hook tape. Fold over the hook tape, pin and baste in place.
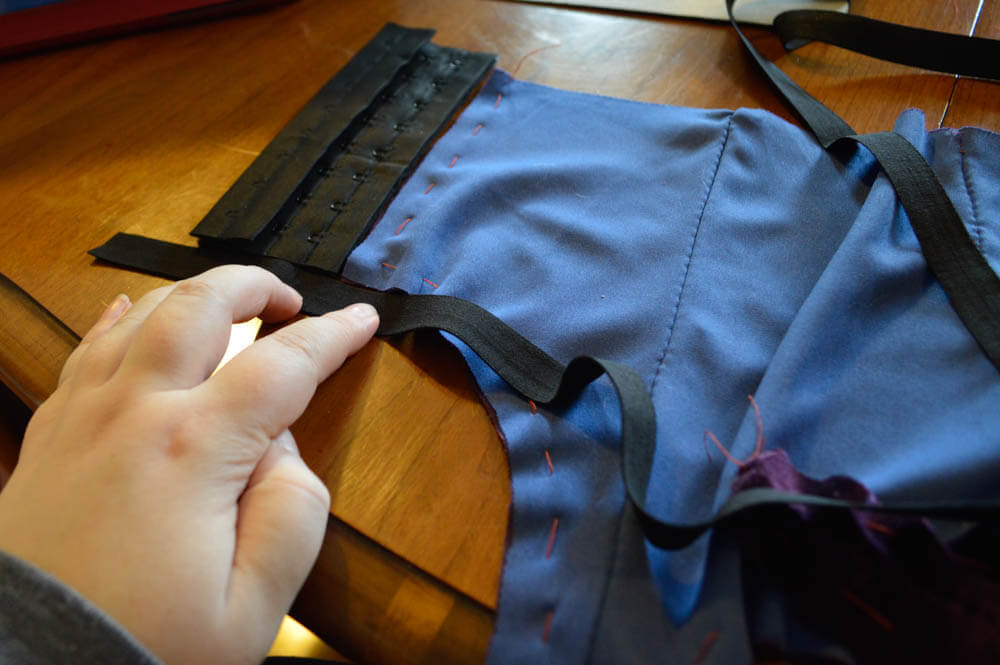
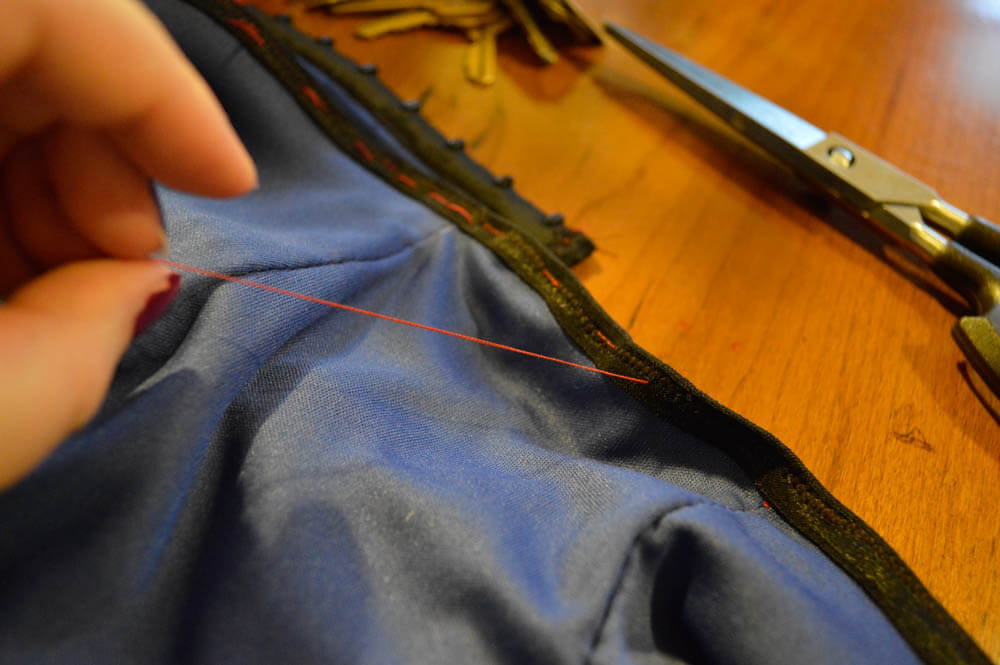
13) Measure out the fold-over elastic.
14) Fold over the edges of the elastic and stitch in place.
15) Baste the fold-over elastic in place.

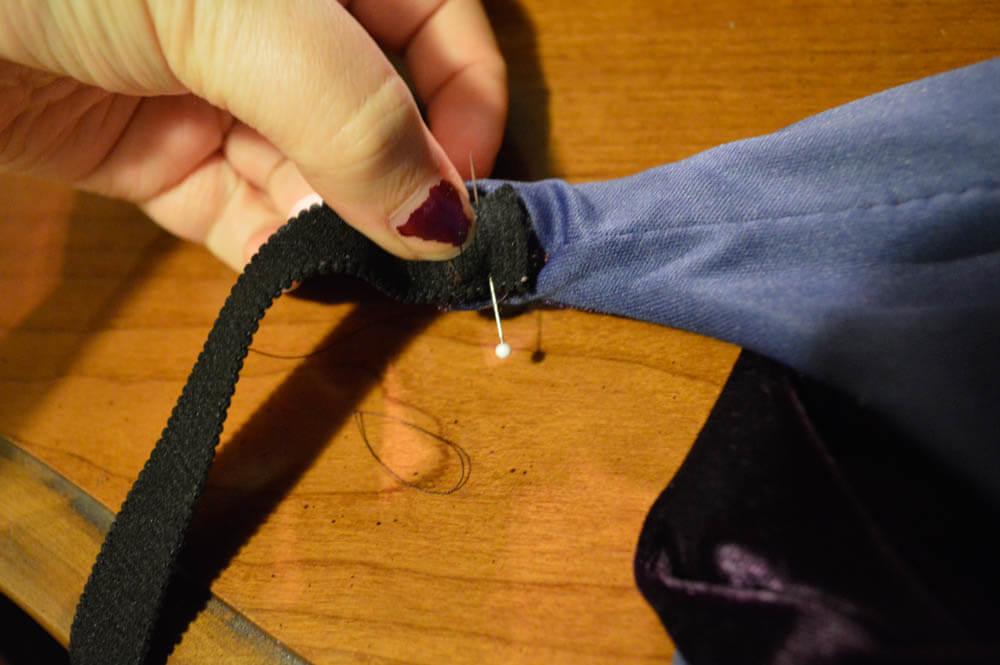
16) Fold over and stitch the elastic in place on the eye tape.
17) Remove from the sewing machine. Fold over the elastic and baste in place.
18) Using a zig-zag stitch, stitch the fold-over elastic in place, then remove the basting.
19) Repeat steps 16 through 18 on the lower edge of the belt.

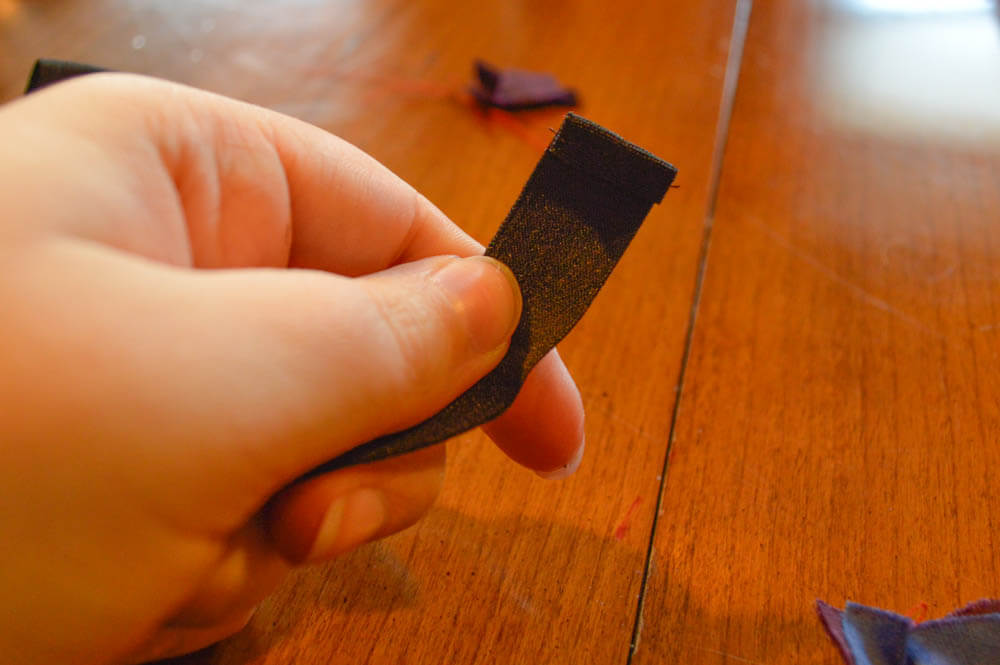
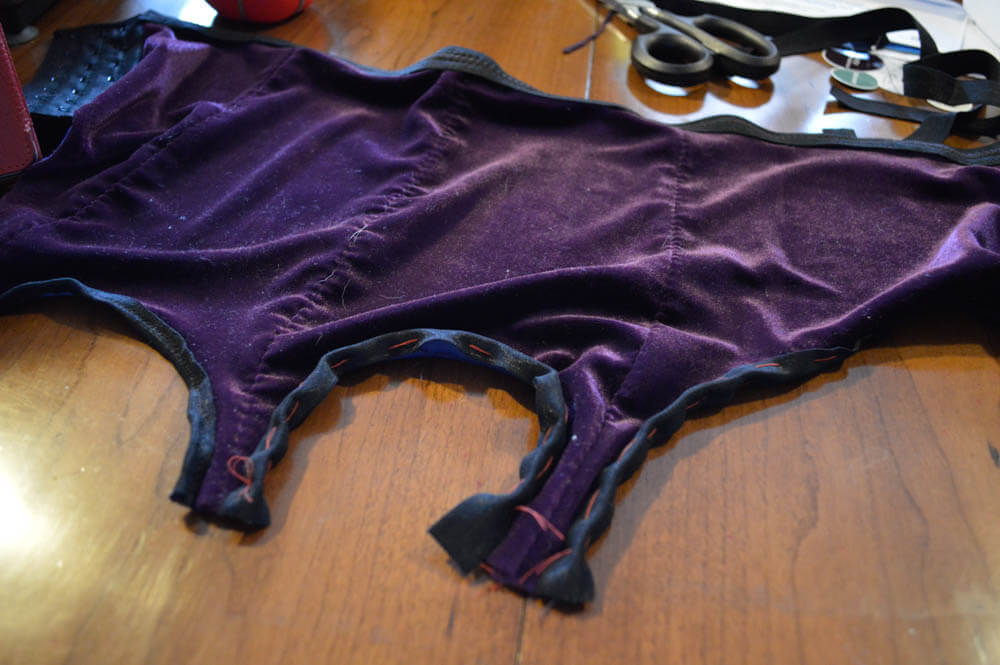
20) With the metal part of the garter tab facing the right side of the self-fabric, pin and stitch in place.
21) Fold the raw edge of the garter tabs under and stitch in place.
Skills and techniques learned from this project:
- How to attach elastic binding
- How to attach garter straps
- How to attach hook and eye tape
Are there any particular styles or designs that you would like to try out? Have you tried making anything yet? If so, how did it go? Please feel free to leave any comments, suggestions, or requests below!