How to Make Your Own Slips
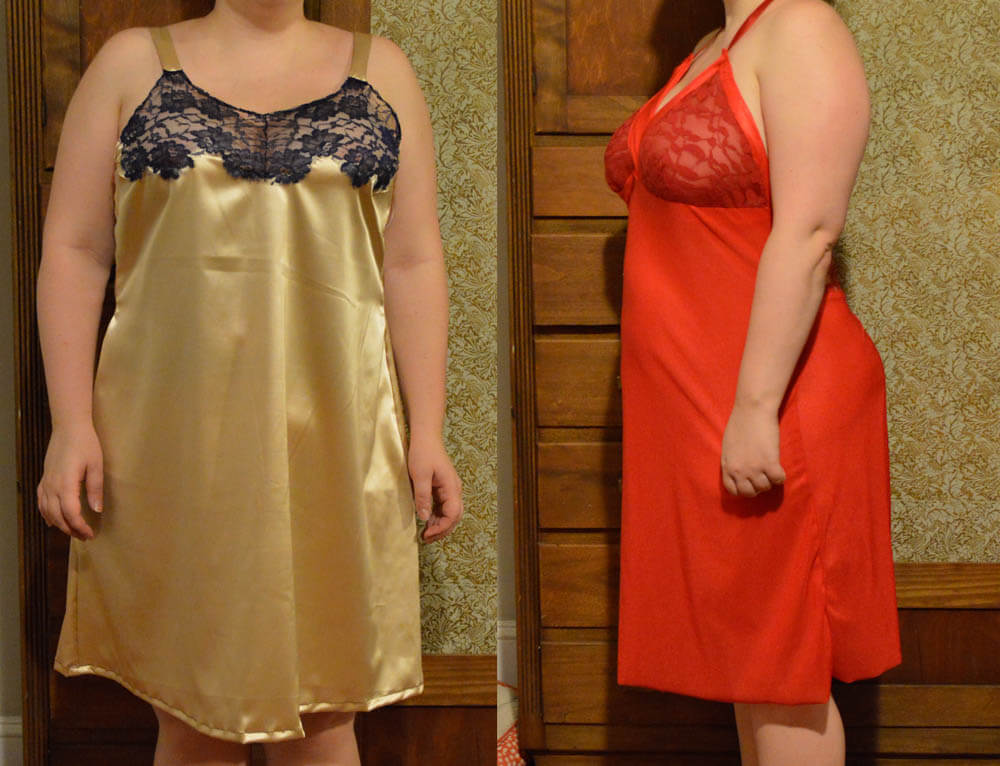
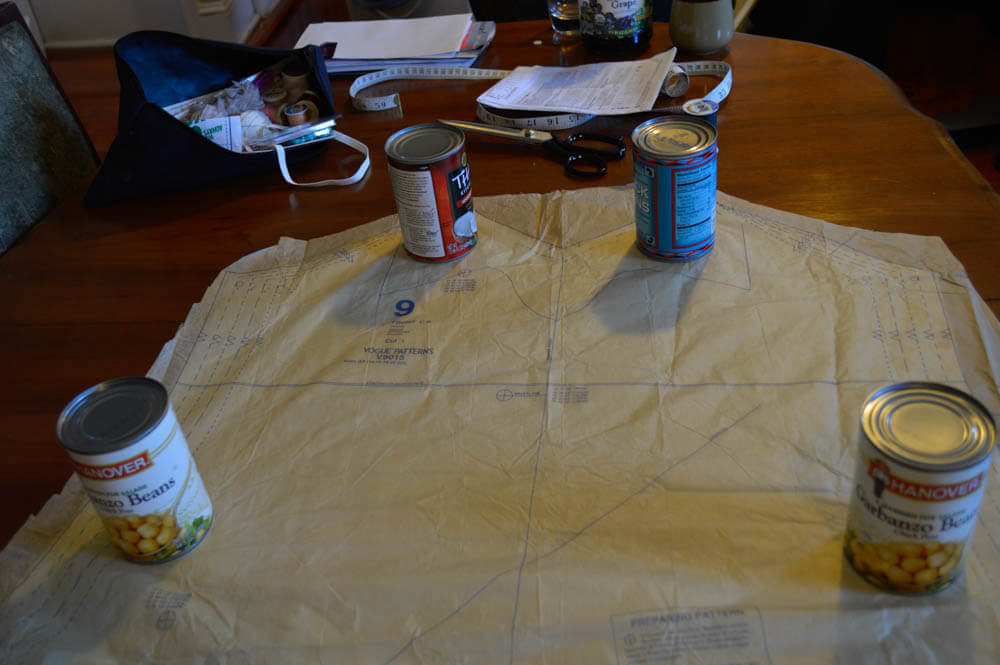
For this months project, How to Make Your Own Slips, I will be using this Vogue pattern. Before we start, I think it is important to note that both of these slips are drafted for small busted women. I will include some alterations that will allow you to make your own slips to fit a larger chest, but they are not supportive and will not look as pictured on the packaging. Also, I do not follow the pattern instructions exactly. Small changes have been made for ease of construction.
Materials Needed:
- Vogue Pattern V9015 – This can be purchased in size 6-14 or 14-22. Please take a look at the size chart before buying, as pattern sizes are not the same as clothing sizes. I wear a 14 in clothing but take a size 22 in this pattern.
- Satin, silk, or nylon fabric. Yardage will depend on the length of the slip. I recommend purchasing at least 3 yards per garment.
- 2 yards of lace fabric or trim
- 1/2 yard power mesh
- 1-2 spools of thread
- A spool of ribbon
- Tracing paper
- Tracing wheel
- Scissors and snips (Snips are tiny scissors, very useful for tight curves.)
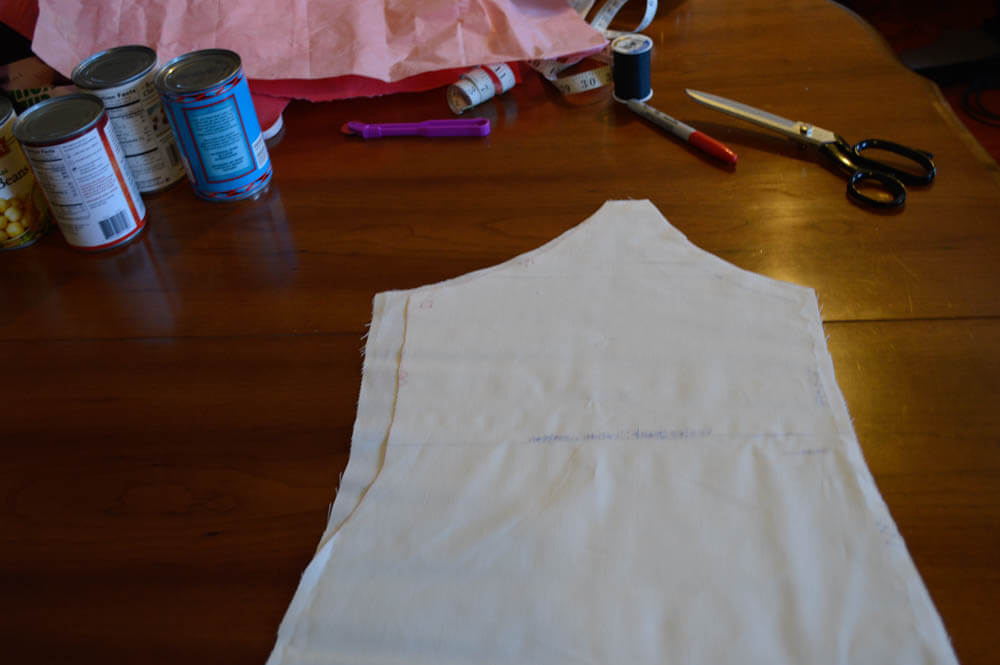
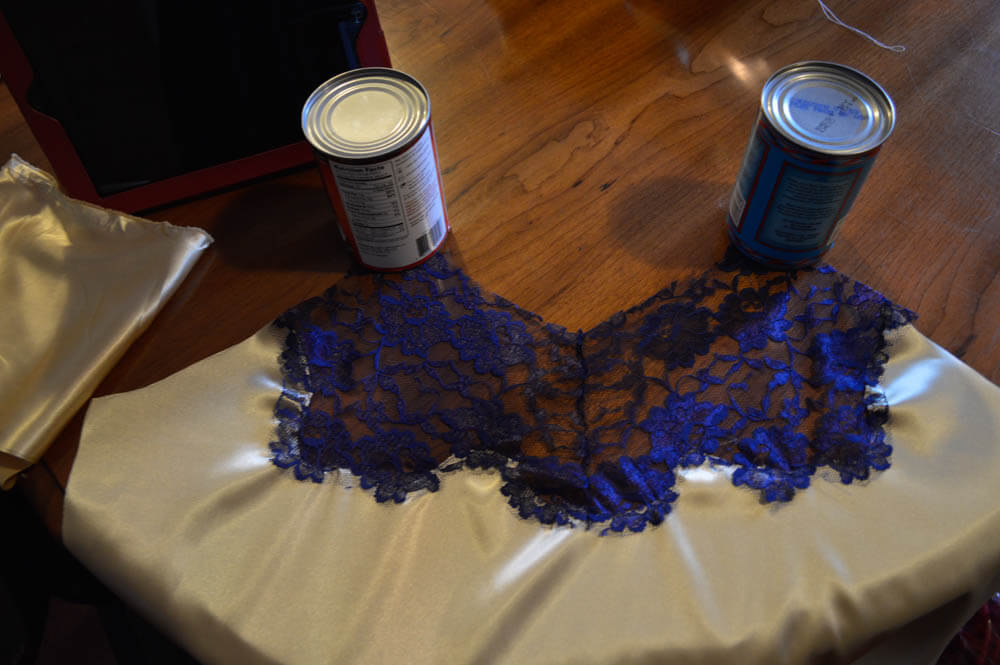
- Weights (You either can buy fabric weights, or do what I do: use canned goods.)
- Tailors chalk
- Iron and ironing board
- Sewing machine
A few notes before we start:
- This column is set up like course curriculum. During the last few months I have been teaching some basics that will not be going over in future posts. If you find yourself lost, please feel free to look back at Where to Start , Making Your Own Loungewear Part 1 and Part 2 or Making Your Own Robes.
- From this point on you may choose how you would like to finish your seams.
- We started going over muslin construction last month, which we will expand upon this month by making a full muslin mockup. By creating a full muslin mockup, you have the ability to make more specific alterations to the fit of a garment.
Project 6
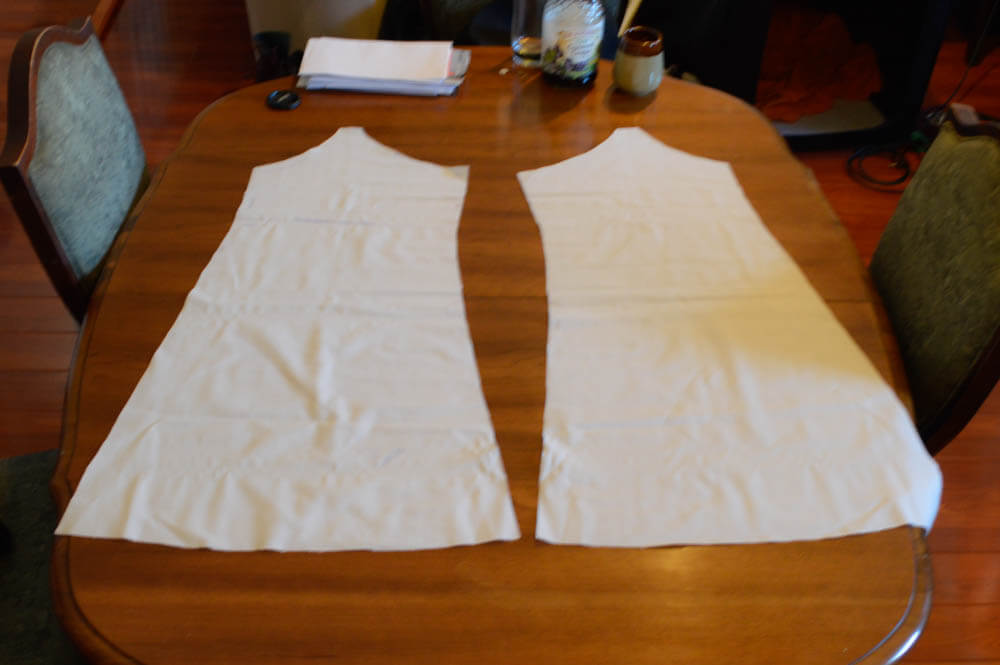
1) Using tracing paper and a tracing wheel, transfer your pattern pieces onto muslin. Cut out the muslin pattern pieces. Since we will be making a mock up, cut out duplicate pattern pieces where necessary.
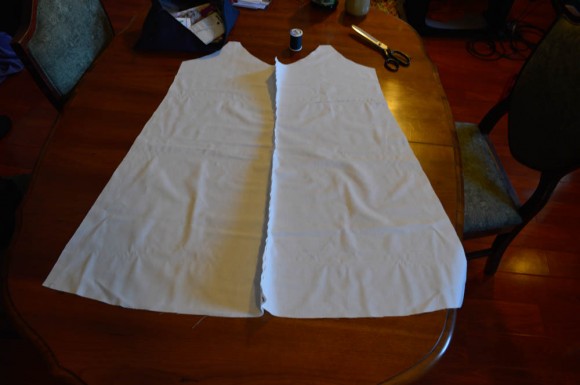
2) Using the notches as a guide, baste the back bodice pieces together
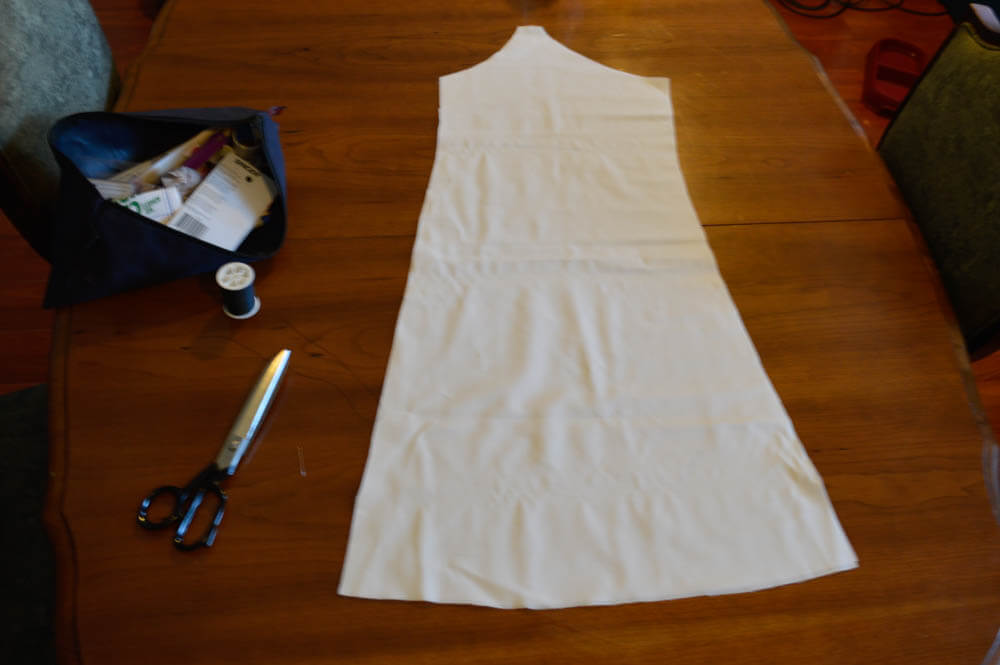
3) Using the notches as a guide, baste the back bodice to the front bodice.
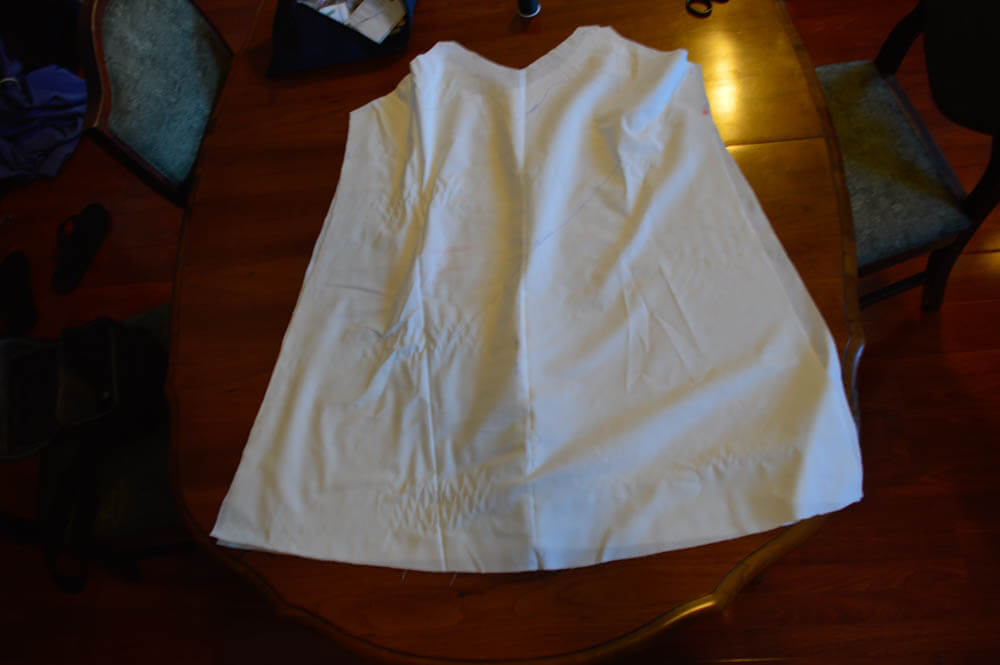
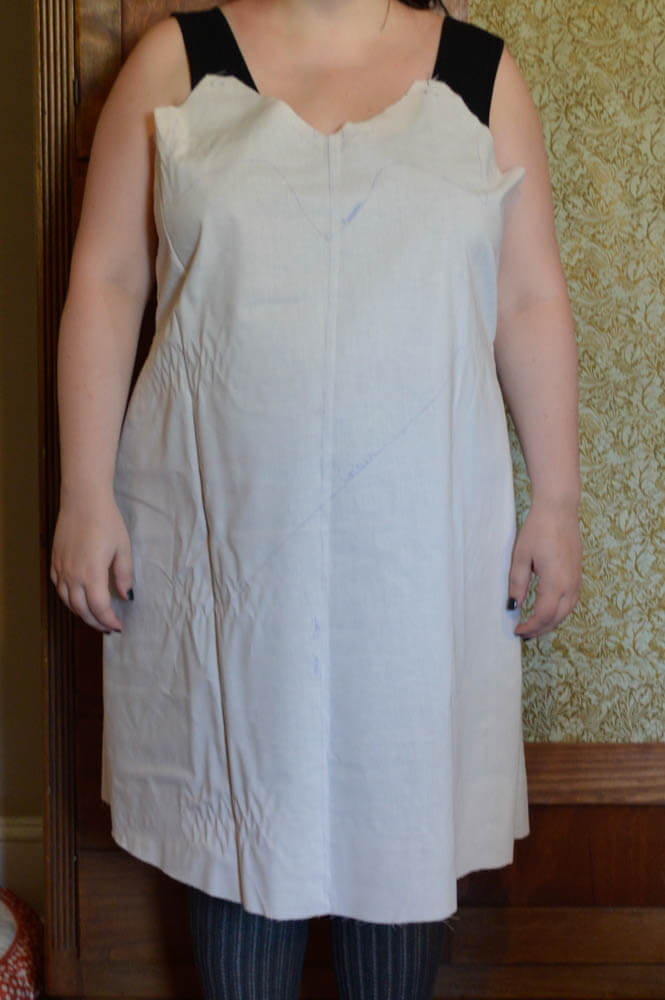
4) Try the bodice on, and assess for fit. If you'd like you may baste the straps on first.
In my sample I found that the area around the bust was rather large, but the area around the hips fit nicely. I will now go over the steps in order to make this type of alteration. While I am altering the garment to make the bust smaller, the same principle may be applied to make the hips smaller.
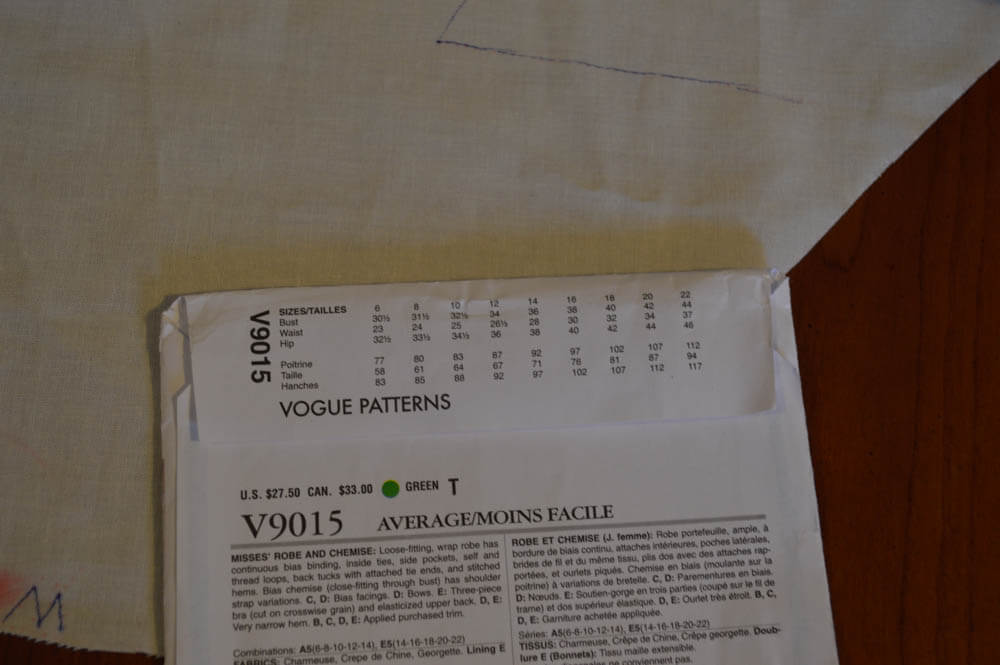
5) Remove the basting and pull out the original pattern pieces. Referring to the size chart on the back of the package, determine what sizes match up with your body.
I realized that, while my hips fit into a size 22, my waist and bust are closer to a size 18.
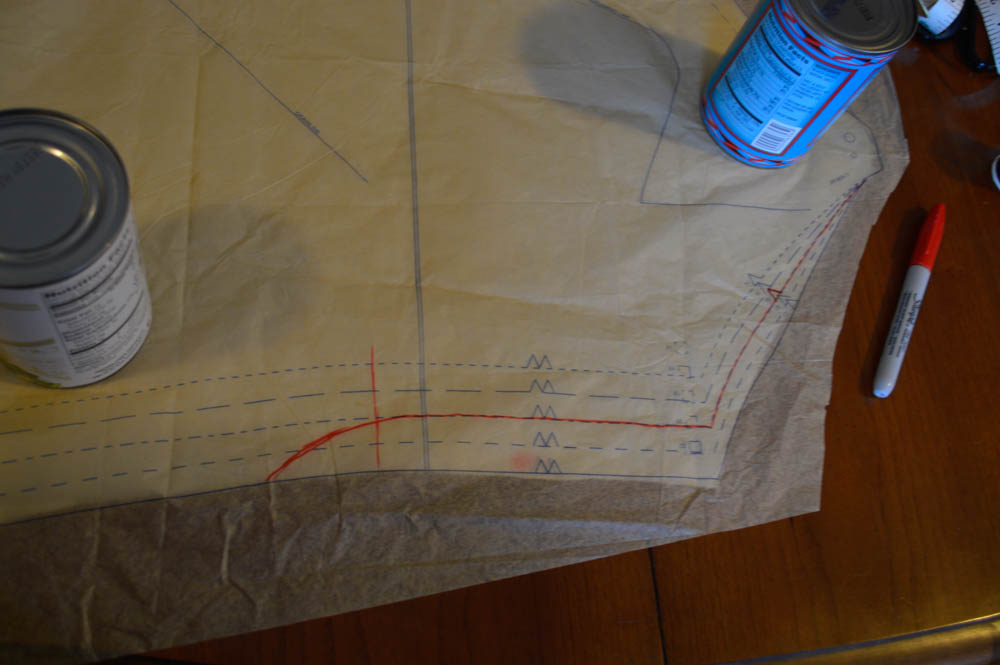
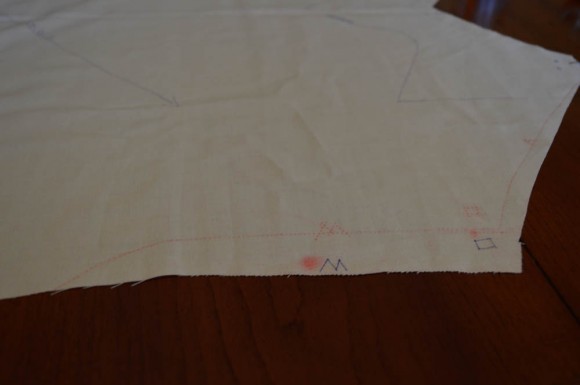
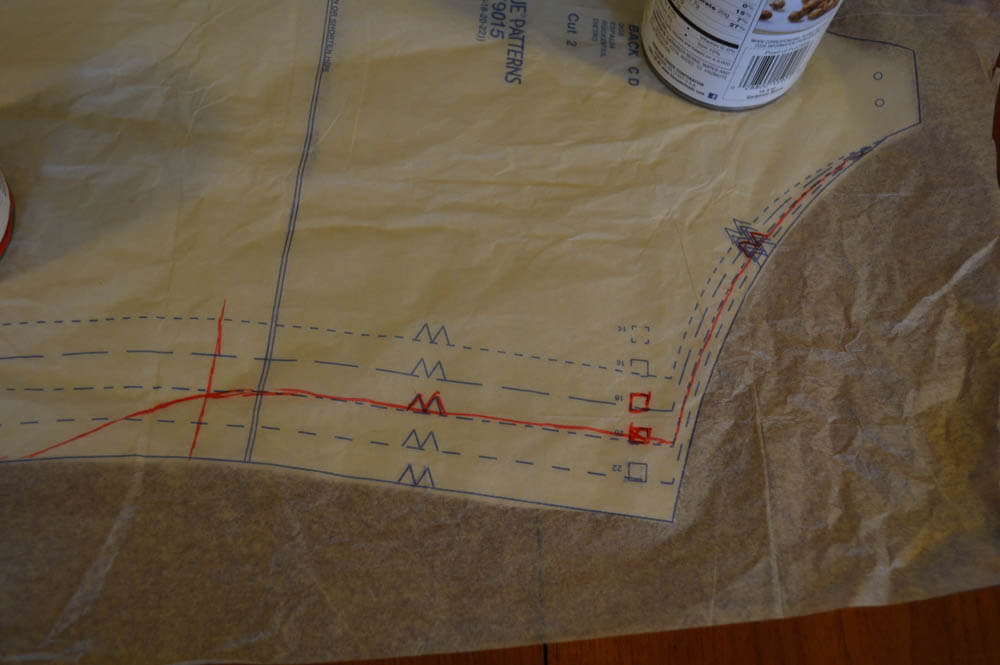
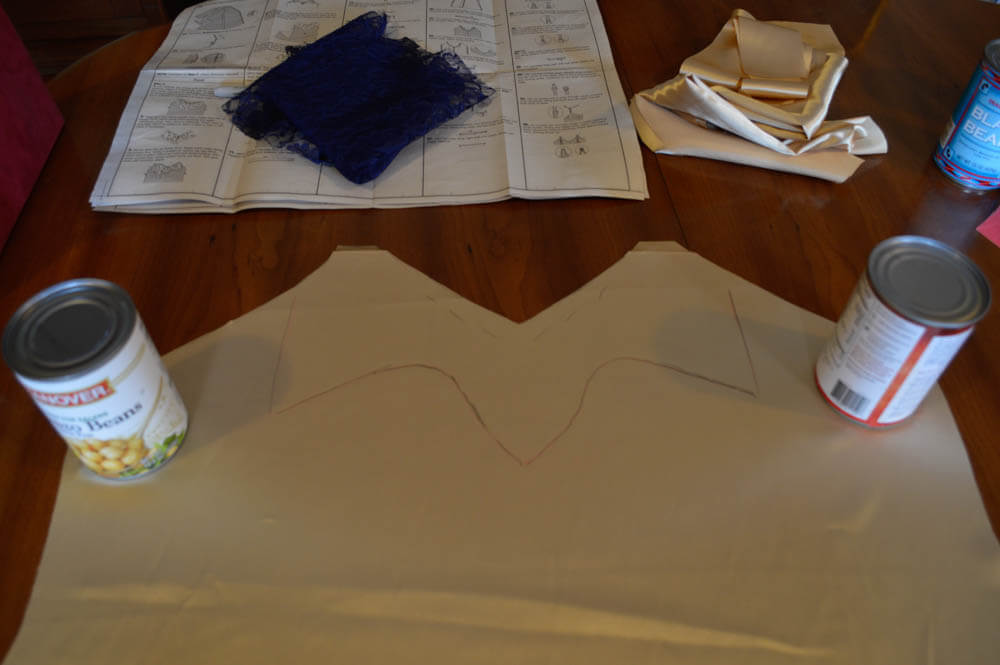
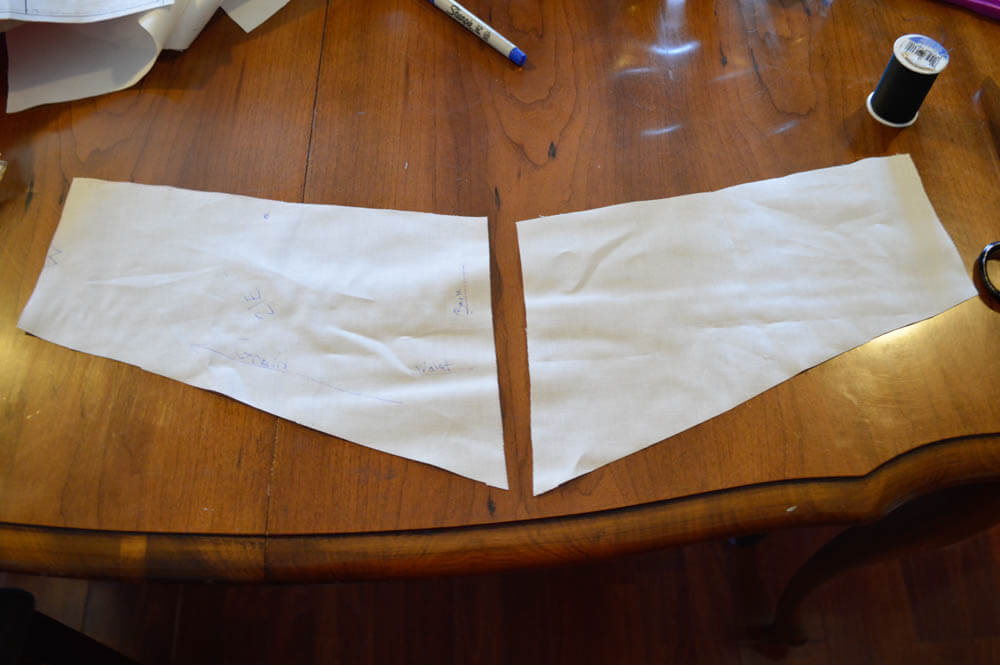
6) On the bodice back, use a red marker and mark the paper patten at the waist as a guide. From that point, make a short curve from one size to the other.
I traced the size 18 pattern guide from the top of the garment to the waist, then made a short curved line out to the size 22 pattern guide.
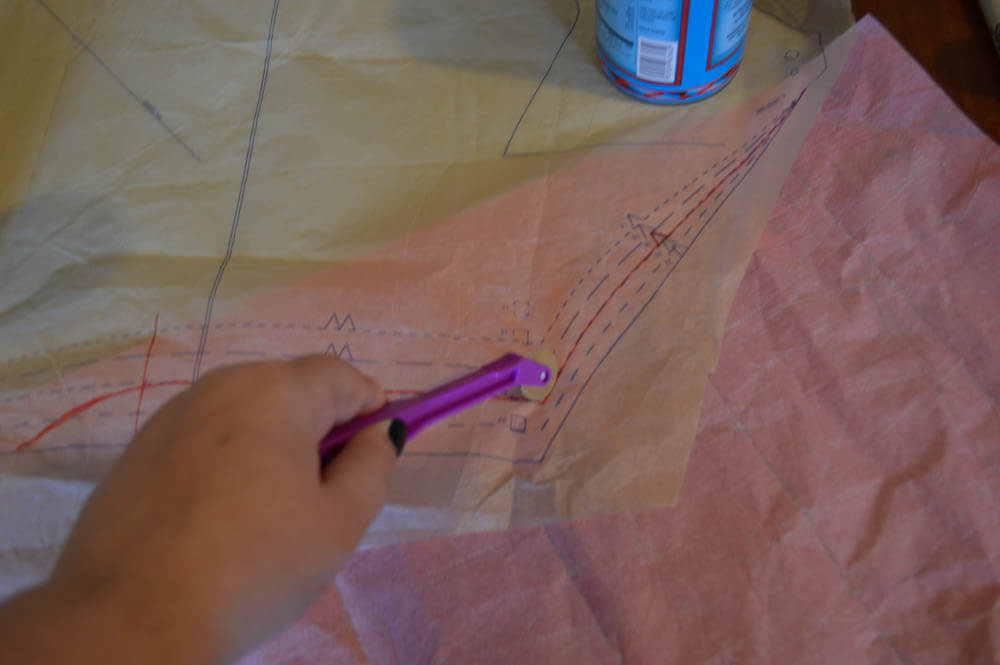
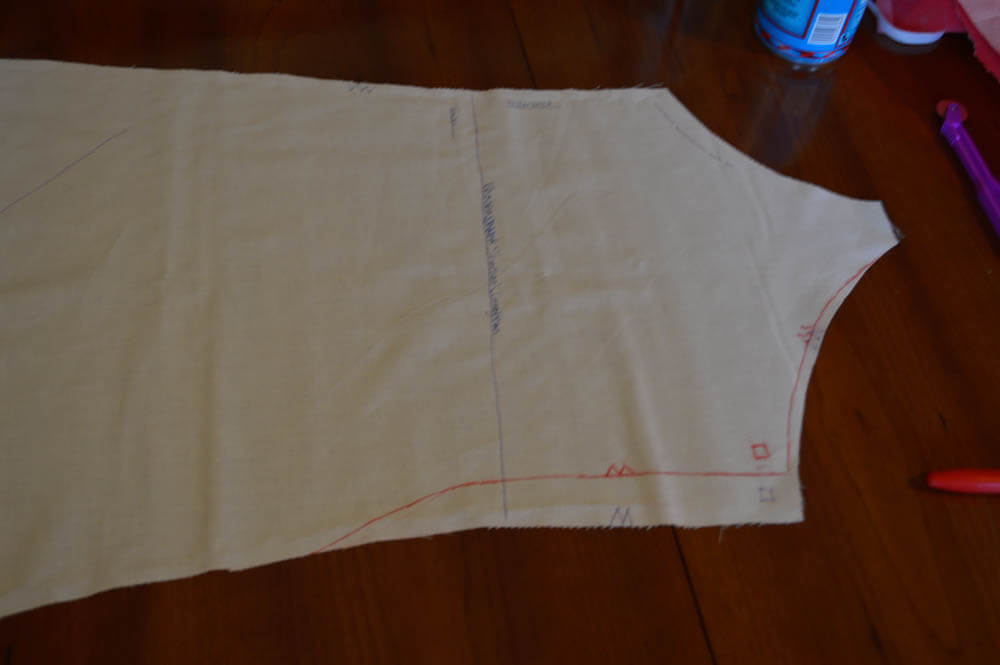
7) Using tracing paper, transfer the alteration line onto the muslin, along with all relevant notches and markings.

8) Cut the muslin along the traced line.
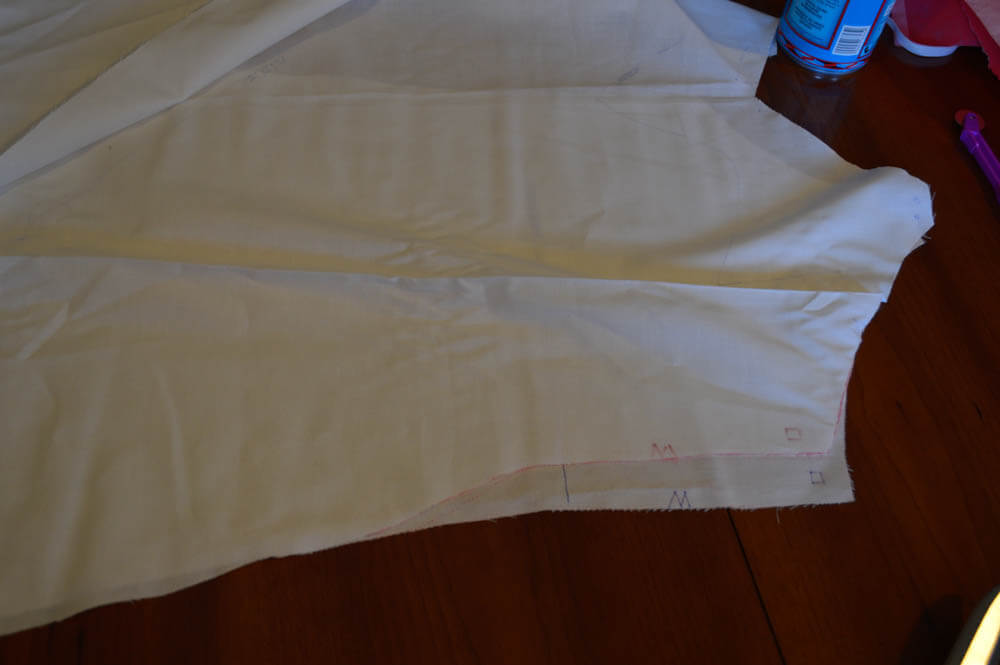
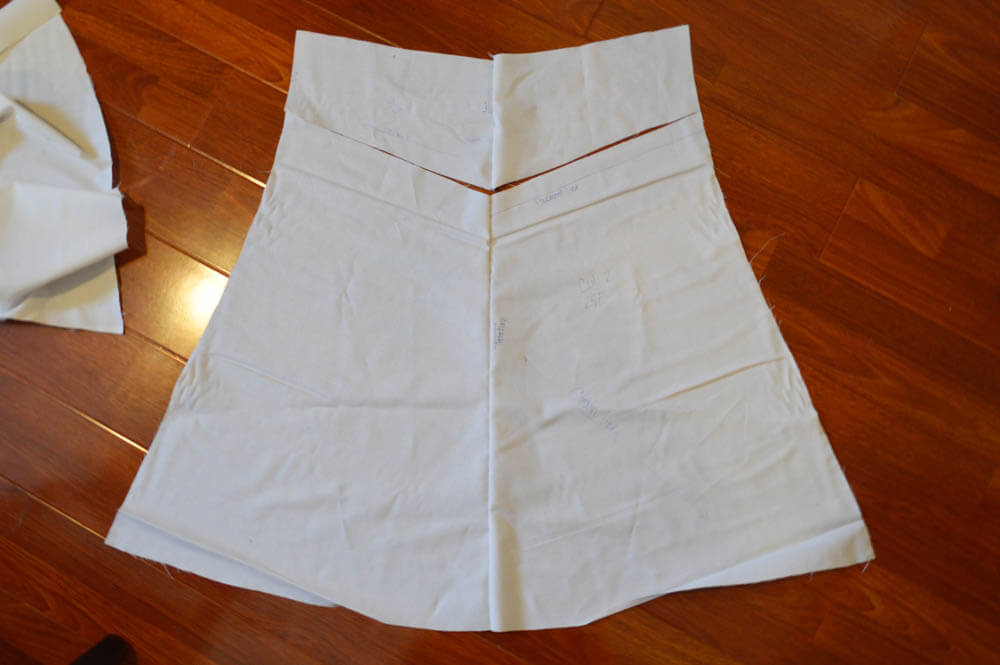
9) Repeat steps 7 through 8 for the other bodice back piece. Place bodice back pieces on top of one another to make sure they match up.
10) Follow steps 5 through 8 to make changes to one side of the bodice front.
11) After you have altered the bodice front, fold it in half. Trace the edge of the altered side onto the un-altered side. Cut along the traced line.

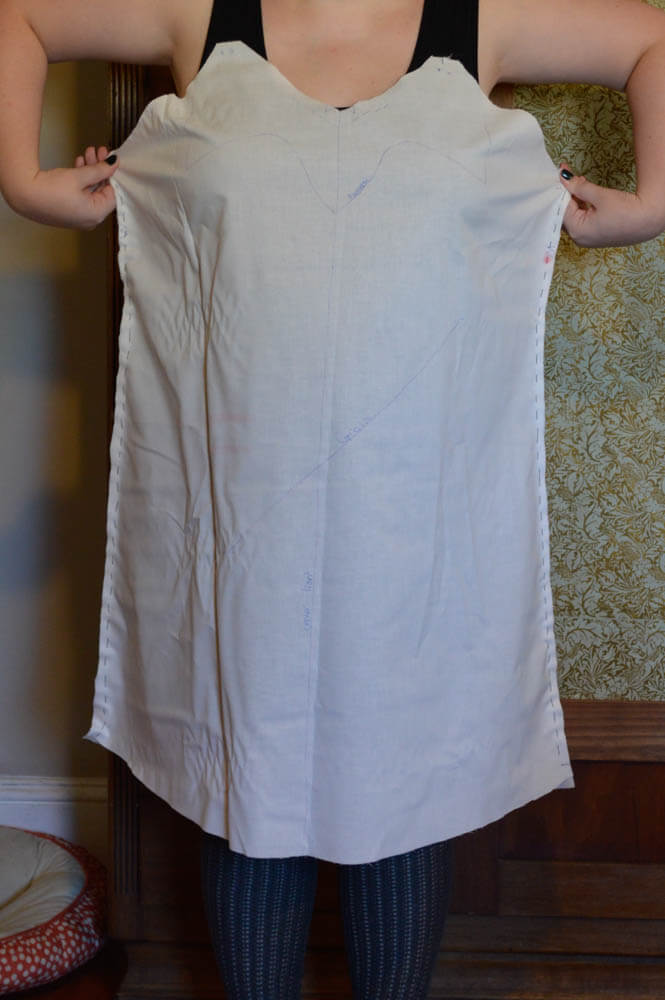
12) Repeat steps 1 through 3 in order to baste the bodice together again.
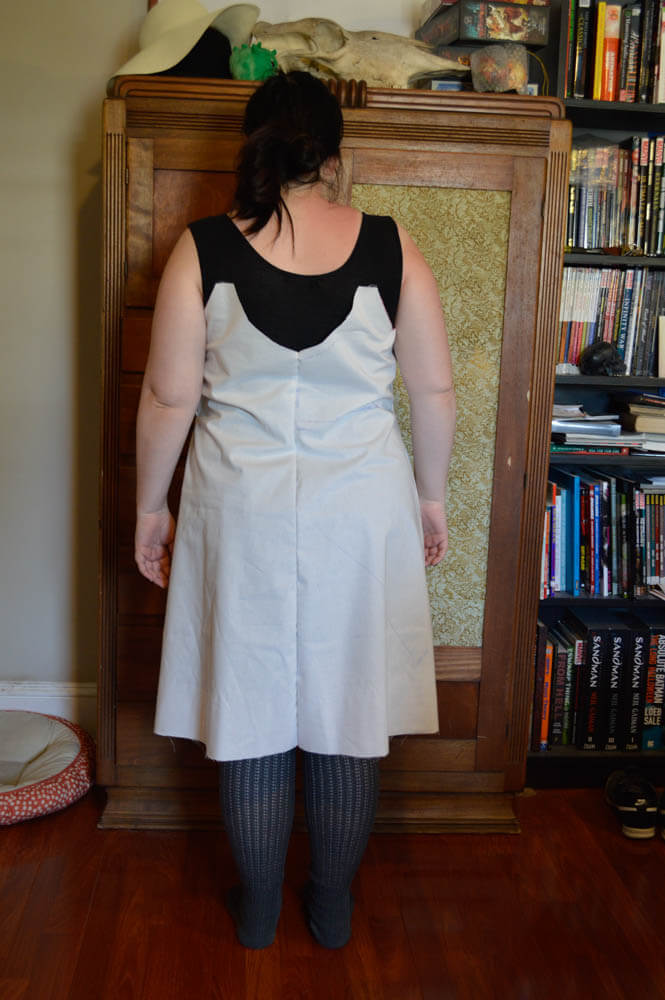
13) Assess once again for fit.
This time I noticed the bodice was slightly loose around the side of the bust. The following step will show you how to adjust for a larger bust.
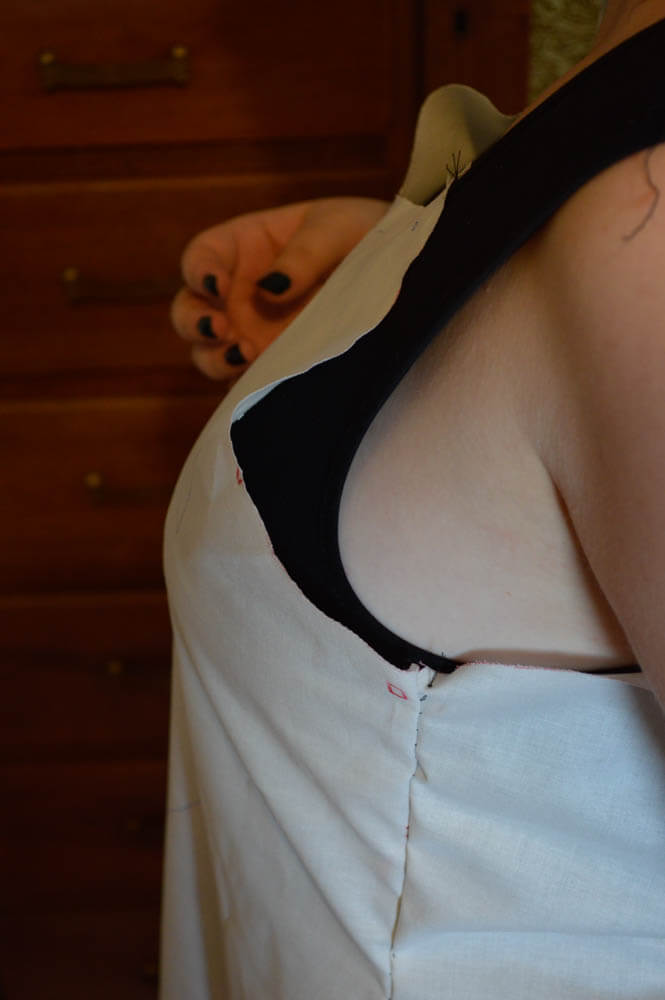
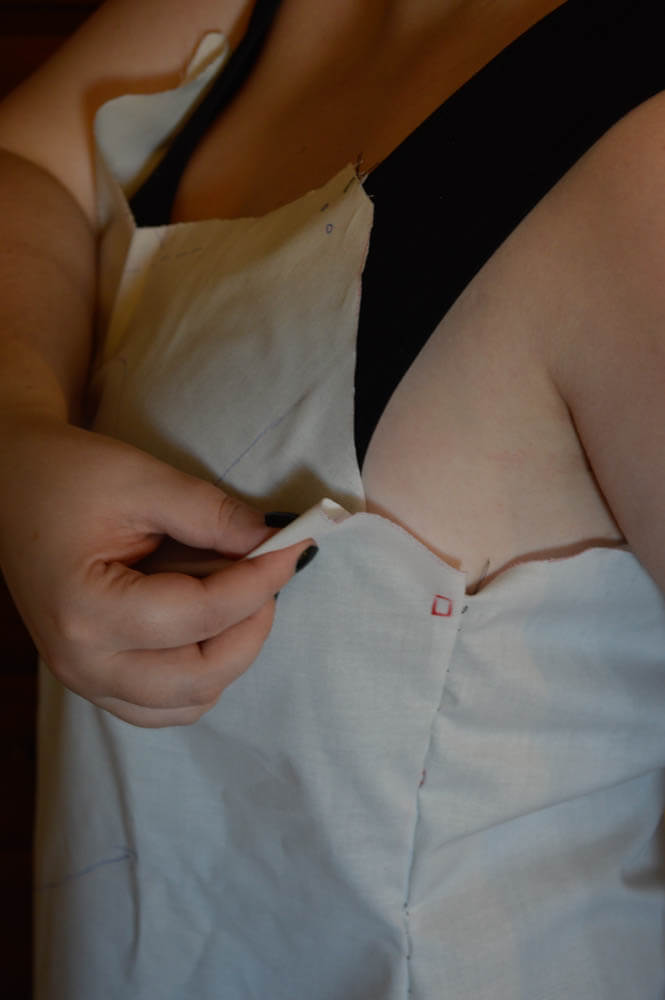
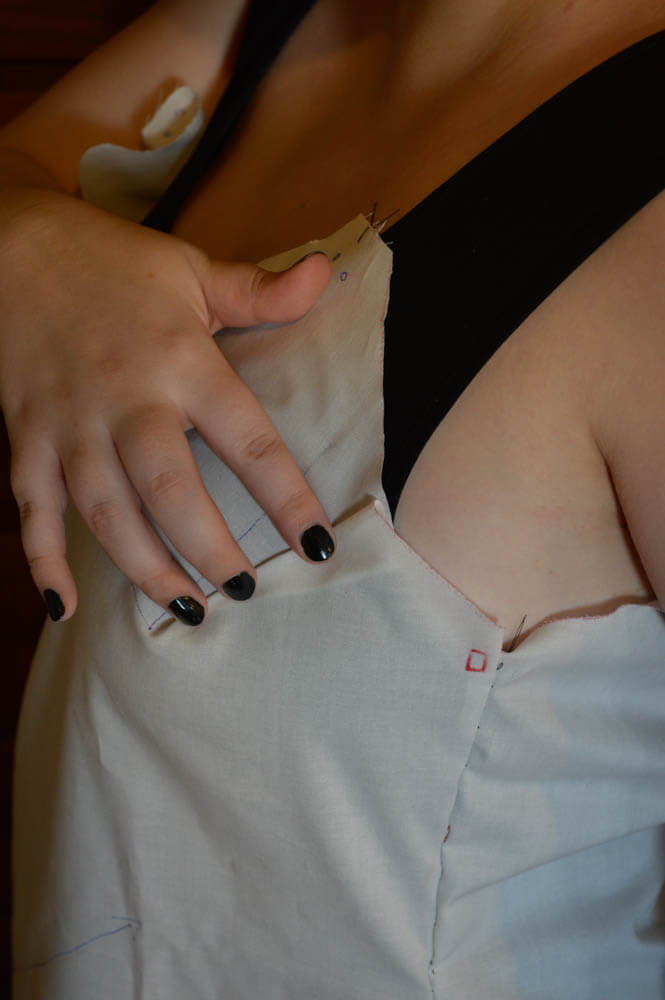
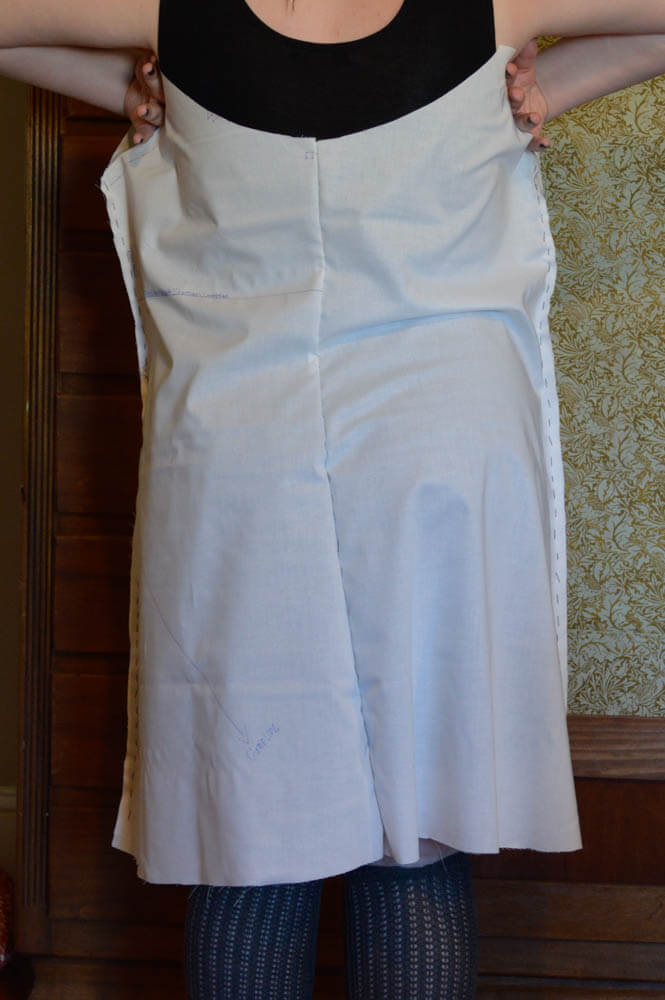
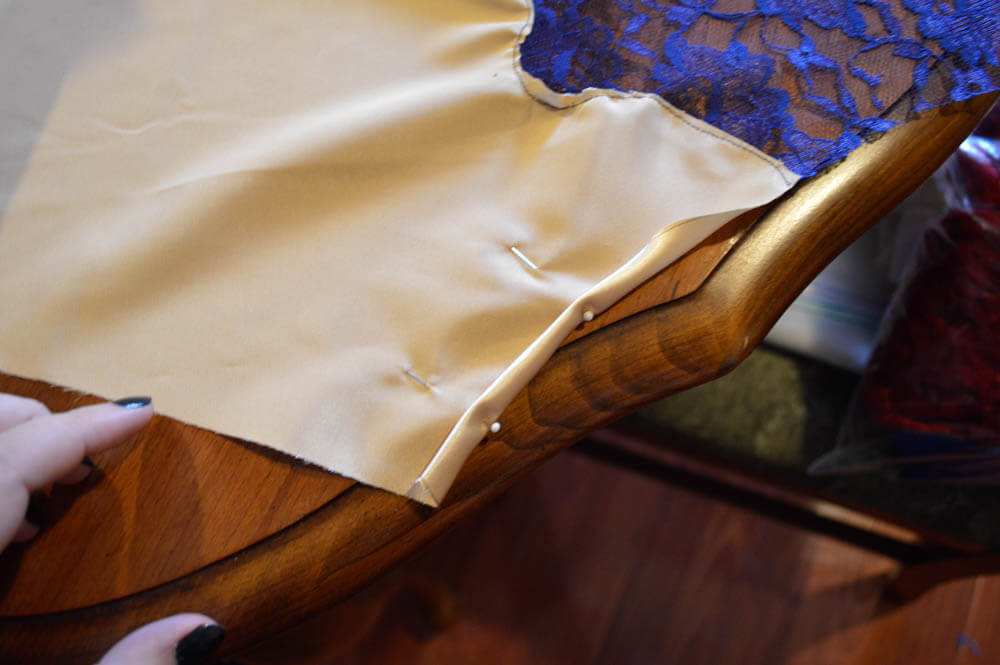
14) Pinch the fabric where it's loose, fold over, and pin.
Note: You may mark this adjustment on your garment by tracing the folds of the dart. However, you need to wait until you have the actual garment stitched before inserting the dart .

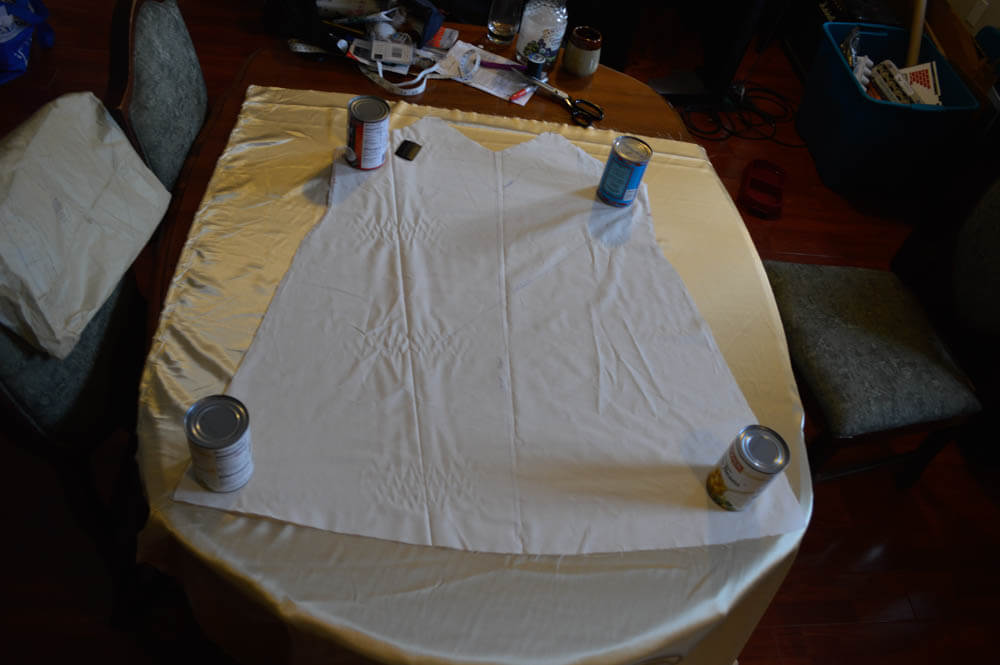
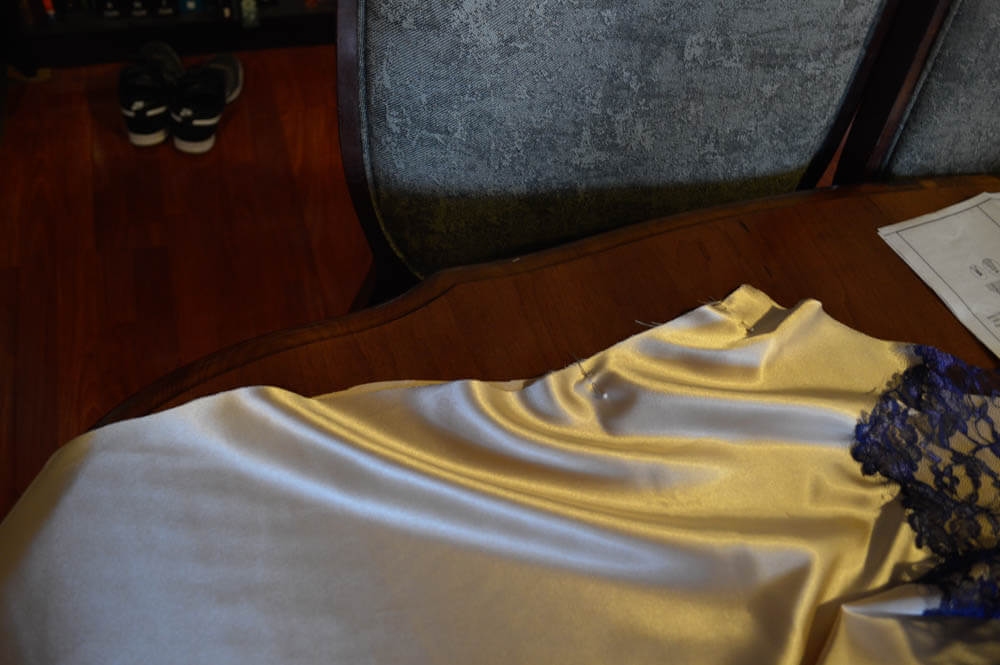
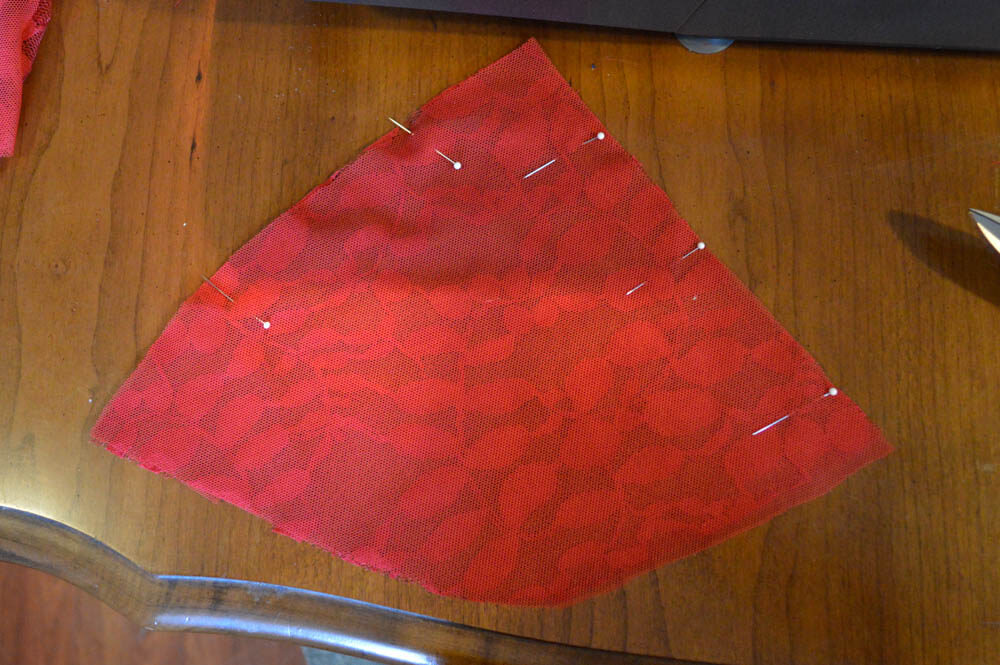
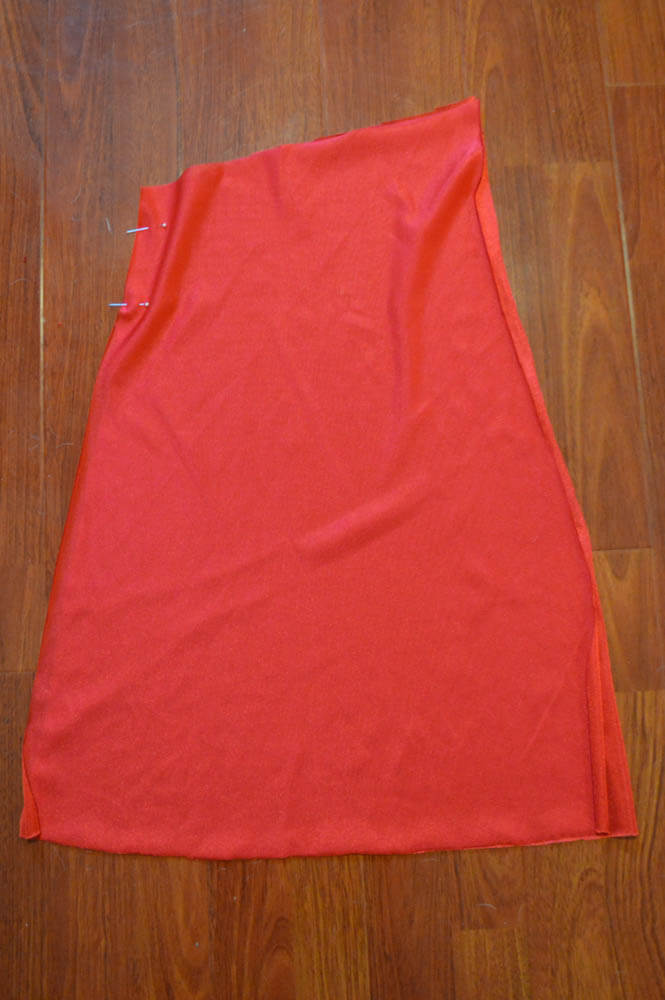
15) For maximum comfort, the fabric should be cut on the bias. Lay out the fabric as demonstrated in the instruction packet. If you are using a stretch fabric, you may not have to cut on the bias.
16) Make sure that you transfer the placement line.
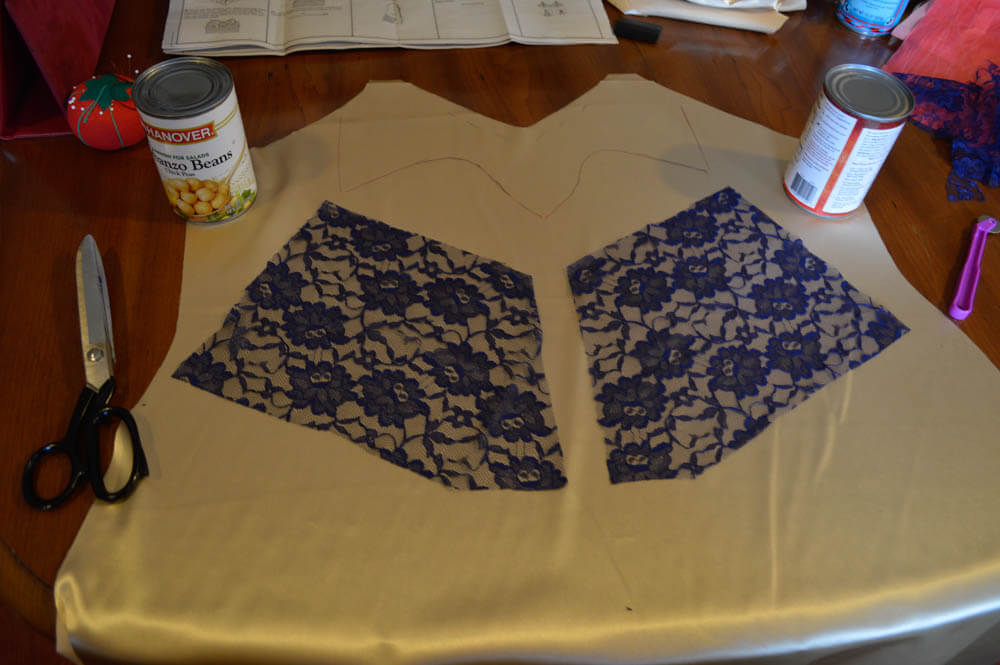
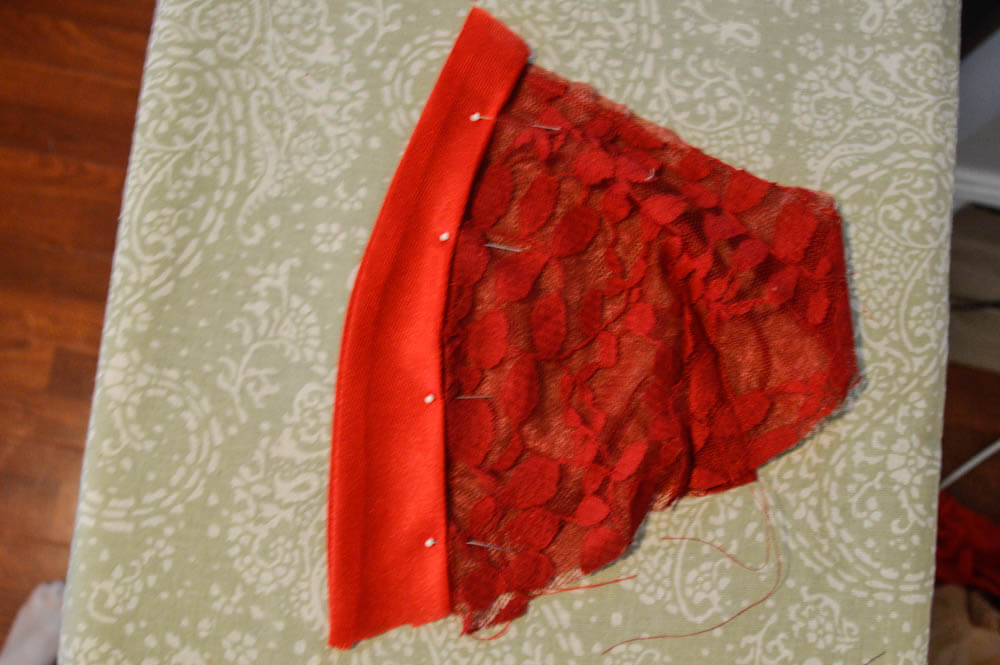
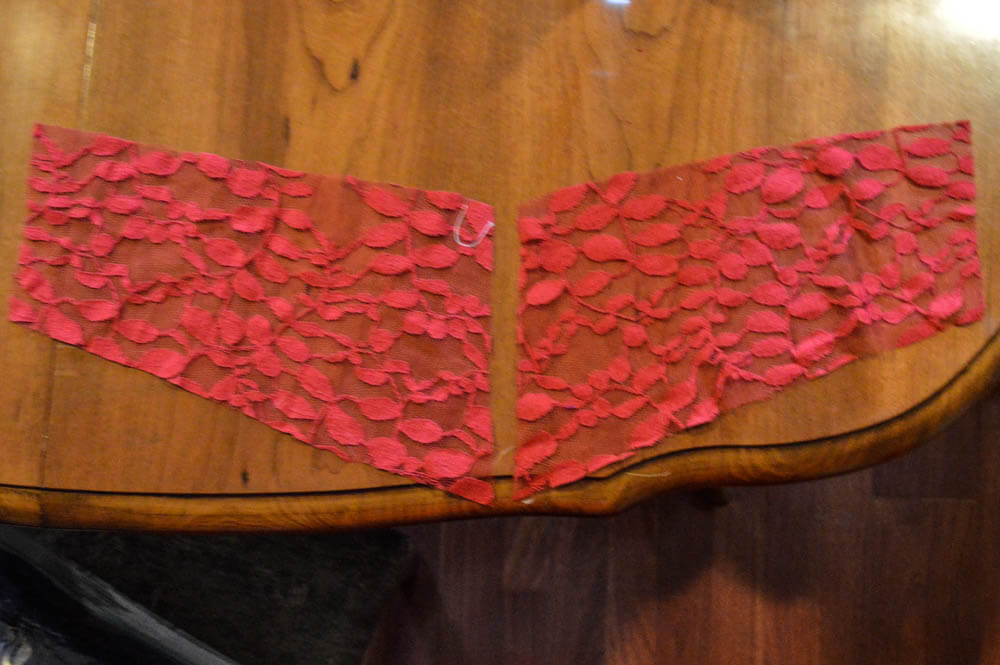
17) Prepare two pieces of lace and line them up to the fabric using the placement line. Remember that you do not have to stitch the lace directly to the placement line -- it is only a guide.
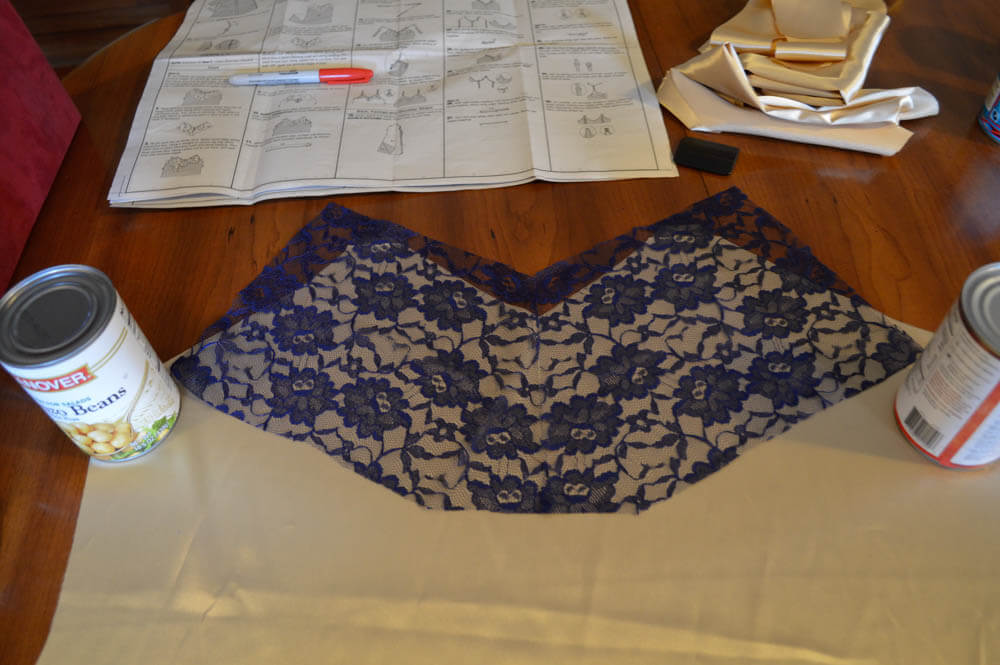
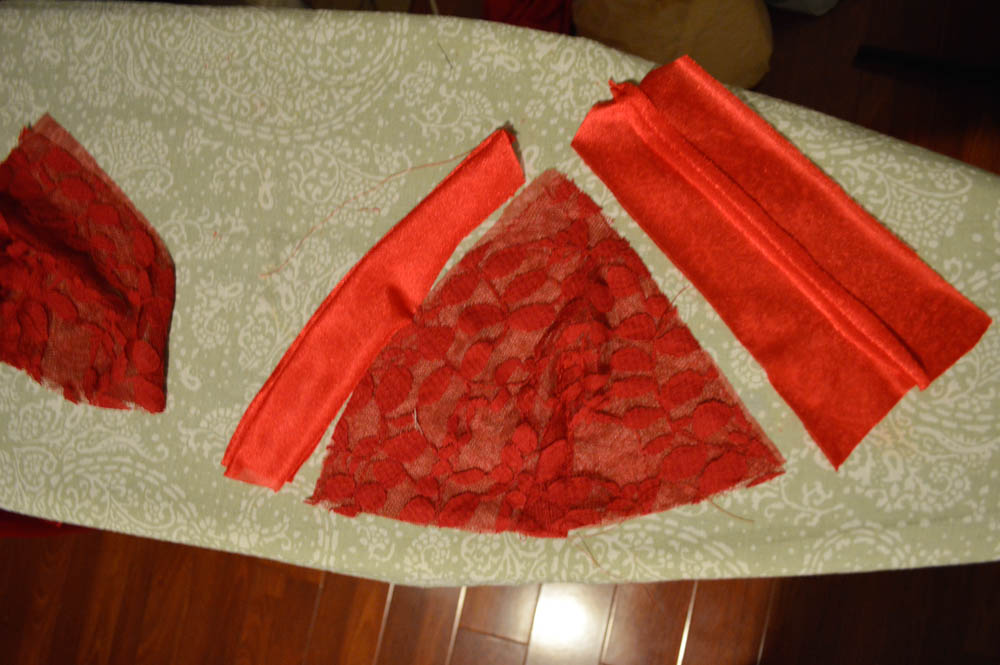
18) Stitch the two pieces of lace together.

19) Line up the lace using the placement line as a guide. Stitch in place.
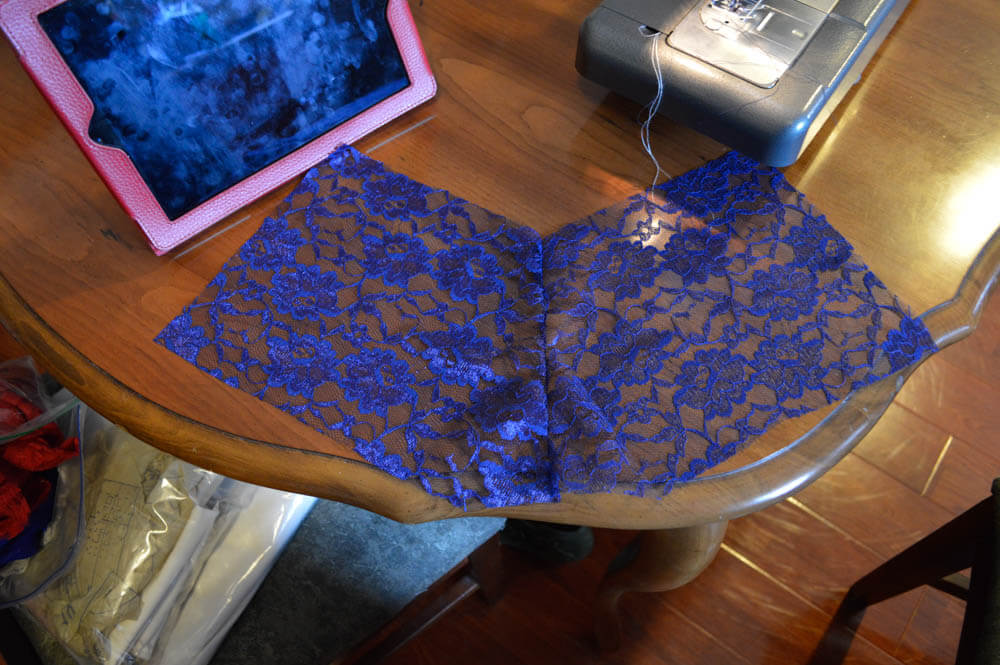
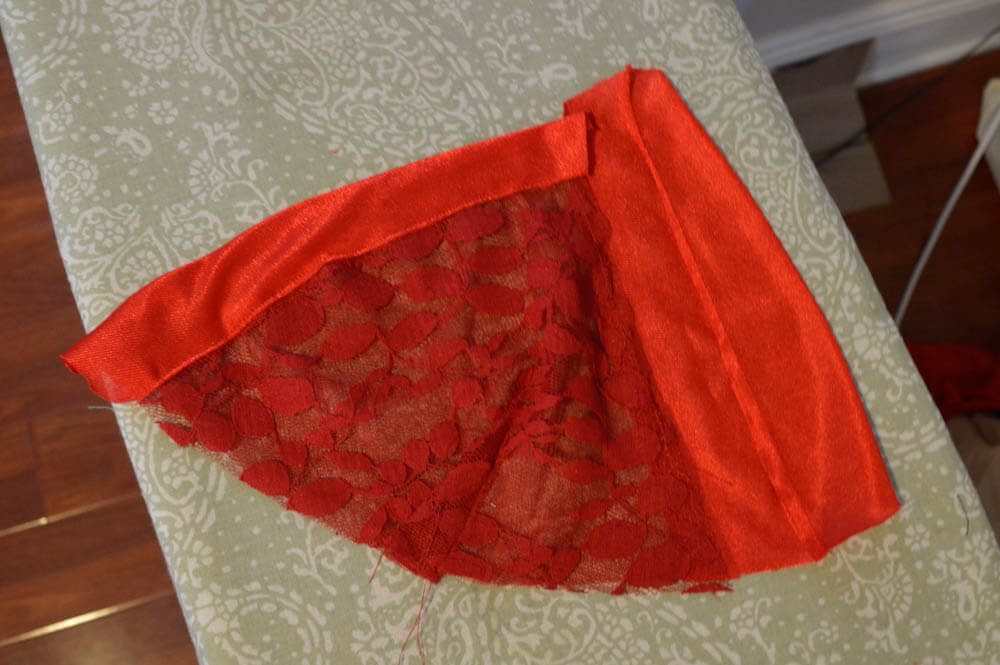
20) Trim the bottom of the lace to create a nice fluid line. Use snips for this, as they allow for greater precision.
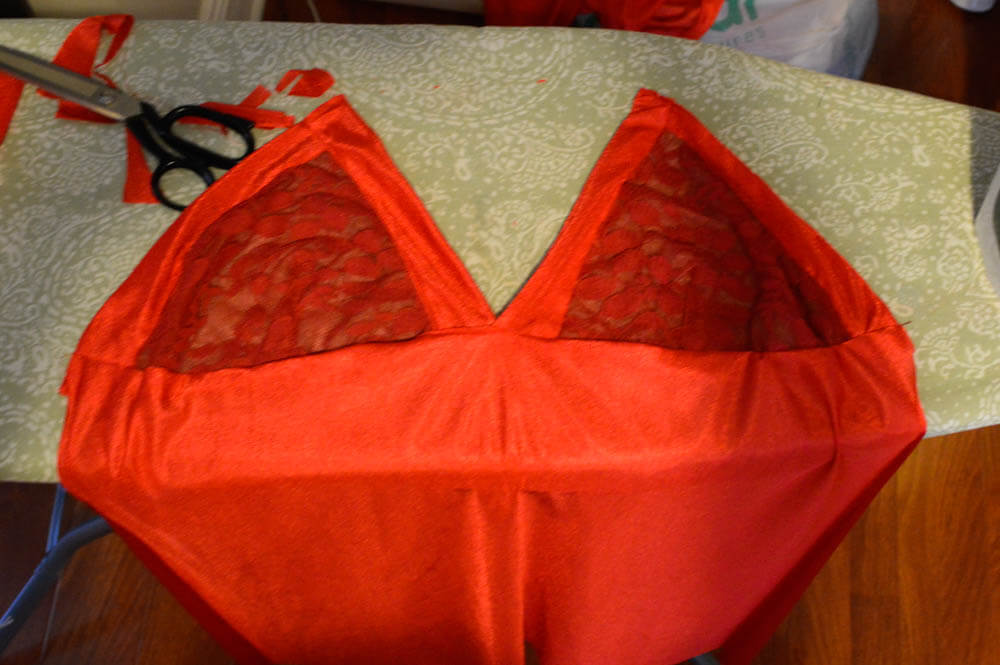
21) Trim the fabric as close to the stitch line as possible, creating a lace window.

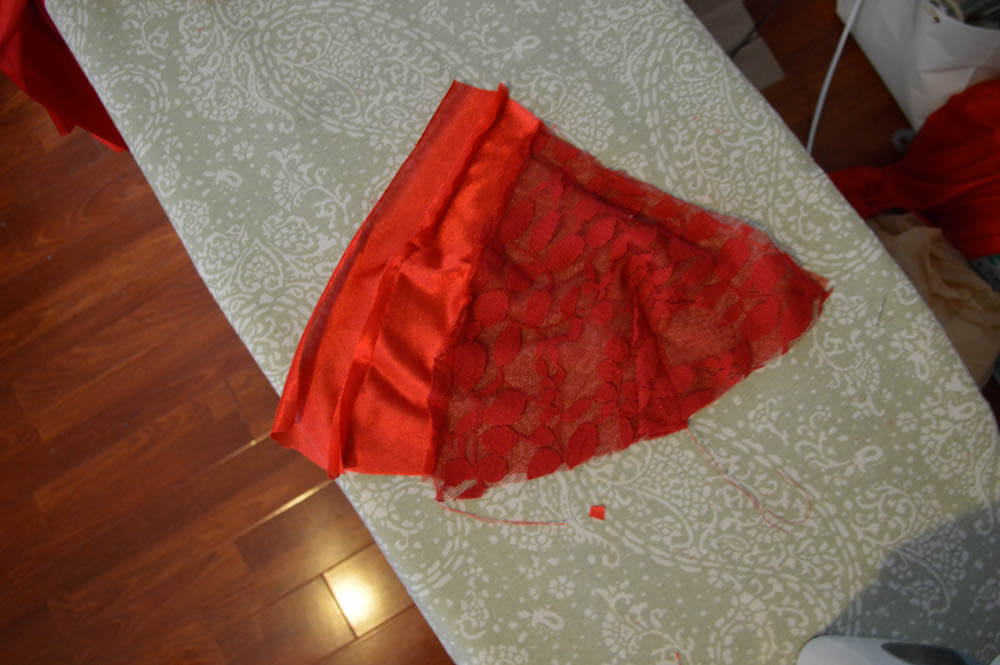
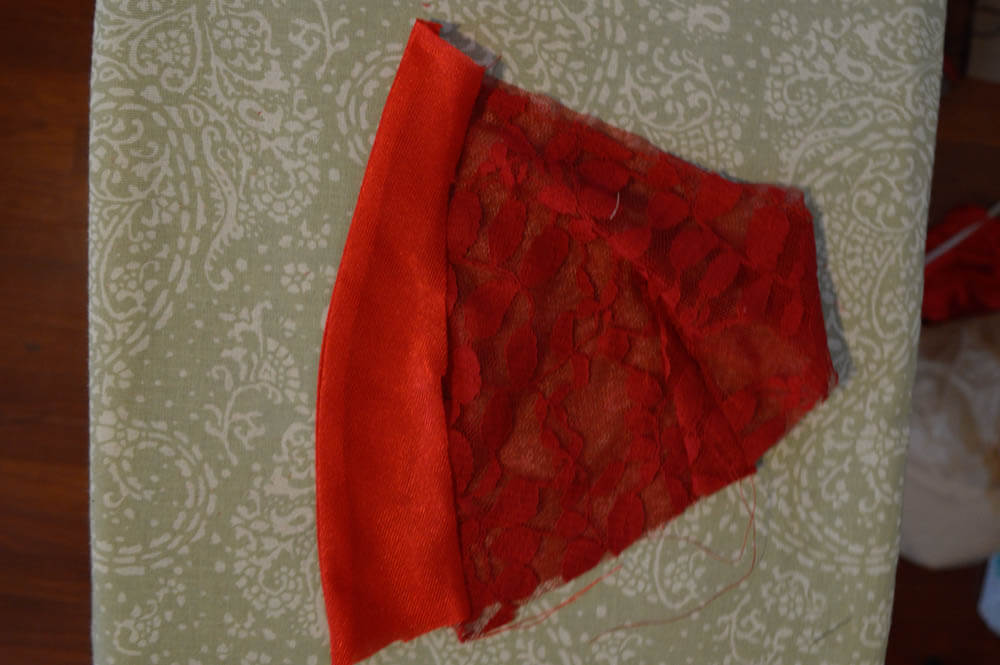
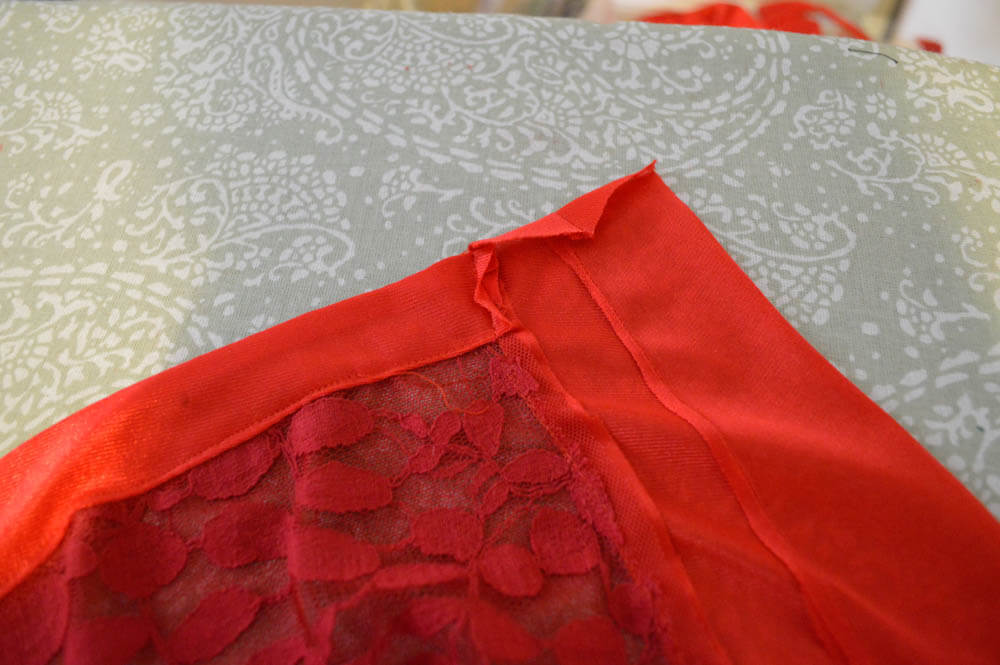
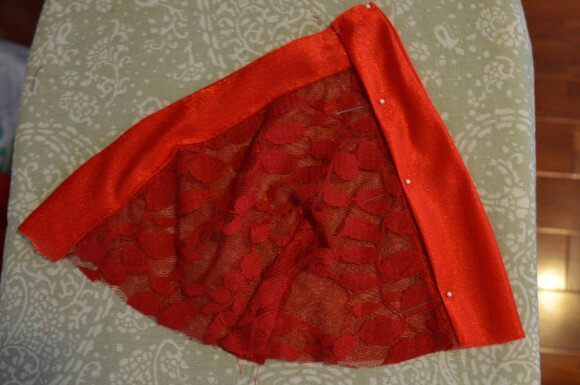
22) Stitch the back bodice pieces together.
23) Stitch the front bodice to the back bodice.
24) Create a narrow hem at the top of the bodice.
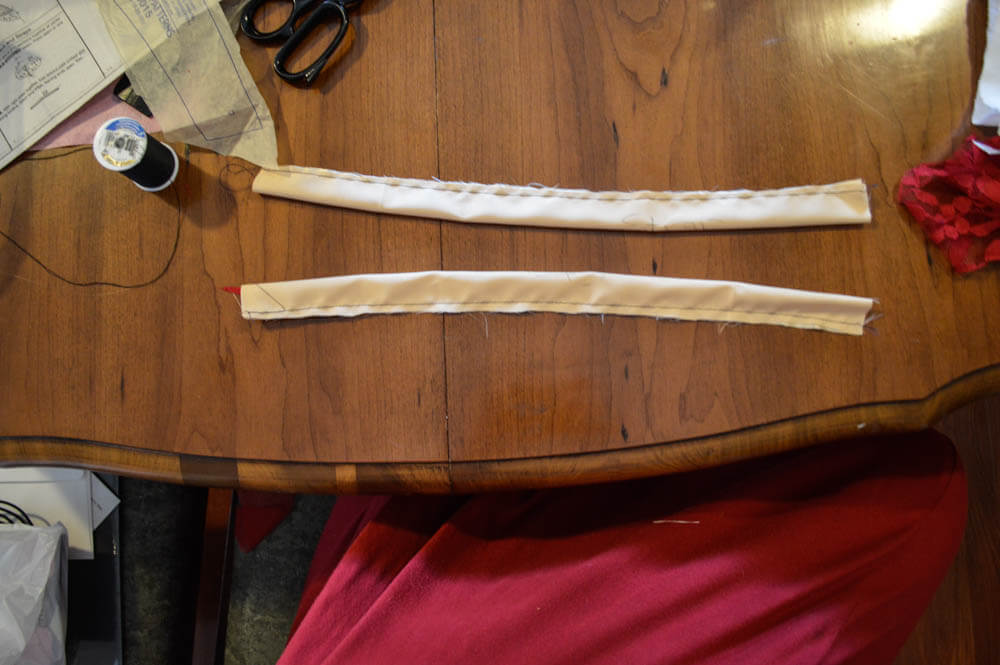
25) Fold the straps so that the right sides are facing one another and stitch.
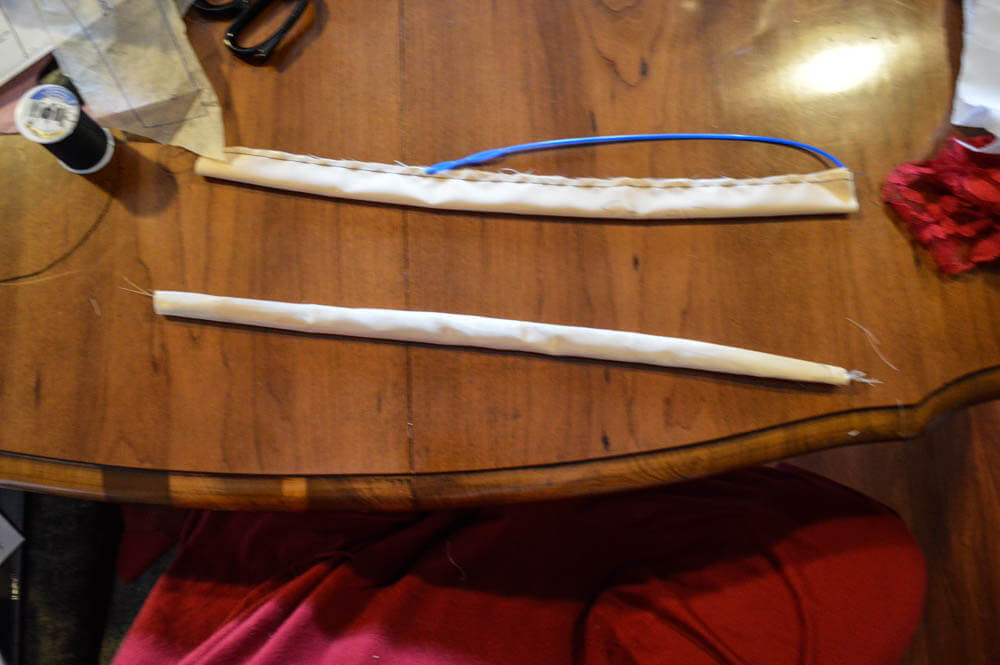
26) You will now need to reverse the fabric so the raw edge is encased. Then tuck the raw edges at the ends of the strap in and stitch.
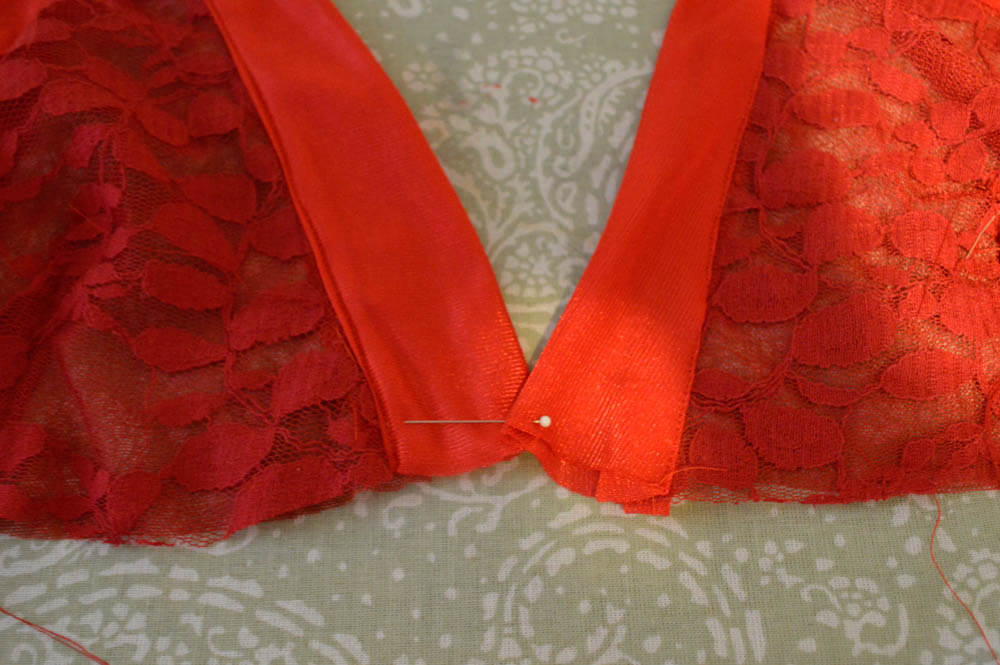
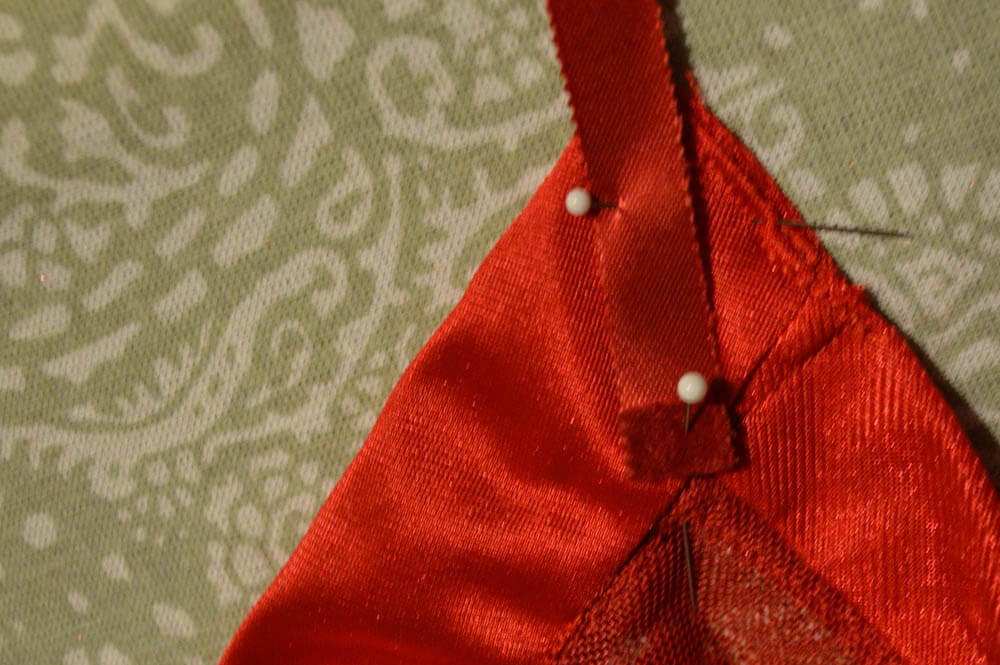
27) Attach the straps to the bodice, using the french seam method, at the "peaks" on the front and back bodice.
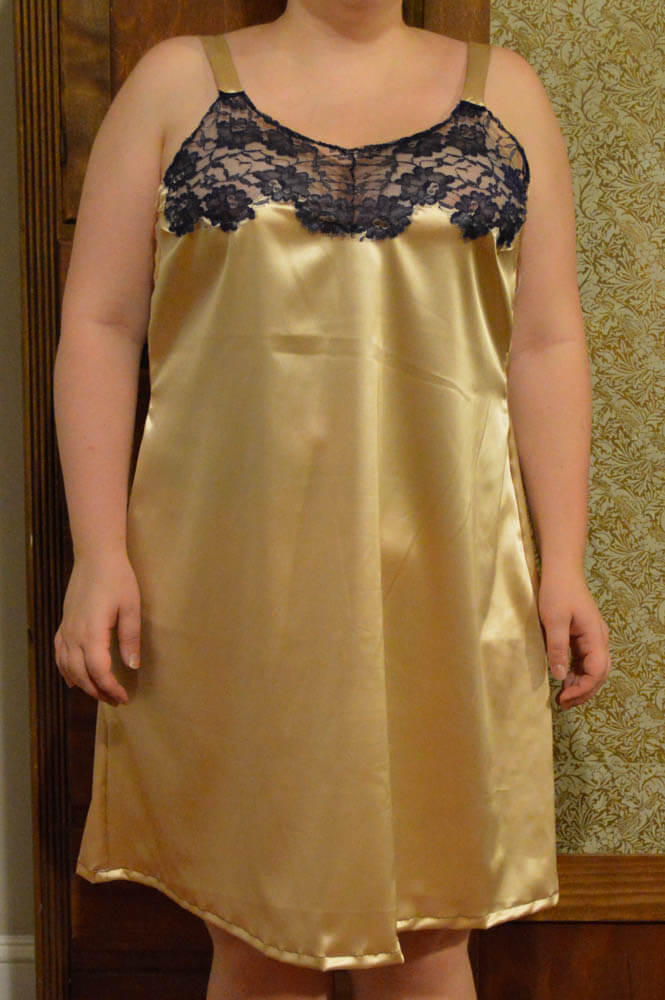
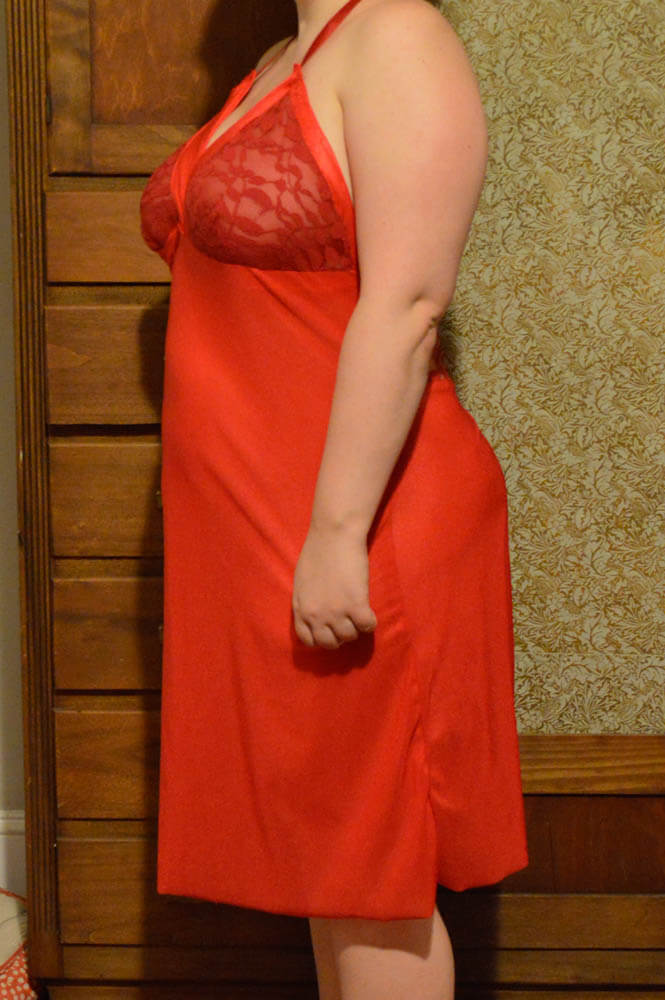
28) Try on and admire your work. If you need to add darts at the bust, now is the time to do it.
Skills and techniques learned from this project:
- How to make a muslin sample or mockup in order to adjust the pattern for fit.
- Adjusting a store-bought pattern to fit across sizes.
Project 7
1) Using tracing paper and a tracing wheel, transfer your pattern pieces onto muslin. Cut out the muslin pattern pieces. Since we will be making a mock up, cut out duplicate pattern pieces where necessary.

2) Baste back bodice pieces together.
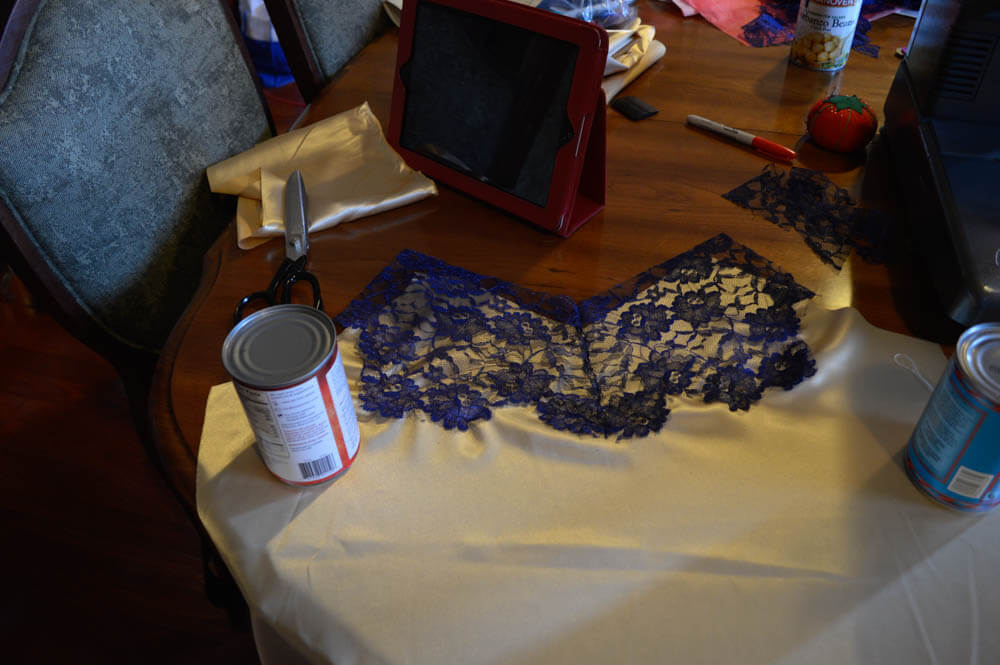
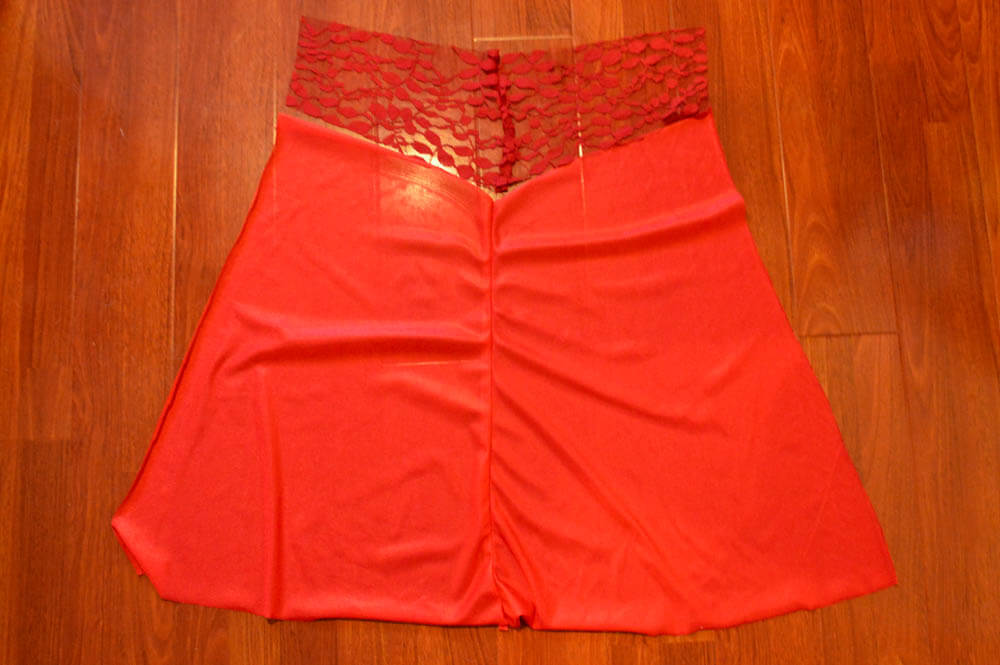
3) Baste lace accent pieces together.
4) Place the lace accent piece over the top of the back bodice at the placement line, and baste in place.
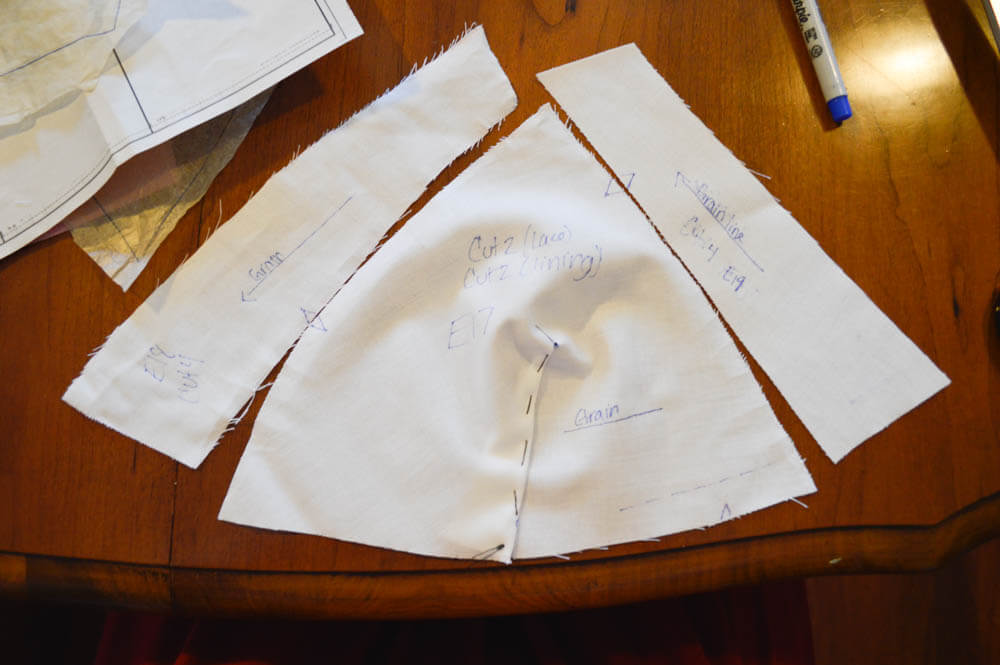
5) Baste dart on cups (17). Line up pattern pieces 18 and 19, matching them up to the darts.
6) Baste pattern pieces 18 and 19 to the cup (17).
7) Baste the cups to the bodice front.
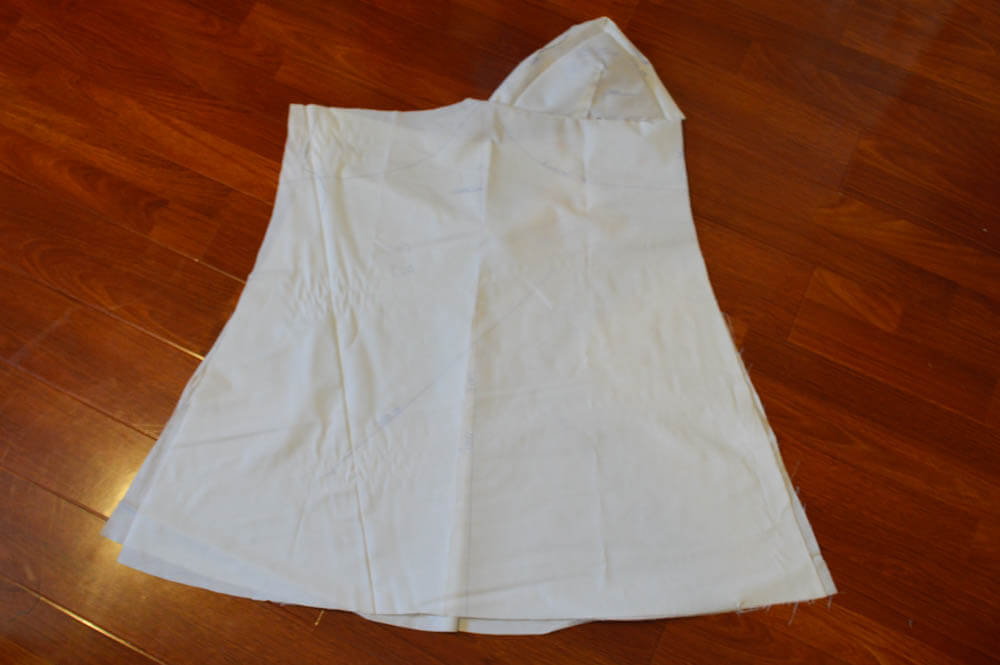
8) Baste the bodice front to the bodice back. If you like, you can add the straps, then try on and adjust for fit. Skip down to the bottom to see how to grade the cups for a larger bust size.
9) Cut out all pattern pieces in your desired fabric. You should cut out all pattern pieces except for pattern piece 17 from your nylon, silk, or satin. Cut pattern piece 17 from lace and power mesh.

10) Baste the powermesh to the lace, then fold the cup at the dart and stitch the dart in place. You may either cut the excess fabric off or tack it to the powermesh.
11) Stitch pattern pieces 18 and 19 together with the right sides facing in. Make sure to stitch them together on the side that does not have a notch.
12) Matching up the notches, pin and stitch pattern piece 18 to the outside of the cup.
13) Fold and iron pattern piece 18 at the seam.
14) Tuck the raw edges under, pin, and stitch.
15) Matching up the notches, pin and stitch pattern piece 19 to the outside of the cup.
16) Fold in the raw edge at the top of the cup.

17) Fold and iron pattern piece 19 at the seam.

18) Tuck the raw edge under, pin in place, and stitch. Don't forget to pin and stitch the top edge!
19) Repeat steps 10 through 18 for the other cup.
20) Pin and stitch the cups together at the center.
21) Attach lace detailing to front bodice at placement line, stitch and cut away fabric. This is the same method used above.
22) Pin and stitch the cups to the bodice front.
23) Stitch the back bodice pieces together at the center back.
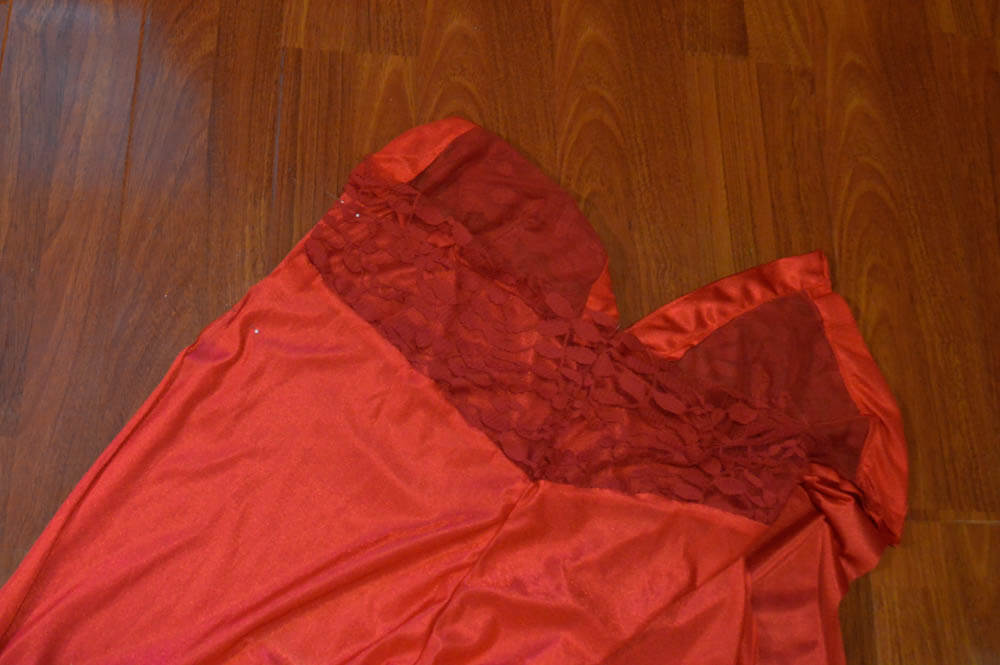
24) Stitch the lace accent pieces together at the center back.
25) Place the lace accent on the placement line, pin, and stitch.
26) Pin the bodice back to the bodice front, and stitch.

27) You have some options for the next part. You can either use the bodice fabric for your straps, or you can use ribbons. You can also opt to have halter straps for this style. If you choose to use fabric straps, refer to project 7 above to make the straps.
If you decide to use ribbons, fold the edge of the ribbon once.

27) Fold the ribbon again, encasing the raw edge.
29) Pin the ribbon on to the top of the cup and stitch.
30) Repeat steps 27 and 28 on the remaining end of the ribbon. If you decide to wear this style as a halter, you're finished! If not, pin your straps to the back of the bodice in a comfortable position and stitch.
Alteration: The Cups
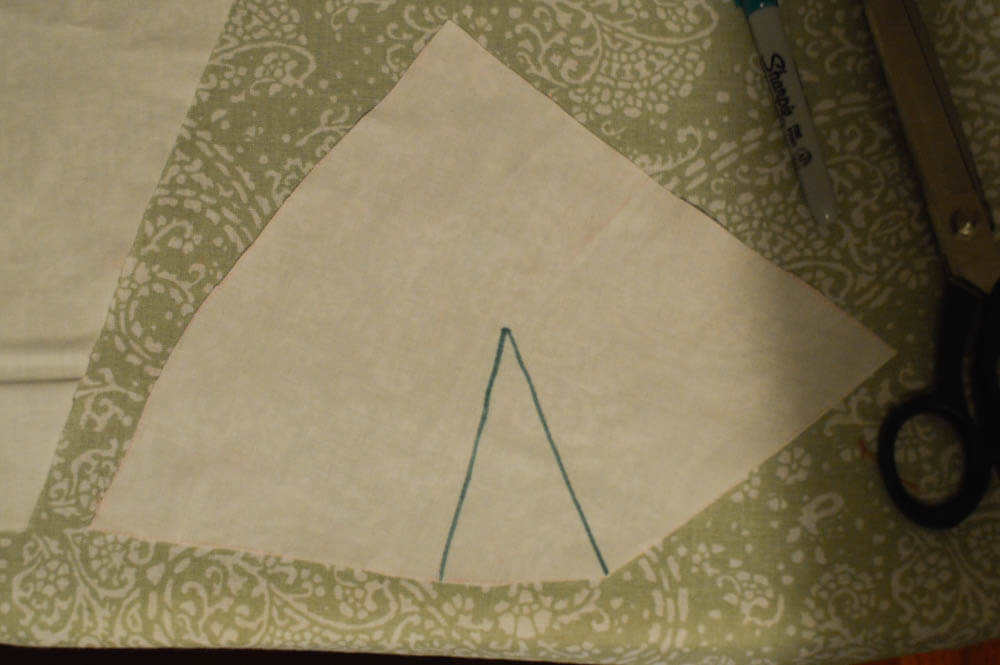
1) Trace the original pattern onto a piece of muslin to use as a template.

2) Draw two lines on the muslin -- one should be horizontal and the other vertical.
3) Cut along those lines.

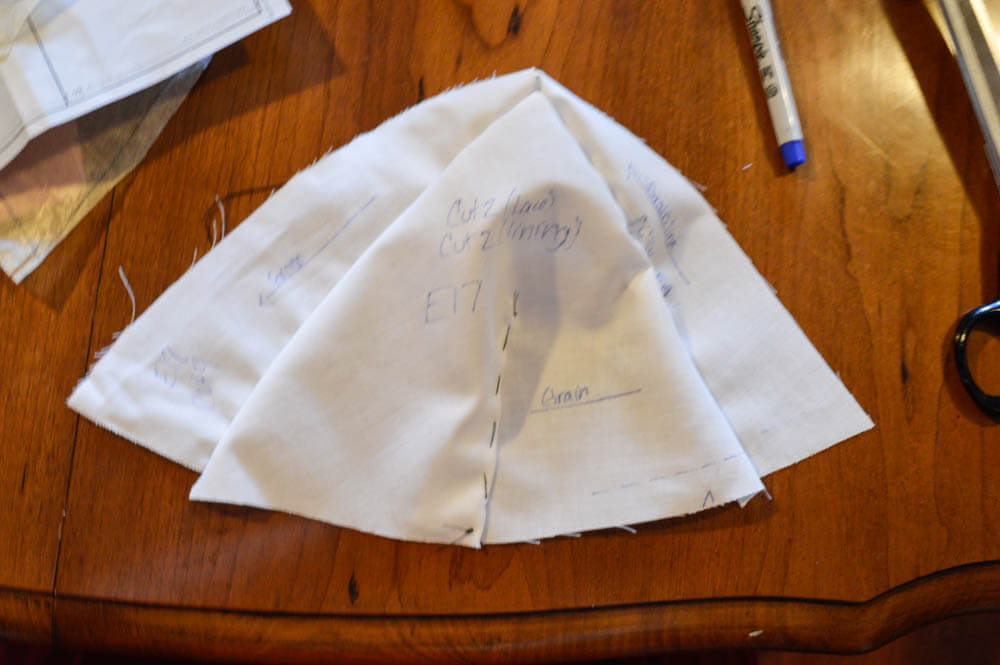
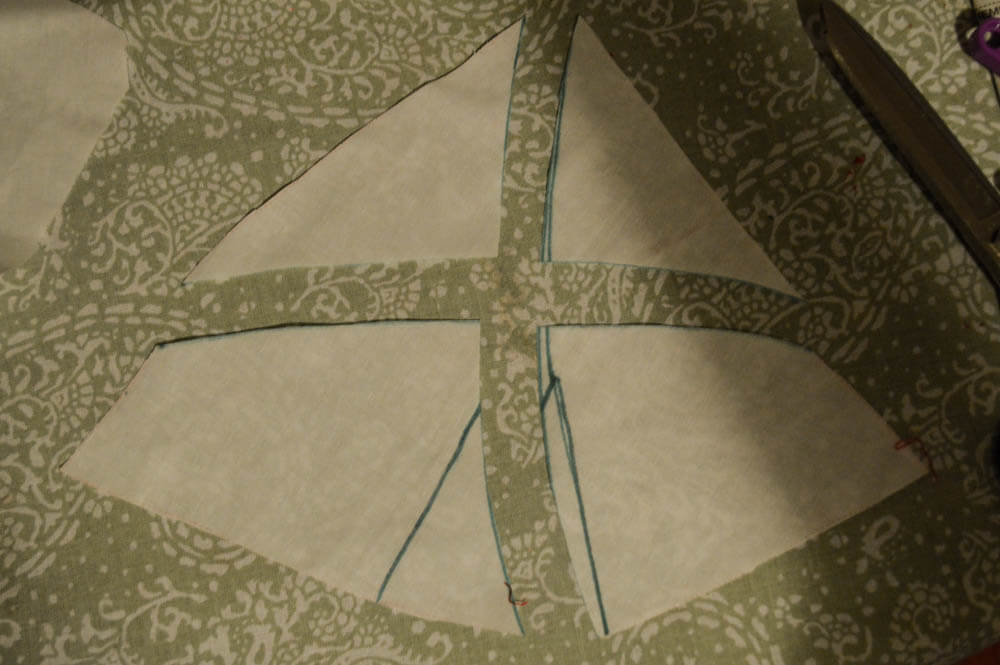
4) Place your cut pattern on an unused muslin.

5) Trace the cut pattern.

6) Using the paper pattern as a guide, trace the dart marking onto your new muslin pattern peice.

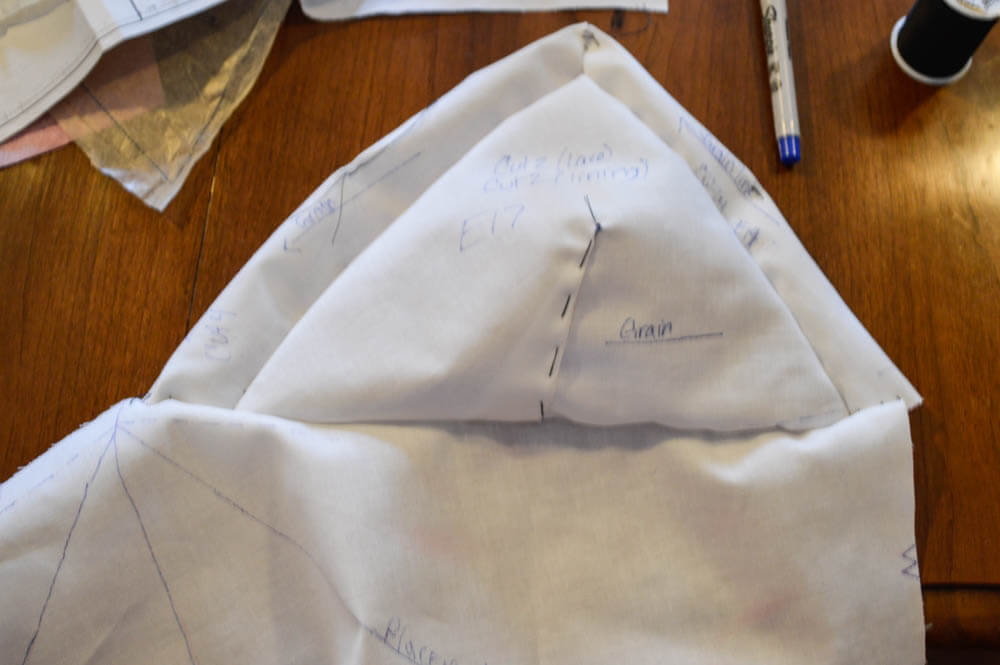
7) Cut out the pattern and continue from step 9.
Skills and techniques learned from this project:
- The fundamentals of making soft cup lingerie.
- How to alter soft cup shapes to fit a larger bust.
Next time:
Burlesque goodies! I'm waiting on a couple of items to arrive that I can't get at my local craft store. If they all arrive in time, we can go over everything in one month. If they don't, I may have to split it up into two months. Either way, you'll have plenty of easy crafts to choose from, including pasties, fringe belts, frame bras and more!
Are there any particular styles or designs that you would like to try out? Have you tried making anything yet? If so, how did it go? As always your feedback is welcome and appreciated. Please feel free to leave any comments, suggestions or requests below!