How to Lace a Corset: V Method + Bunny Ears

Dollymop for Dark Garden pinstripe corset | Model: Victoria Dagger | Photo © Joel Aron
Knowing how to relace your corsets is a valuable skill. You may find the lacing too short, or want to replace it with a different type or color. Heaven forbid, you may one day end up being cut out of your corset! You can probably take it back to the maker to be relaced, but you could also learn how to do it yourself. Though this is a step-by-step how to, I've previously written several other pieces on corset lacing (part 1, the back gap, modesty panels, lacing mistakes, adjusting uneven laces).
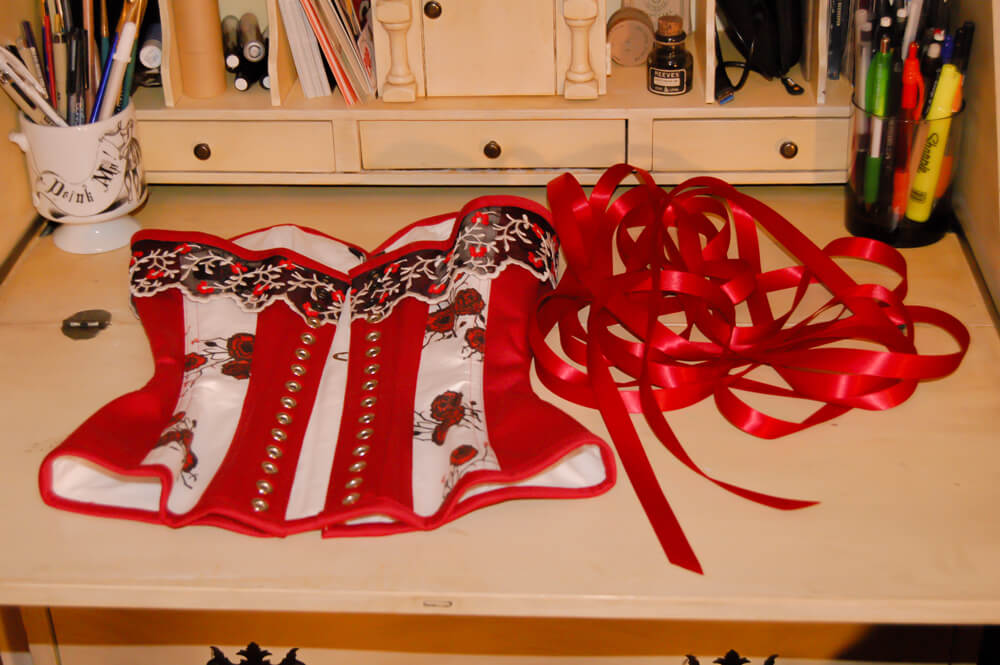
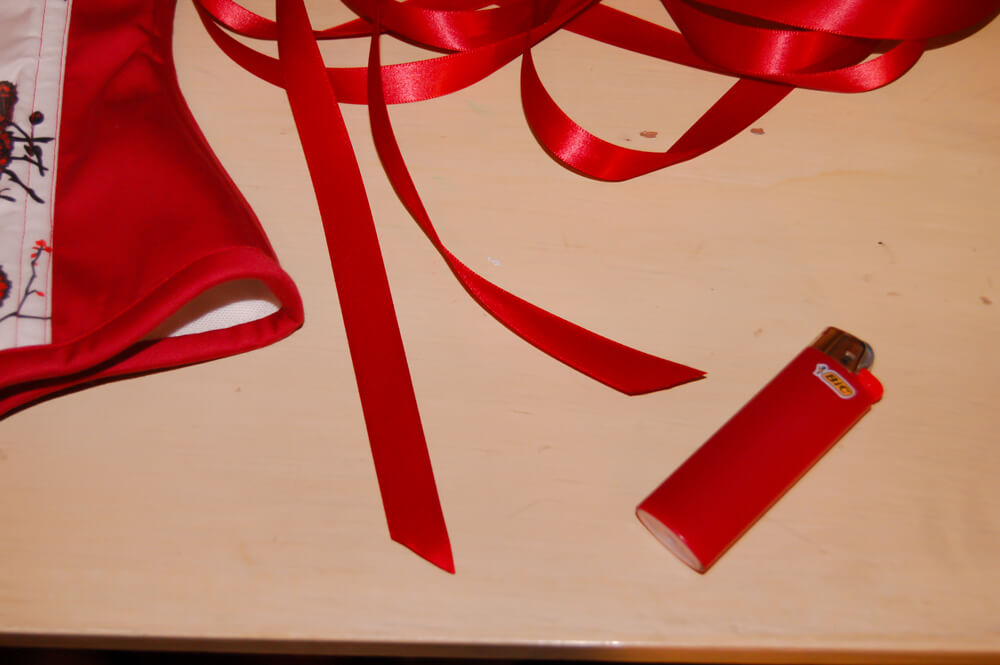
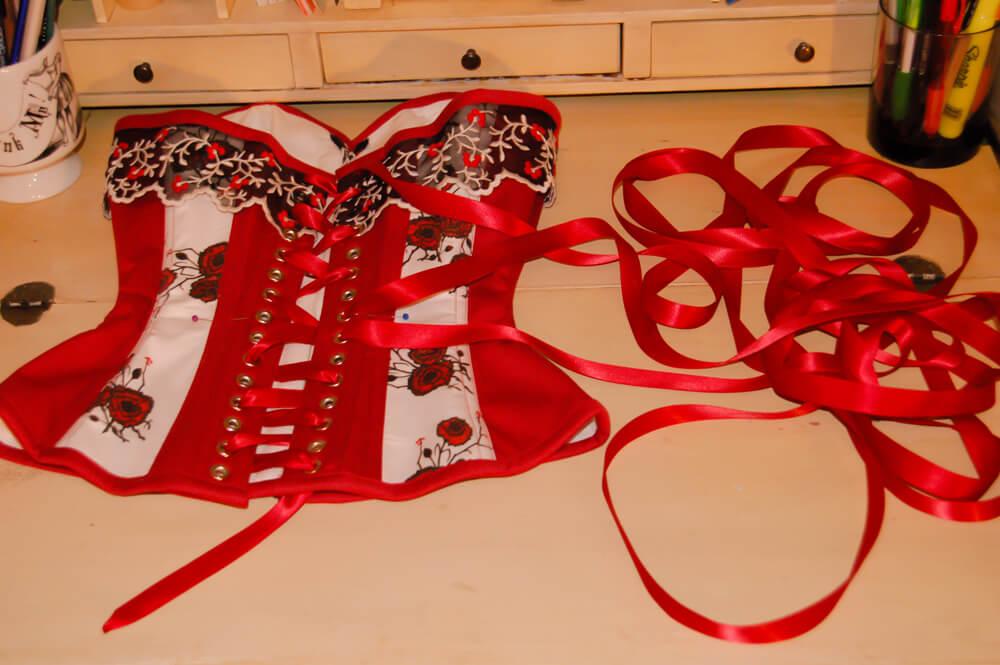
As a general guideline, you'll want about 5-8 yards of lacing for underbust corsets, and 7-10 yards for overbusts. How much will depend on how long the back of the corset is, how closely set the grommets are, how much reduction you achieve, and the overall size of the corset. As discussed in those prior articles, I tend to use ribbon for lacing. I cut the ends at a 45º angle and singe them to keep them from fraying, which can be really frustrating as you try to lace up. I also like to go down with one length of ribbon and then come back up for the other side - I find it faster, and in a weird way, less confusing than constantly switching back and forth.
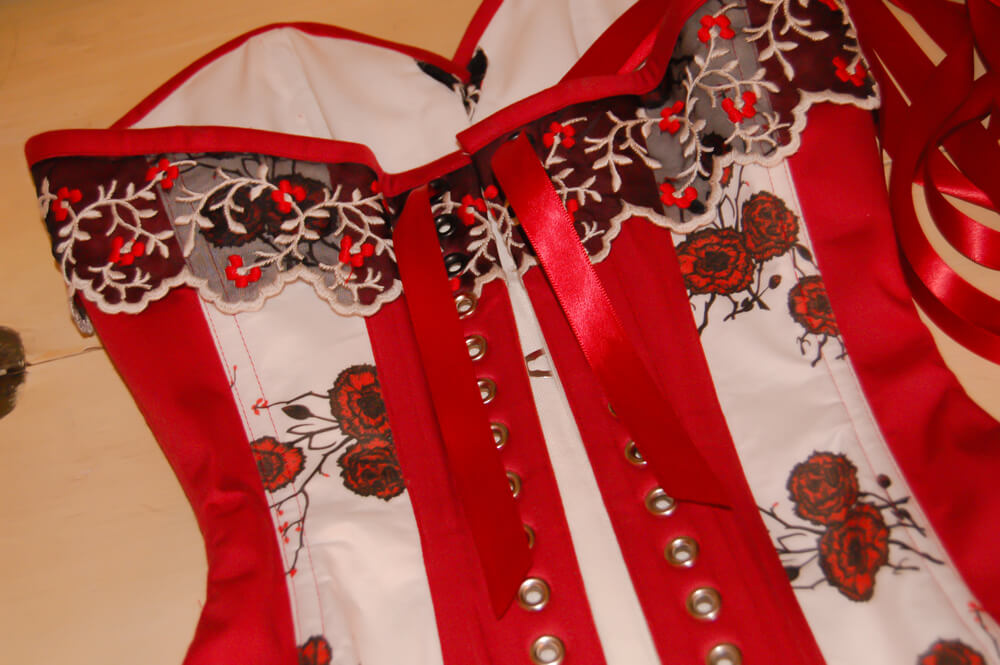
Corset lacing tutorial. Corset by Pop Antique.
Corset lacing tutorial. Corset by Pop Antique.
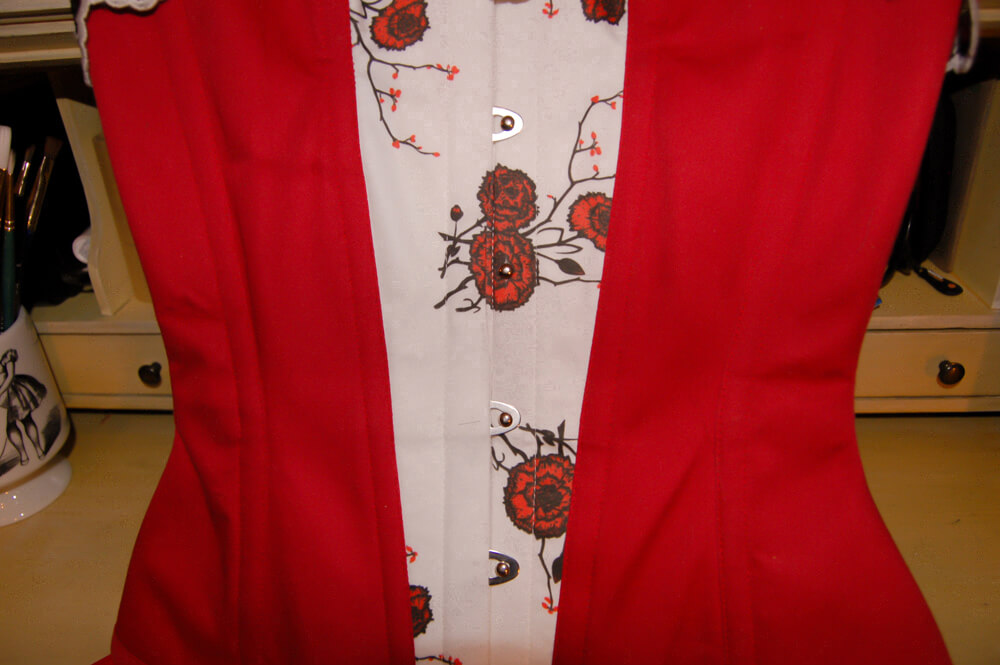
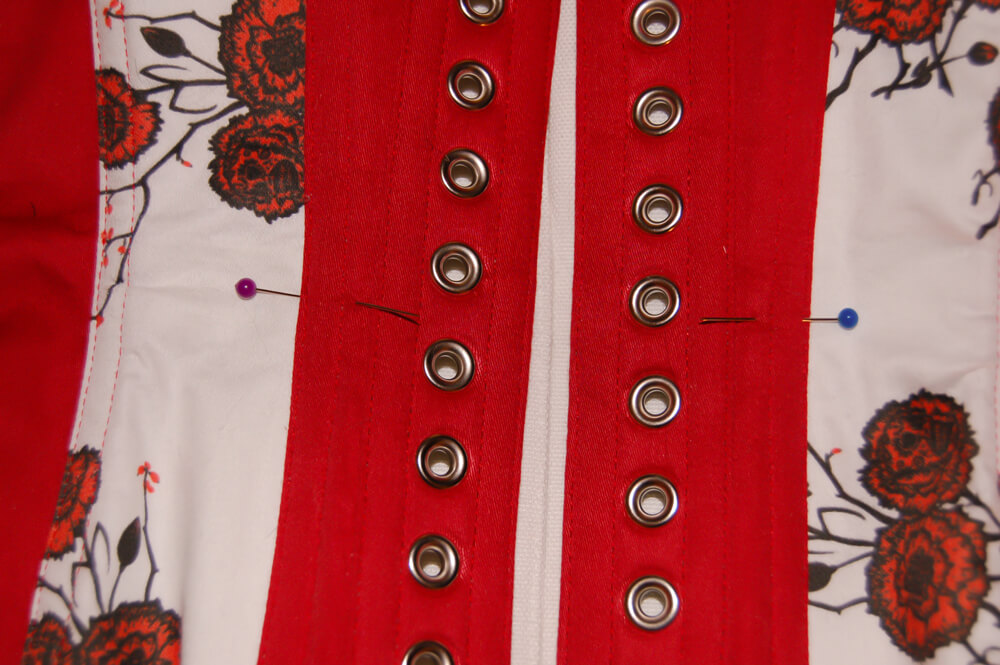
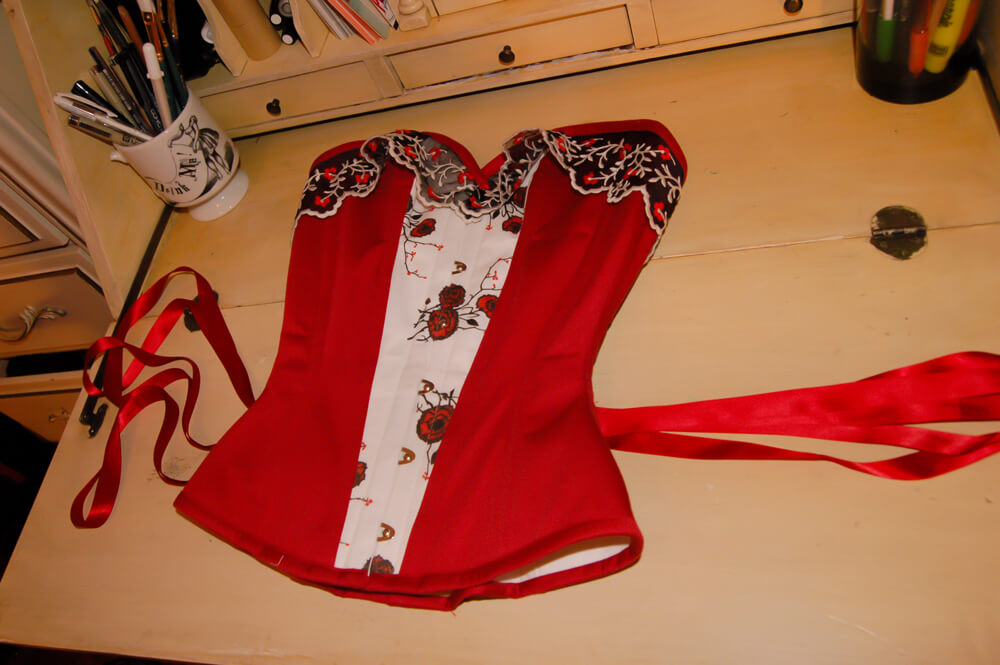
Hook the front of the corset, putting one busk loop towards the middle behind. This will maintain the tension and keep it securely fastened. You may find it helpful to mark the waistline with a straight pin or safety pin (don't do this if you're lacing a leather corset). Just feel for the waist tape, if there is one. You'll need to know where the waist is to make the "bunny ears."
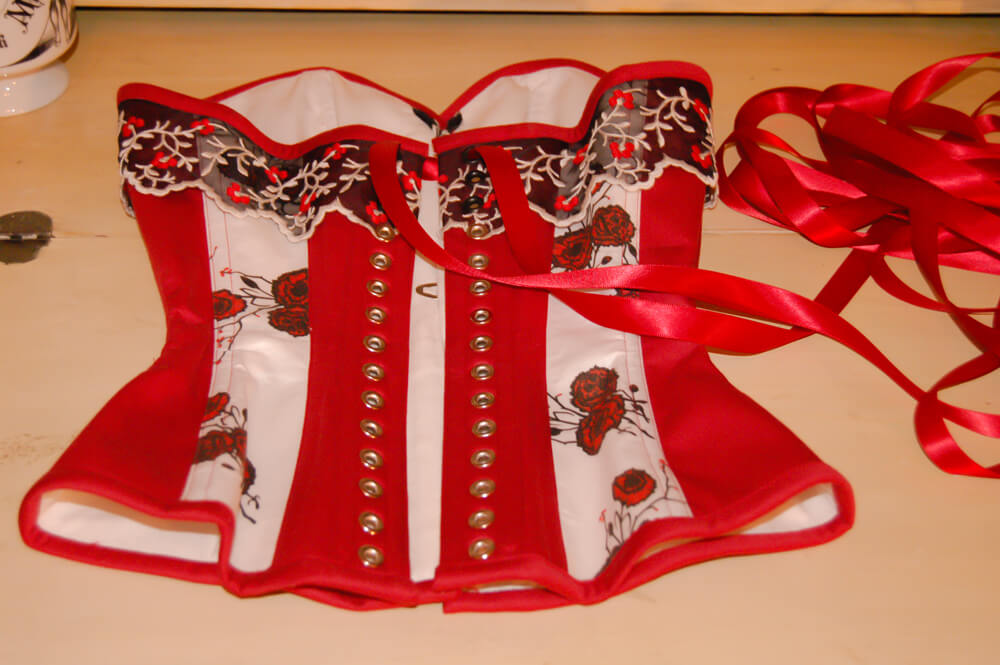
Corset lacing tutorial. Corset by Pop Antique.
Corset lacing tutorial. Corset by Pop Antique.
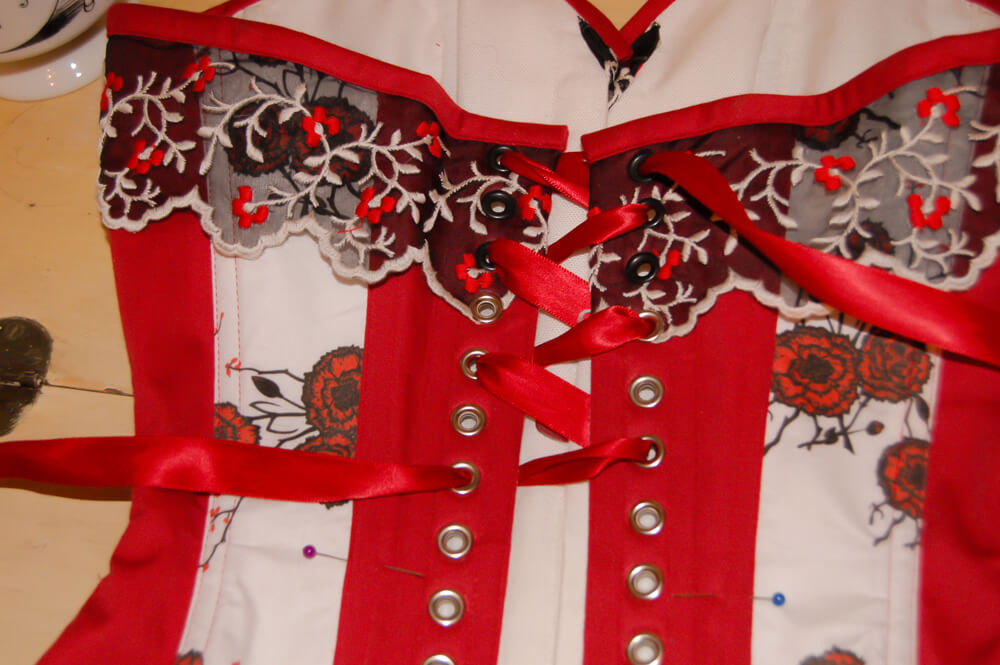
Pull one end of the lacing through each of the top grommets (coming up from below, on the interior of the corset), then pull the length from both sides through together (use one hand to brace the corset and one to pull) so that they are the same length and you have a bit of a space between the edges of center back - just an inch or two.
Corset lacing tutorial. Corset by Pop Antique.
Corset lacing tutorial. Corset by Pop Antique.
Corset lacing tutorial. Corset by Pop Antique.
Corset lacing tutorial. Corset by Pop Antique.
Corset lacing tutorial. Corset by Pop Antique.
Take one side of ribbon. I like to start with the left, right where it comes out of the grommet, then pull it through my finger and thumb, flat, until I reach the end. This minimizes the amount of twisting in the ribbon.
Coming up from the bottom of the grommet, go to the next hole on the right side.
Go back to the left, skip one, come up from the bottom.
Go back to the right, skip one, come up from the bottom.
I find it fastest to pull just the end of the ribbon through about three grommets, then catch up and pull the length through those three, and then move onto the next. So I'll lace: right, left, right, pull. Left, right, left, pull. This is a technique I developed in a production environment, you can go one grommet at a time instead, but I find it takes a lot longer and makes my arms more tired.
Corset lacing tutorial. Corset by Pop Antique.
Corset lacing tutorial. Corset by Pop Antique.
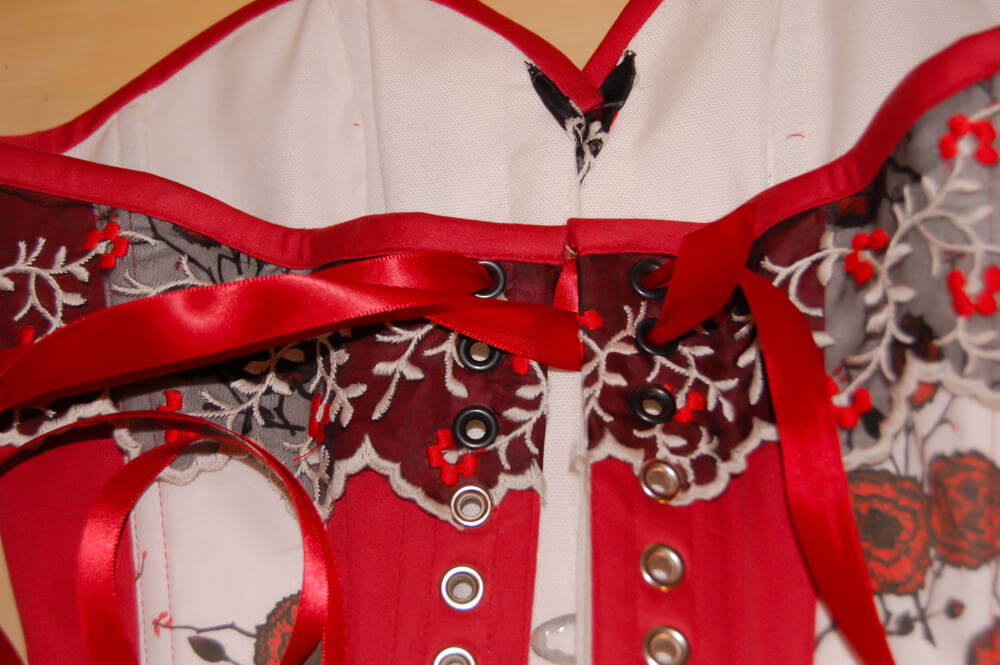
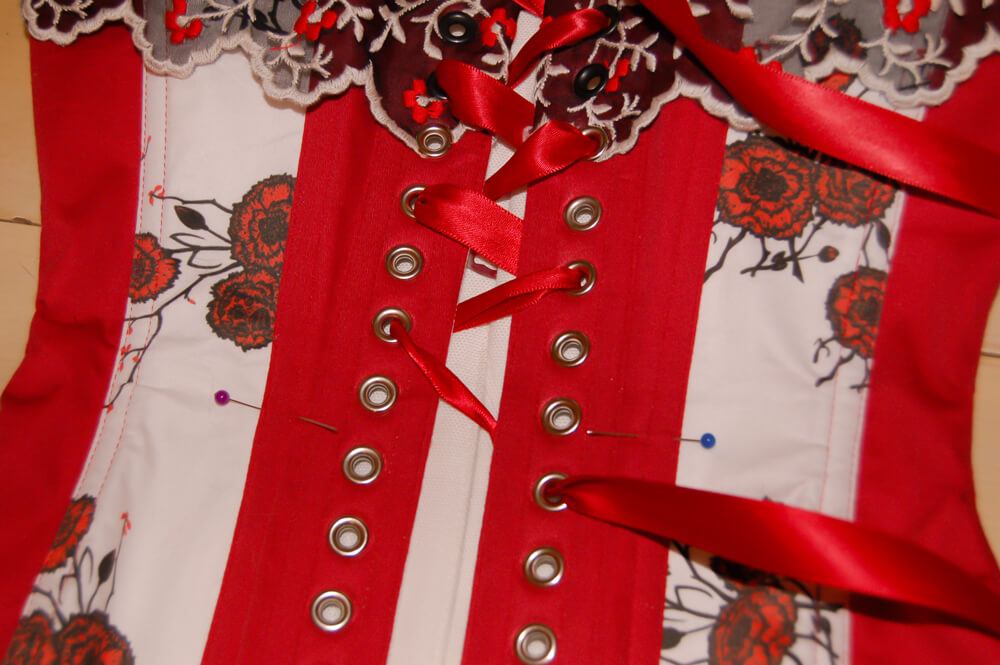
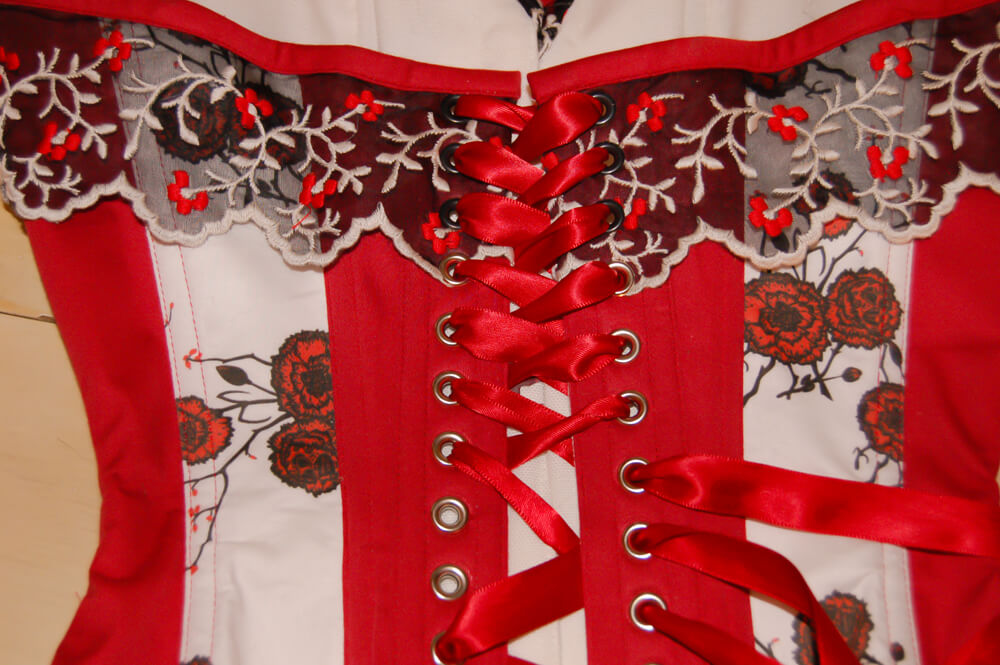
Keep going in this pattern until you are at the waist level. If the waist level is even with a grommet, that grommet and the one below it will be the pair for the bunny ears. If there are grommets framing the waist tape, then that's your pair.
When you get to your grommets of choice, you will skip twogrommets as you go across, going from directly above the waist on one side to the lower of the pair on the other side. Come up from the bottom. Pull all the slack through.
Go straight up, do not skip a grommet, do not switch sides (also do not pass go or collect $200). From above, insert the lacing into that grommet. Pull out a bit of slack, but not much - this will see you to the bottom of the corset. Most of the slack lives in the waist loop. You'll only need a couple feet for most corset styles.
Corset lacing tutorial. Corset by Pop Antique.
Corset lacing tutorial. Corset by Pop Antique.
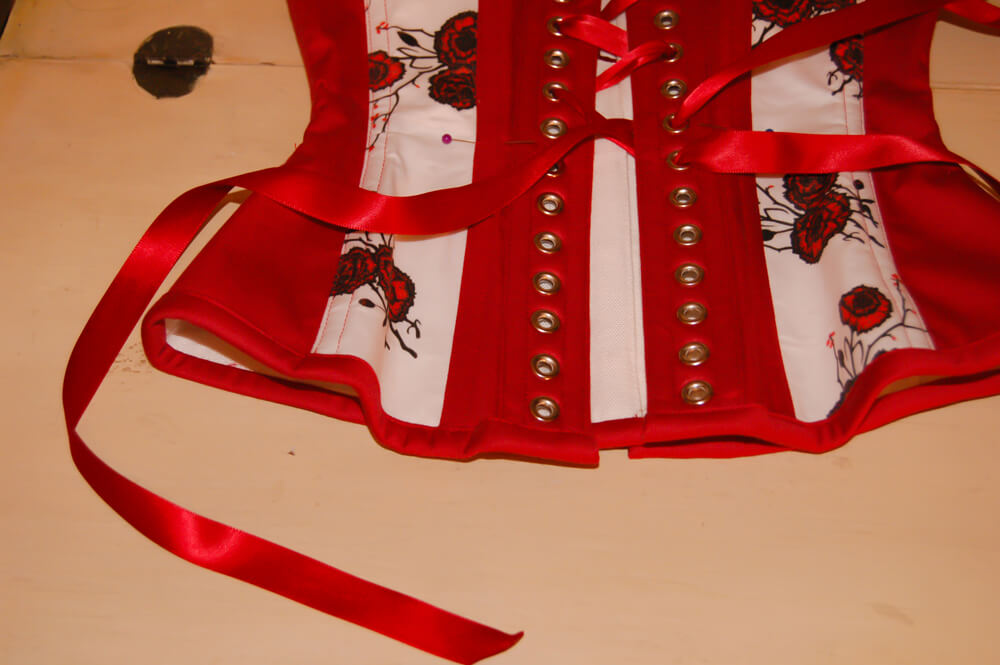
Going back across, skip two grommets (the waist loop for the other side), lace from above. Go across, skip one, lace from above. Below the waist, I find it's sometimes easier to go in pairs rather than threes before pulling through. Continue all the way down to the last grommet.
Corset lacing tutorial. Corset by Pop Antique.
Corset lacing tutorial. Corset by Pop Antique.
Corset lacing tutorial. Corset by Pop Antique.
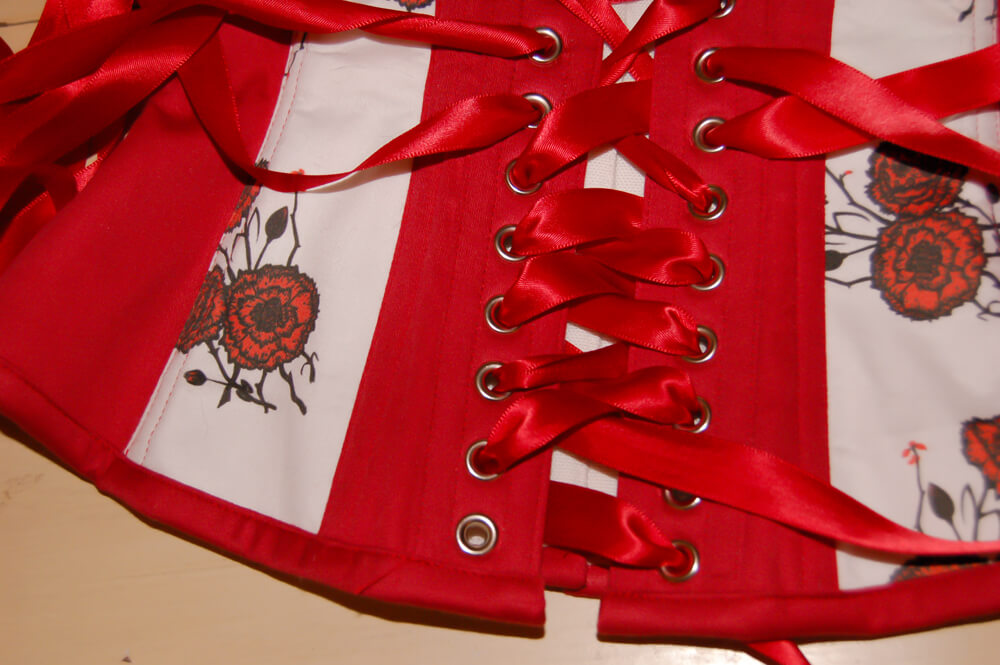
Go back to the top of the corset now. On the way, scope out your waist loop. As it angles down, which side of the lacing is on top? In this example, it's the right-to-left which features the overhand lacing. The lacing looks a lot tidier if you make this a consistent pattern. I make this my mantra as I go back down with the other side of lacing.
Again, I pull the length of the lacing through my finger and thumb to eliminate twisting.
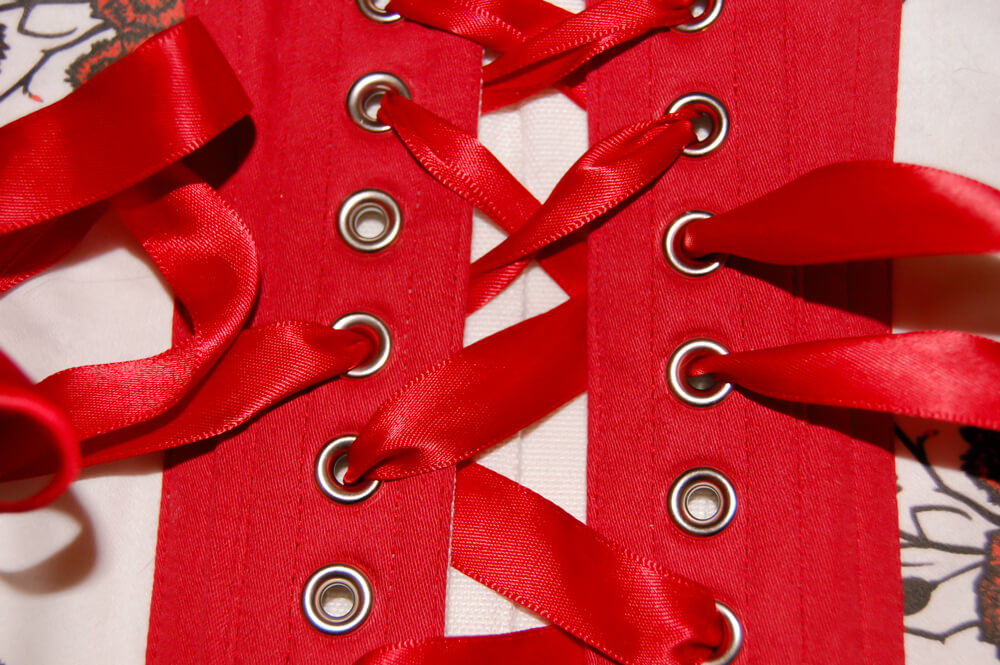
Coming up from the bottom of the grommet, go to the empty grommet (skip none) on the left side. I'm going over the bit of lacing that I cross.
Coming up from the bottom of the grommet, I go under the existing piece of ribbon to the next grommet.
Again, I work in threes. I repeat to myself, "Over, under, over." (Pull.) "Under, over, under." (Pull.)
You can do one or two grommets at a time if you find it easier.
Corset lacing tutorial. Corset by Pop Antique.
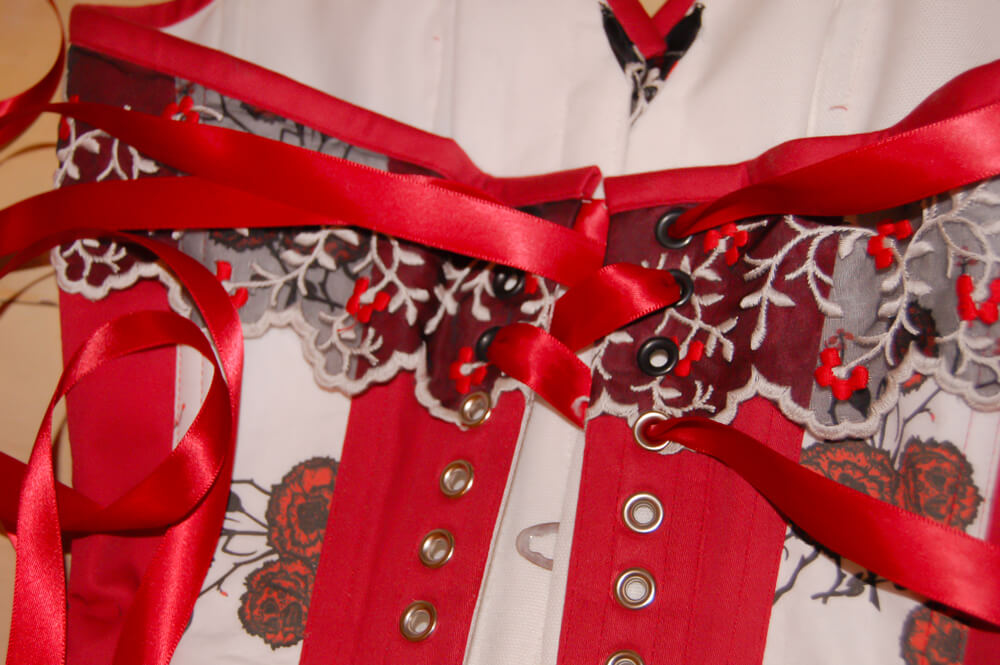
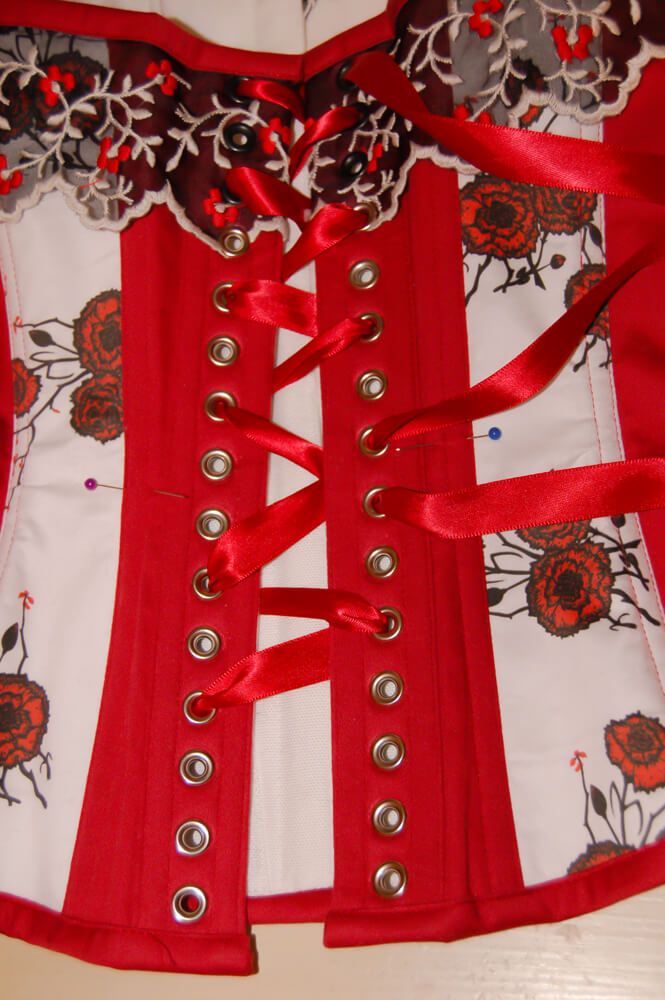
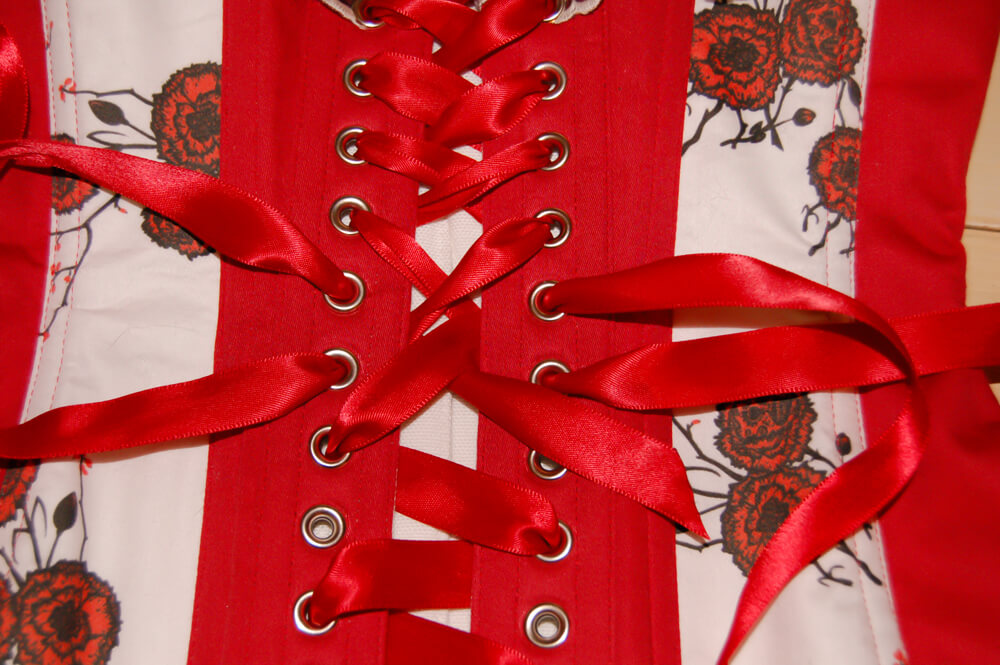
Once you get to waist level, there will be your two open grommets. Go through the lower one from beneath (maintain your over-under pattern here), then into the higher one from above. Pull out a couple feet - this is your home stretch! Don't forget your over-under pattern. You should create a parallel line from the original cross over.
At this point in particular I will switch to paired grommets to better keep track of the over-under pattern. If I'm going to mess up anywhere, it's often around here. Remember that you're now inserting the ribbon from above.
Corset lacing tutorial. Corset by Pop Antique.

Corset lacing tutorial. Corset by Pop Antique.
Corset lacing tutorial. Corset by Pop Antique.
Corset lacing tutorial. Corset by Pop Antique.
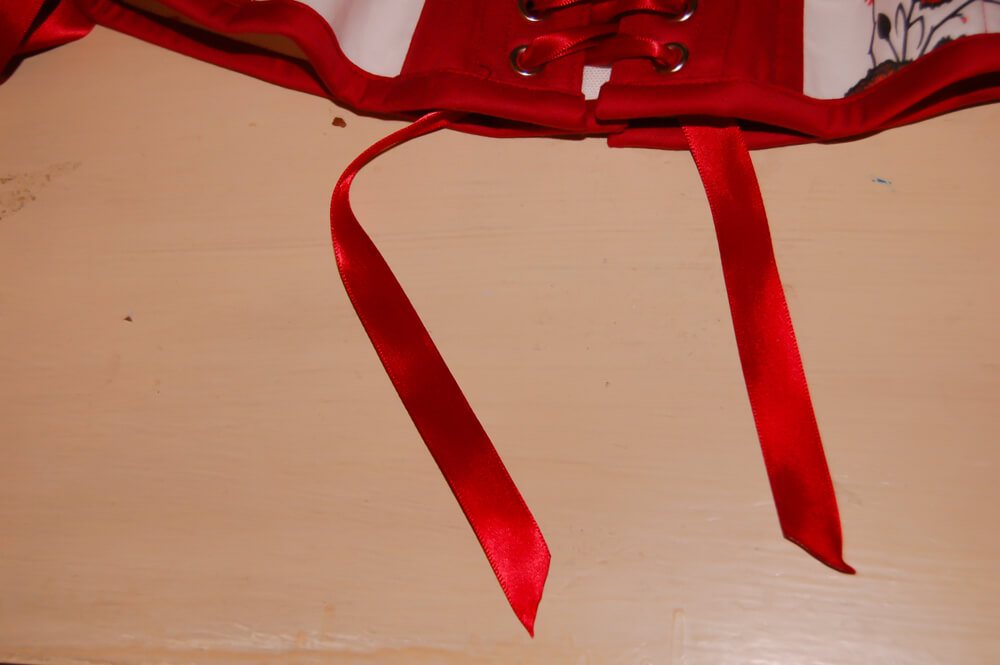
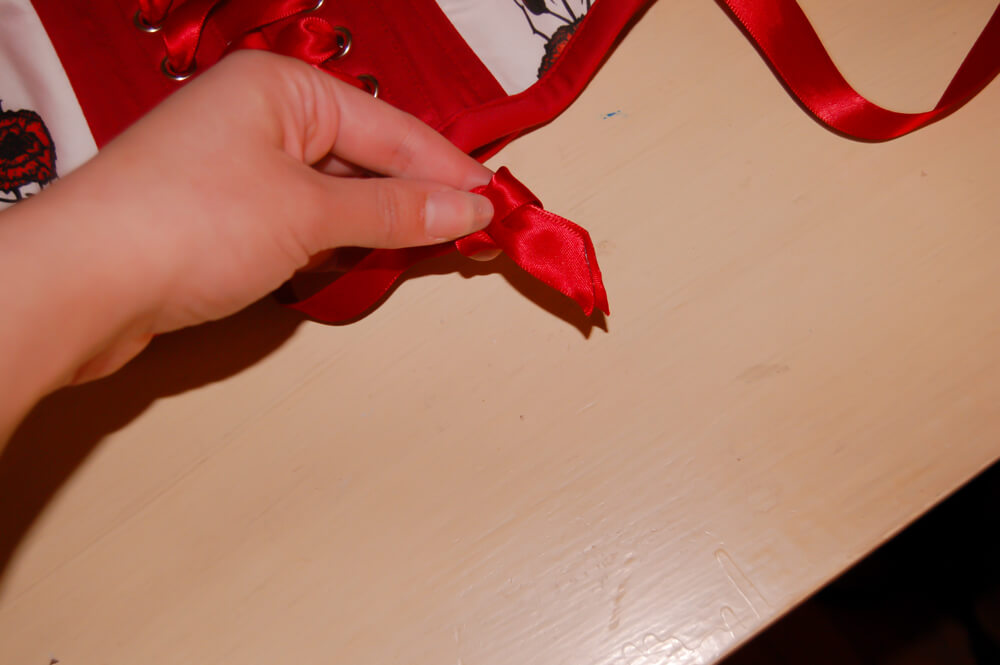
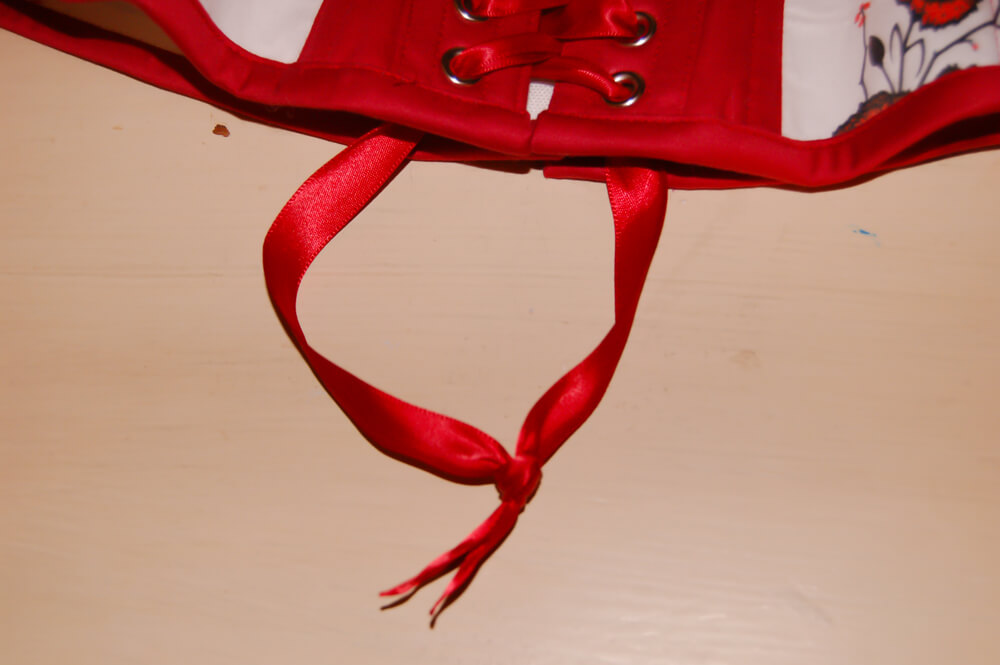
When you get to the last grommet, pull through. Take the two ribbon ends together and treat them as one. Make a loop and pull a tiny tail through. Make sure it's snug by separating above the knot and giving a good tug.
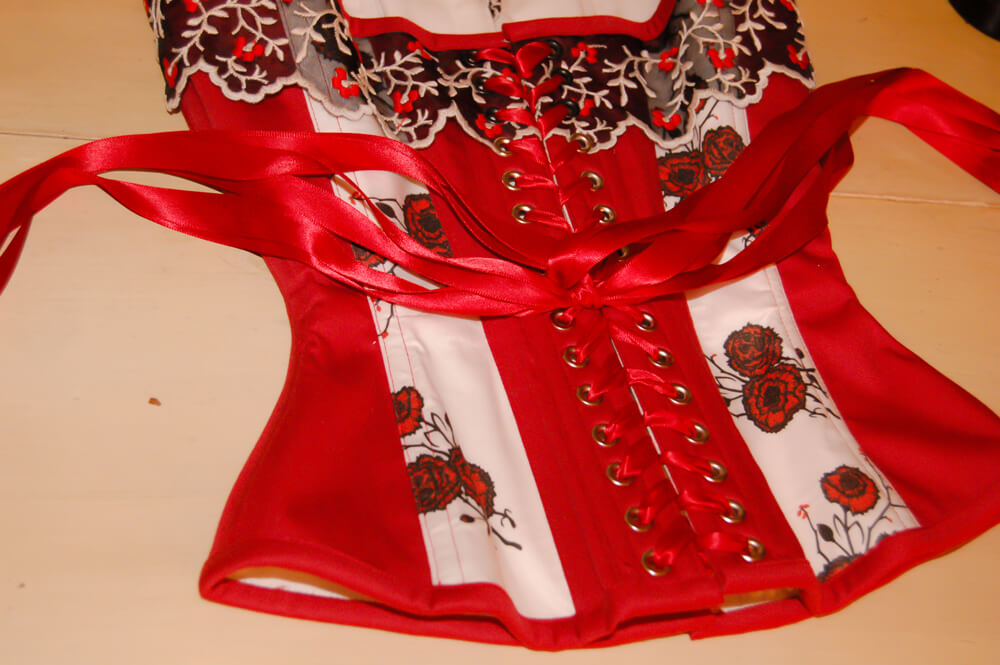
Corset lacing tutorial. Corset by Pop Antique.
Corset lacing tutorial. Corset by Pop Antique.
Then, to make it extra tidy, just distribute all the slack up to the waist loops from the bottom, then down to the waist loops from the top. You can skip about every other pair of grommets as you're doing this. Tie the loops in a giant bow. Ta-da!