How to Make Your Own Loungewear, Part 1
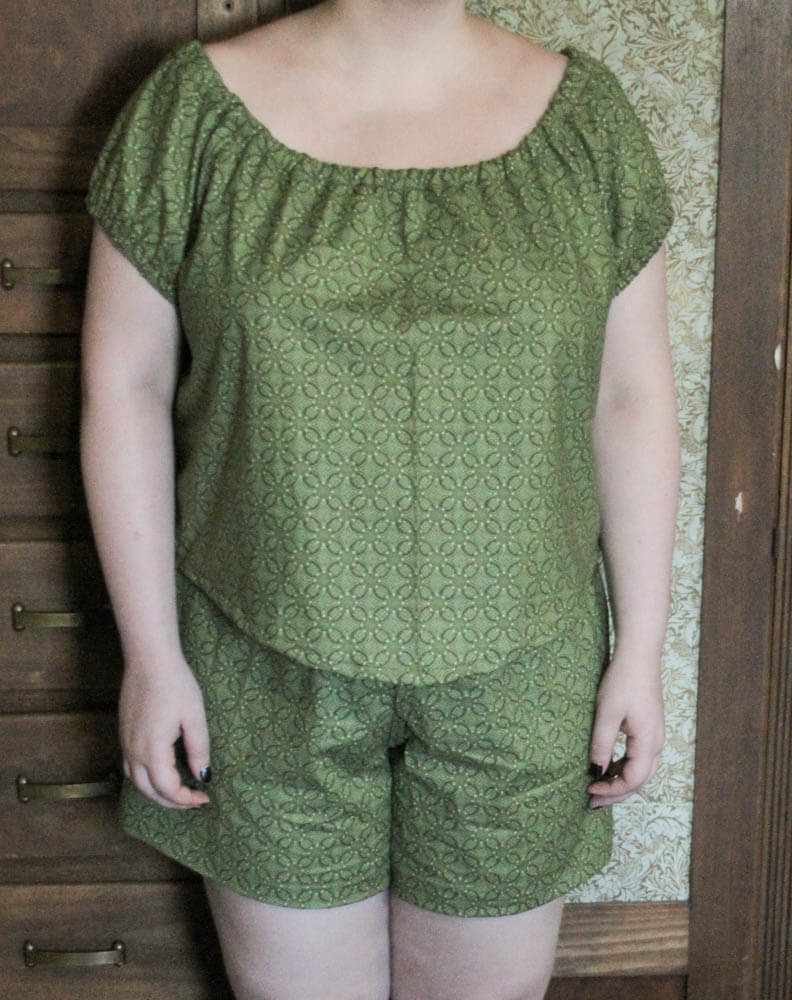
The purpose of these first three projects is to get you used to sewing, so the pattern set I have chosen for this first post is a relatively simple one. You will mostly be sewing in a straight line, and these pieces are not tight or fitted. In this month's post, you will be learning the basics as we go over making a pajama set (including shorts and a peasant style top) as well as a chemise. Please note that my instructions may not exactly follow the instructions Simplicity Patterns provide.
Materials Needed:
- Simplicity Pattern 1561 - This can be bought in sizes XS,S,M or L,XL. If you are between sizes, I recommend sizing down.
- Woven fabric for shorts: Maximum 1 ¼ yards (45" width)
- Woven fabric for top: Maximum 1 ¾yards (45" width)
- Woven fabric for chemise: Maximum 2 1/8 yards (45"width)
- Note: If this is your first time sewing, I recommend using cotton fabric only. If you have sewn before, please feel free to use any type of fabric. I will be using cotton for the pajama set and polyester chiffon for the chemise
- 1 or 2 spools of thread
- 1 package or 2 yards of ¼" elastic
- Bias tape (optional) (I will teach you how to make your own.)
- 2 yards lace or ribbon no wider than ½"
- Tracing paper
- Tracing wheel
- Scissors and snips (Snips are tiny scissors, very useful for tight curves.)
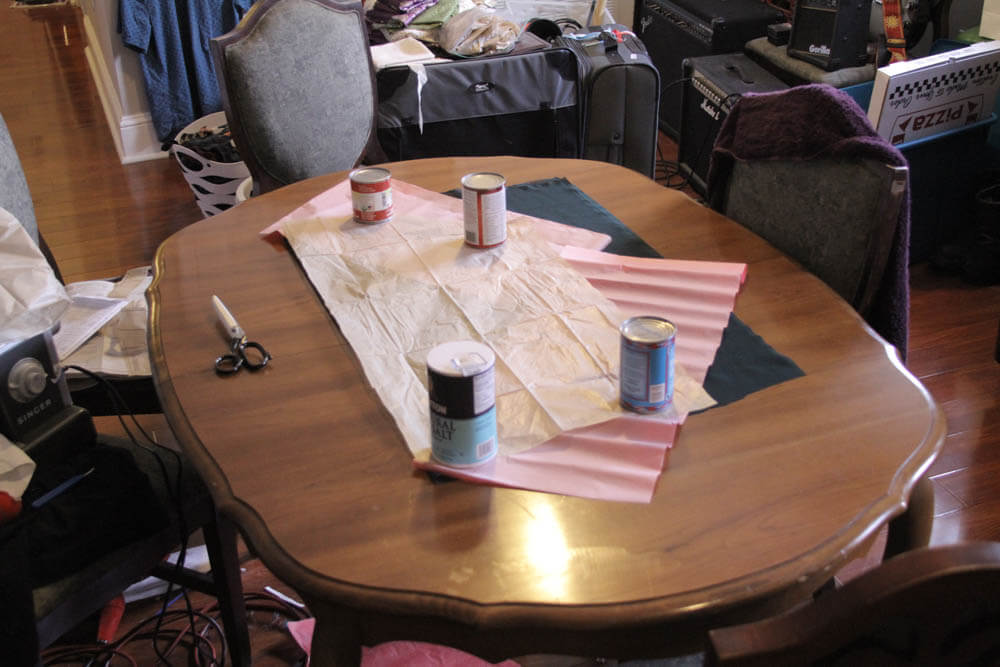
- Weights (You can buy fabric weights, or you can do what I do and use canned goods.)
- Tailor's chalk (This will allow you to mark pattern pieces and will easily come off when washed. I used this to write front and back on bodice pieces that looked similar.)
- Iron and ironing board
- Sewing machine
- Hand sewing needle
- Drawstring threader
Vocabulary:
- Right Side: This is the side of the fabric that you want to see. On printed fabrics, this is the side with the print. On satin fabrics, this is the side with the sheen.
- Wrong Side: This is the opposite of the "right side." This side will be dull or matte.
- Basting: Long, easily removable stitches. Basting stitches are for holding something in place. You will remove these stitches later.
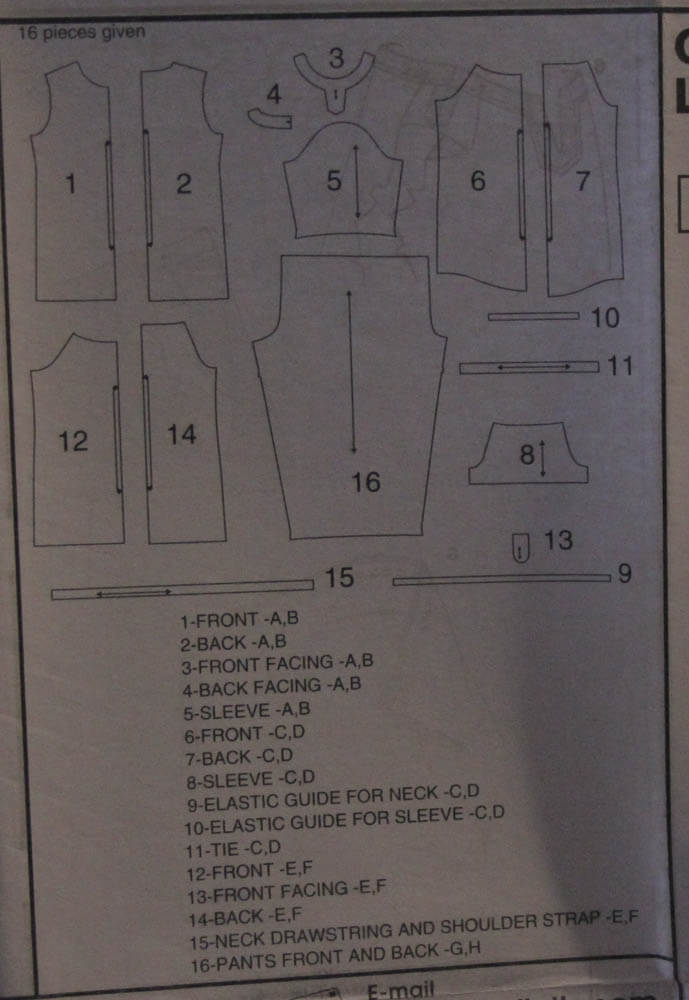
Before we we start, please open your instruction packet and take note of this section. This diagram is incredibly helpful. It will make your life so much easier when looking for pattern pieces.
Project 1 Shorts:
1) At the beginning of each project, you will need to find your pattern pieces. In this case we only have one pattern piece (Number 16).
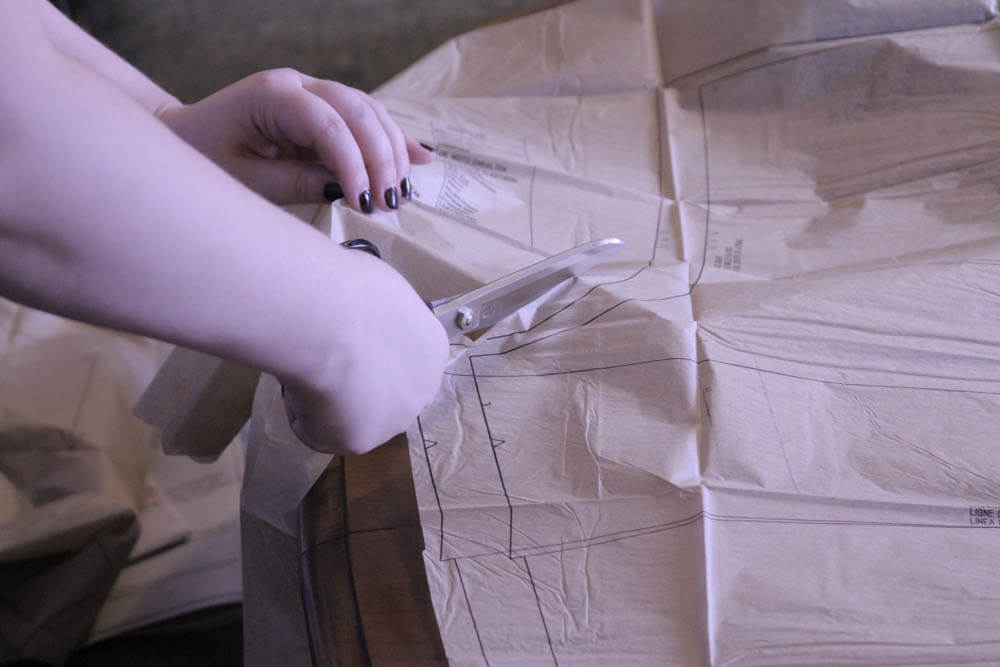
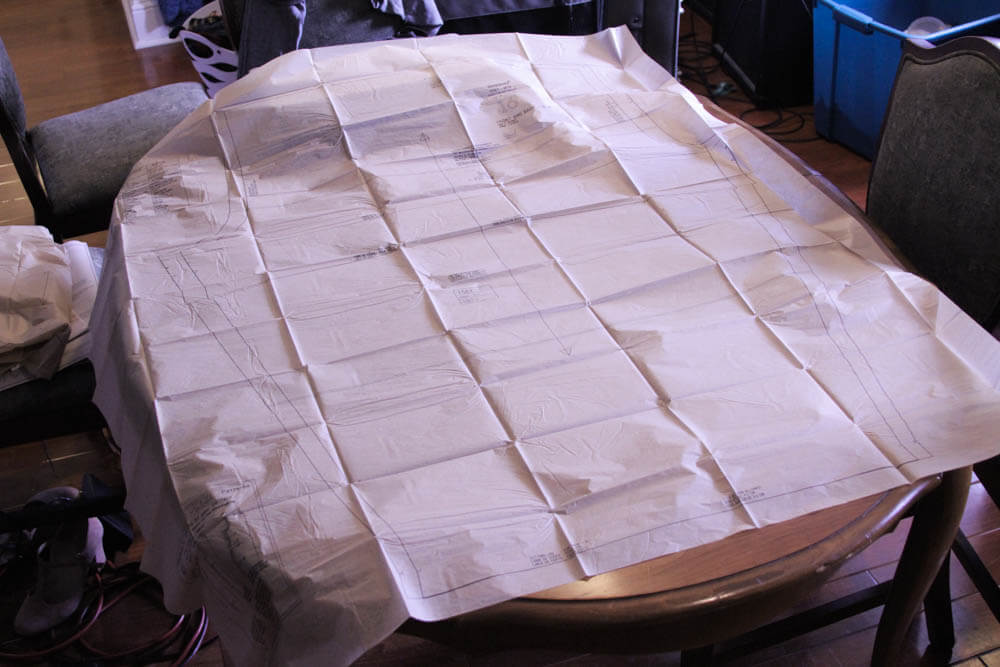
2) Cut out your pattern piece, leaving a margin of no less then a half-inch around the printed line. Cutting your pattern pieces makes the process of transferring to fabric a lot easier.
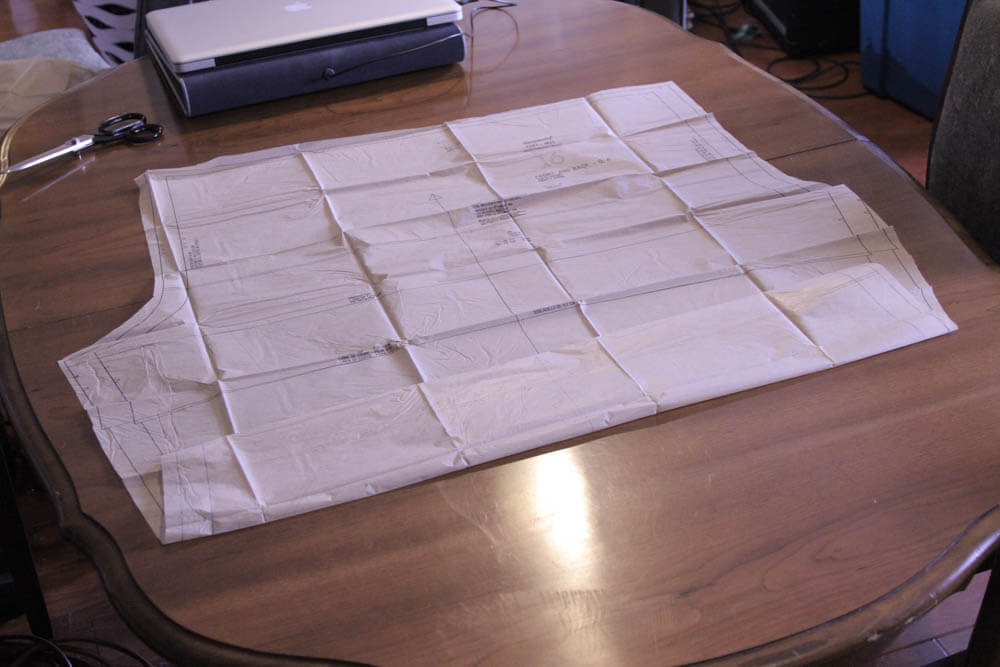
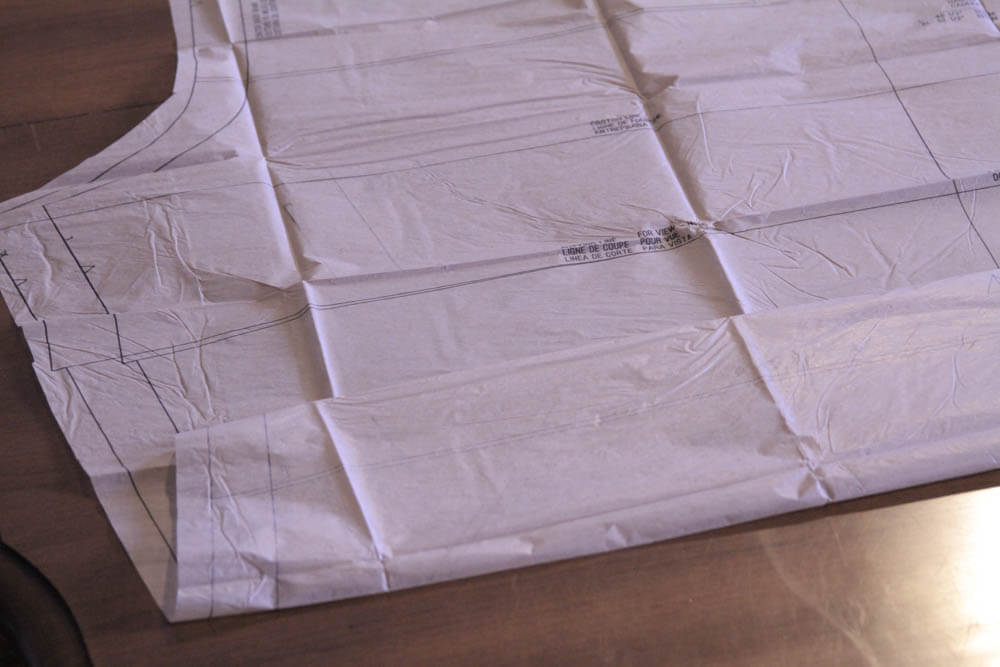
3) Since we will be making pants next week, be sure not to cut the pant legs off. Simply fold up the pattern pieces so pant legs are out of the way. Take note of where the pattern says "cut line," and make sure this is visible.
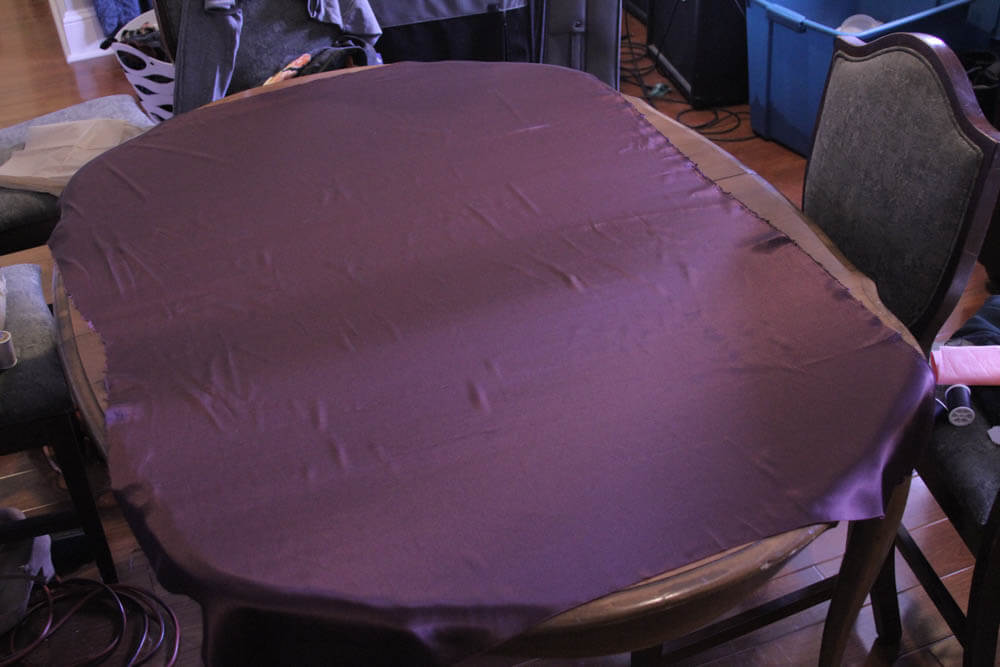
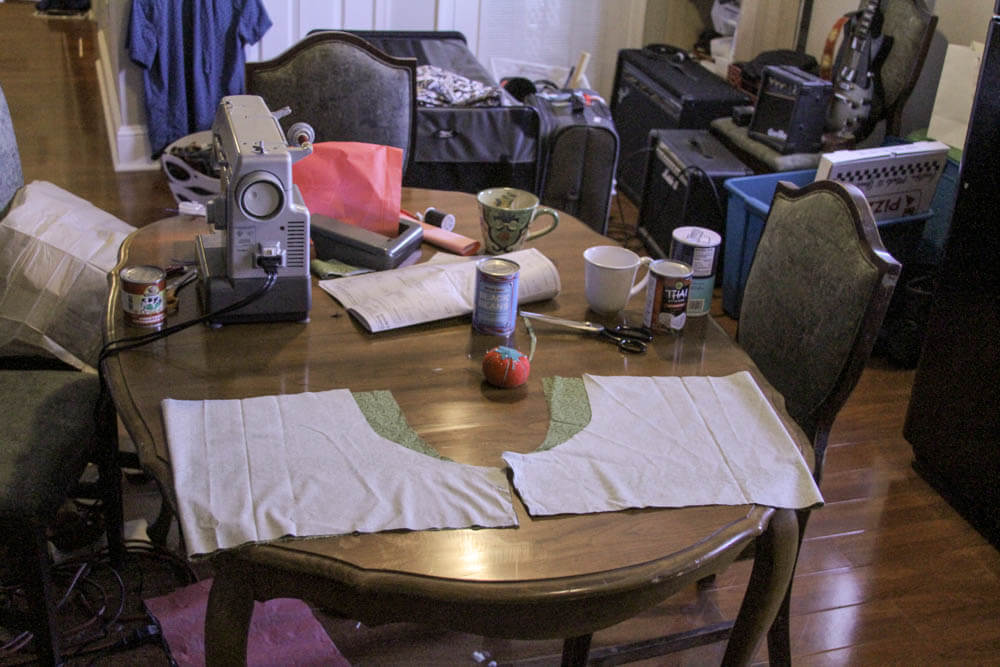
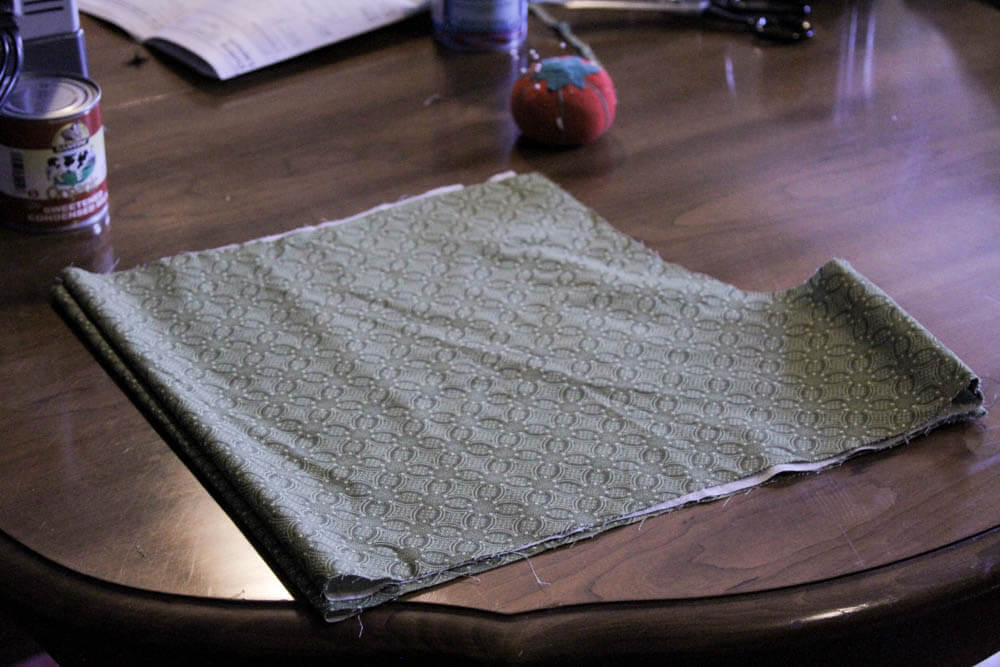
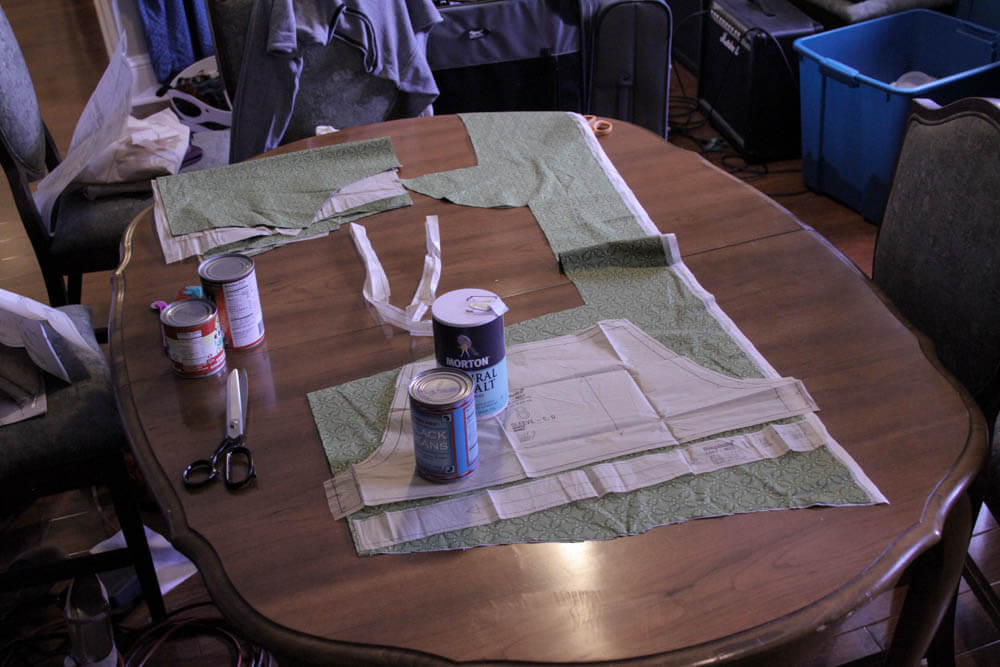
4) Move your pattern piece aside. Lay out your fabric with the right side facing up.
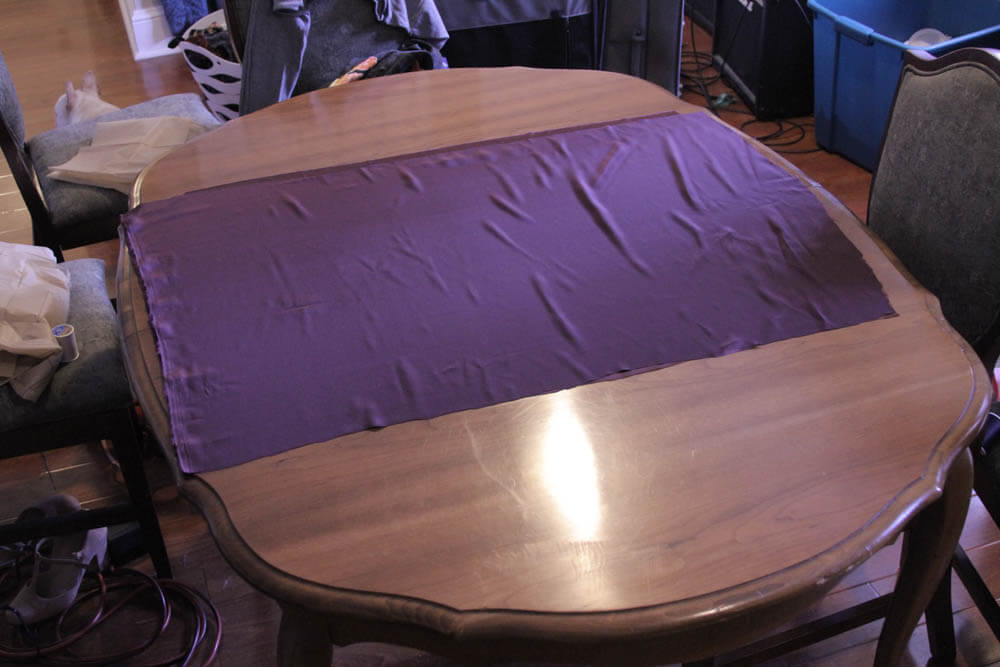
5) Fold fabric in half with right sides facing toward one another. You should now have the wrong side facing up.
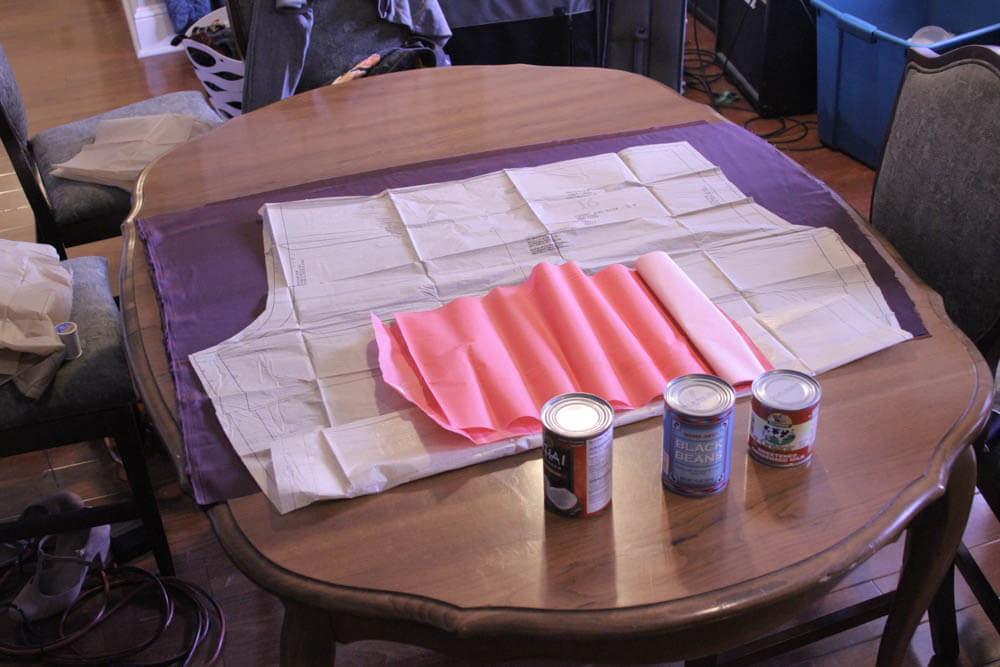
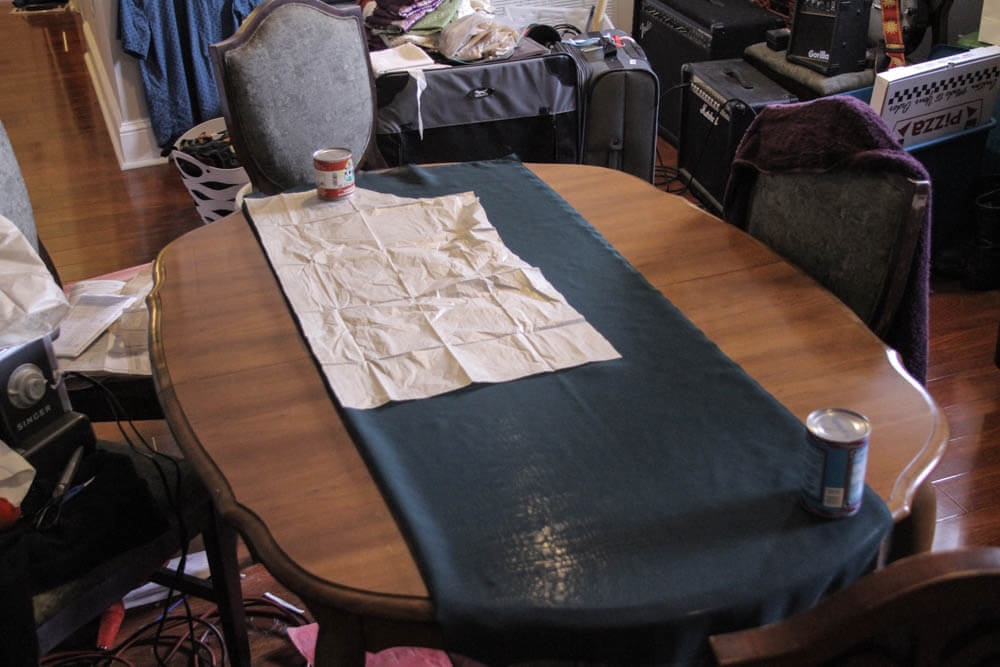
6) Lay the pattern piece on top of fabric, grab weights (I tend to use cans) and tracing paper.
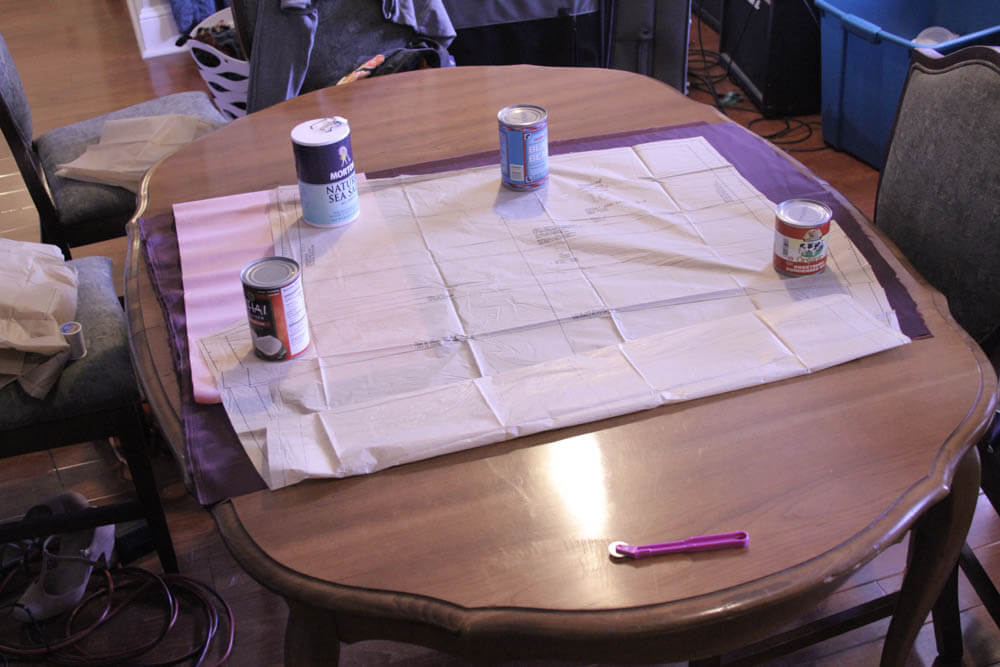
7) Place the tracing paper chalky side down under the pattern. Make sure pattern piece is pulled taut by placing weights along the edges. Your paper pattern should be smooth.
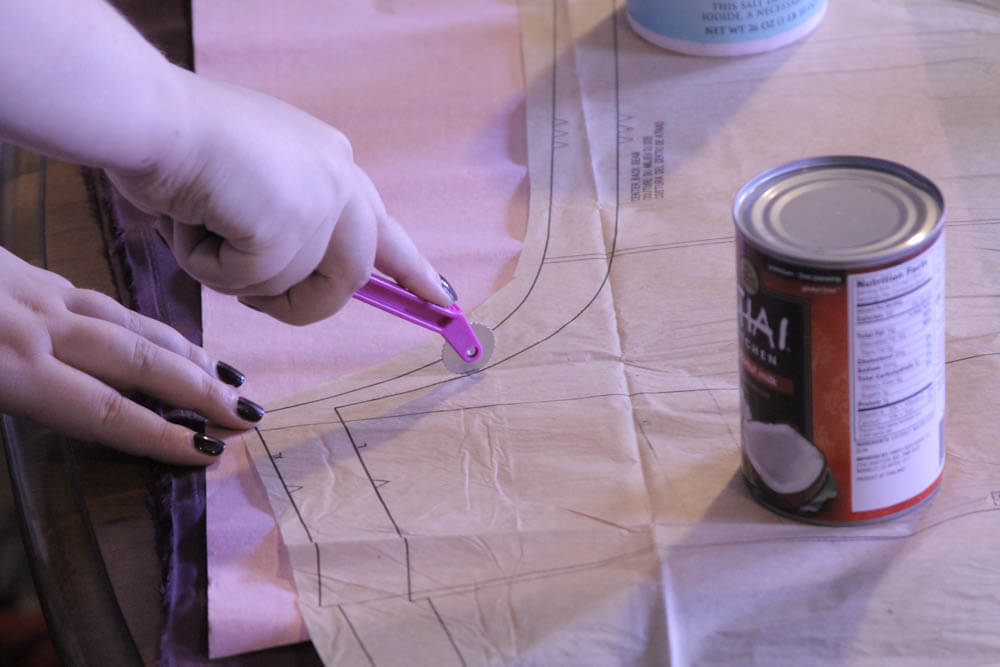
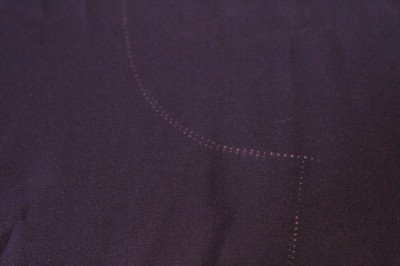
8) Use your tracing wheel to trace the pattern. Once you have traced the entire pattern (including notches), remove weights, paper pattern, and tracing paper. You should now see a dotted line. This is where you will cut.
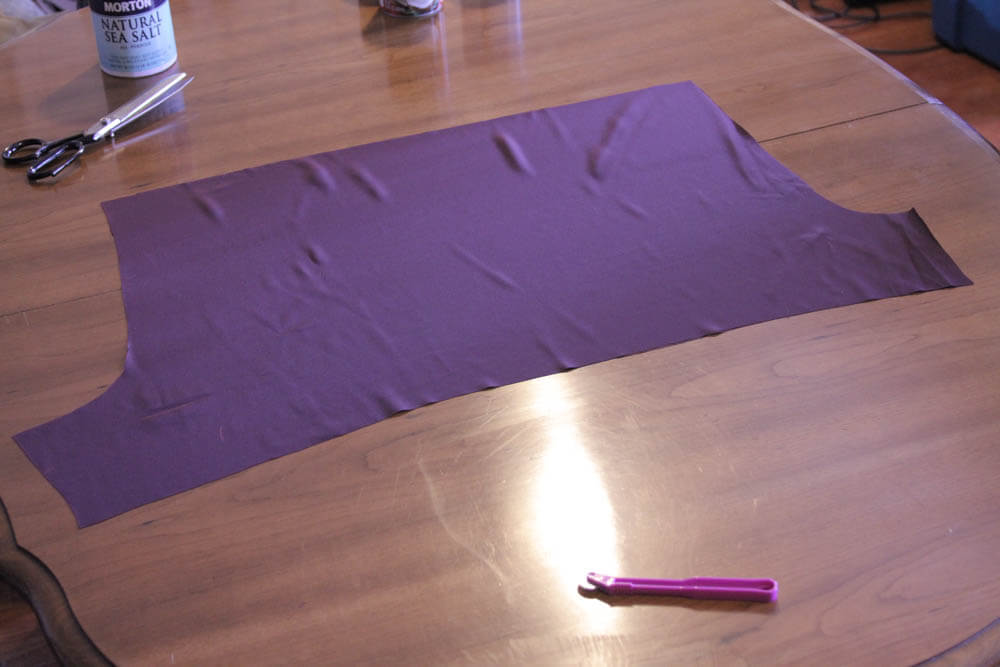
9) Cut out along traced line. Make sure not to cut notches, as they serve only as a marker.
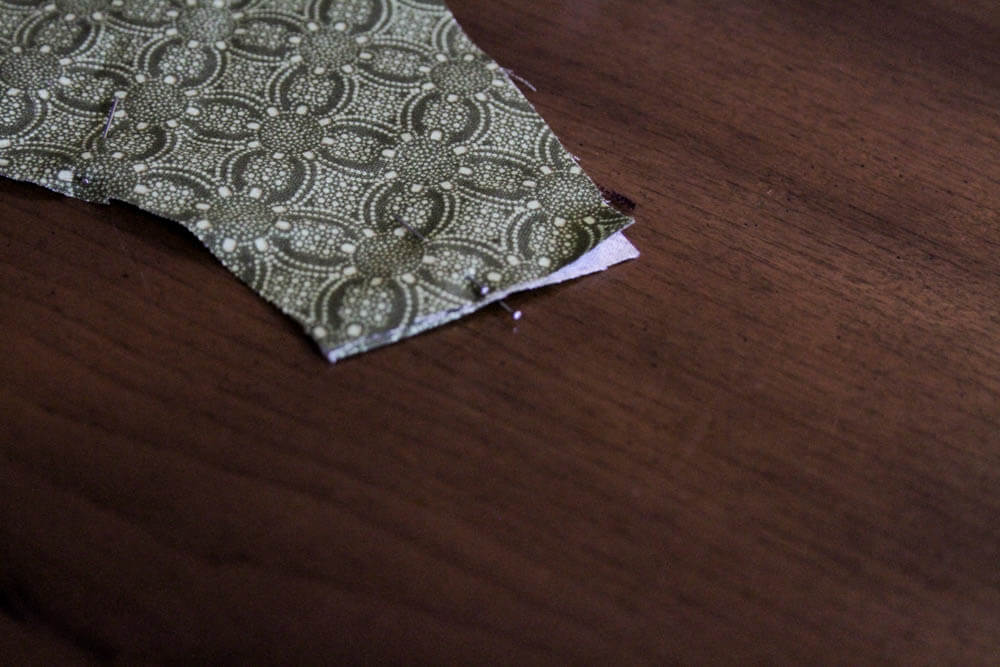
10) Over the years I have noticed that tracing chalk tends to fade away as I'm working, so wherever there are notches I place pins. It's an easy way to keep track of where your pattern pieces will match up.
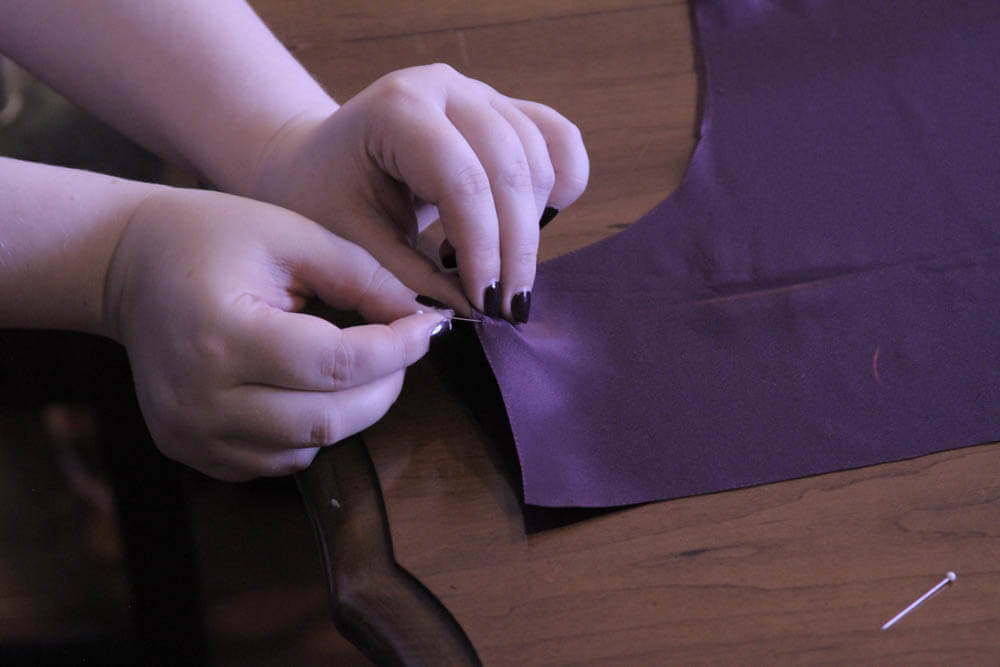
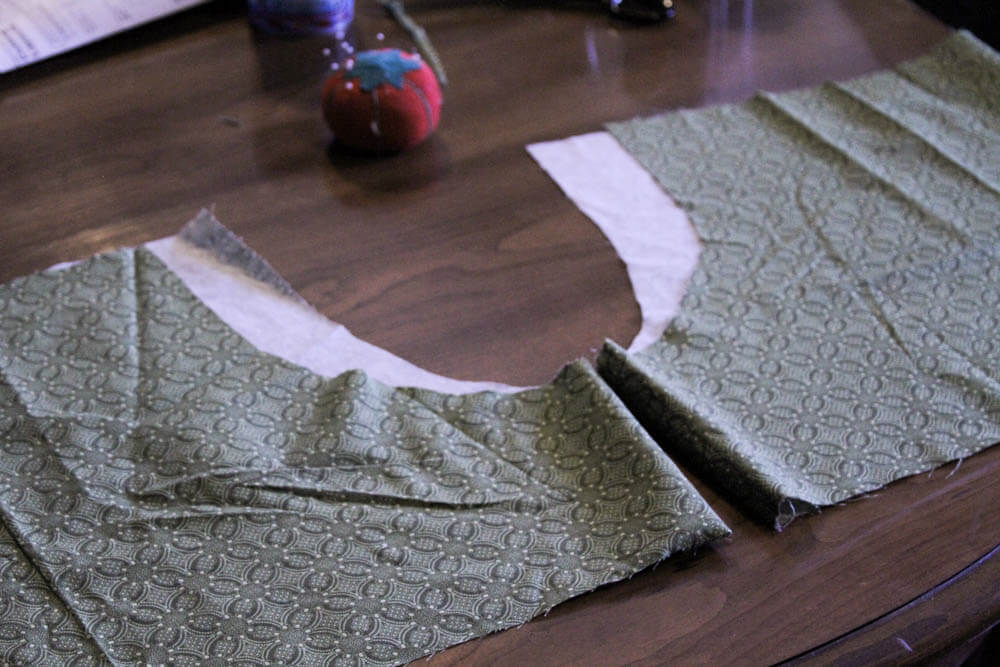
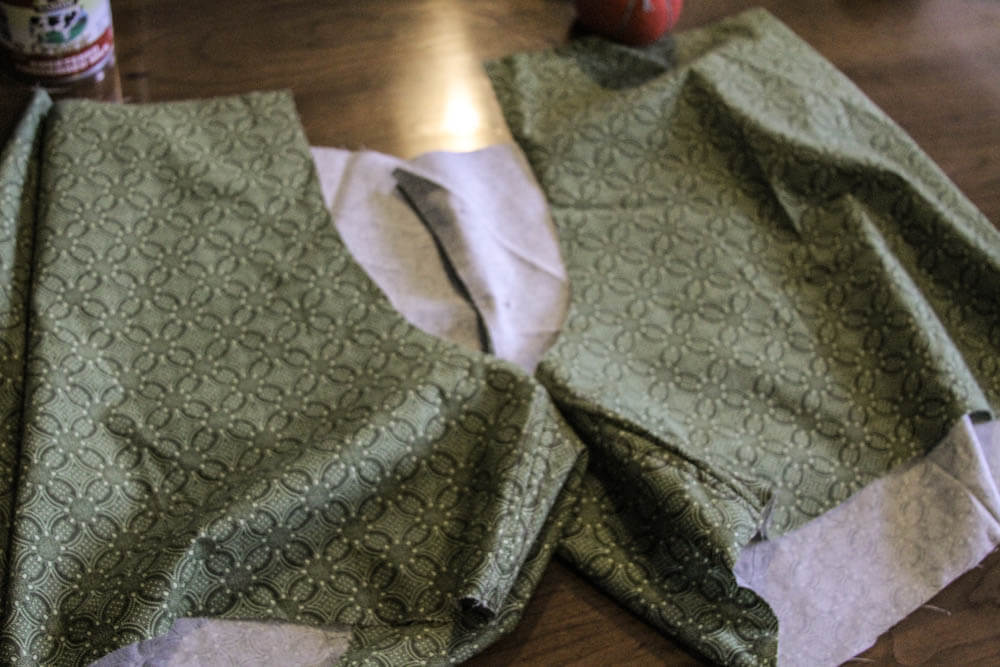
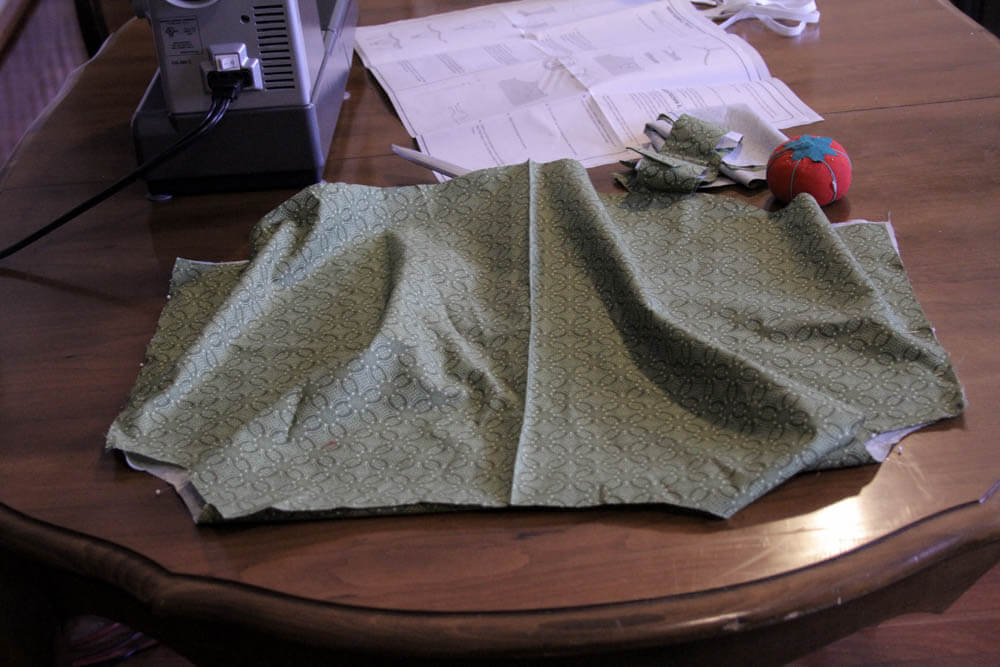
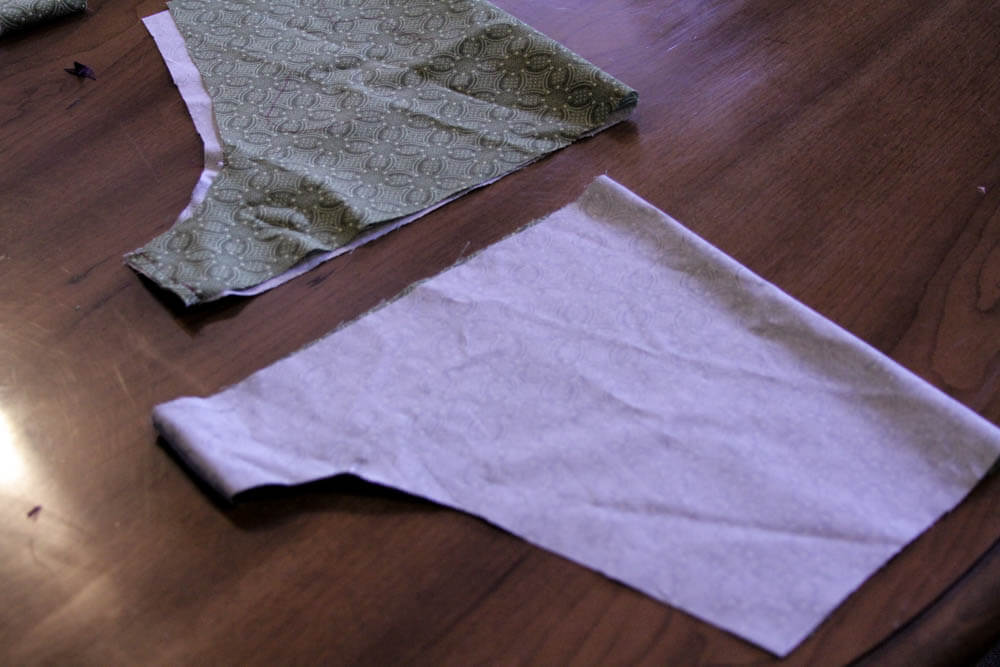
11) (Note: I noticed that I had enough of this fabric to make a matching set, so I changed fabric. This is still the same project.) You should have two separate pieces of fabric. Each piece represents a side of the shorts. Match up your notches or pins on the legs of your fabric with the right sides facing together.
12) You should have something that looks like this.
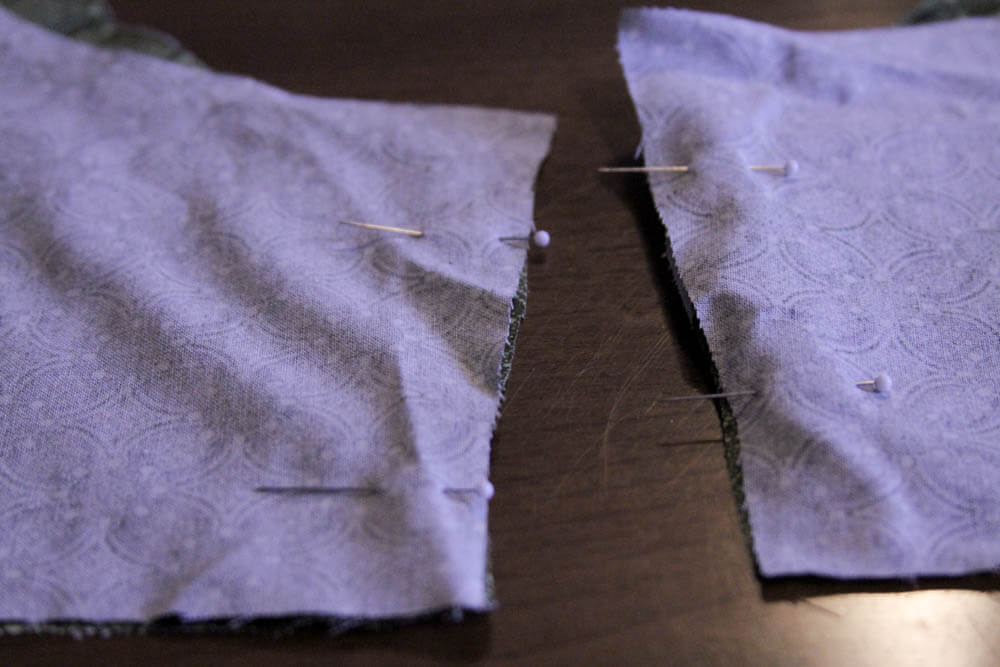
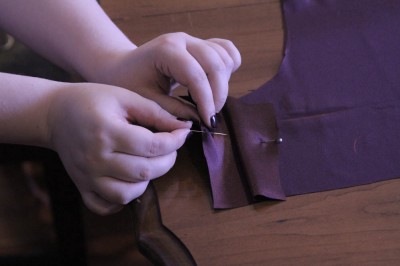
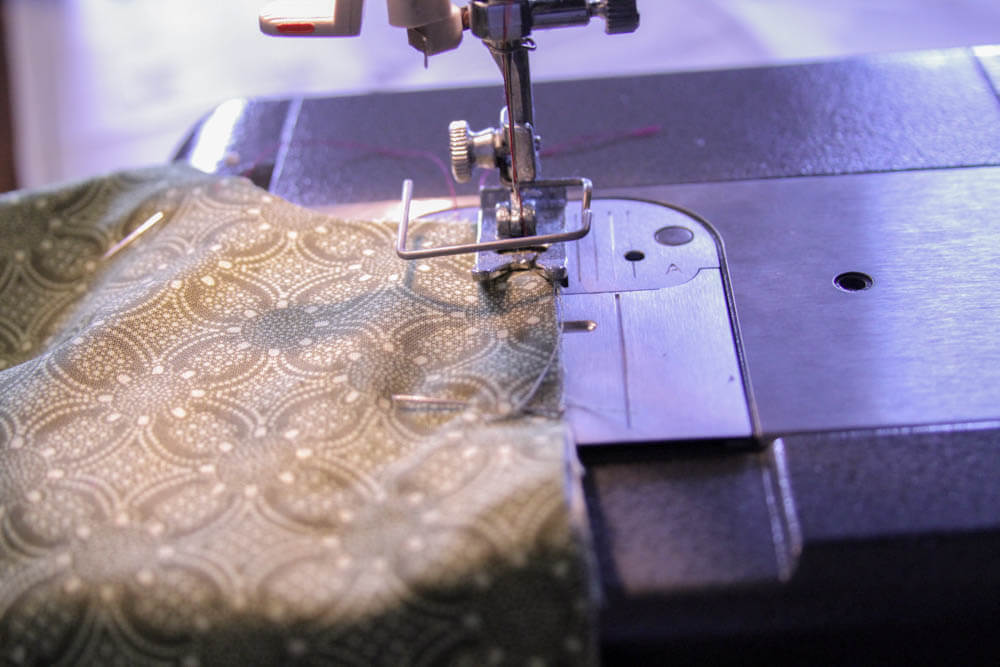
13) Pin legs together with pins facing horizontally. While you should try not to sew over pins, it may occasionally happen. If you pin horizontally it's easier to sew over a pin without breaking your needle.
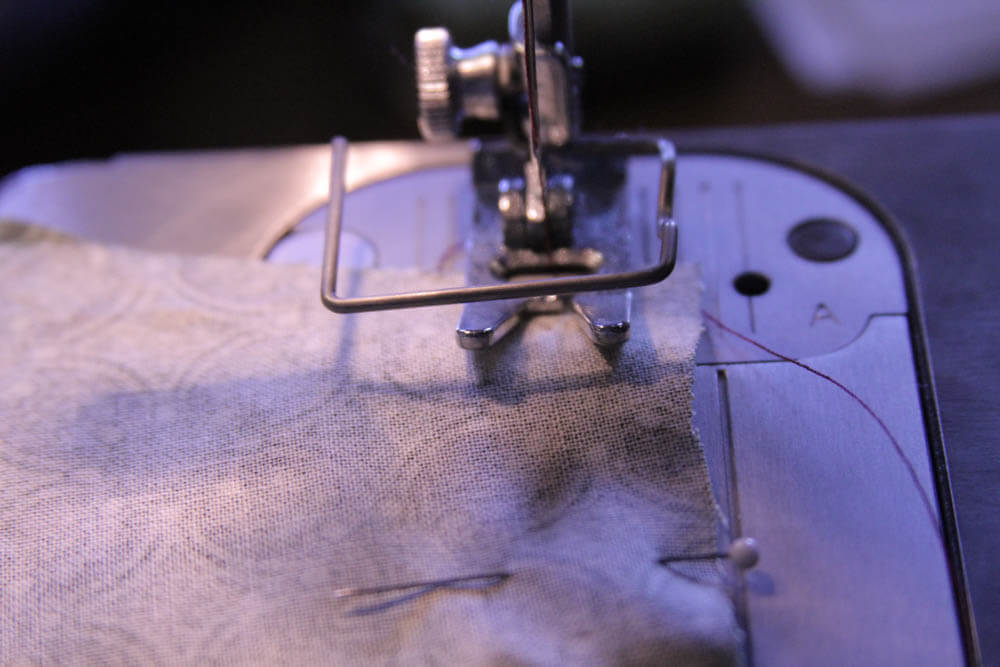
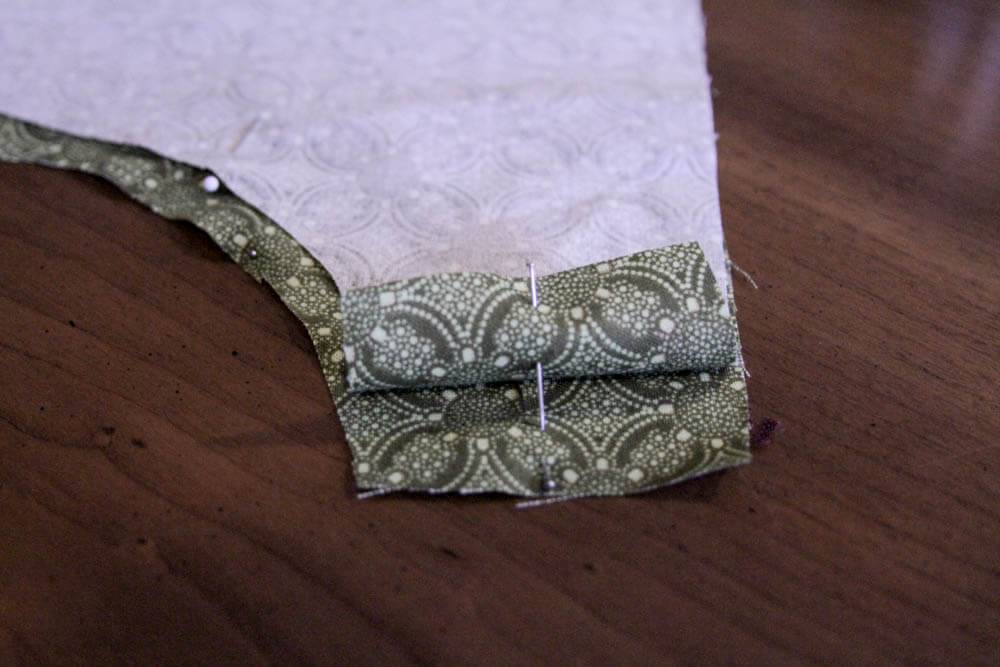
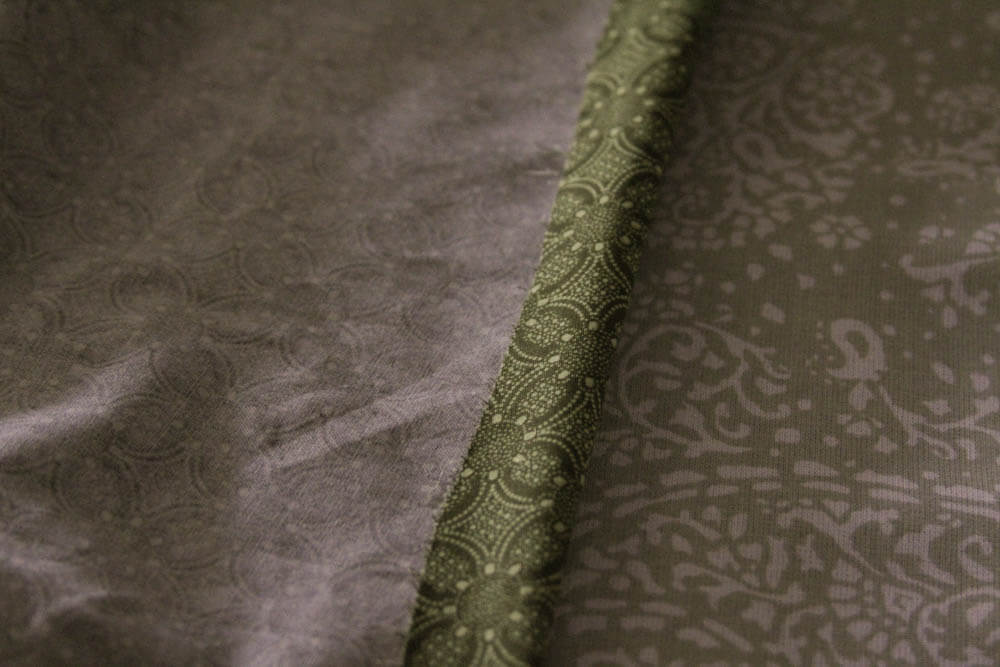
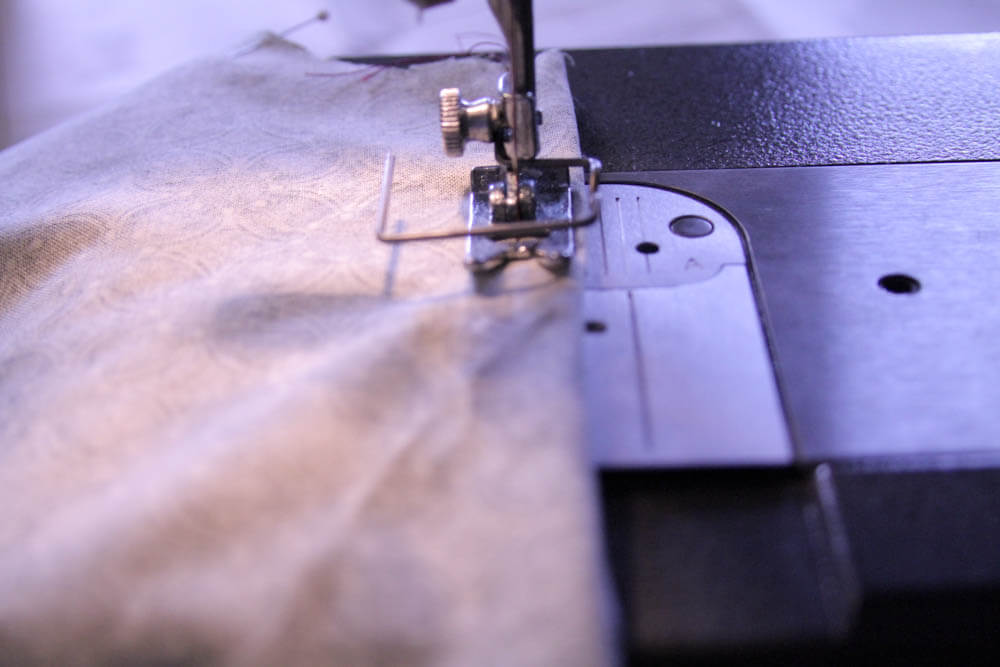
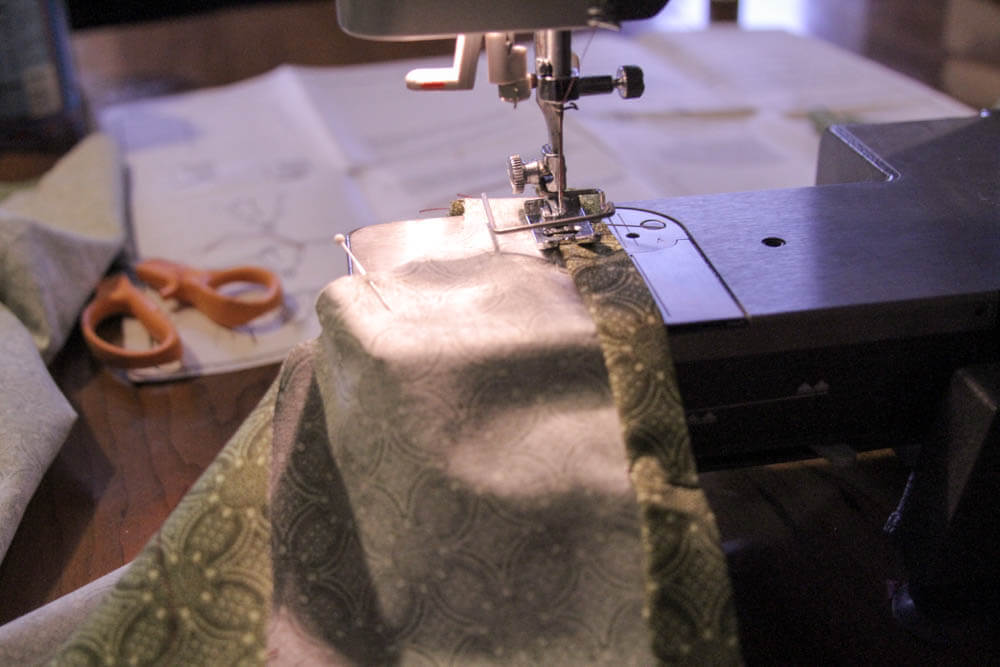
14) Stitch down the seam.
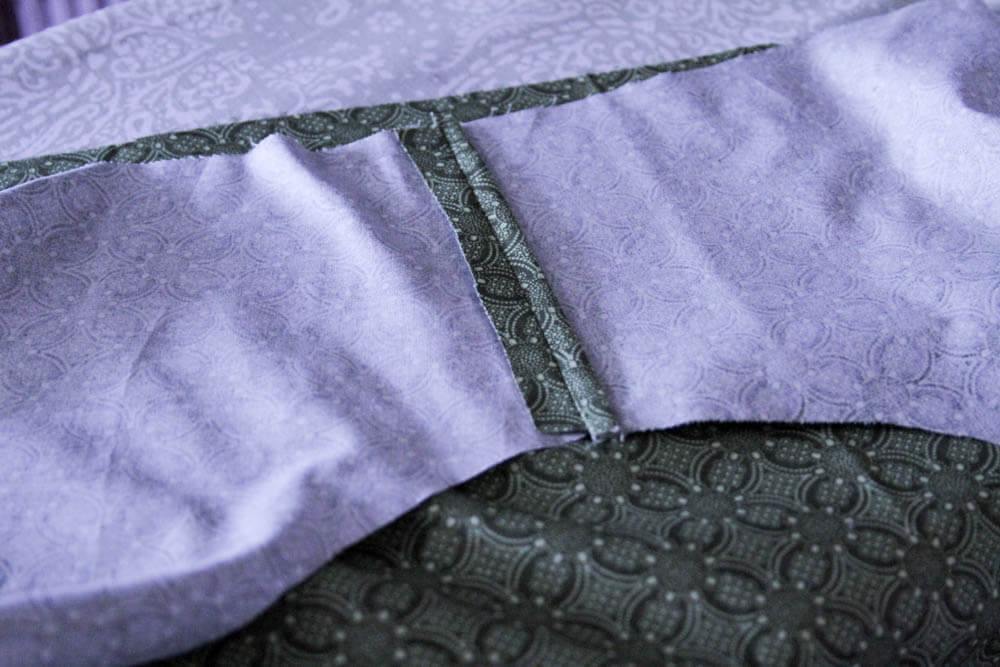
15) Iron the seam so that it is flat. Fold under raw edges and iron once more.
16) If you'd like, you may place a few pins in to hold the fold, then stitch very close to edge of fold.
17) Please note you will be able to see these seams from the outside.
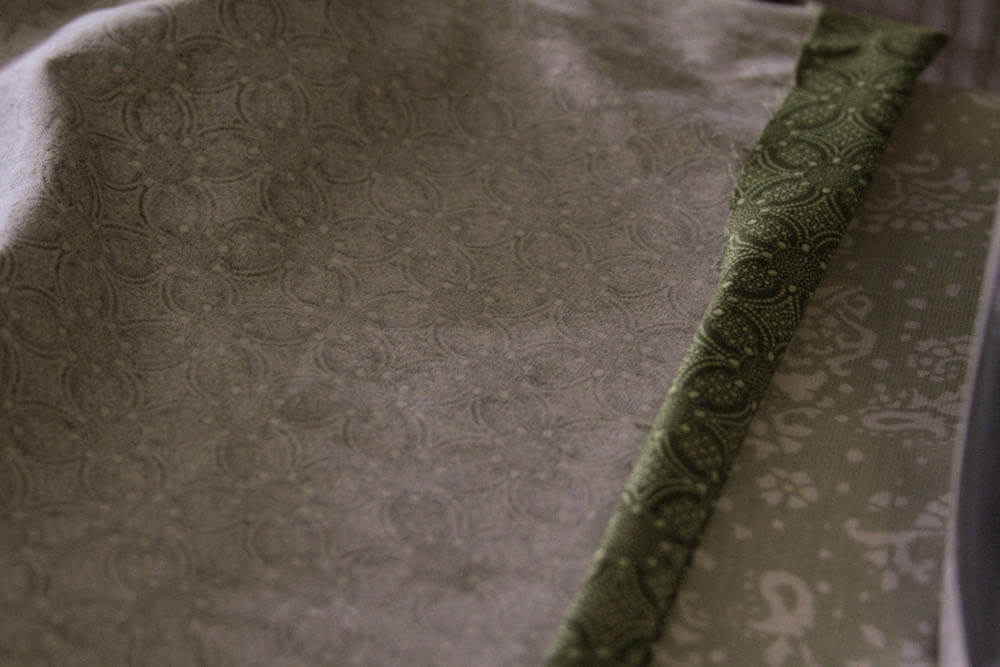
18) Now you will need to stitch the inseam together. Match notches by placing one side on top of the other.
19) Pin entire inseam from front to back.
20) Stitch inseam.
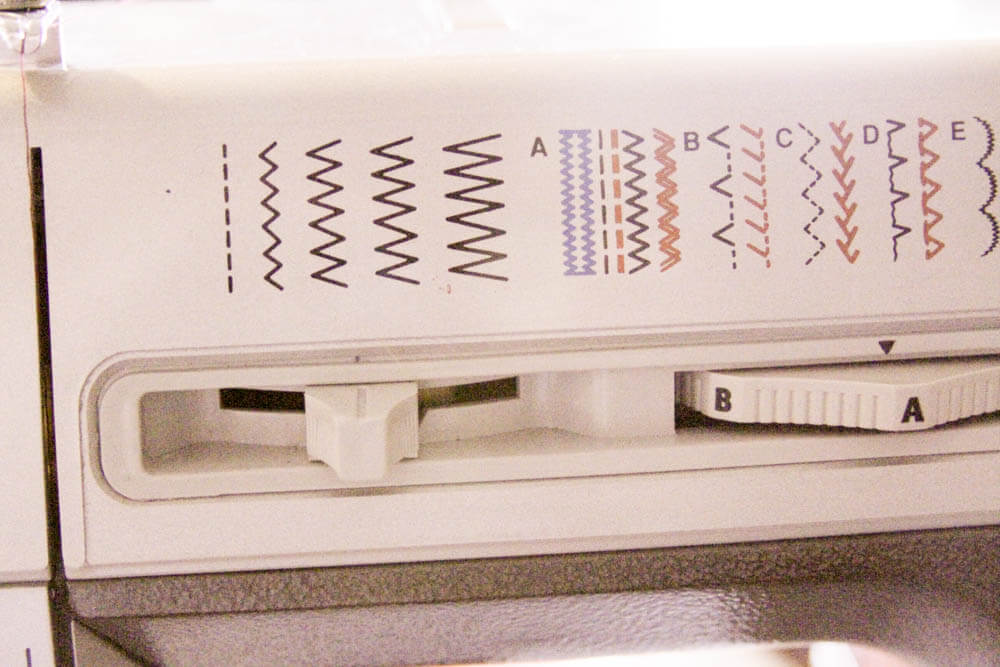
21) If you had trouble folding the seam under, you can try using a zig-zag stitch to finish seams. Make sure to change the settings on your machine, then stitch as close to the edge as possible without going over.
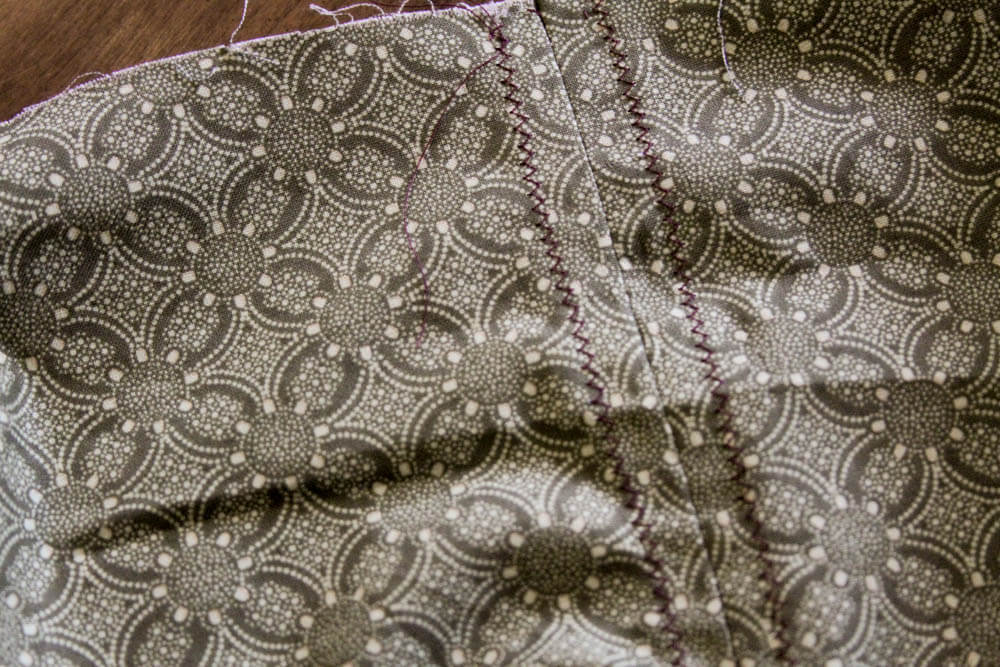
22) This technique is not as polished and is very noticeable from the outside. However, this technique is quick and easy.
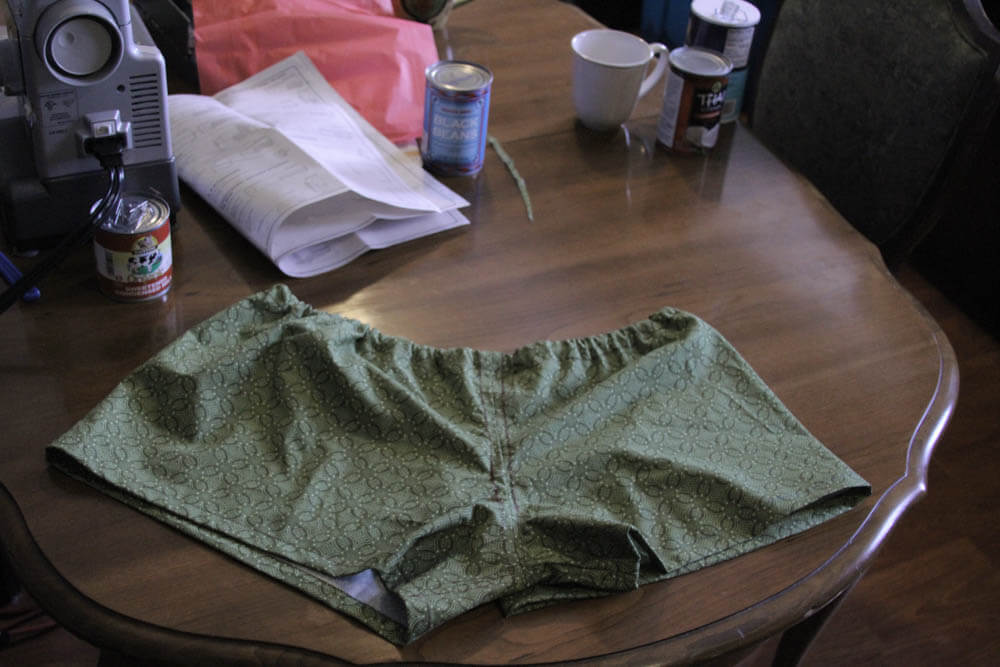
23) Once you have your inseam stitched, you should have something resembling a pair of shorts with unfinished edges. At the waist, you will need to make a casing for the elastic waistband. Fold the fabric down about 5/8 of an inch, then tuck the raw edge under and iron. This is the same process we used to finish the seams, just on a larger scale.

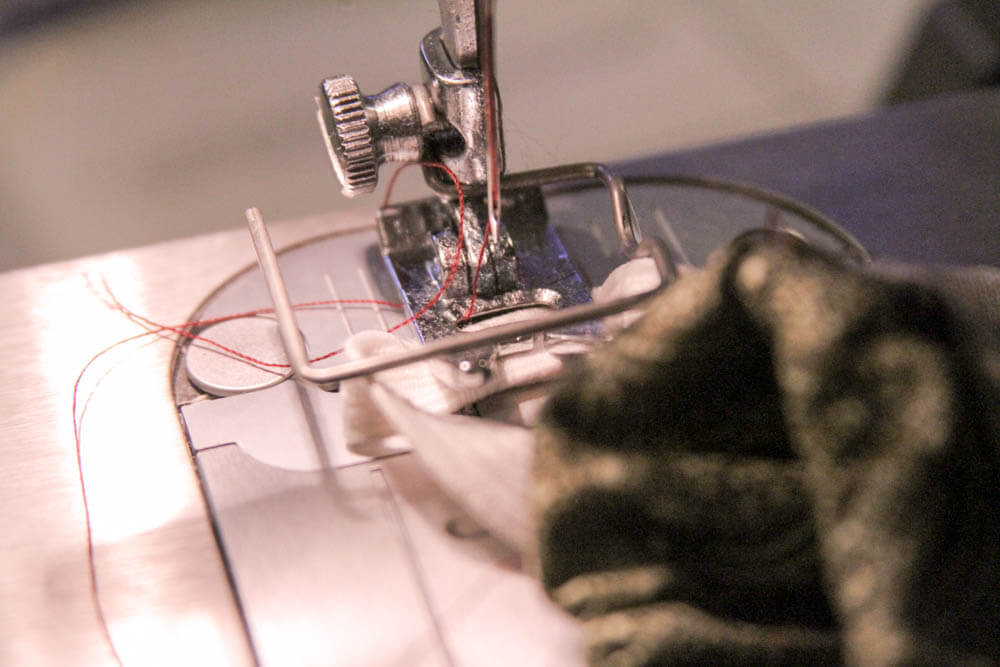
24) (If you used the zig zag stitch to finish your inseam, make sure to switch back to straight stitch.) Stitch as close to the edge of the fold as possible. Make sure to leave an opening that is about a half-inch wide in order to pull your elastic through.
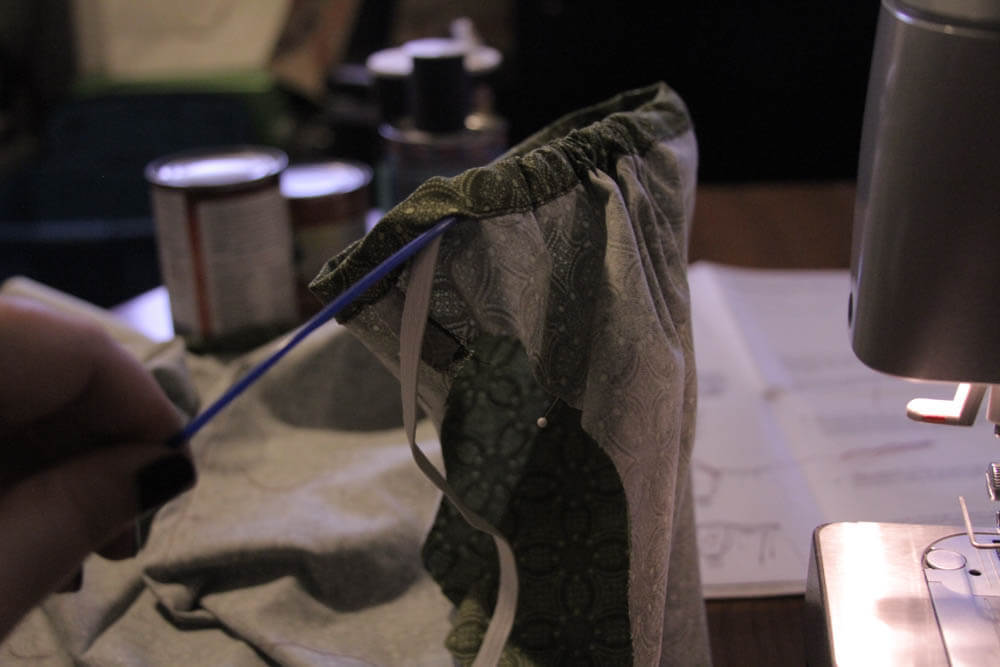
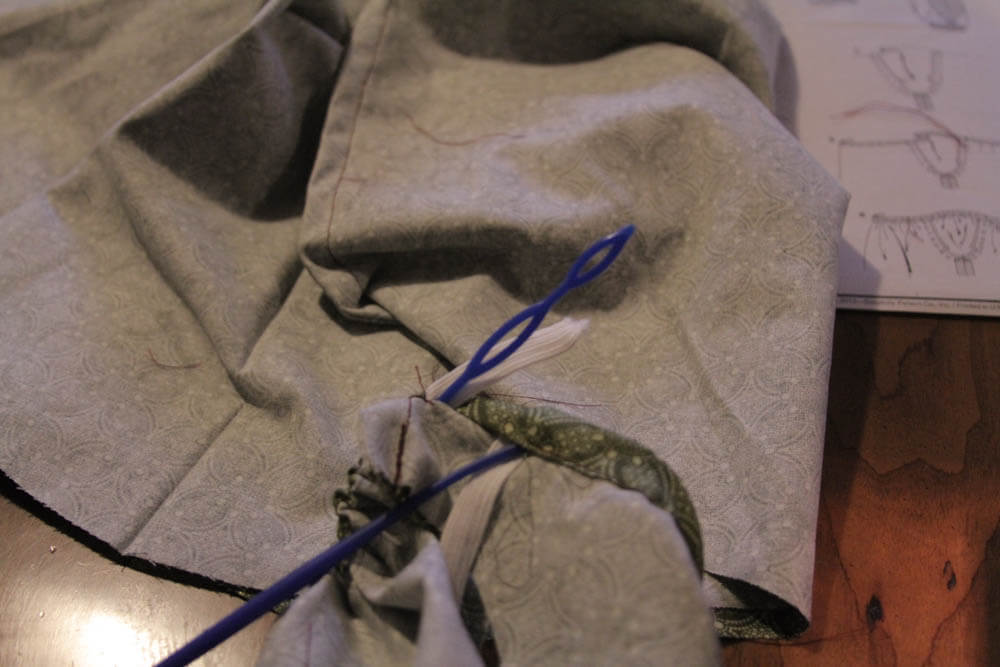
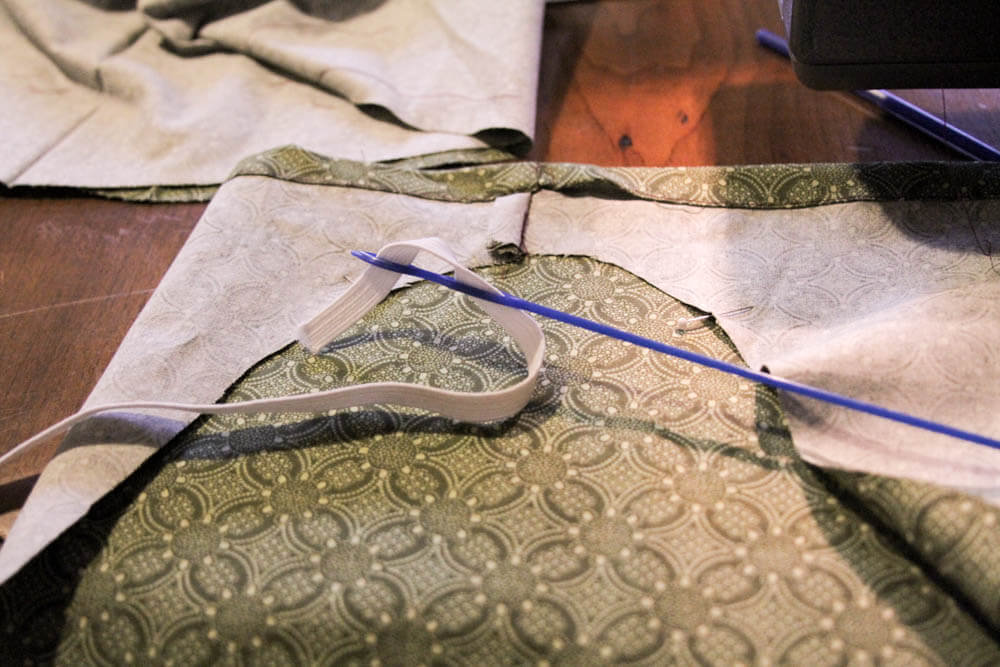
25) You will now need to pull the elastic through the casing. Use a drawstring threader to pull the elastic through. If you don't have a drawstring threader, a crochet hook or safety pin will work.
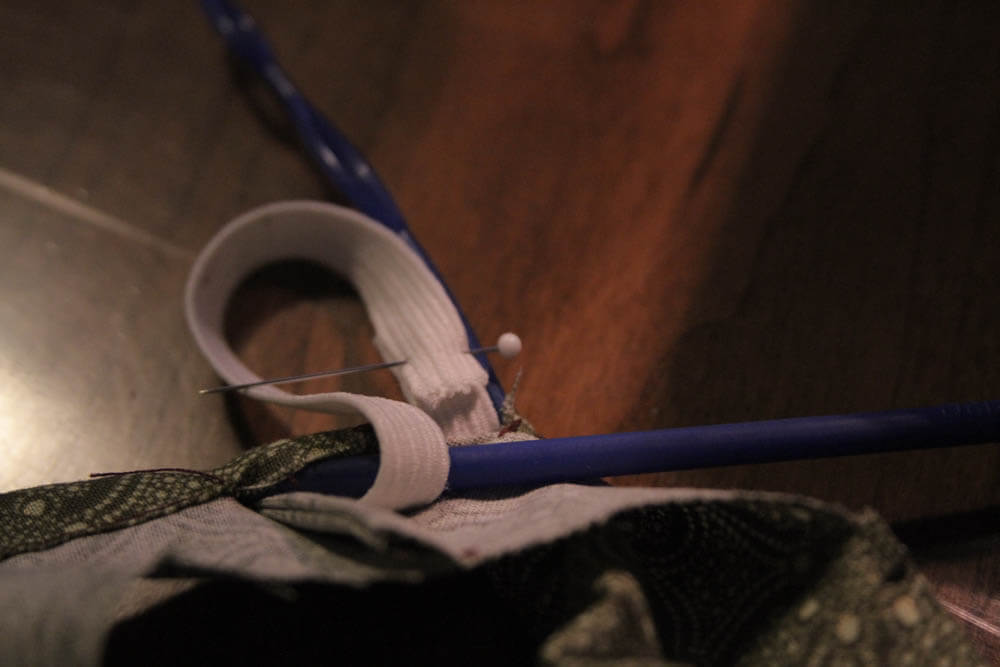
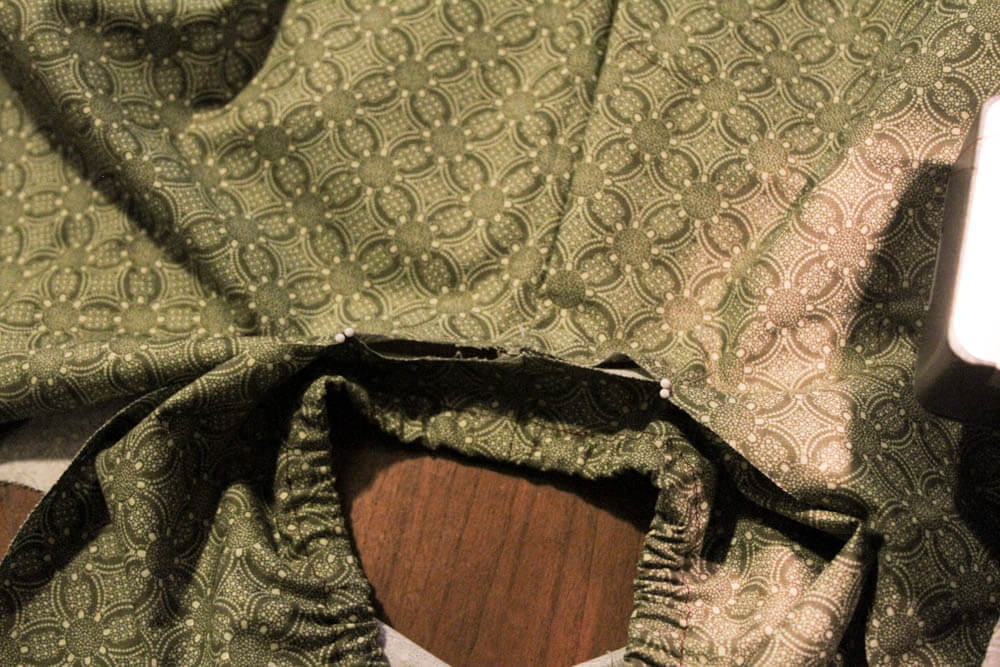
26) Once the elastic has been pulled all the way through, remove threader and pin elastic edges together.
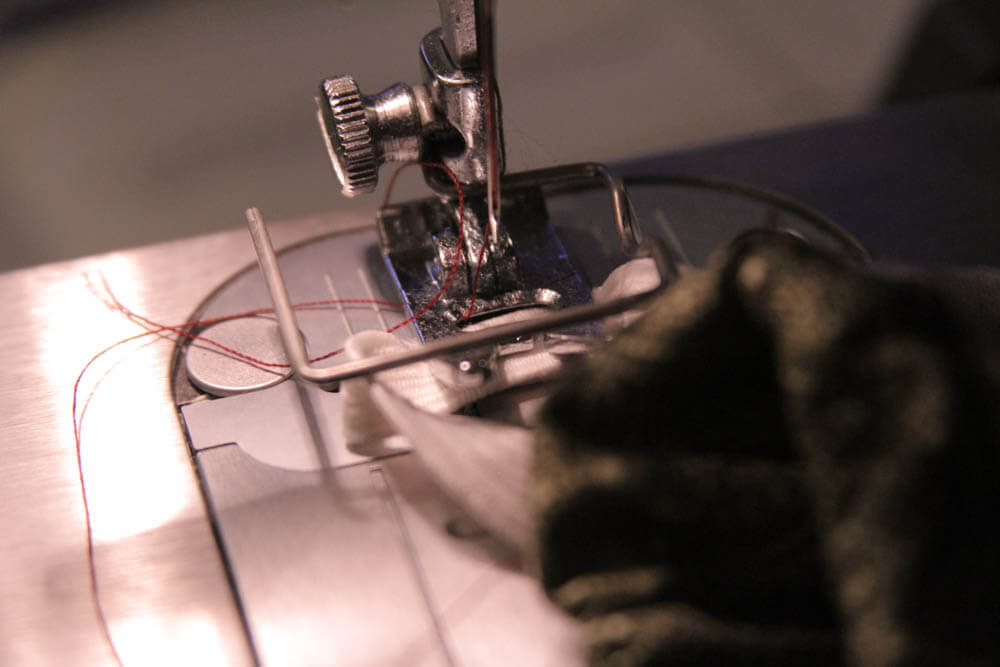
27) Stitch the elastic, then try the shorts on for size. If you feel that the waistband is too big or too small, adjust accordingly. Once you have the perfect fit, stitch the casing closed.
28) The final step is to simply finish the hem. To do this, fold the fabric and tuck under the raw edge. Iron and stitch close to the edge of the fold.
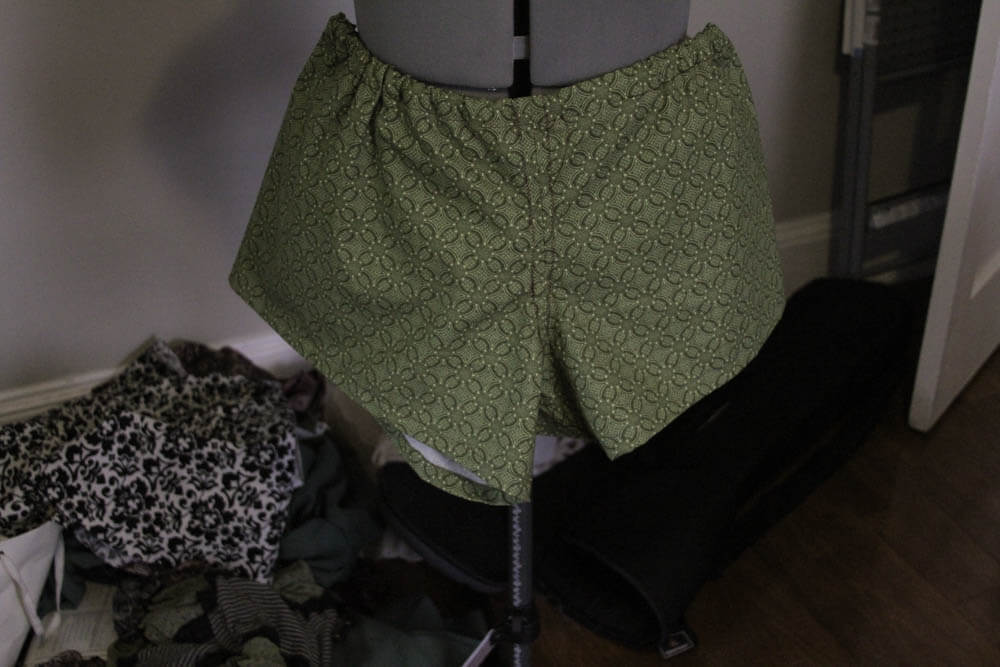
29) You now have a completed pair of shorts!
Skills and techniques learned from this project:
- Transferring patterns onto fabric using tracing paper and a tracing wheel.
- Easy ways to finish seams. In future projects you can finish seams by tucking the raw edge under and using a straight stitch to close off the seam, or you can use the zig-zag stitch to stitch down raw edges and prevent excessive fraying. Please note that if you use the zig-zag method you will have some stray threads.
- Creating an enclosed casing perfect for elastic waistbands.
- How to hem the bottom of your garments.
Project 2 Pajama Top:
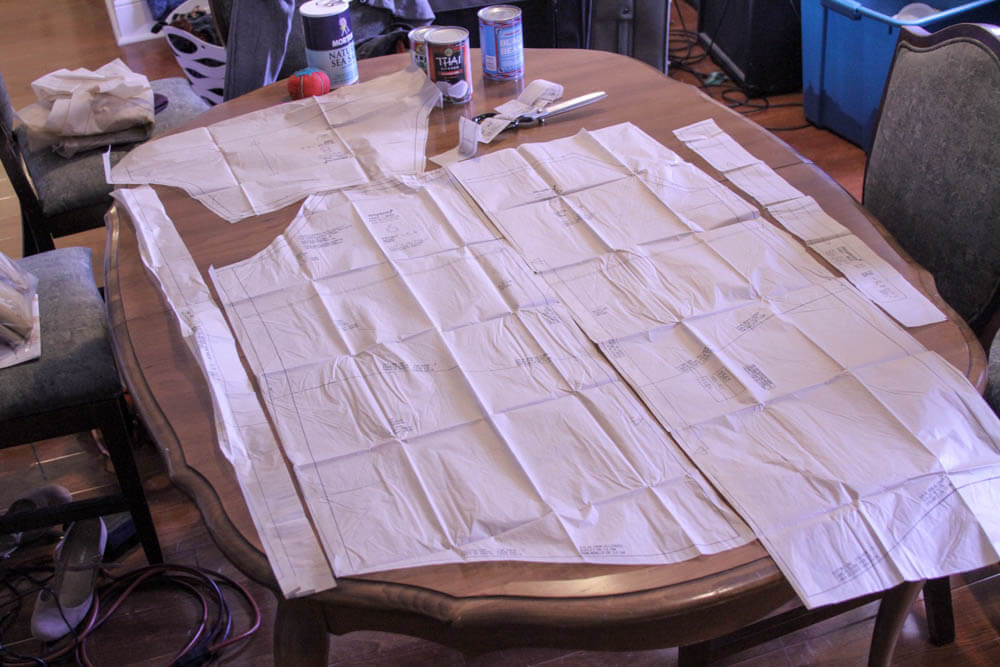
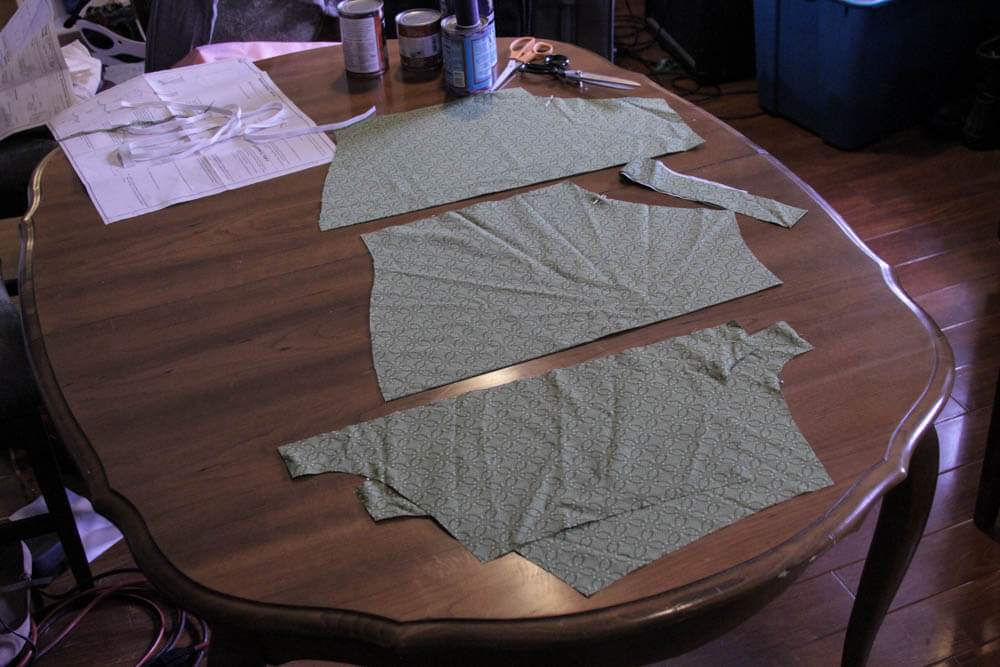
1) Cut out and prepare paper pattern pieces 6, 7, 8, 9, 10.
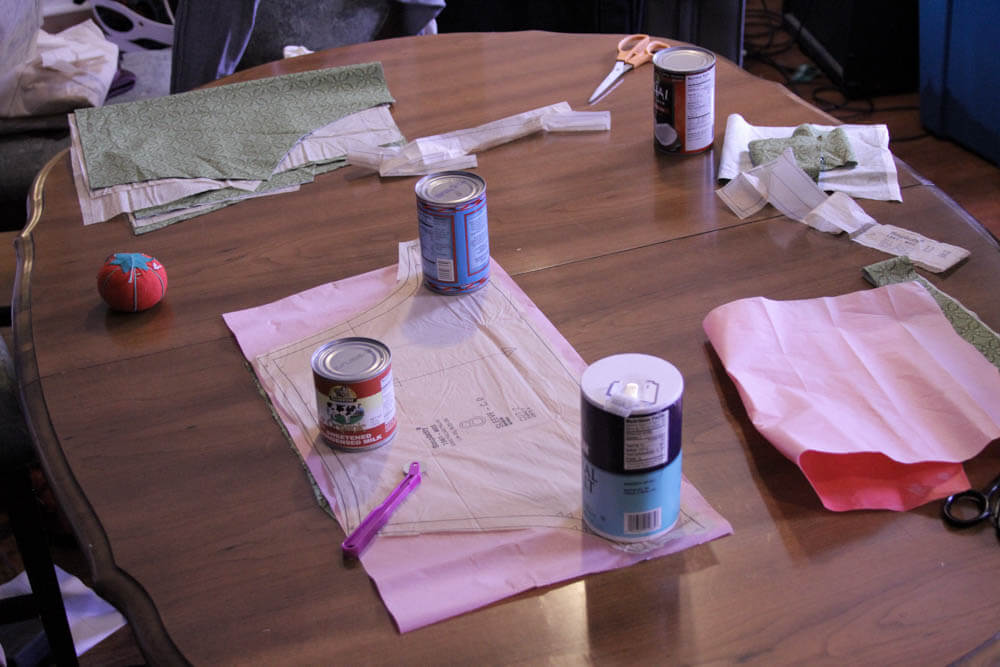
2) Fold fabric in half vertically. Lay out your pattern pieces. (Note: I will not be instructing you on how to make pattern C, the nightgown version of this top, therefore you may cut your pattern paper at the hemline for pattern D. If you wish to make the nightgown on your own time, simply fold up the pattern piece like we did with the shorts.)
3) If you're working with limited space, you will need to shift your fabric around. Over time you will find a method that works for you, but I will illustrate how I work in order to give you some place to start.
If I'm cutting out multiple pieces I like to lay out my patterns as suggested in the instruction packet, fitting as much as I can in one section.
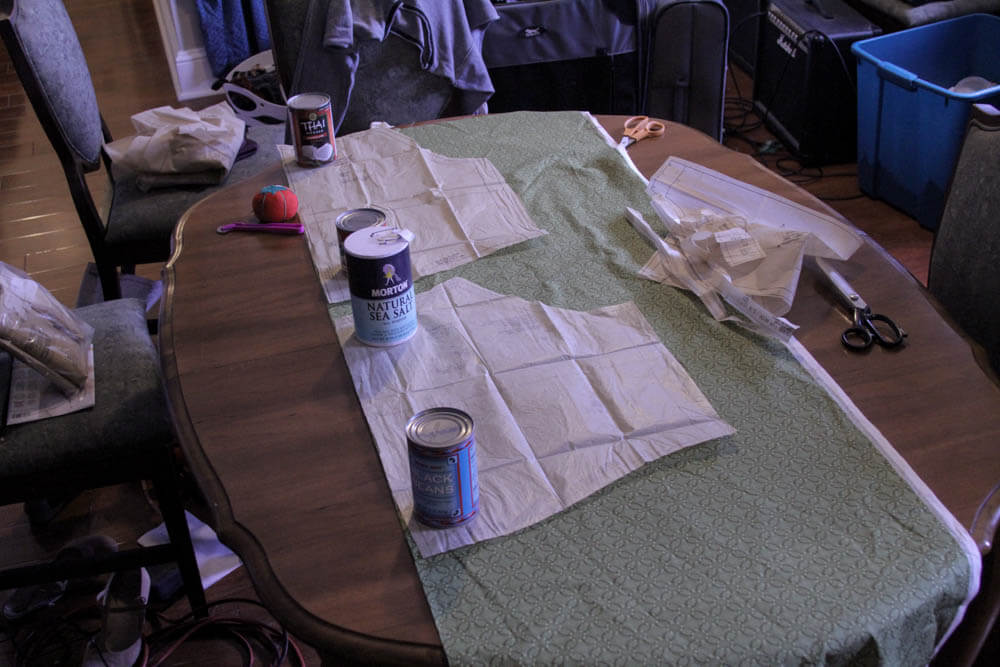
4) I then cut out around each pattern piece, giving myself smaller sections to work with.
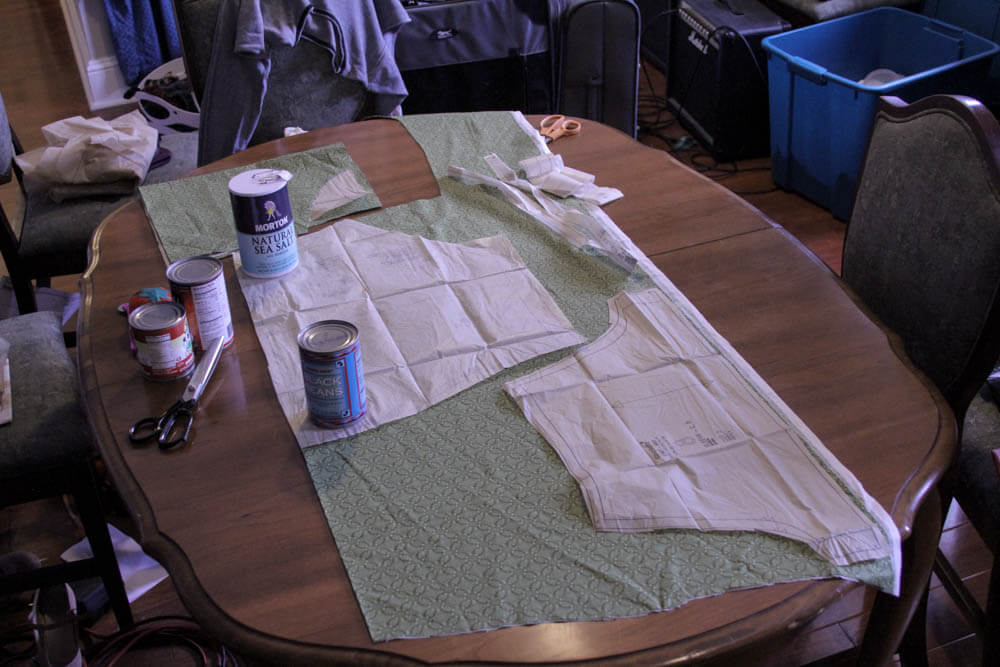
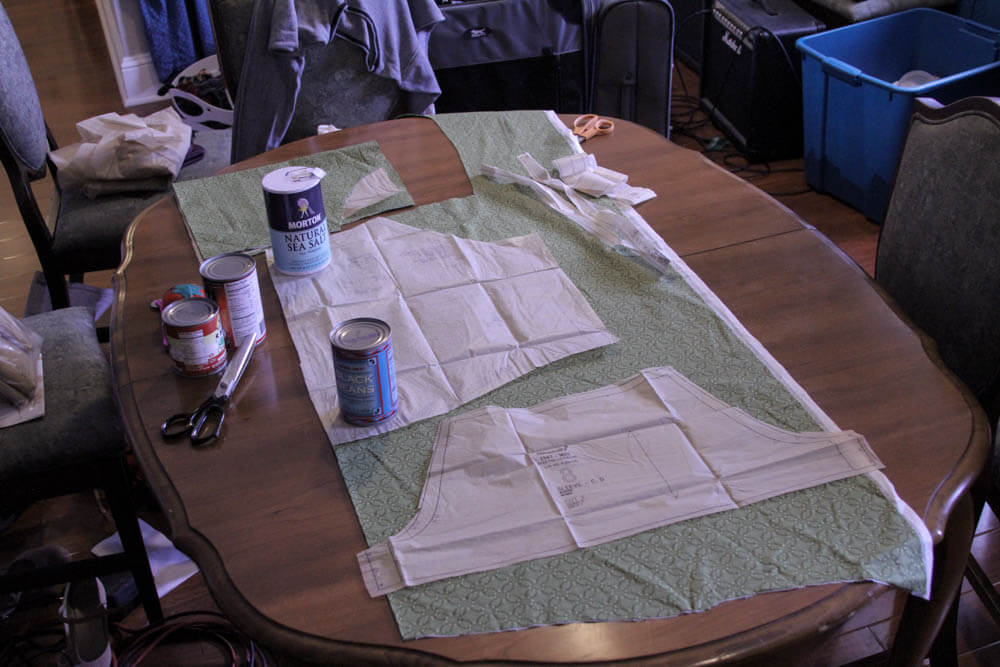
5) Trace each pattern piece onto your fabric.
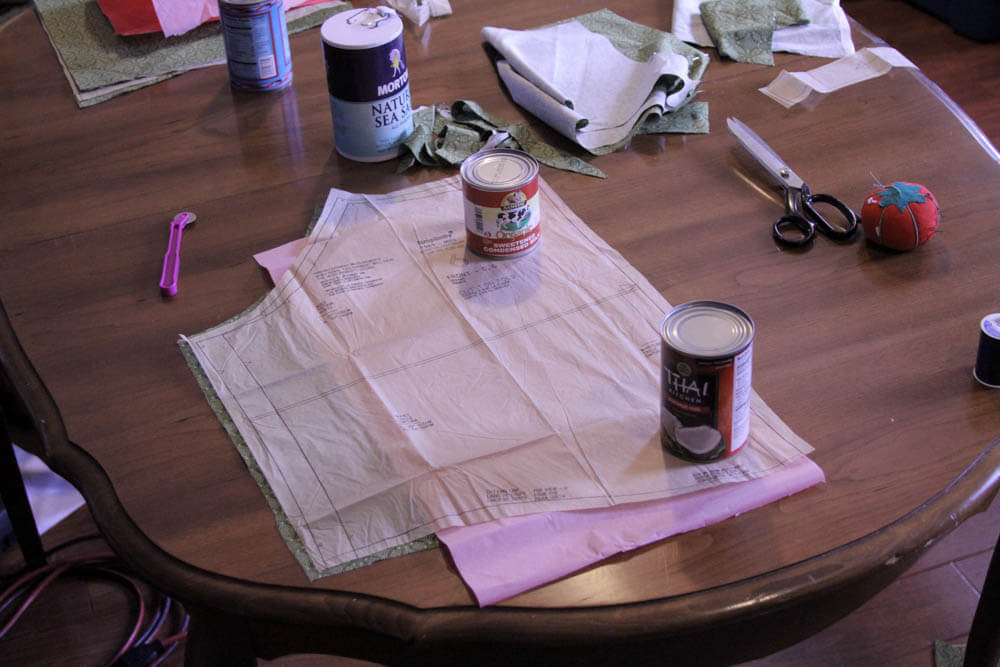
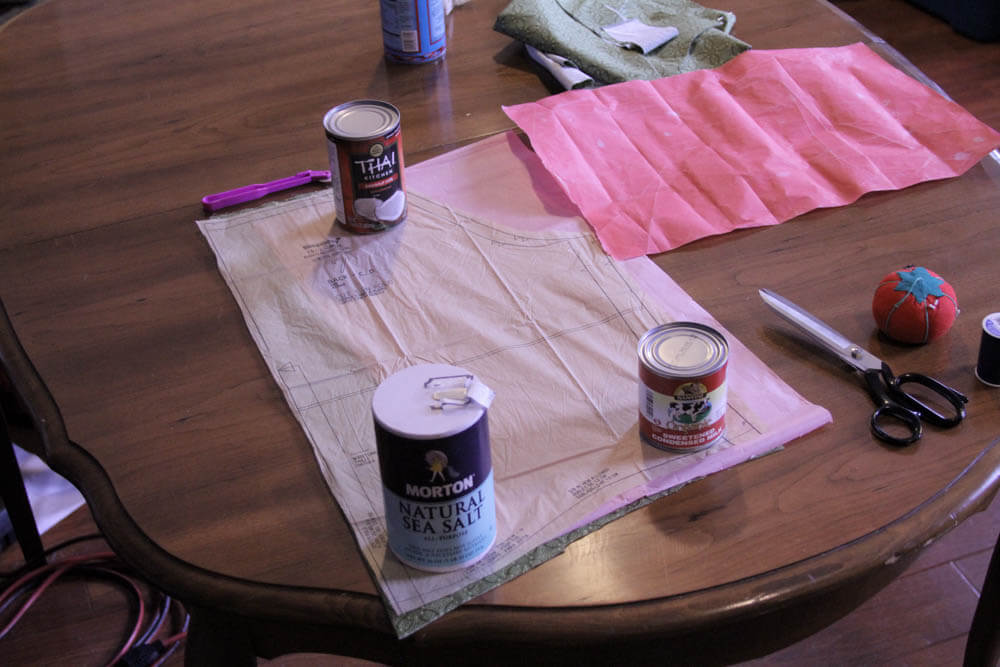
6) Note that on both bodice pieces (6 and 7) you should place the edge that states "place on fold" on the fold.
7) Cut out all pattern pieces, making sure not to cut bodice pieces (6 and 7) along fold.
8) Use your elastic guides (pattern pieces 9 and 10) to cut elastic for the neckline and armholes.
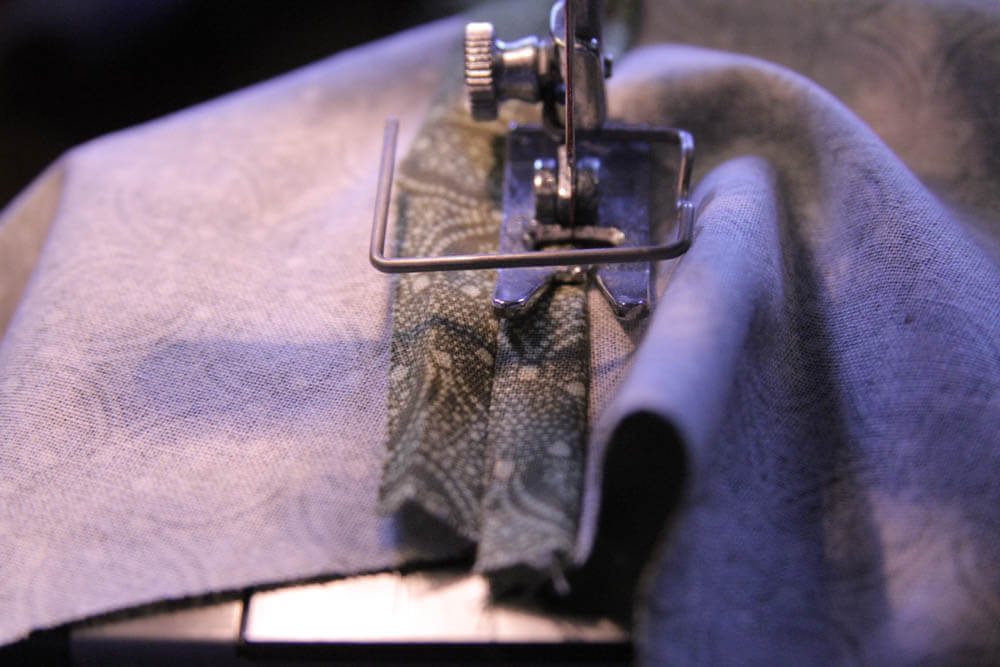
9) Pin the bodice front (6) to bodice back (7) with wrong sides together. (Note: I will be teaching you how to make a French seam, so the seaming directions will vary slightly from the shorts.)
4) Stitch seam with a 1/4" margin.
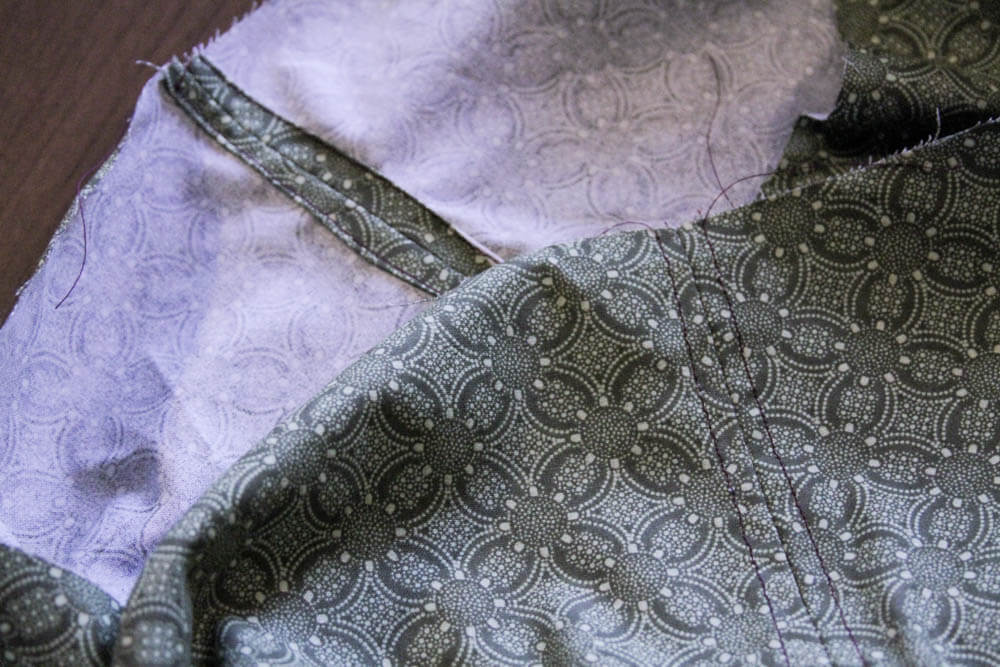
5) Reverse fabric so that right sides face together. Iron seam then stitch with a 3/8" margin. This will completely encase the raw edge of the seam and none of the stitching will be visible from the outside.
6) Match the notches on the sleeves (8) with wrong sides together. Stitch together leaving 1/4" margin. Reverse fabric so that the right sides are together. Stitch leaving a 5/8" margin.
7) Create casing around the arm hole.
8) Pull elastic through casing. Stitch elastic. Stitch casing closed.
9) Match up notches. Pin sleeves together with wrong sides facing toward one another. Stitch leaving a 1/4" margin. Reverse, iron, stitch leaving a 5/8" margin.
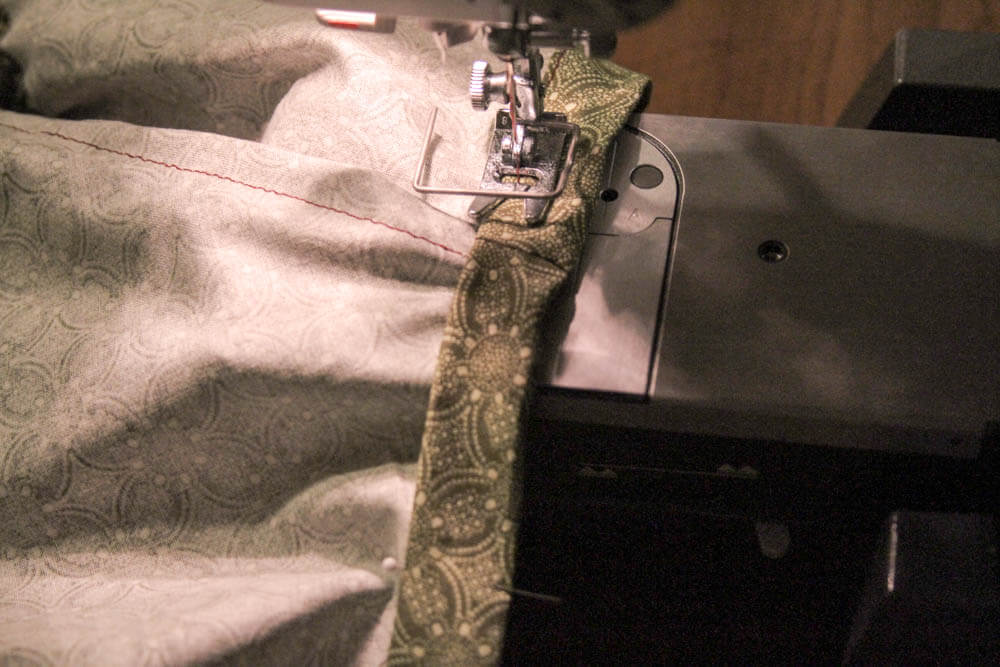
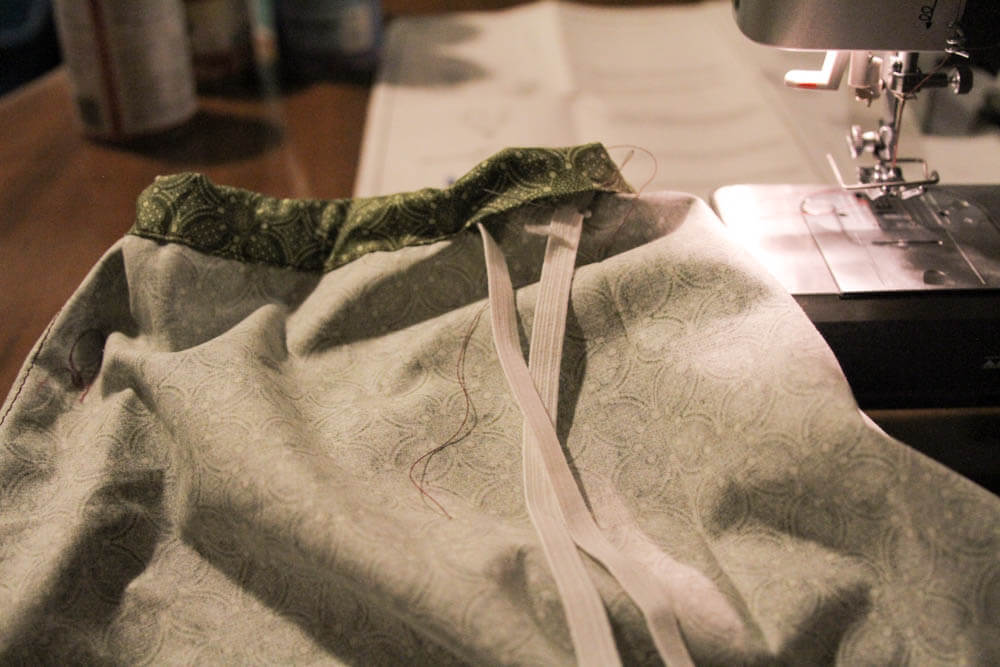
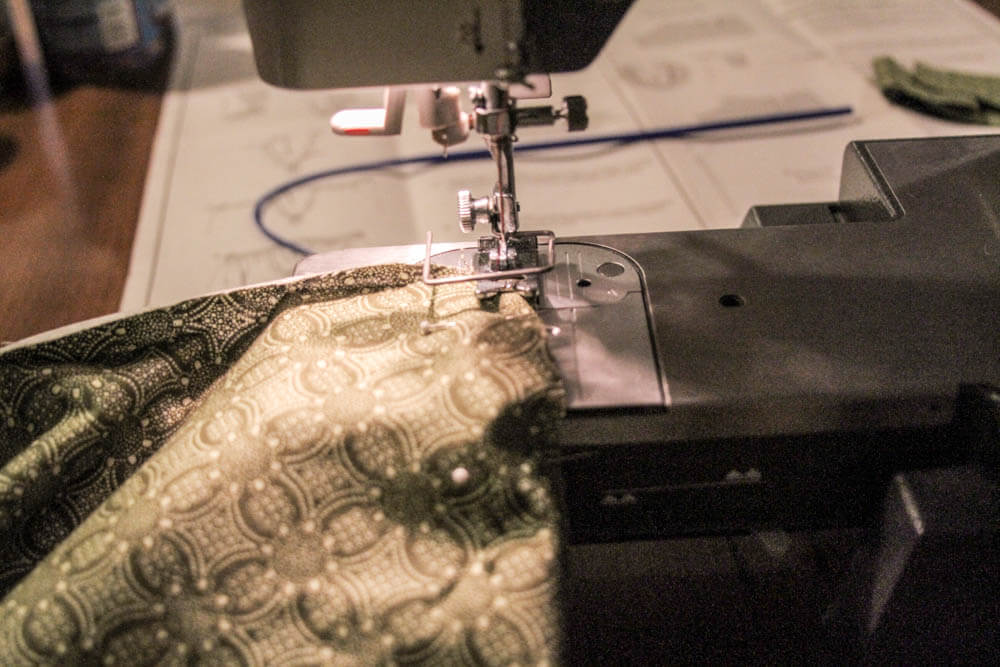
10) Once your sleeves have been created, you will need to create a casing around the neckline, pull elastic through, and stitch casing closed.
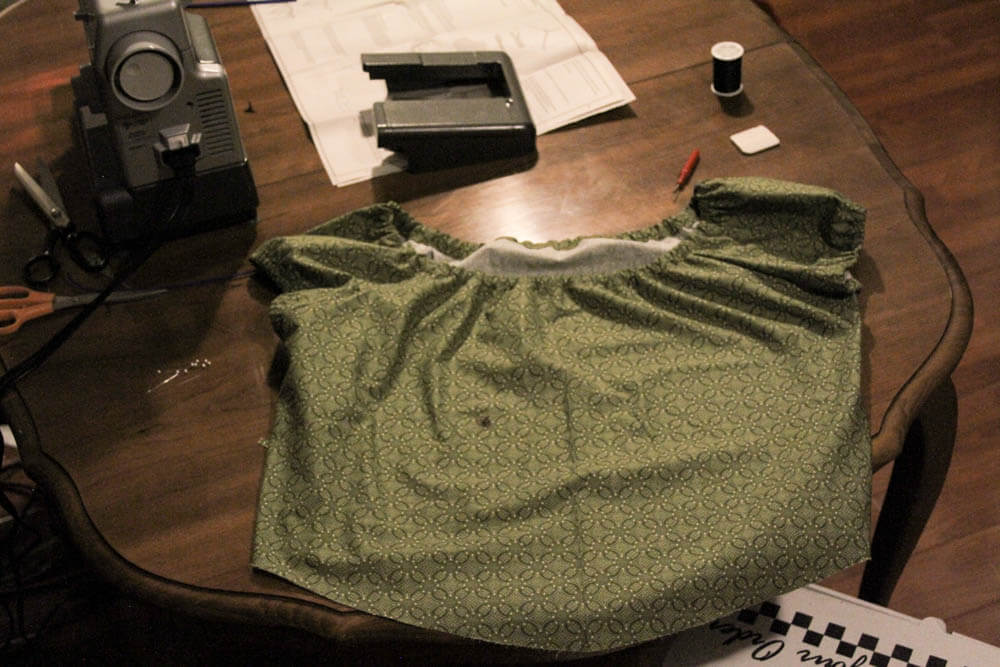
11) You now have a peasant-style top with an unfinished hem.
12) Finish the hem by folding it up and encasing the raw edge in the same way we did with the shorts.
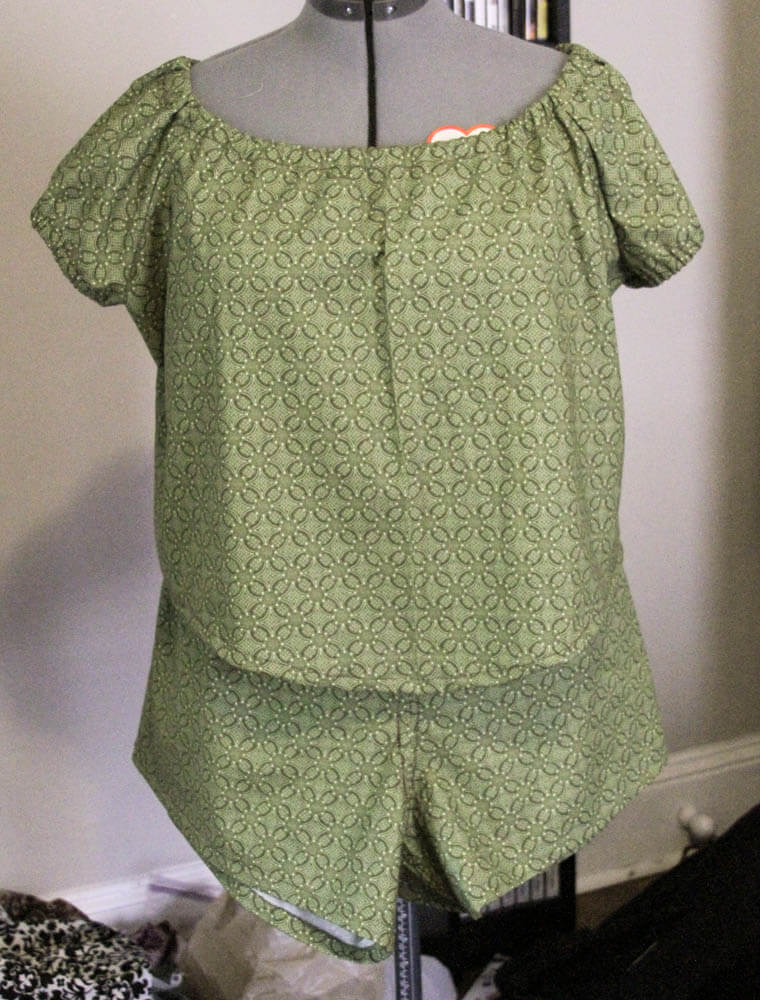
13) You have now completed a pajama set!
Skills and techniques learned from this project:
- Arranging and cutting multiple pattern pieces.
- How to create a French seam.
Project 3 Chemise:
1) Lay out, trace, and cut pattern pieces 12, 13, and 14. Make sure not to cut pieces 12 and 14 on fold.
2) Mark exact center of front bodice (pattern piece 12).
3) Match center of front facing (pattern piece 13) with center of front bodice (12).
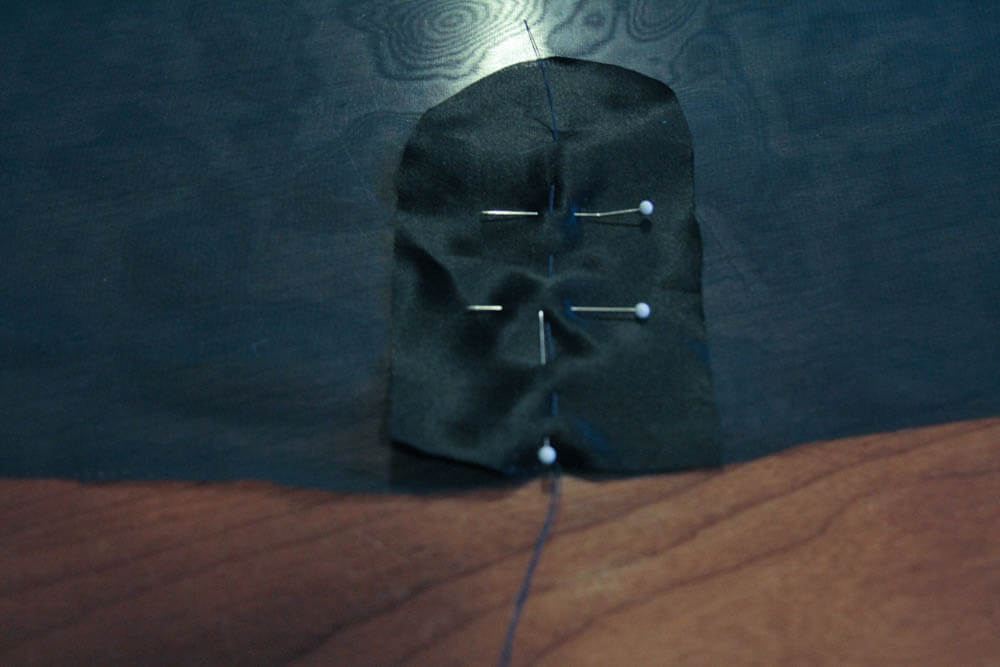
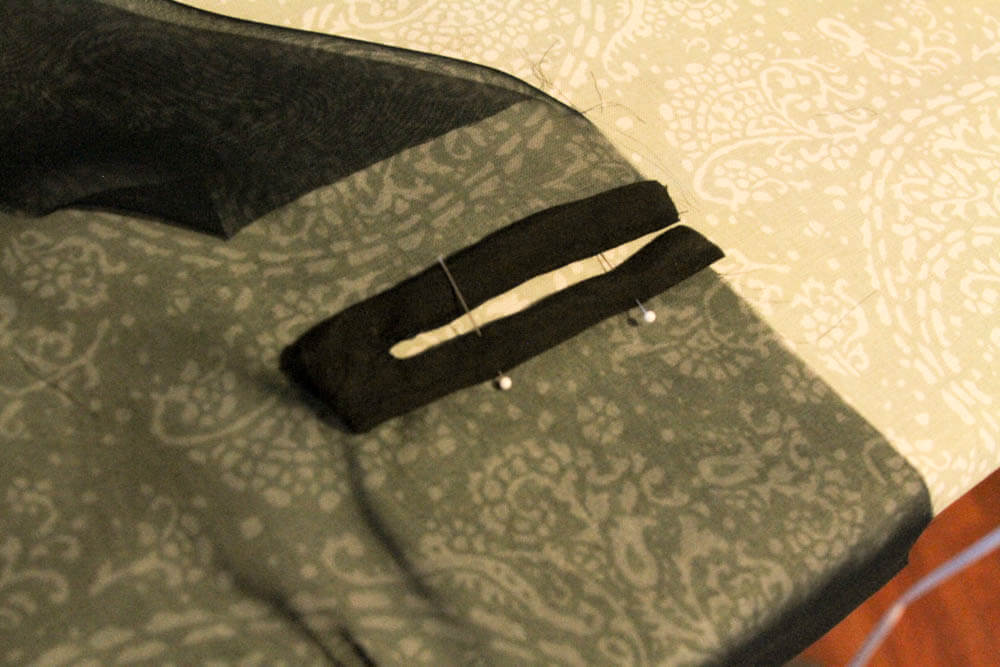
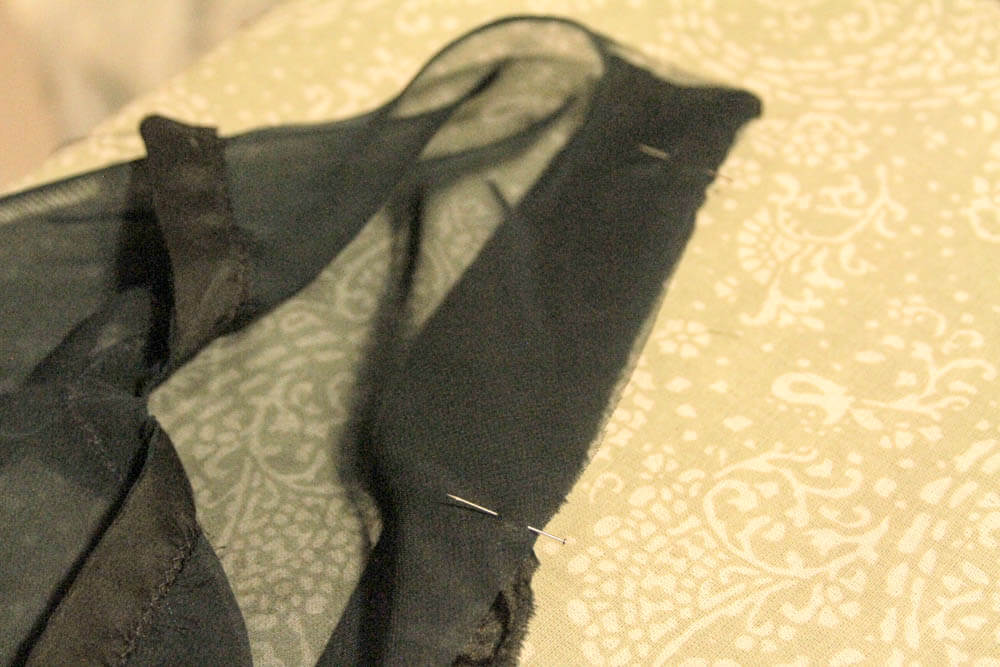
4) At this point we have reached a fork in the road. If you are using an opaque fabric, pin facing and bodice with right sides together. If you are using a sheer fabric, pin wrong side of facing to right side of bodice.
5) Using a hand sewing needle, baste along center line.
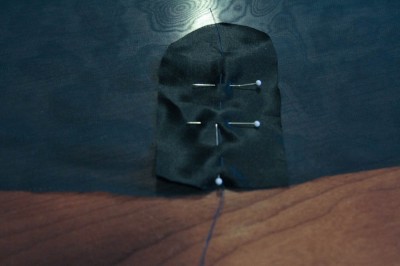
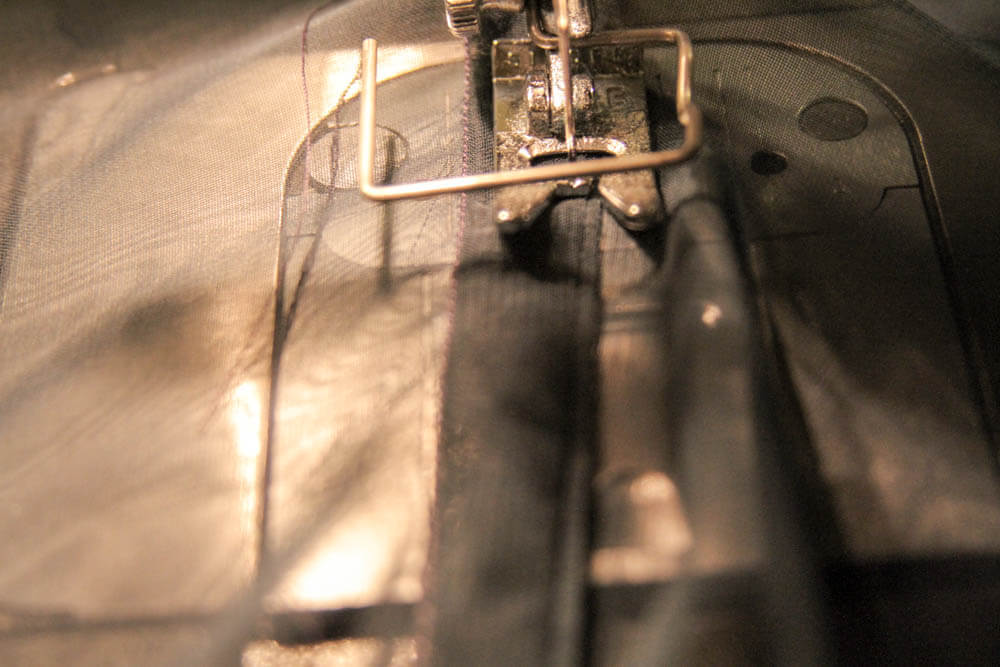
6) Stitch around curved line. While you are stitching around the curved line, you may have to lift the presser foot on your sewing machine to turn the fabric. Take this part slowly if you need to.
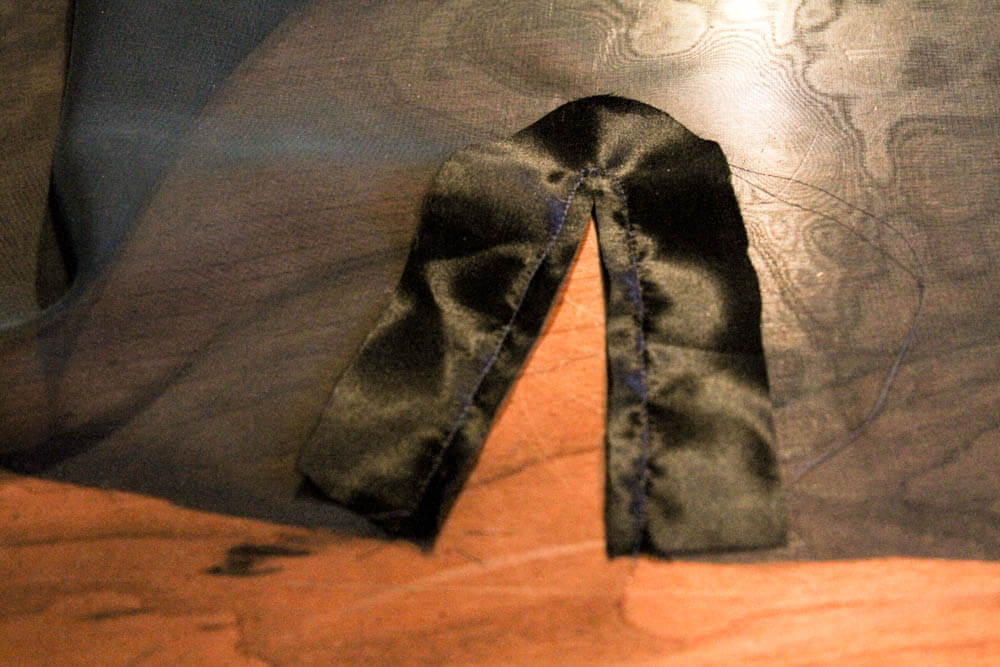
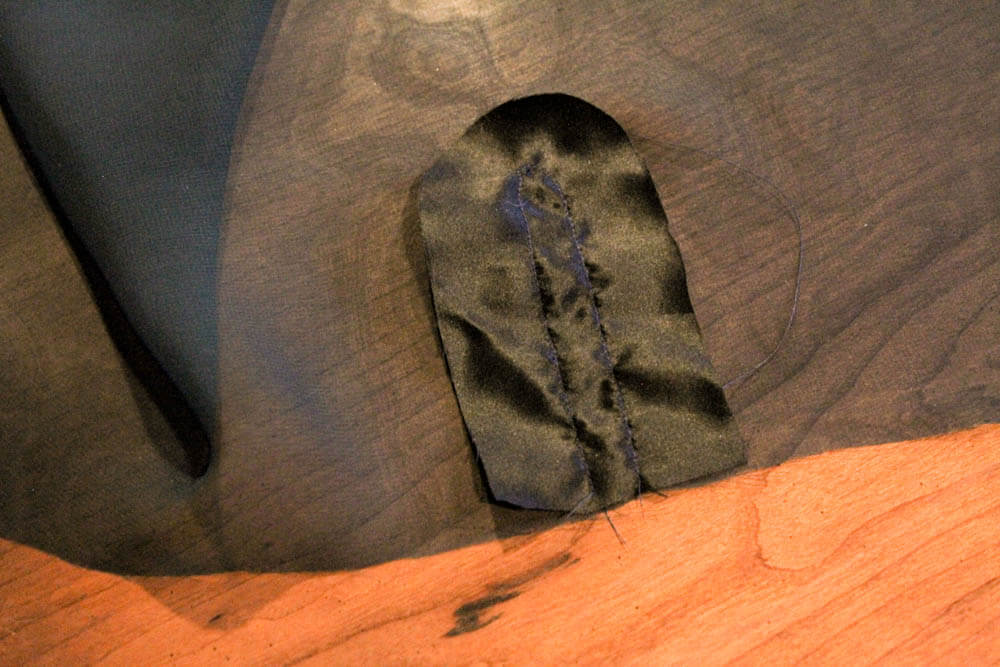
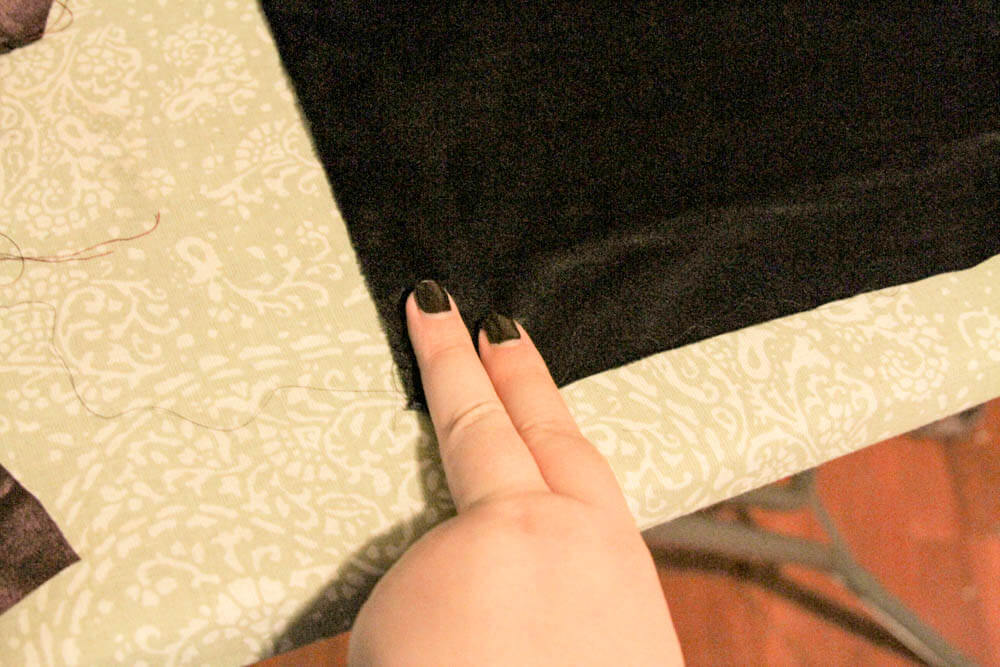
7) Remove basting, cut down center line, but be careful not to cut stitching. Using your snips, trim excess fabric around stitches leaving only a small margin of 1/8".
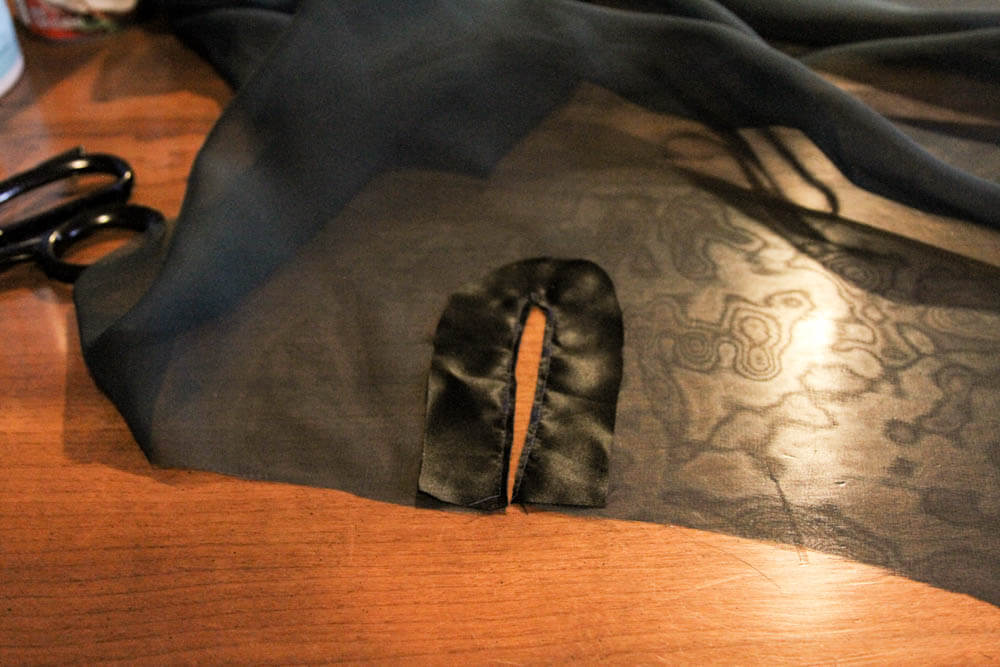
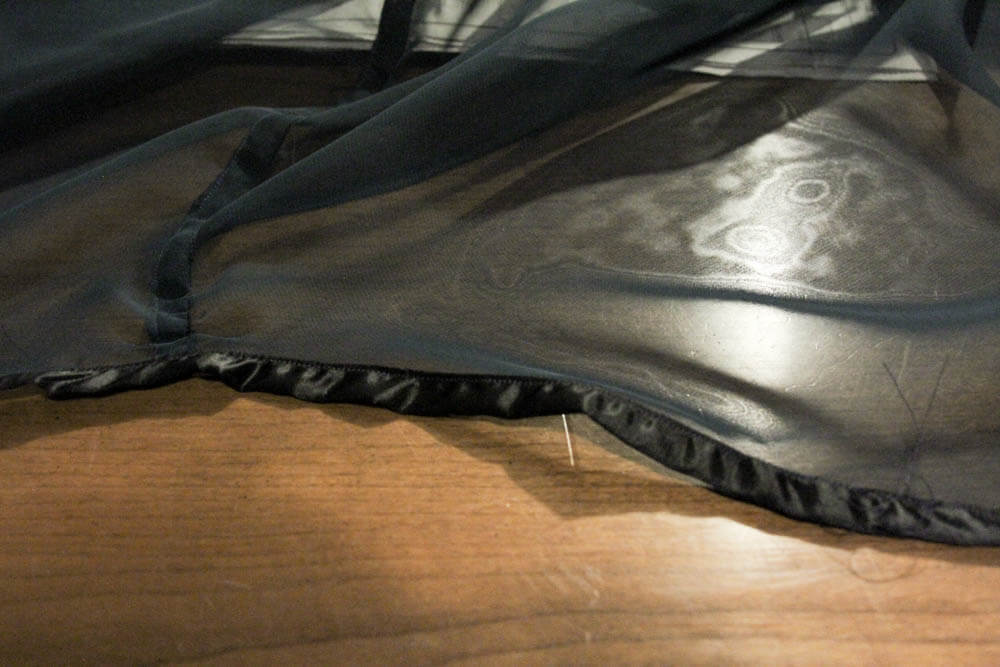
8) Turn facing to wrong side of bodice and iron. Your seam will now be enclosed.
9) If you are sewing with an opaque fabric, fold raw edge of facing under and iron. Stitch close to fold with a straight stitch. You are finishing this seam in the same way that we have finished the hems for the pajama set.
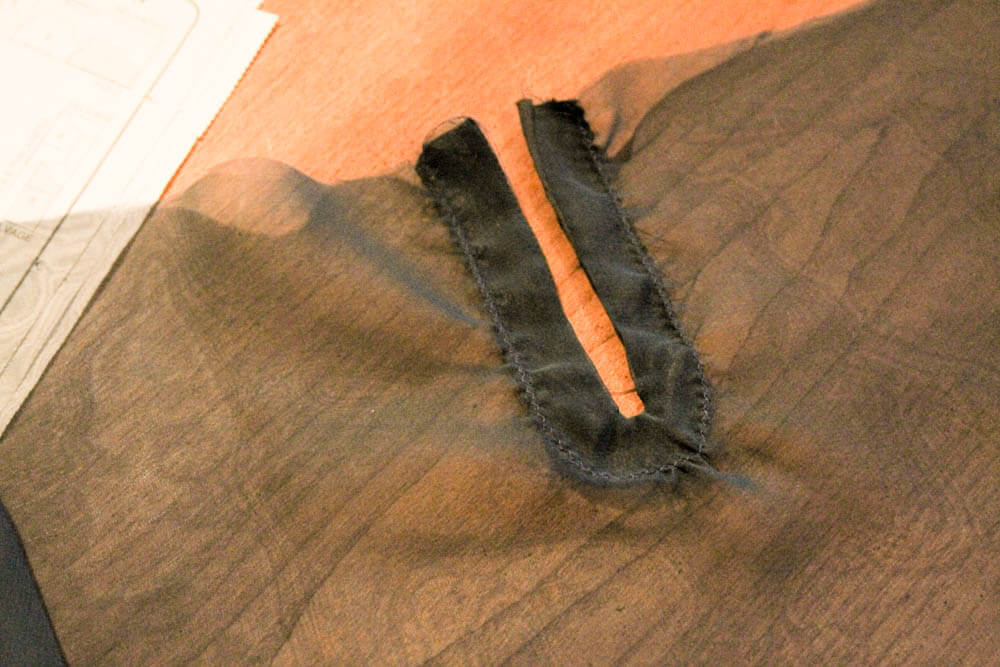
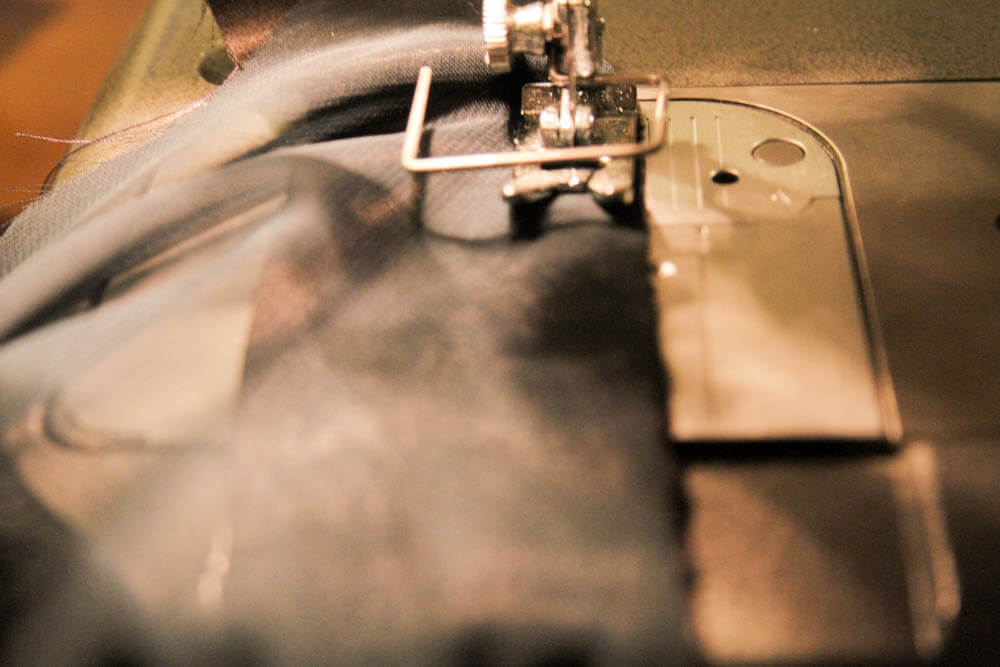
9 alternative) If you chose a sheer fabric, use the zig-zag stitch to encase the raw edge of your facing.

10) Pin bodice front to bodice back with right sides together. Stitch seams together using the French seam method. Iron seam flat and pin down evenly.

11) Stitch floating edge of French seam down. You have now created a flat felled seam. This is the type of seam that many luxury designers use, as it is incredibly secure and comfortable against the skin.
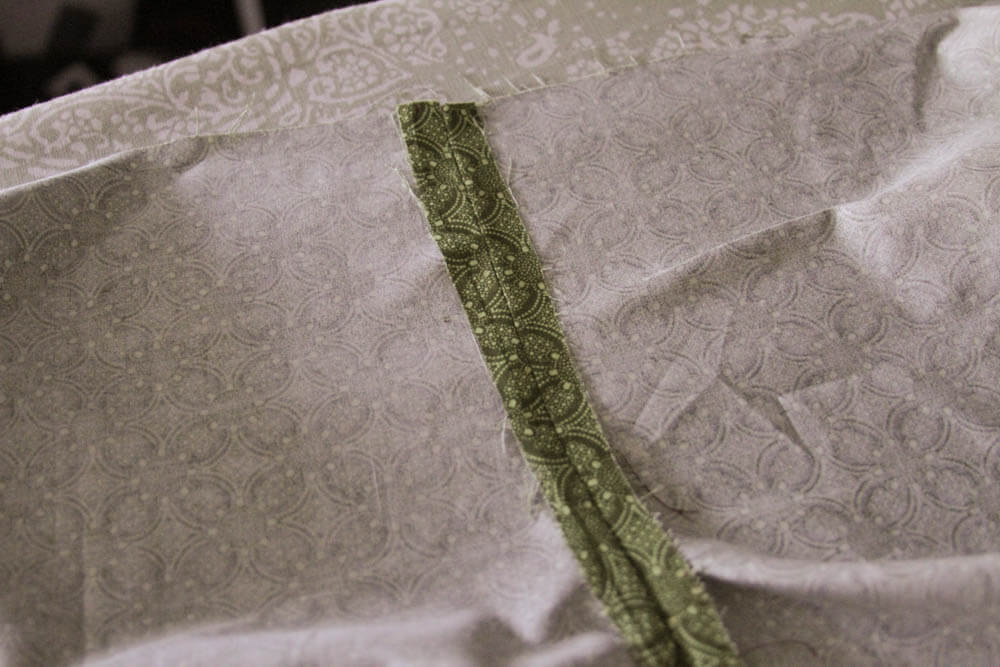
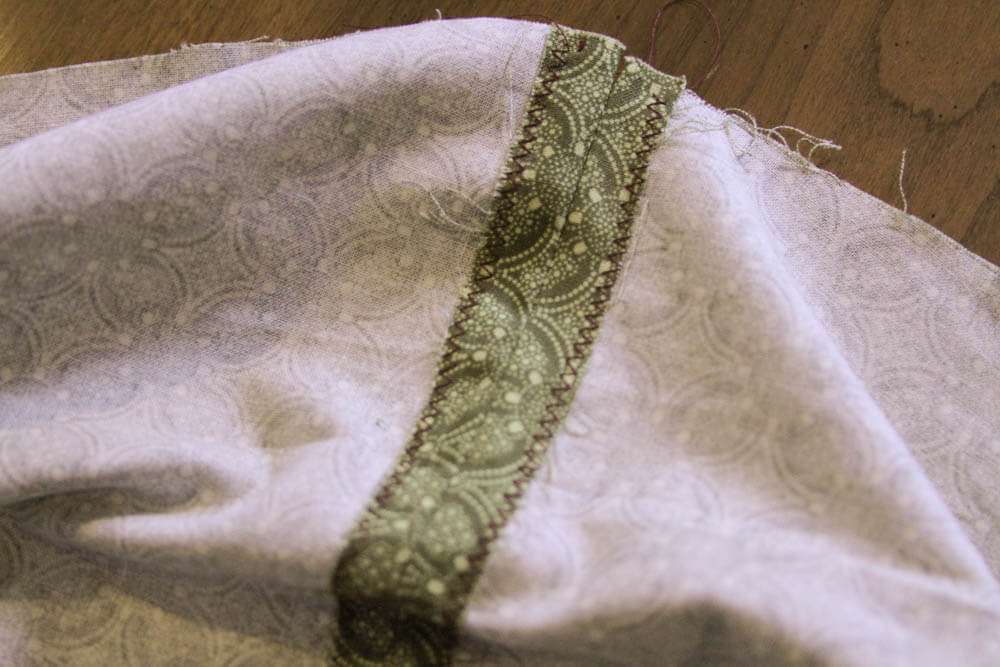
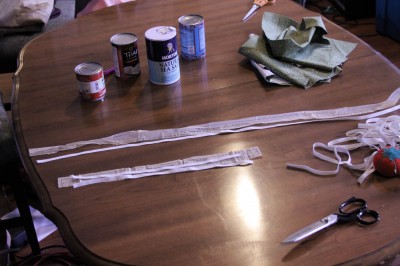
12) We will now need to create bias tape for the underarms of the bodice. Note: if you have purchased bias tape, remove it from the package and iron flat. Your bias tape should be about an inch wide. As a general measurement I use two fingers placed together. Cut straight and evenly, you will not need more then 1 yard of bias tape.
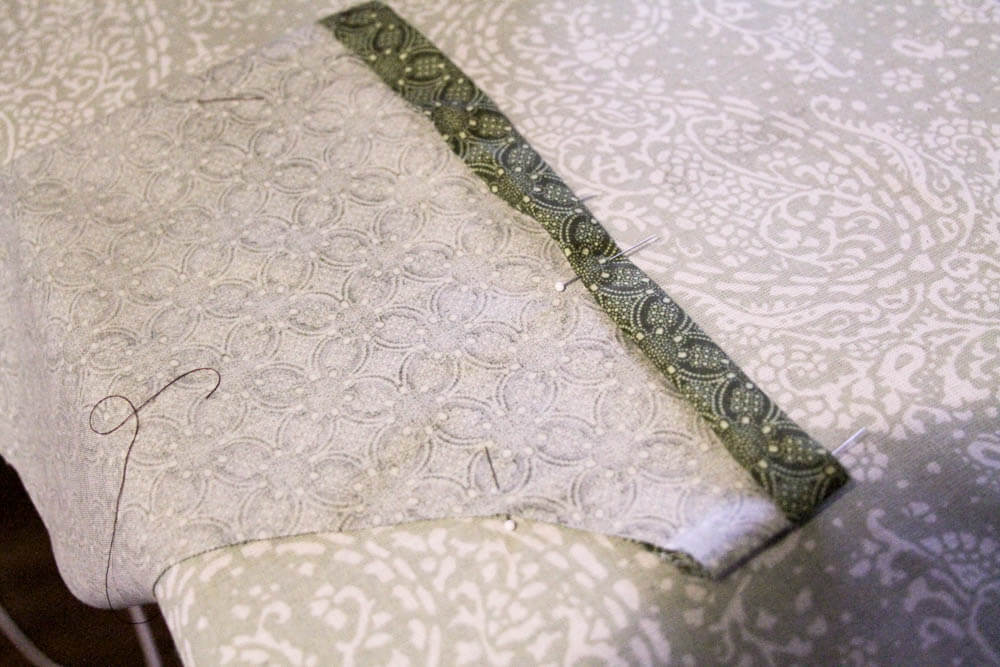
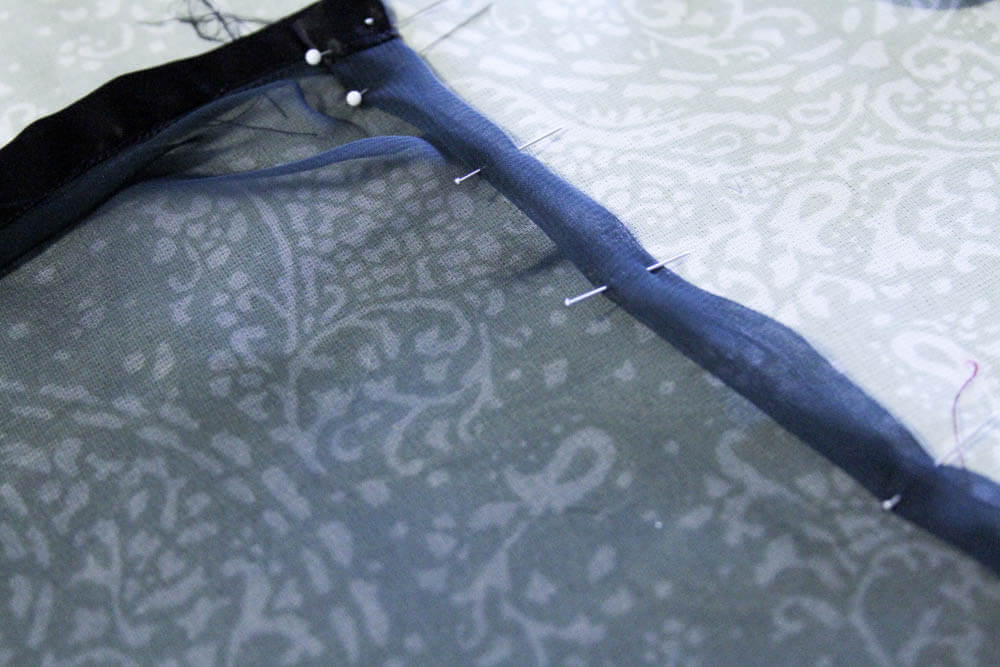
13) Pin bias tape to fabric. The bias tape only needs to be applied at the underarms, do not apply to top of bodice at neckline.
14) Stitch leaving a 1/4" margin.
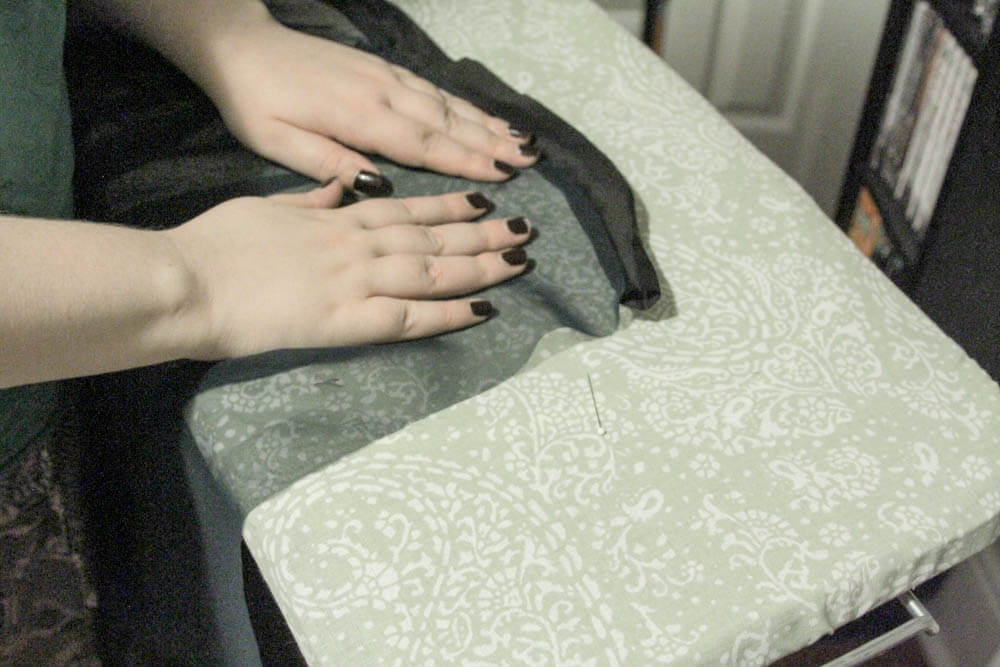
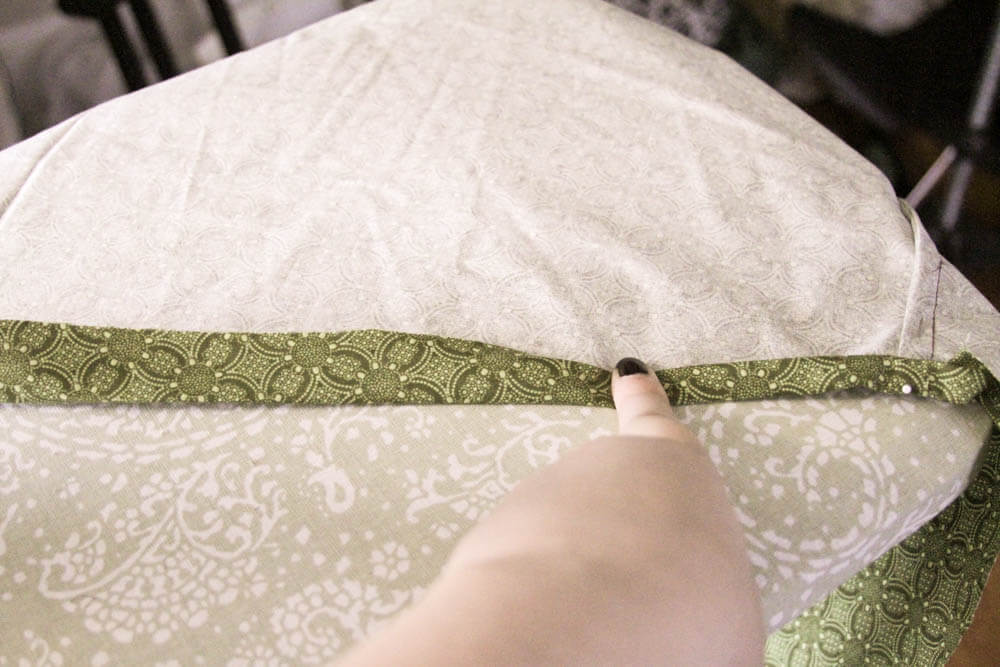
15) Fold raw edge of seam away from the top of the bodice and iron.
16) Fold top of bias tape down 1/4" and iron.
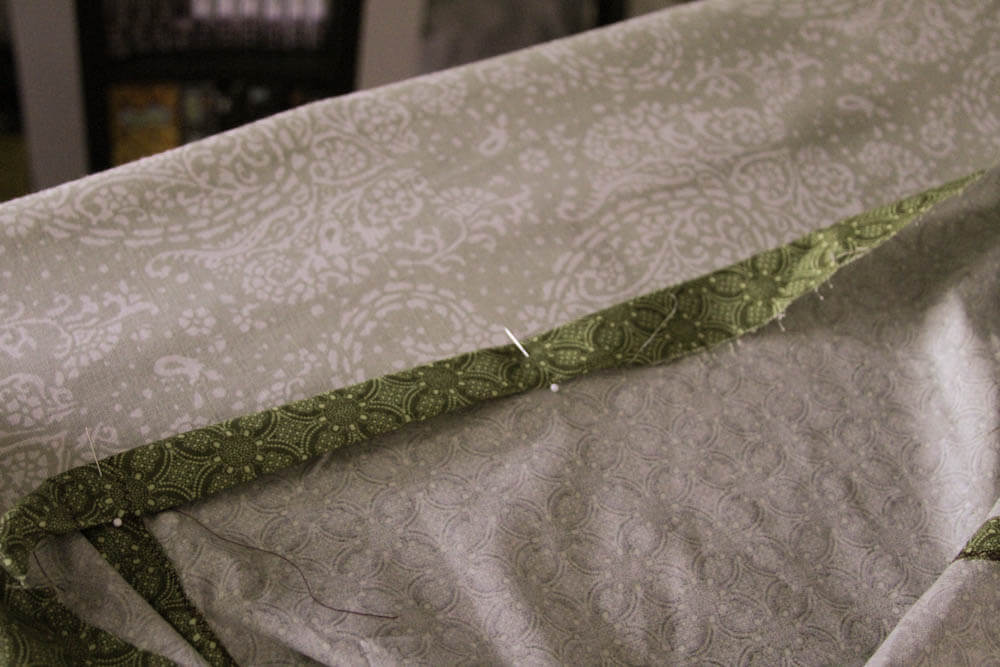
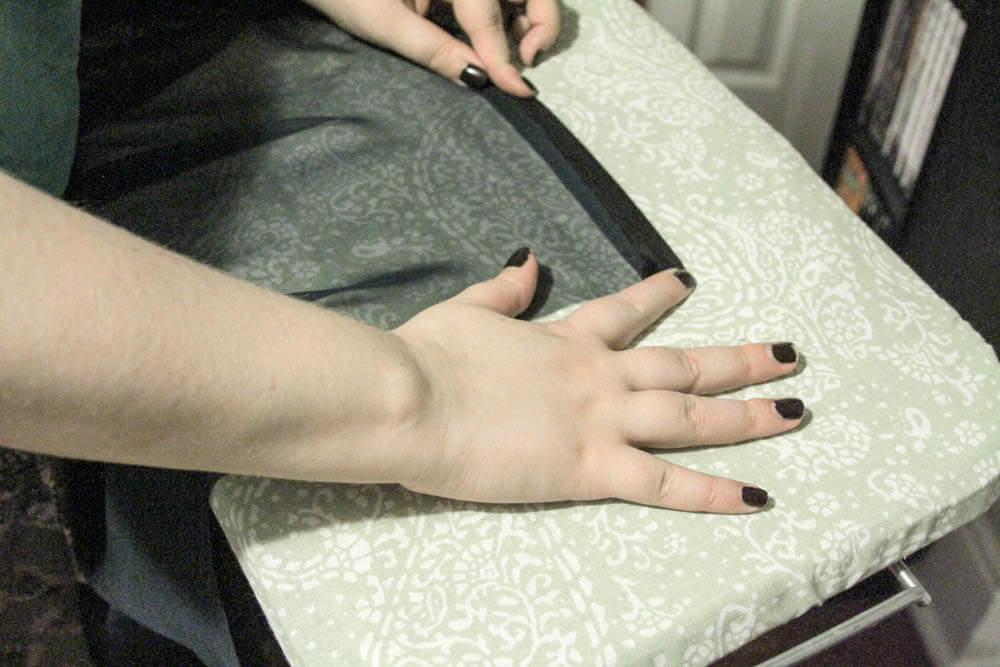
17) We now need to enclose the raw edges. Fold the bias tape once more, bringing your first fold down to your seam. Iron and pin in place.
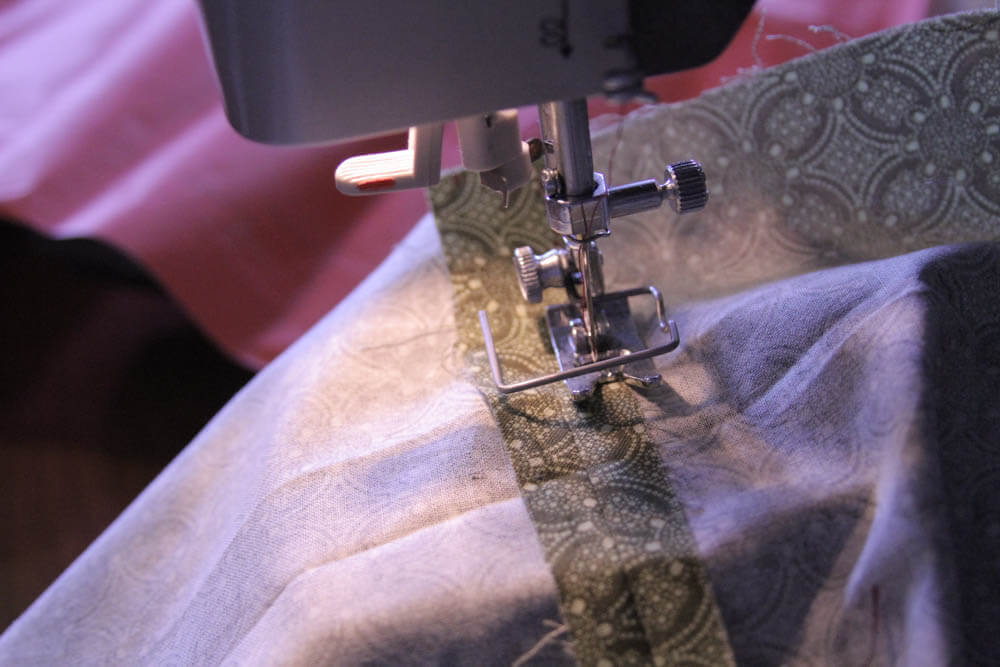
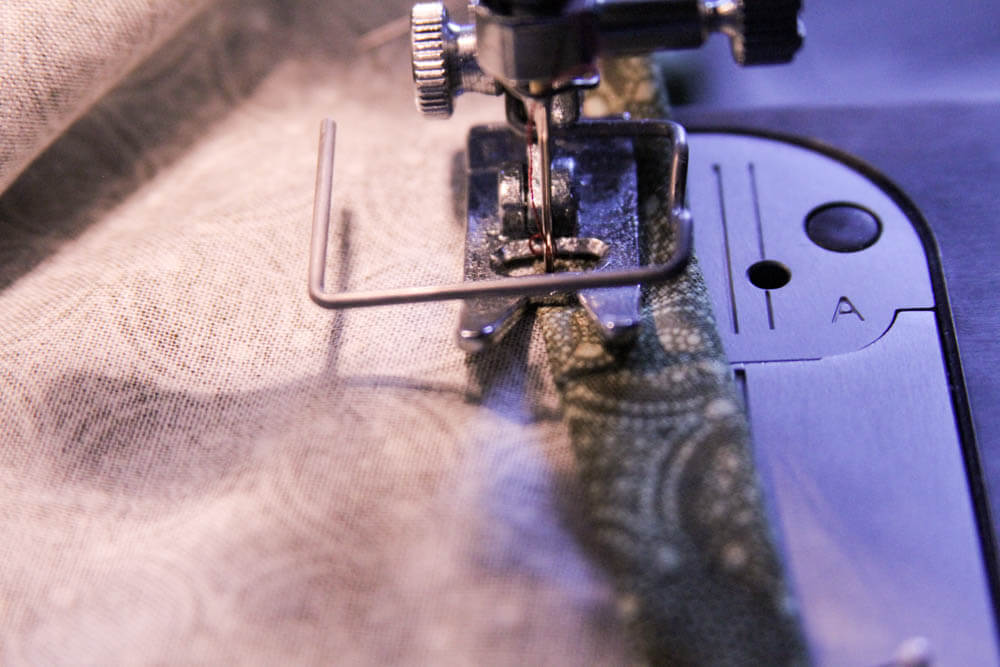
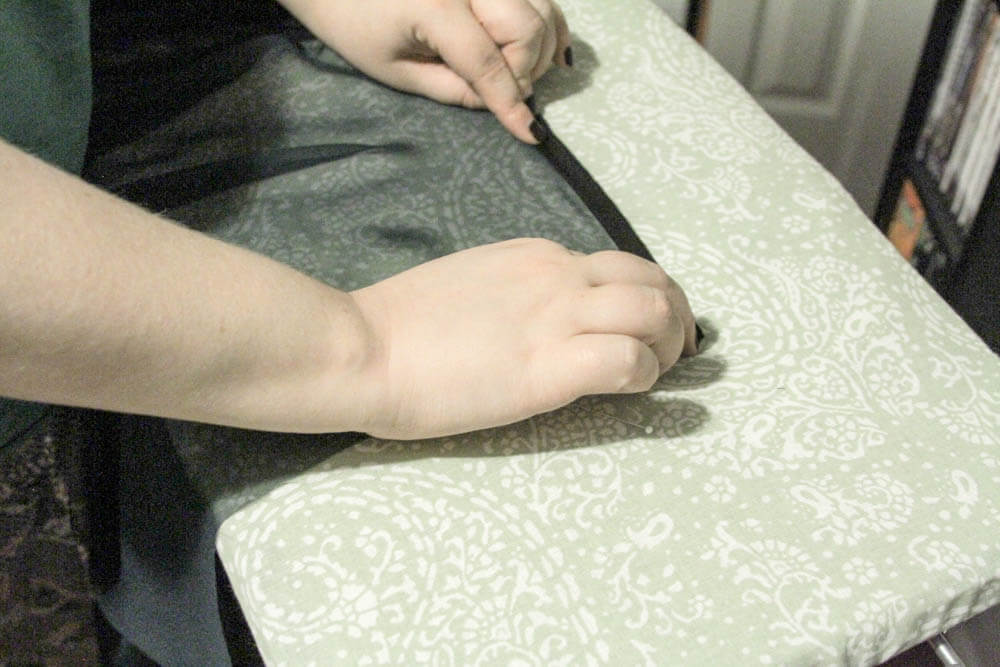
18) Sew bias tape close to the edge of the fold.
19) Take a look at your finished bias tape. It should be even all of the way around and all raw edges should be enclosed. If this is not the case, don't feel bad --- applying bias tape for the first time can be a little tricky. Use a seam ripper to take it out and try again.
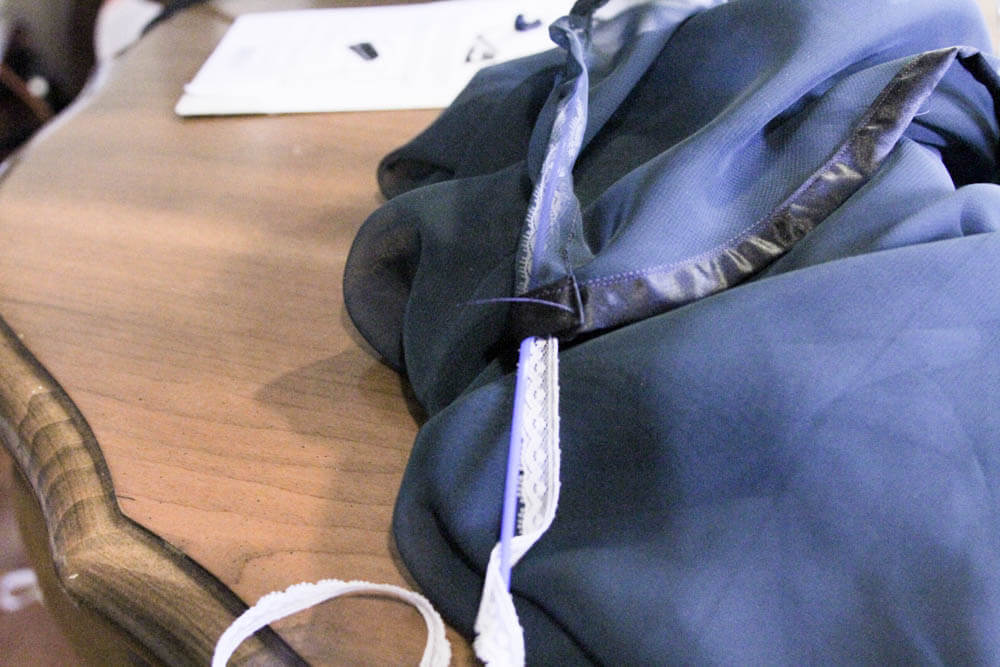
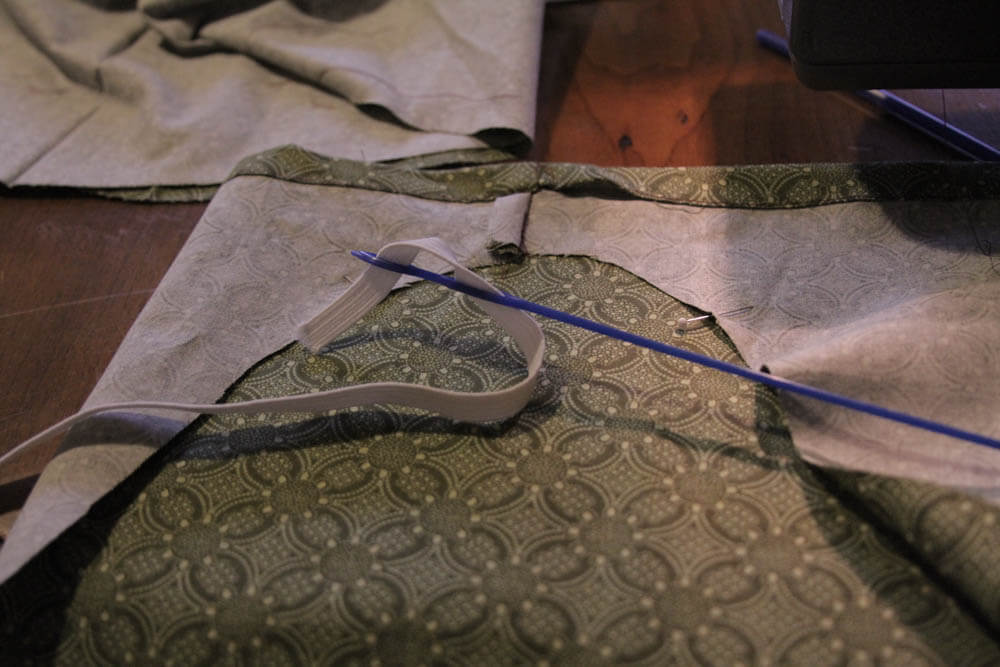
20) Create a casing around the bodice front and back, and insert lace or ribbon into casing. You may choose to tie the ribbon at the keyhole around the neck or off to the side at the shoulder.
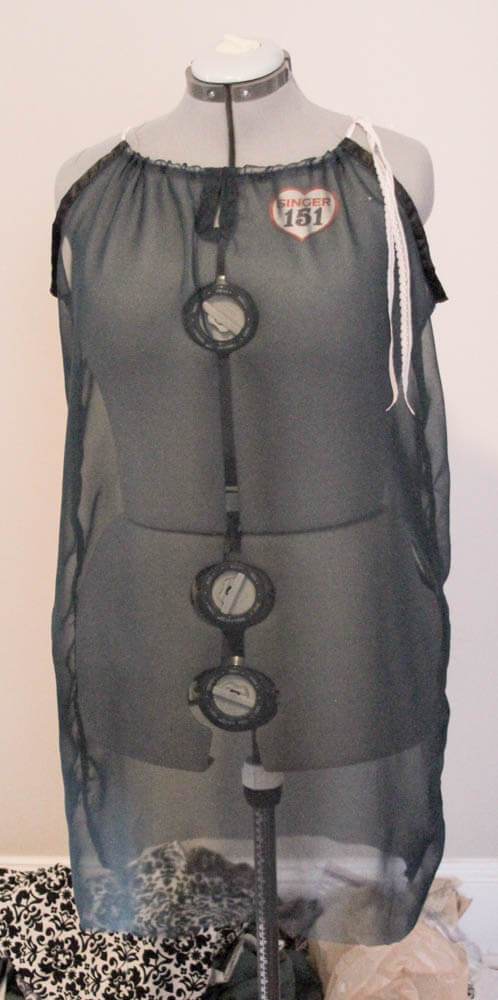
21) You now have a chemise with an unfinished hem. You may choose to finish your hem in the same manner we finished the hems for the shorts and the top, or you may simply finish it with a zig zag stitch. If you finish with the zig-zag stitch it will make it easier for you to apply lace later!
Skills and techniques learned from this project:
- Creating a flat felled seam.
- Applying bias tape.
Next time:
- Make the tunic (B) and pants (G).
- Learn how to make a muslin.
- Apply lace at the hem of the chemise.
- Learn how to create and apply a drawstring at waistband.
It is my hope that you are learning with each project. For this reason, once a skill is introduced I will not give an in-depth description about that skill again. I am overwhelmed with the positive response to my first post and I hope I have lived up to your expectations!
As always your feedback is welcome and desired, please don't hesitate to leave any requests in the comments.