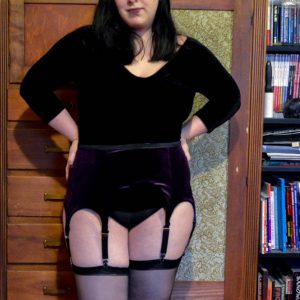
Feathers and Elastic: How to Make Burlesque Inspired Lingerie

This month, we will be continuing with burlesque-inspired lingerie while continuing our break from our sewing machines! In Feathers and Elastic: How to Make Burlesque Inspired Lingerie you will not be using any specific patterns, but rather working with limited materials to create showgirl lingerie.
Continuing on with the inspiration I received from working with Philadelphia’s Cabaret Administration, I've created a basic frame bra, shimmy belt, and ostrich feather fan. Everything that you see in this post is created using basic materials and (mostly) by hand sewing. I did not follow any patterns or instructions, I simply used my pre-existing knowledge to create this tutorial. If you use a different technique please feel free to share in the comments!
Materials Needed:
- One package of elastic
- 1 yard sequin elastic
- 10 yard spool of chainette fringe
- 1 marabou boa
- 1 spool of thread
- 1 sheet of Styrofoam, should be at least 1/4 inch.
- 10-20 small metal flat-head pins
- About 20 ostrich feathers
- 1/2 yard of fabric, or scraps from a previous project
- 1 bottle Gem Tac (other adhesives won’t hold up, spend the extra money on this)
- Small paintbrush or toothpick
- Scissors and Snips (Snips are tiny scissors, very useful for tight curves.)
- Marker, pencil, or tailors chalk
- Hand sewing needle
- Mannequin (optional)
- Sewing Machine
A few notes before we start:
- This column is set up like course curriculum. During the last few months I have been teaching some basics that I will not be going over in future posts. If you find yourself lost, please feel free to look back at Where to Start , Loungewear Part 1 and Part 2 , Robes, Slips or Burlesque Part 1
- Gem Tac holds up. PAY THE EXTRA COUPLE OF BUCKS FOR THIS ADHESIVE!!! You seriously won't regret it.
- I highly recommend using a mannequin for these projects; however, if you cannot afford one, you measure items up against your own body!
Project 10: Frame Bra
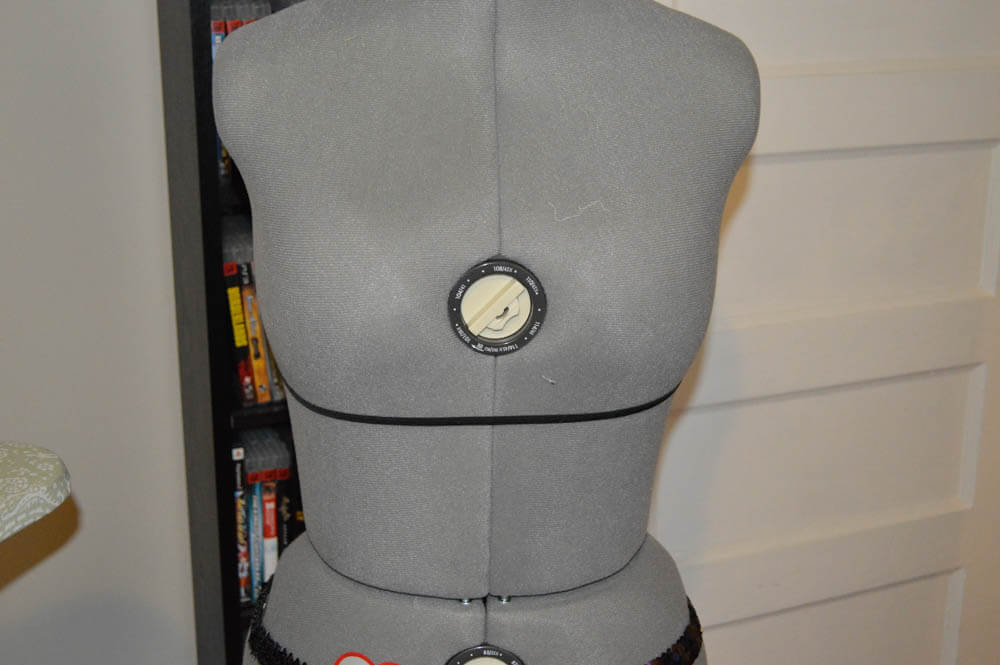
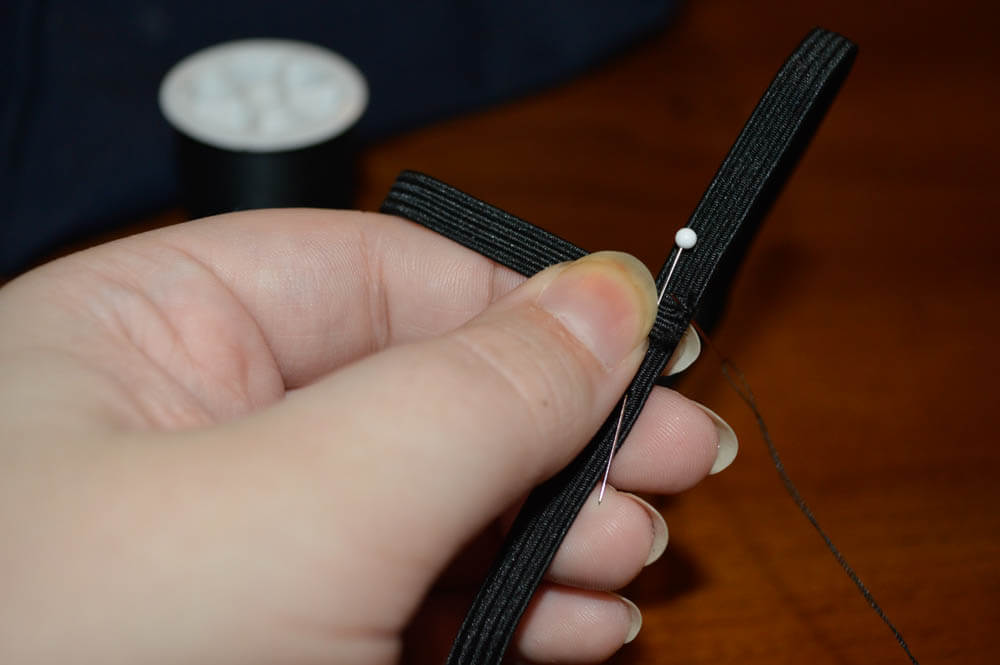
1) Cut a piece of elastic that measures about 1 inch less than your underbust.
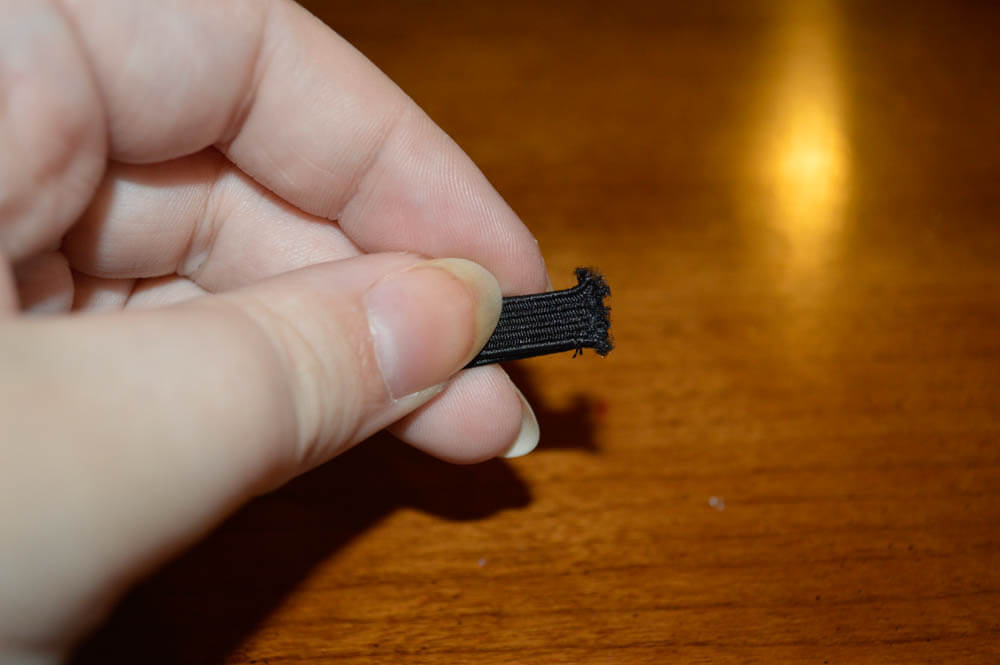
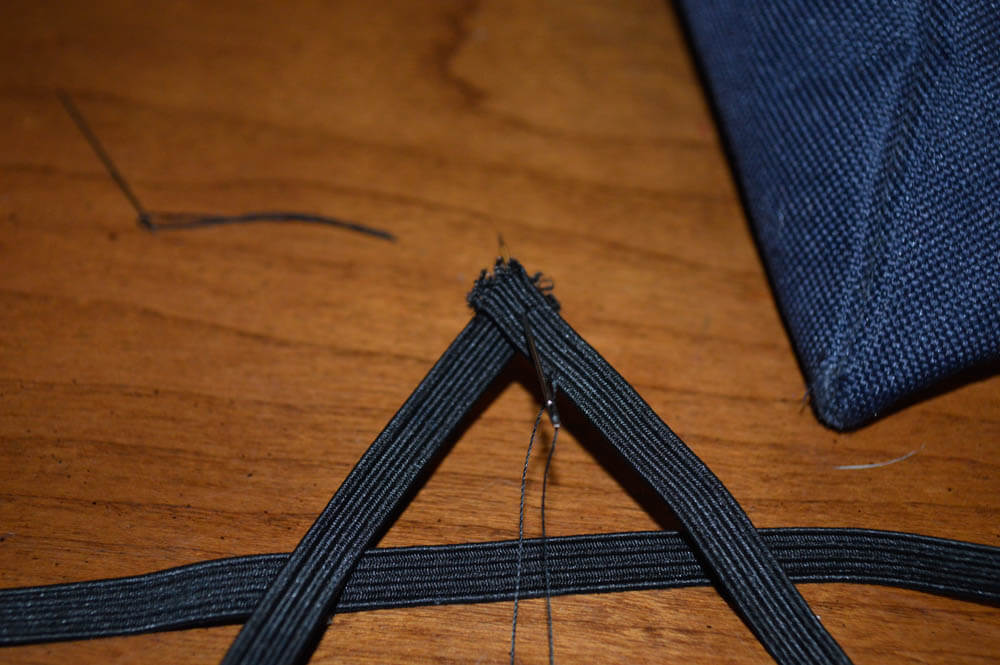
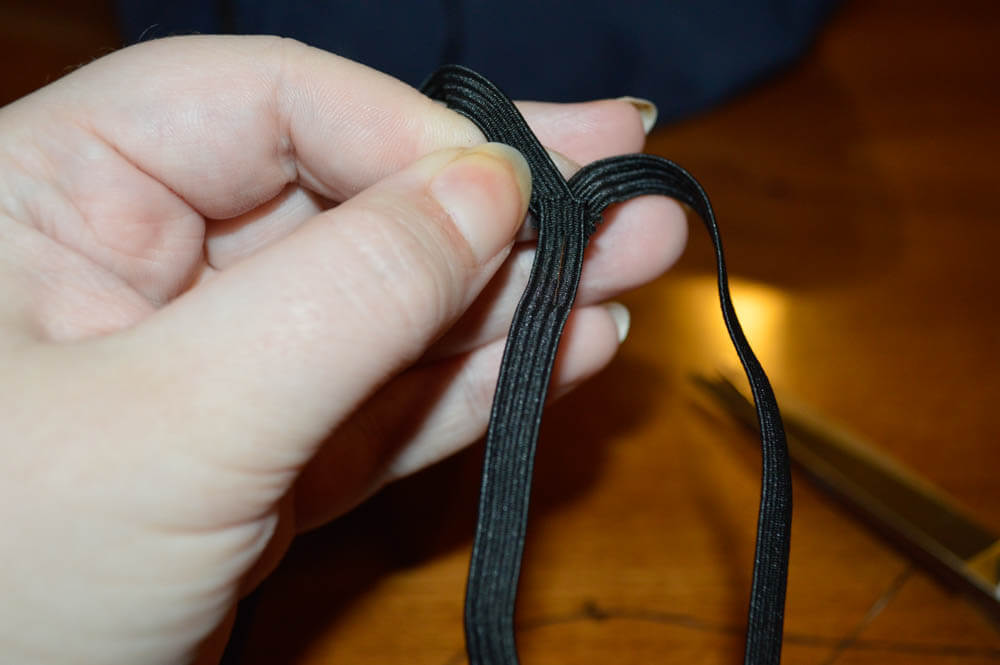
2) Fold the elastic in half and place the raw edges together and stitch. Whip stitch around the ends to encase the raw edges.
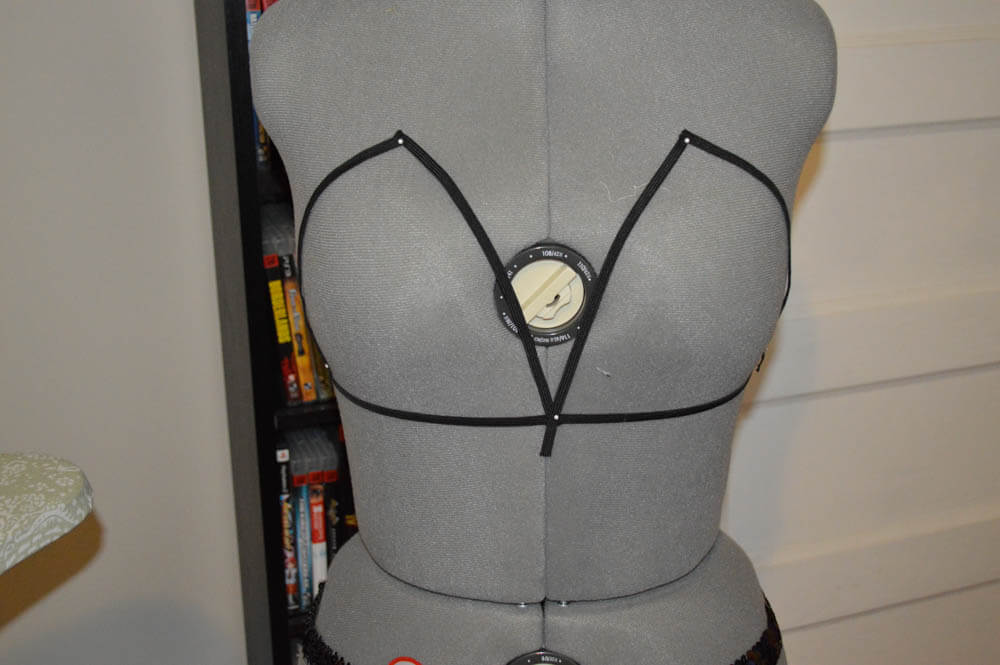
3) Using a mannequin, experiment with placing elastic to create the "frame." Pin the elastic in place and remove from the mannequin.

4) Trim the elastic "frame" so the it lines up with the under bust band. Whip stitch around the raw edges in order to encase the fraying edges.
5) Once you have the cups attached to the band make sure to whip stitch the top of the cups together, once again encasing the raw edges.
6) Once the frame has been completed, you will need to add the straps! Take a piece of elastic and stitch to the back of the bra.
7) Try the bra on, and pull the elastic strap from the back of the band up to the front of the cup. Pin in place, remove bra and whip stitch.
Skills and techniques learned from this project:
- How to use elastic in order to create a frame bra
- Using a mannequin to aid in the production
Project 11: Shimmy Belt
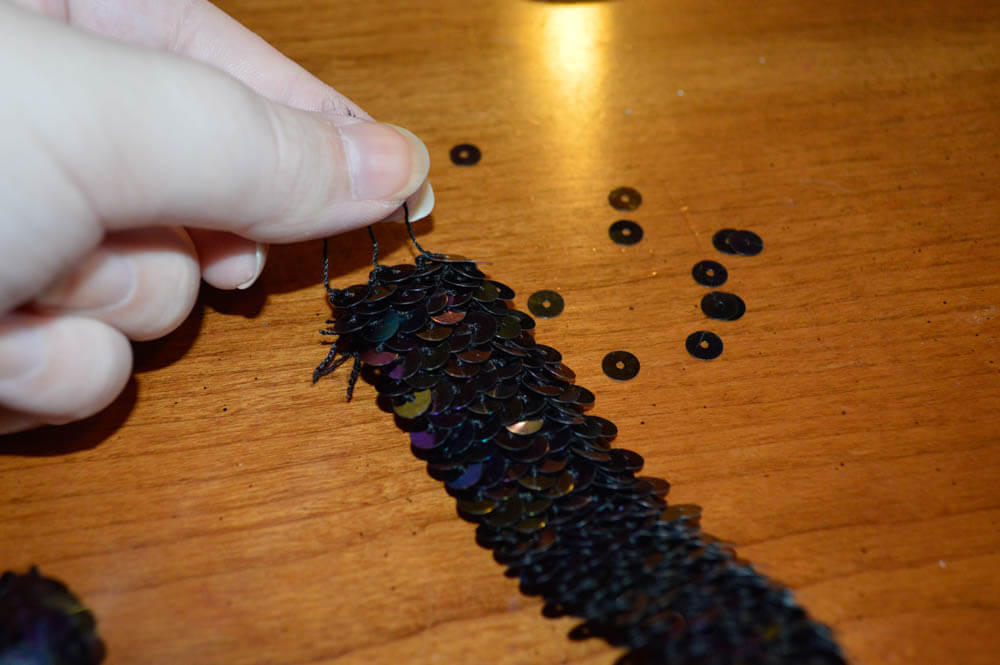
1) Remove sequins from each end of the elastic, revealing about 1/4 inch of the underlying structure, so that you can stitch each end together.
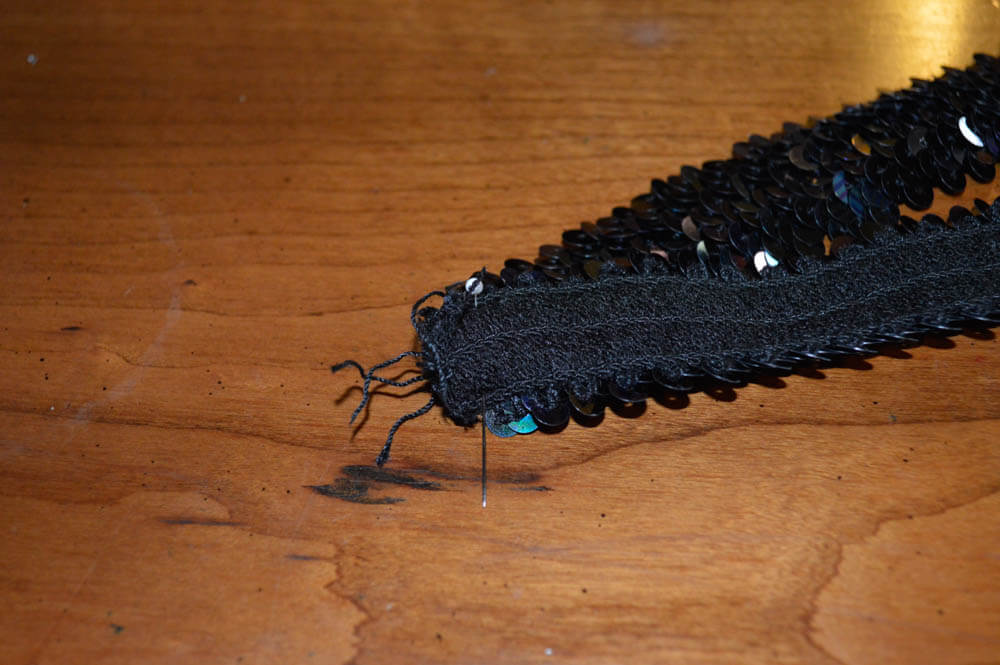
2) With the right sides (sequined sides) of the elastic facing each other, pin the edges and stitch. Once you have the elastic pinned, stitch together. To make sure everything is secure, you may want to use your sewing machine, or add a few rows of stitches.
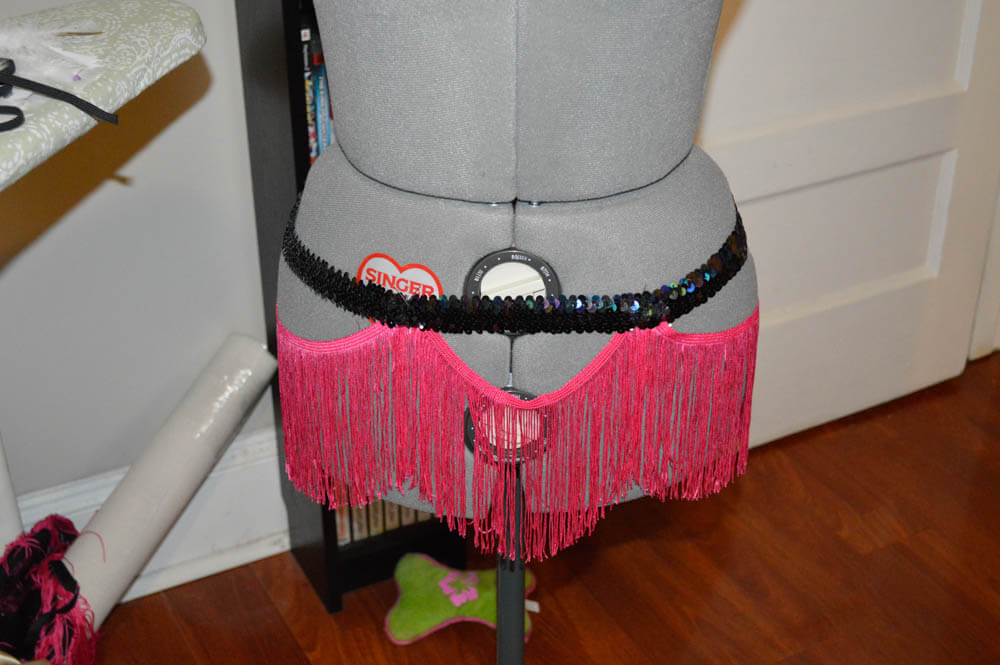
3) Place the elastic on the hips of your mannequin, and place the fringe where you'd like it to rest. I tend to prefer to have the fringe drape down a little bit in order to reveal some extra skin!
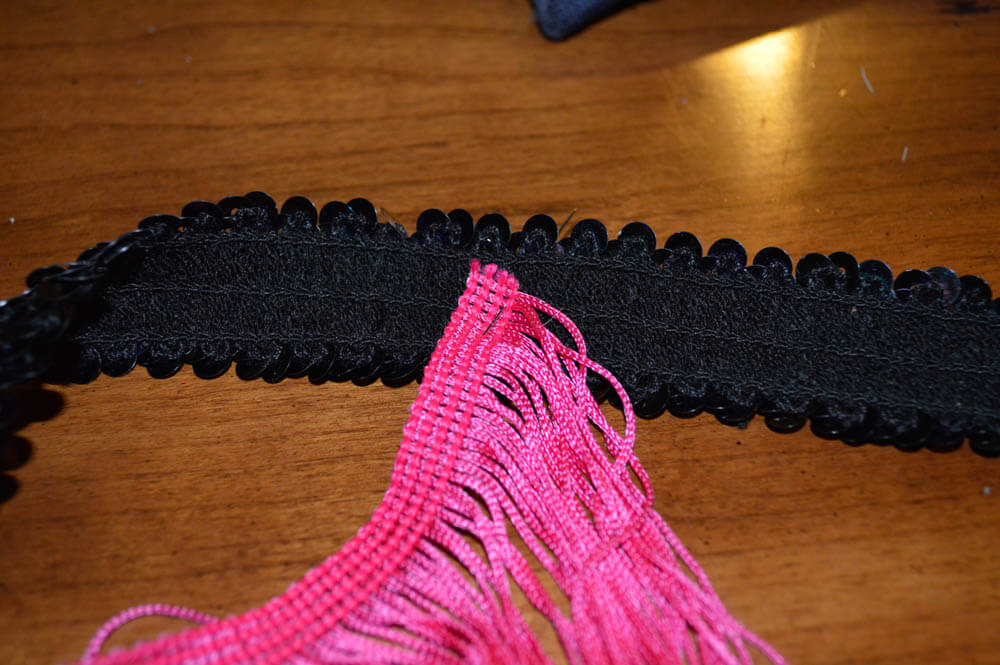
4) Before stitching your fringe in place, you want to make sue that the raw edges are concealed. Fold the edges in and tack in place.
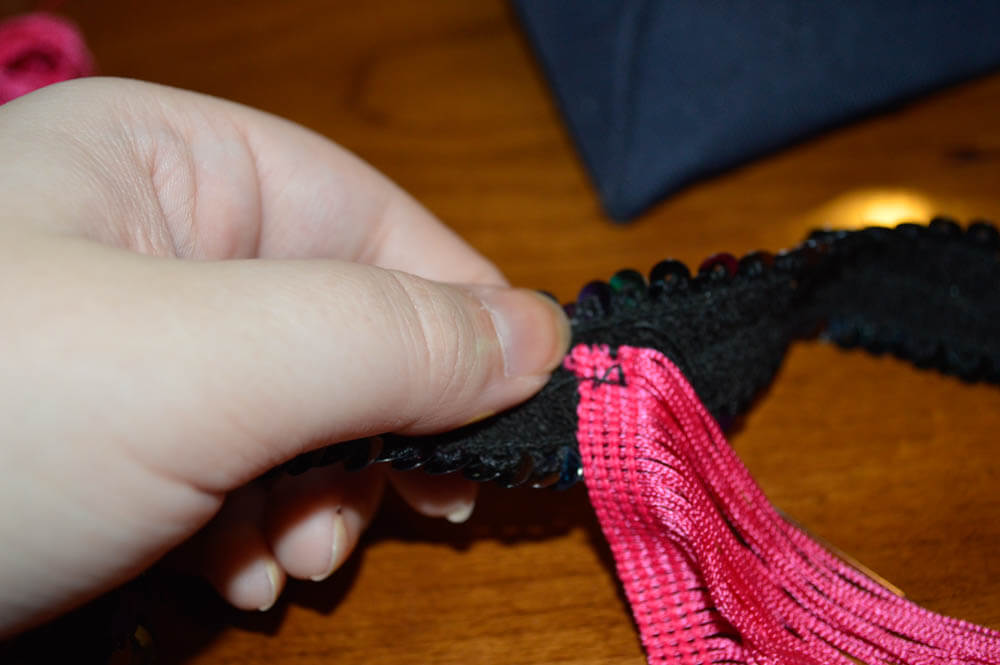
5) Tack the edges of your fringe to the belt. If you aligned the fringe so that it lays straight across instead, please refer to last month's column.
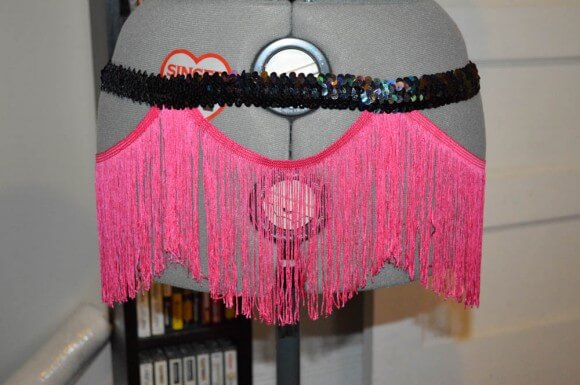
6) Once you've stitched everything in place, try on your belt and shimmy!
Skills and techniques learned from this project:
- Working with sequined elastic
- Draping fringe
Project 12: Ostrich Feather Fan
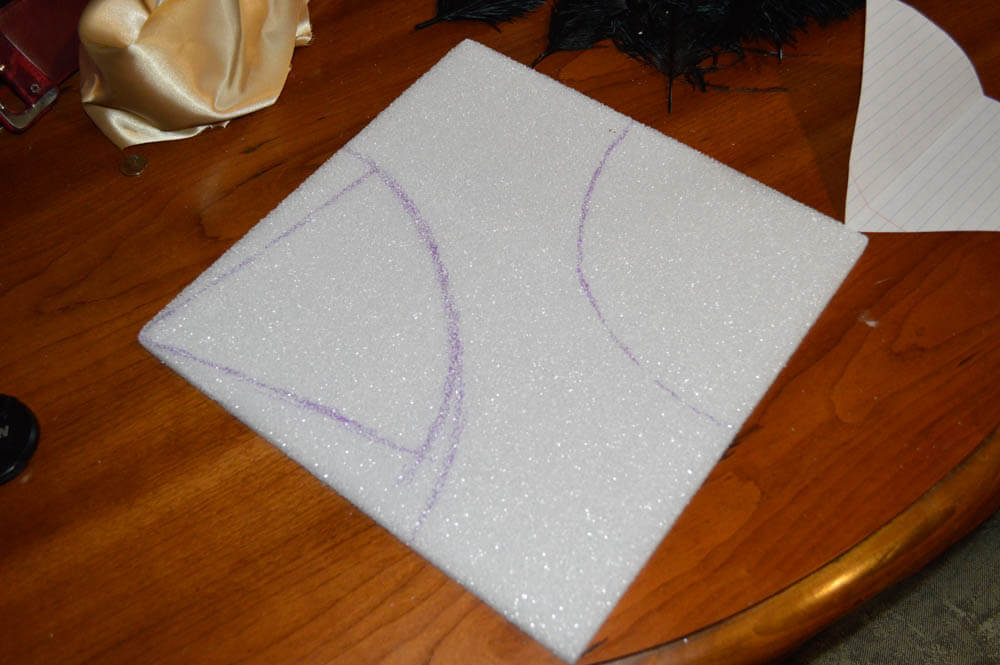
1) Draw the shape of your fan on a sheet of styrofoam. You can create a paper template ahead of time, if you want to skip the process of drawing several lines to get the perfect shape.
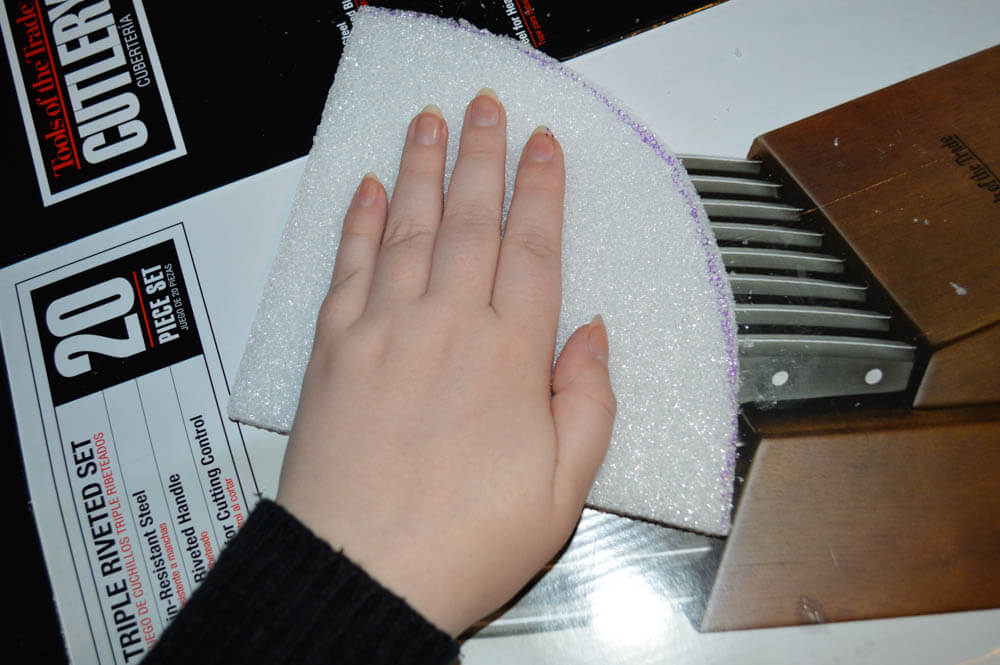
2) Using a utility knife, carefully cut around the edges of your markings.
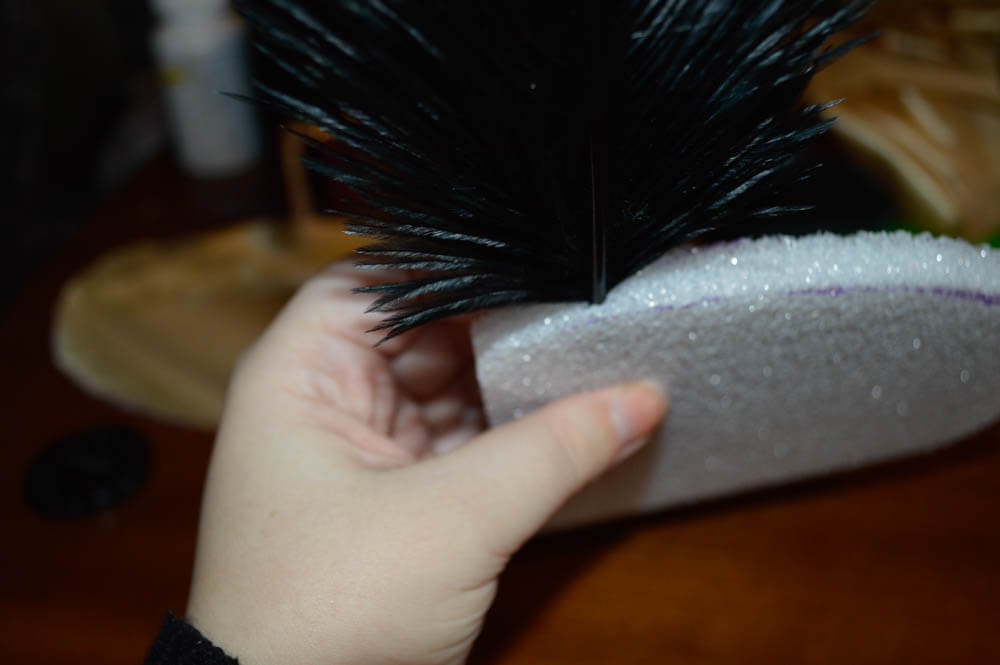
3) Slowly place your ostrich feathers in the top of the Styrofoam. Make sure that they are not poking out of the body of the Styrofoam.
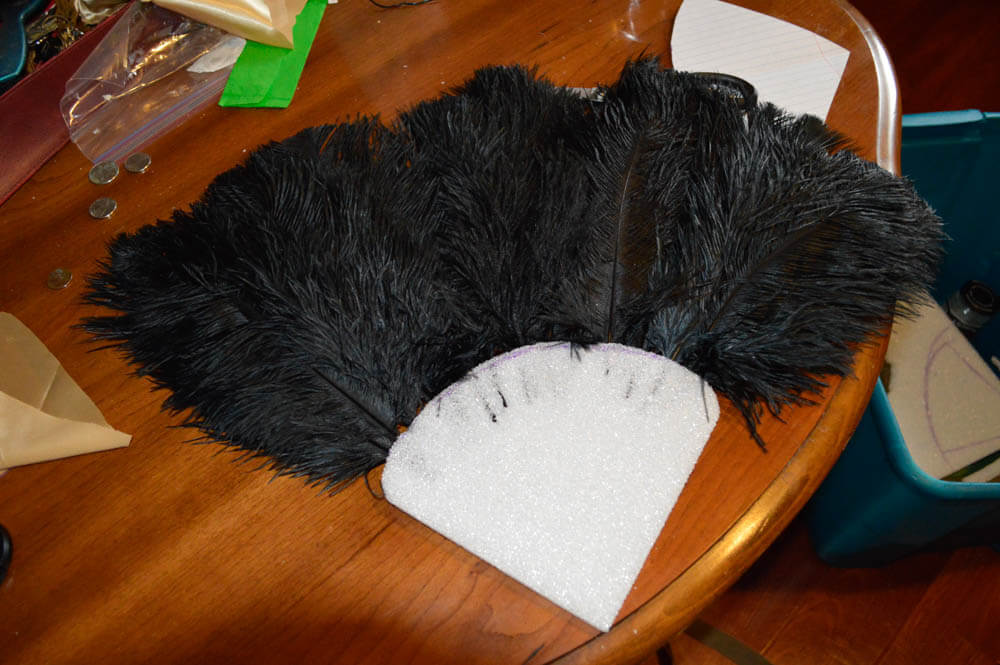
4) Place the feathers organically as you move along. Once you have all of your feathers placed, the fan should look rather full and voluminous.
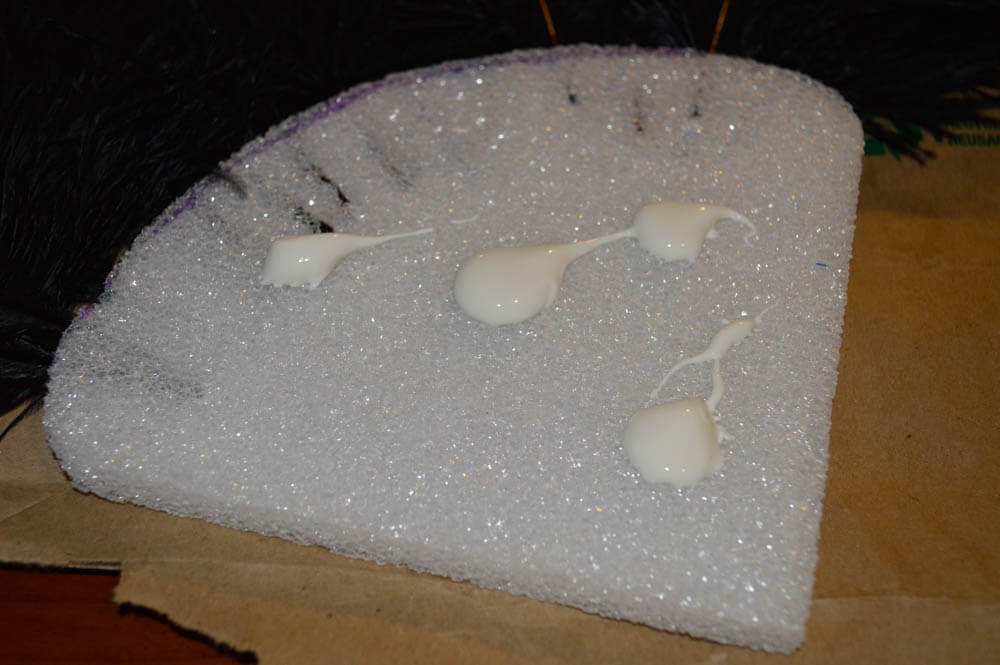
5) Open your bottle of GemTac and place a few globs of glue on the Styrofoam.

6) Using the paintbrush or toothpick, spread the glue evenly across the surface.
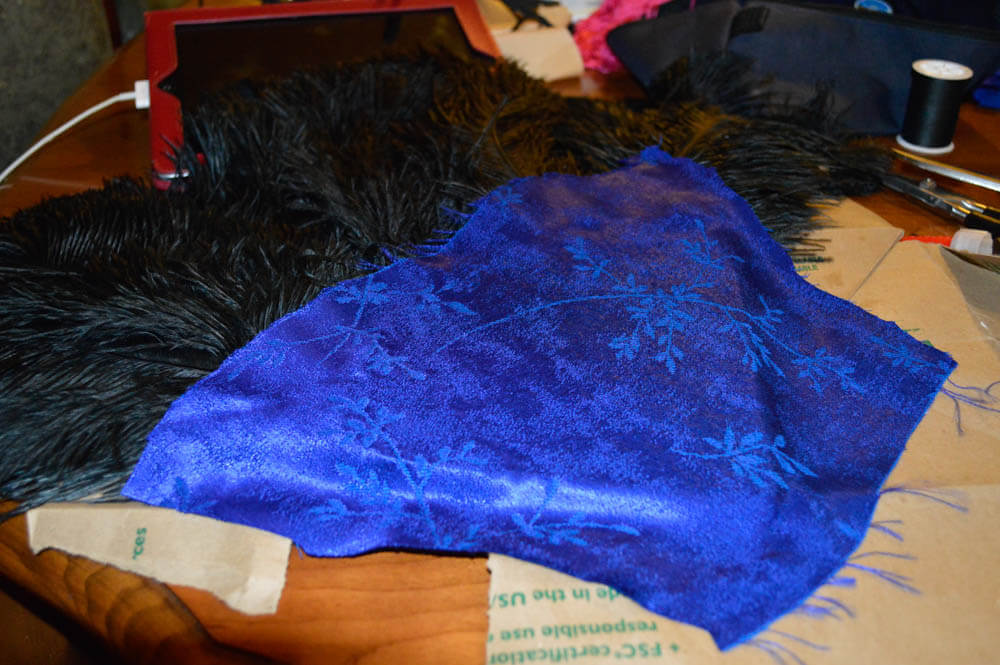
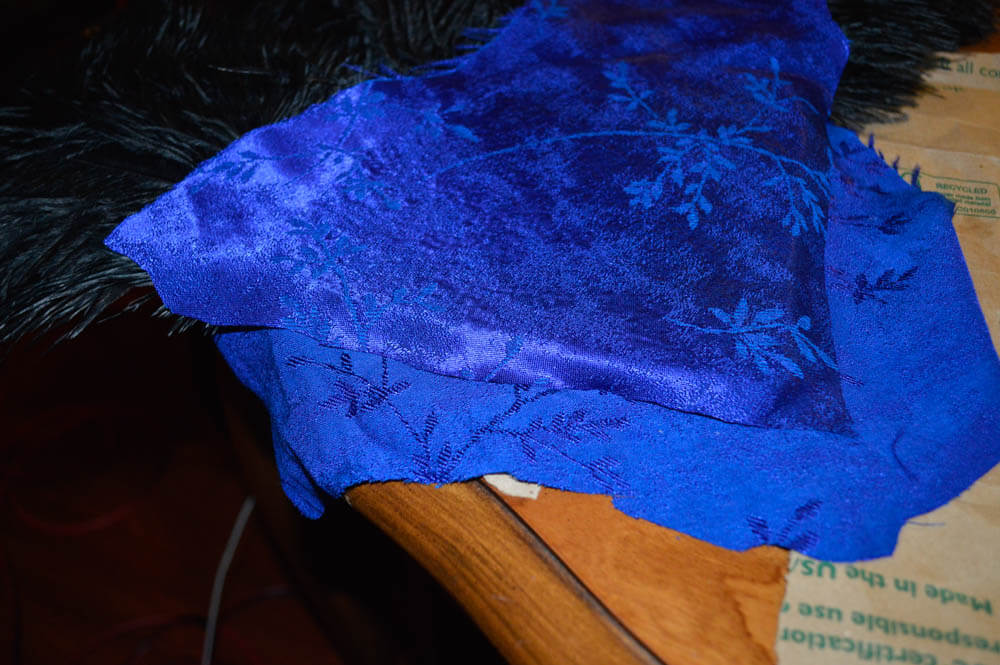
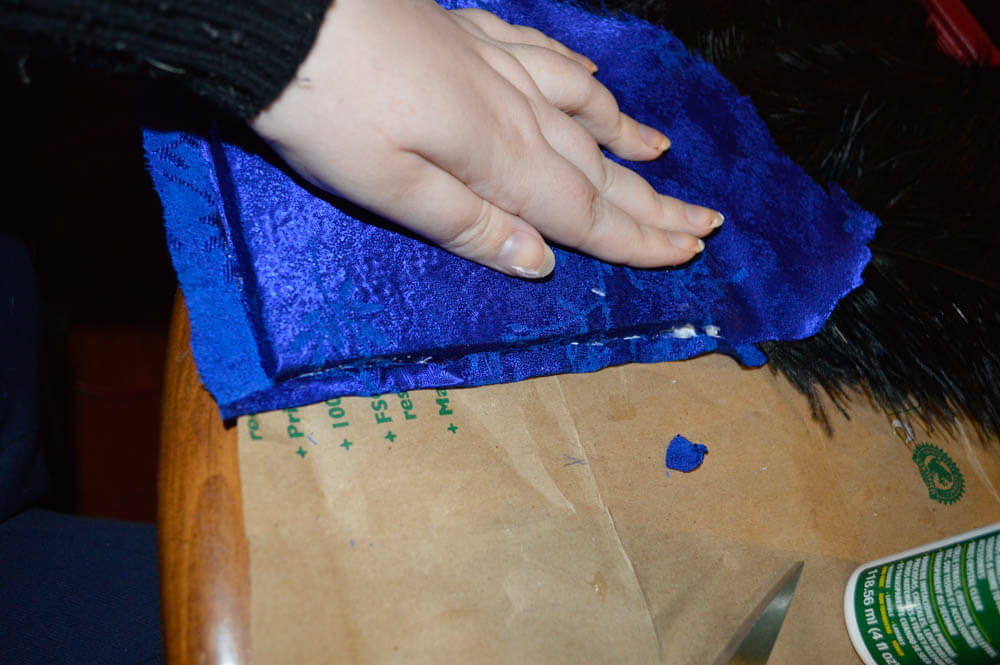
7) Place a scrap of fabric that is roughly slightly larger than the fan's base over the glue. Make sure to press down firmly and smooth any bumps.
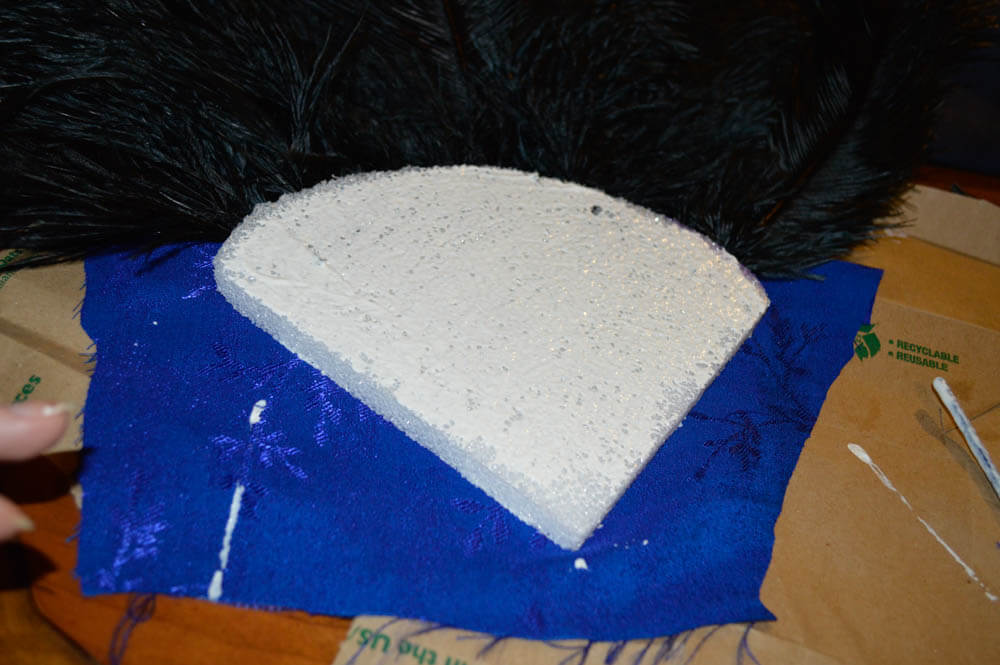
8) Once the glue has dried, flip your fan over and repeat the process on the other side.
9) After the glue has dried, trim down the edges of the fabric on the front side of the fan.
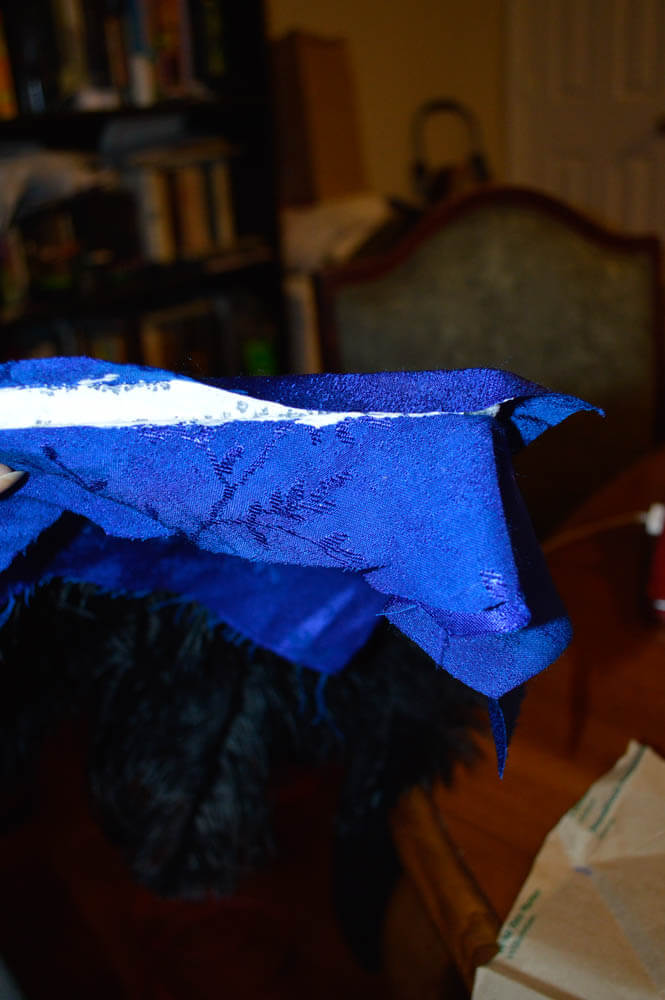
10) Glue the edges of the Styrofoam and press the trimmed fabric firmly in place.
11) You will once again have to wait for the edges to dry, but once they do, trim down the fabric on the back of the fan.
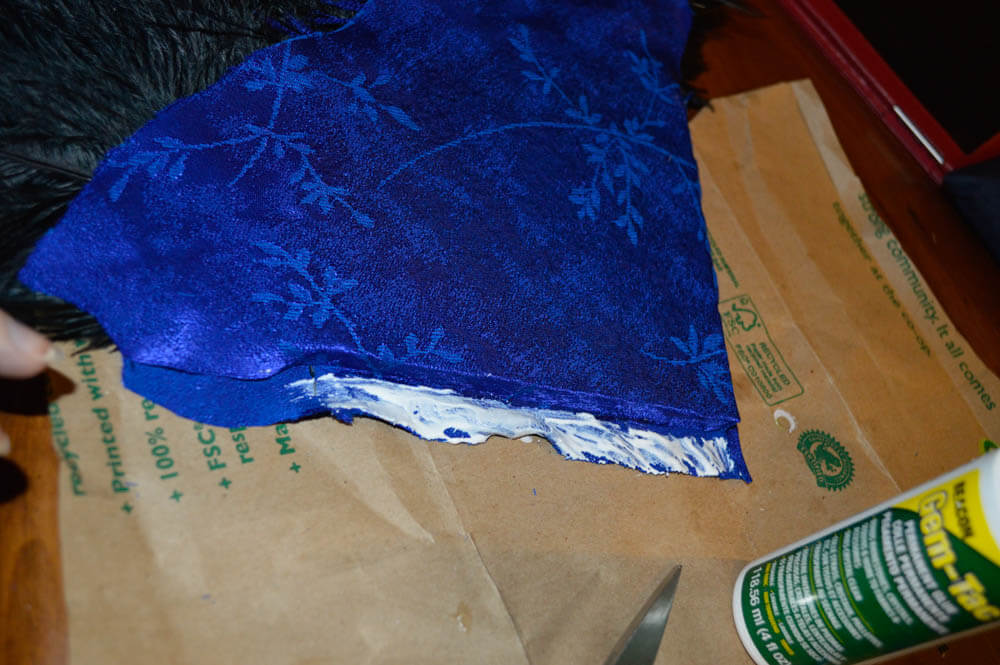
12) Place glue on the fabric.
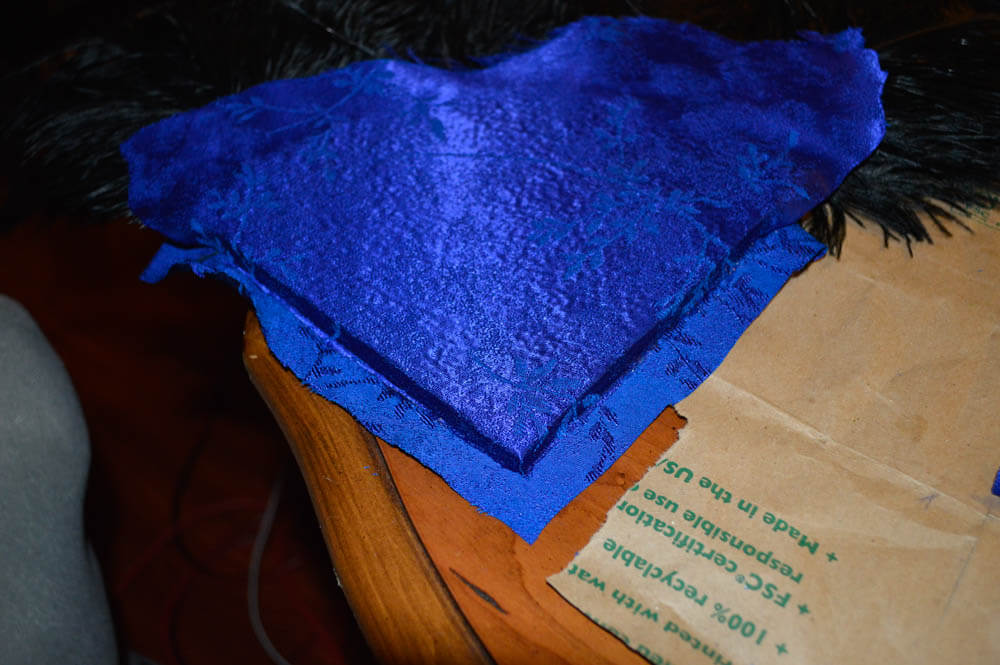
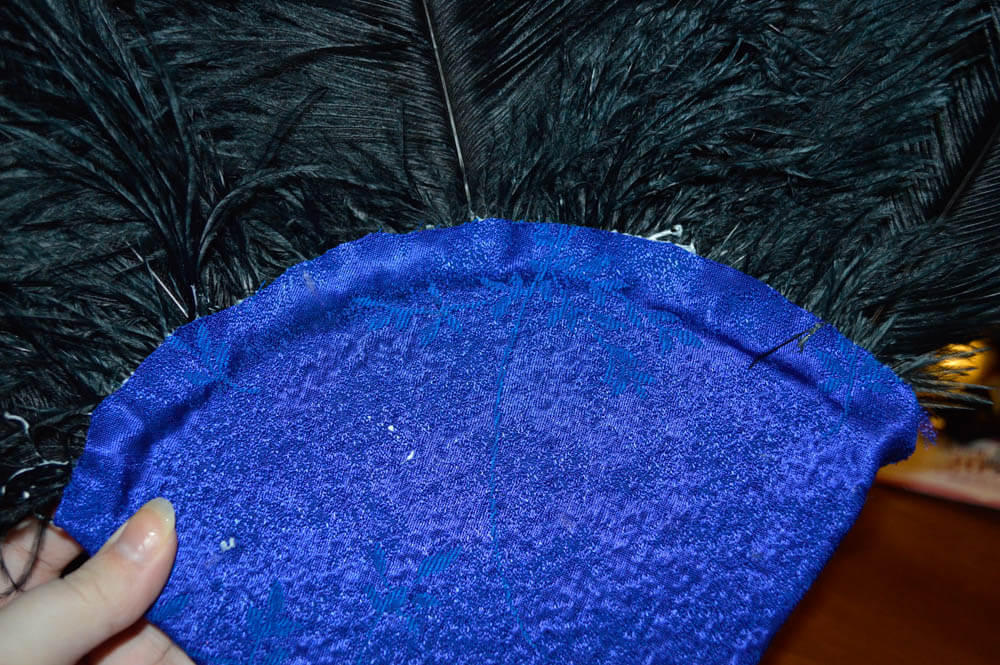
13) Fold the glued the fabric in half, making sure the fabric is smooth and flat. Allow to dry.
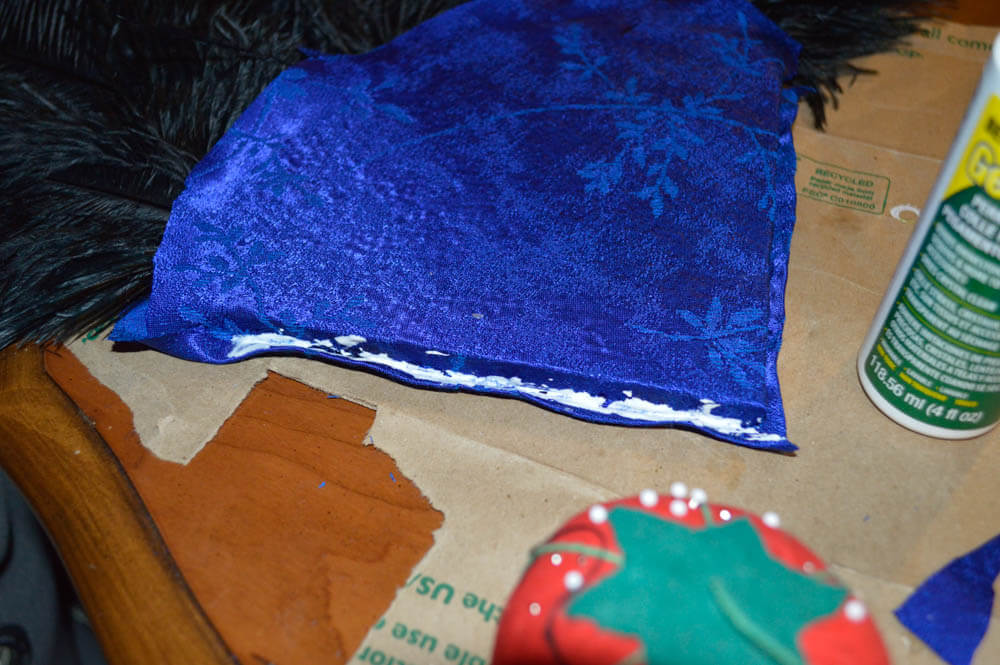
14) Place glue on the folded fabric, and press against the side of the fan.
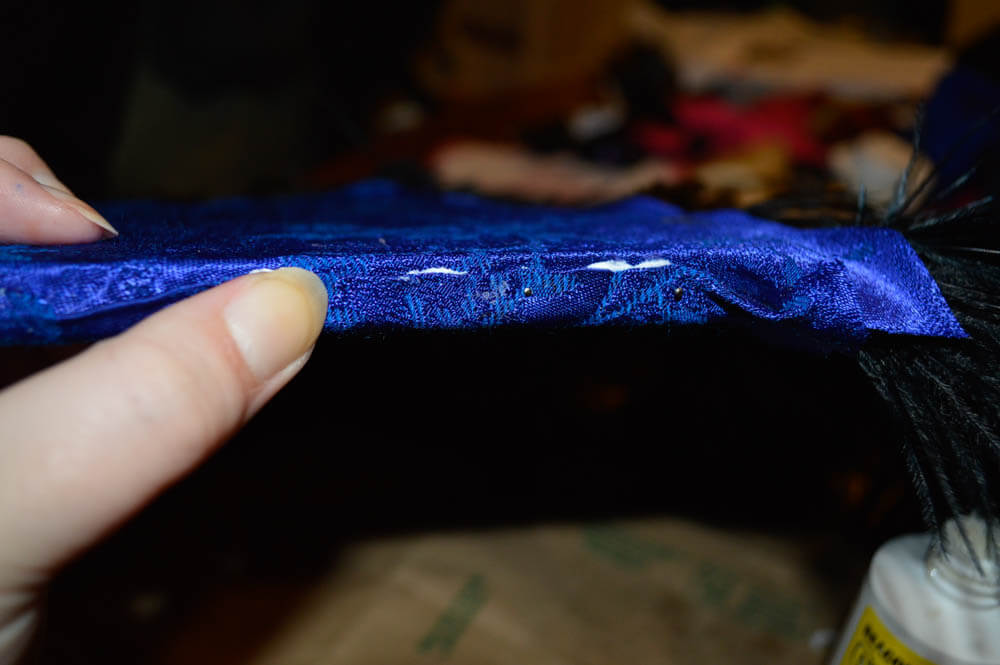
15) Push pins in to hold the fabric in place as it dries. If you don't like your placement you can always take them out and re-position them later.
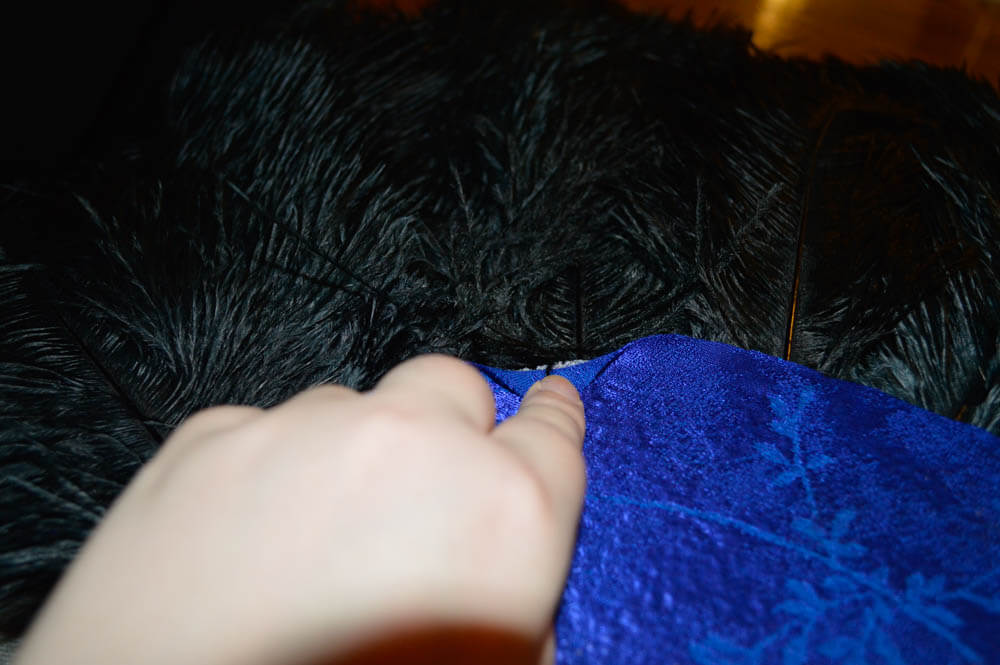
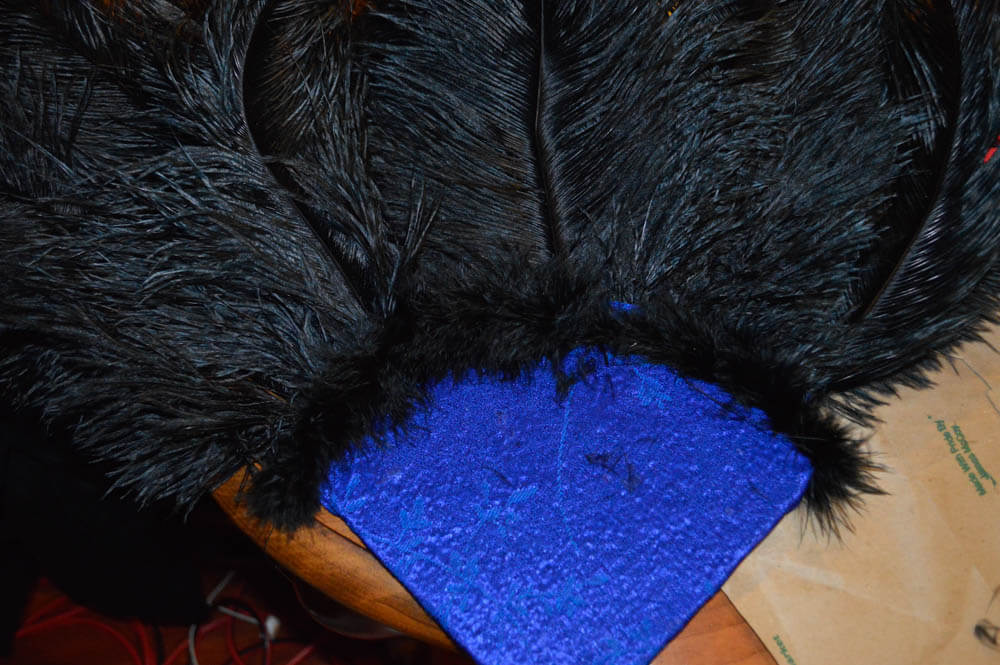
16) Trim the top edge of the fabric along the feather line, then put glue on the wrong side of the fabric.
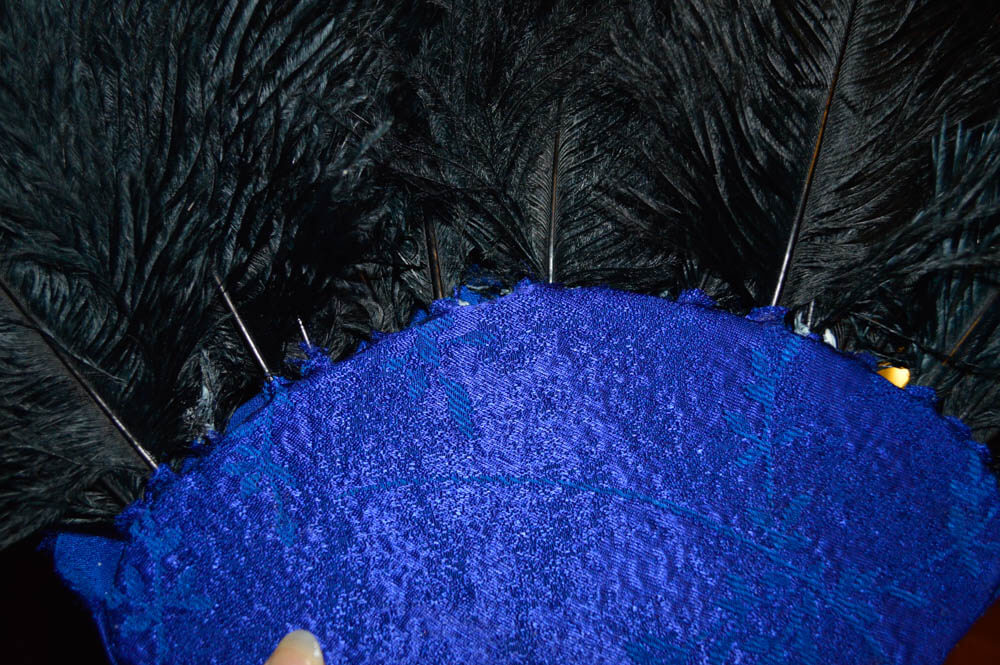
17) Press the fabric in between the feathers, and allow to dry.

18) Alternately, you could trim the fabric, glue the wrong side, then press against the feathers.
19) It won't look as nice, but it's a bit easier to achieve.

20) Starting slightly off center, on the back side of the fan, place a marabou boa. Whip stitch in place, continuing around to the front side. Note: If you glued the fabric to the feather, stitch into the fabric. If you glued the fabric onto the Styrofoam, you will have to stitch the boa to itself, weaving in and out between the feathers.
21) Once you come back around the the backside, continue placement until both ends of the boa have overlapped.
Skills and techniques learned from this project:
- How to use simple and easily accessible components to make an ostrich feather fan
- Using adhesive to adhere fabric
Next time:
Due to the holidays I won't have a hands-on "How To" next month. I will, however, be discussing how to clean and care for vintage or secondhand lingerie.
Are there any particular styles or designs that you would like to try out? If so, let me know in the comments! Have you tried making anything yet? If so, how did it go? As always your feedback is welcome and appreciated. Please feel free to leave any comments, suggestions, or requests below!
Happy Holidays Everyone! Thank you for your readership and support.