How to Make Your Own Loungewear Part 2

The patterns we will be working with are from the same set as last months. You will mostly be sewing in a straight line, and these pieces are not tight or fitted. Remember, the purpose of these projects is to get you used to sewing. You will be further exploring the basics as we go over making a muslin and sewing with stretch fabric. Please note that my instructions may not exactly follow the instructions Simplicity Patterns provide.
Materials Needed:
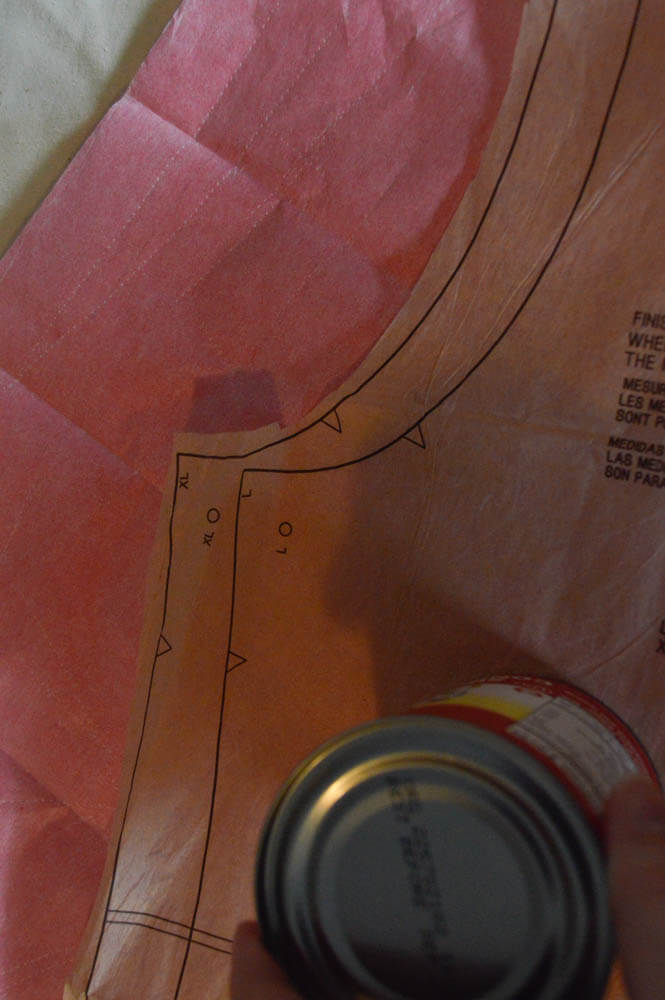
- Simplicity Pattern 1561: This can be bought in sizes XS, S, M or L, XL. If you are between sizes, I recommend sizing down.
- Woven fabric for top: Maximum 1 ¾yards (45 inch width)
- Knitted fabric for pants: Maximum 2 1/8 yards (45 inch width)
- 1 or 2 spools of thread
- 1 package or 1 yard of ¼" elastic
- Tracing paper
- Tracing wheel
- Scissors and snips (Snips are tiny scissors, very useful for tight curves.)
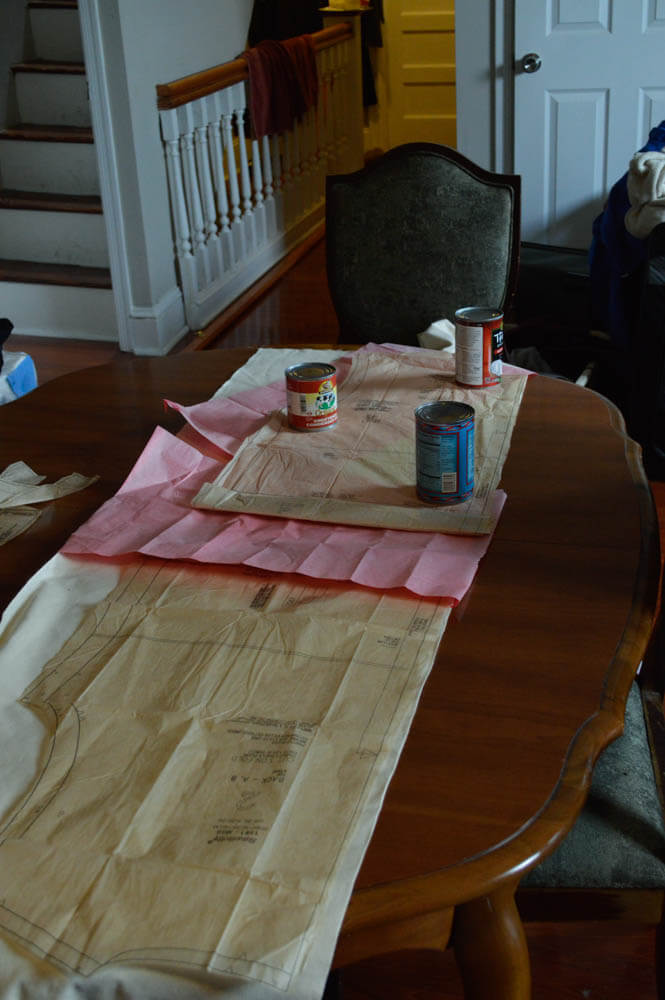
- Weights (You can buy fabric weights, or you can do what I do and use canned goods.)
- Tailor's chalk
- Iron and ironing board
- Sewing machine
- Drawstring threader
Vocabulary:
Stay Stitch - A row of directional stitching that helps prevent your garment from stretching out of shape during the construction process. For more information, read this article on Craftsy.
A few notes before we start:
- This column is set up like course curriculum. Last month we went over some basics that we will not be going over again. If you find yourself lost, please feel free to look back at Make Your Own Loungewear Part 1. In the same vein, I will be introducing making muslins today, and expanding on this over the next few posts.
- From this point on you may choose how you would like to finish your seams. I will note what type of seams I am using but I will not give step-by-step instructions on them.
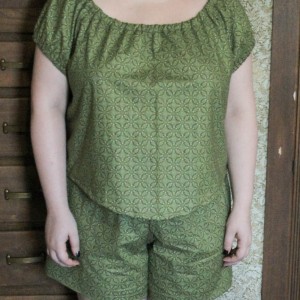
Project 4 Tunic:
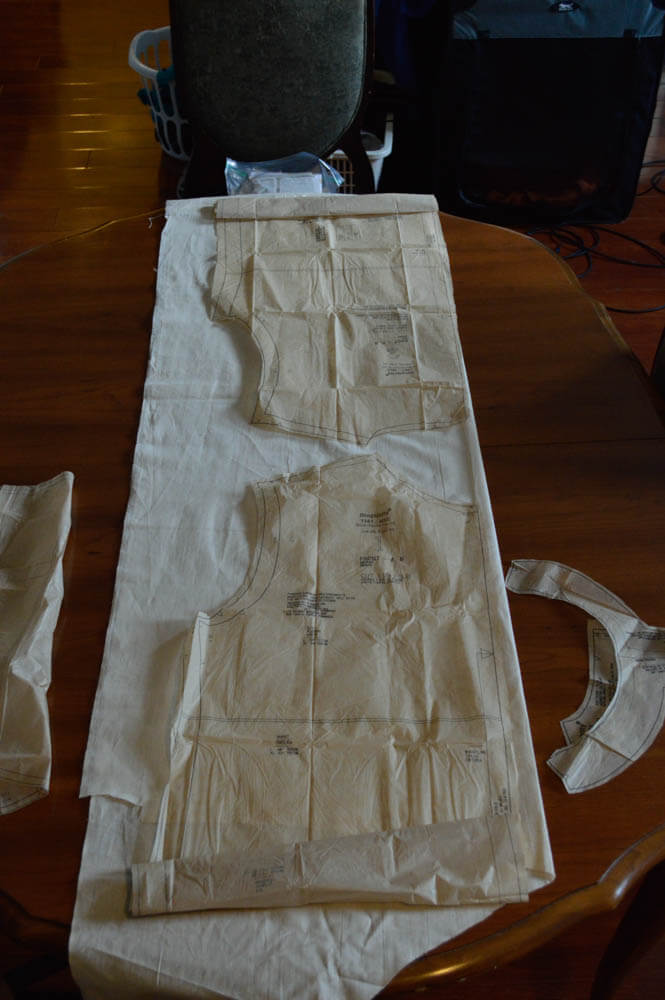
1) Find and prepare pattern pieces 1, 2, 3, 4 and 5.
2) Fold the muslin in half vertically. (You don't have to worry about right and wrong sides, as these are just pattern pieces.)
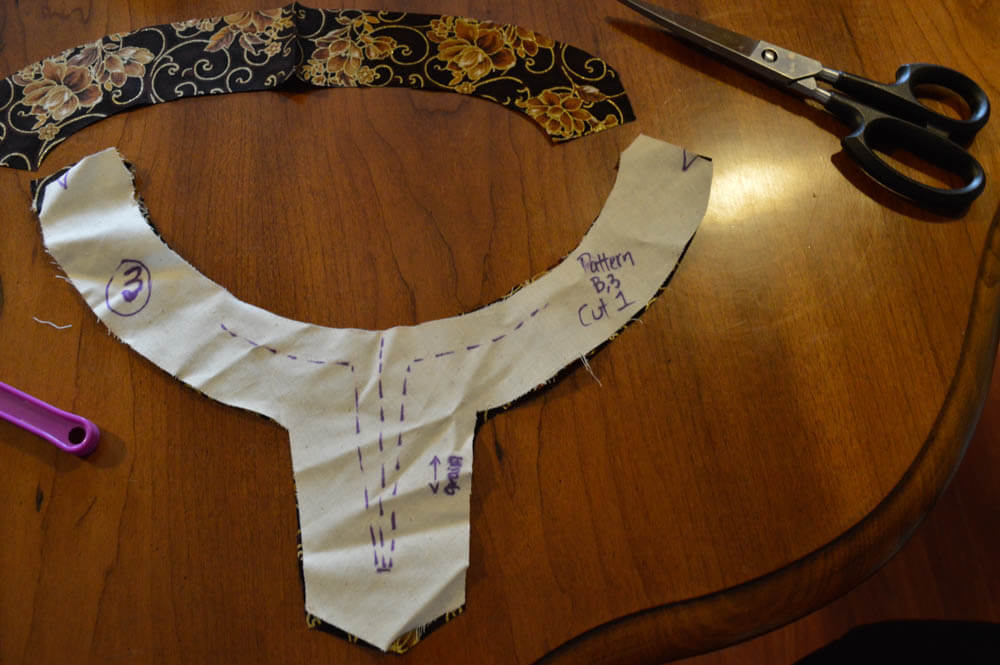
3) Trace your pattern pieces. Note that on both bodice pieces and the back facing (1, 2, and 4) you should place the edge that states “place on fold” on the fold.
4) Traces all notches and points onto the muslin.
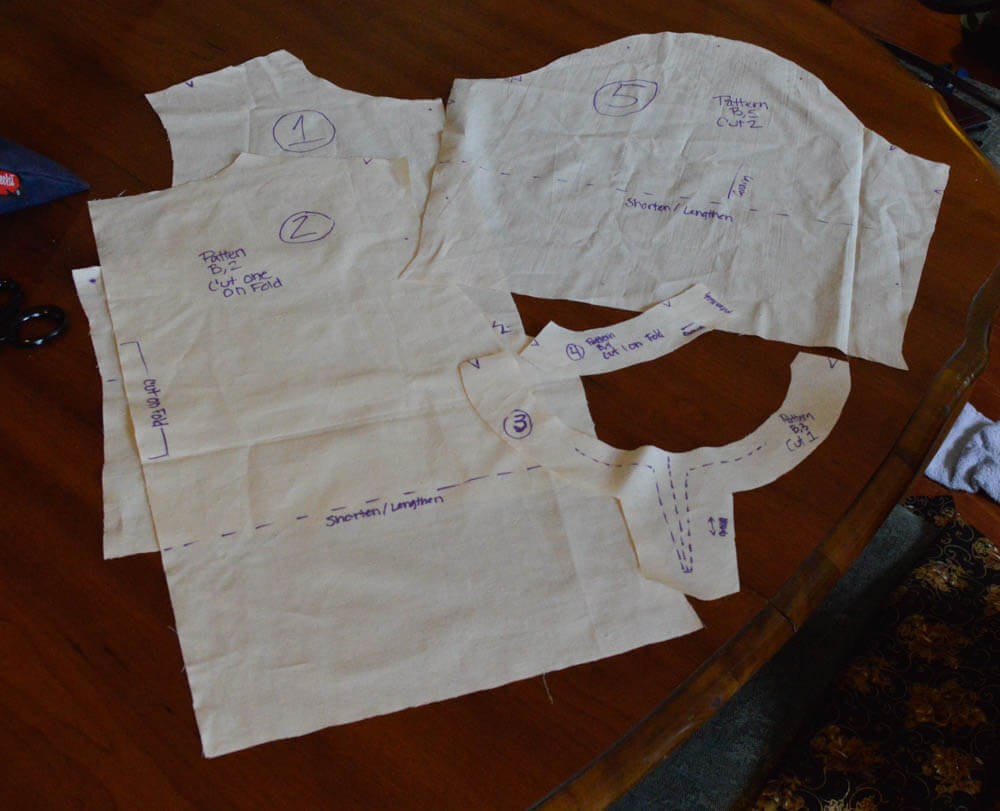
5) Cut fabric and mark all notches, circles, and notes onto each pattern piece. I always make sure to include the number of each pattern piece, what style it is for (in this case B), shorten/ lengthen line, how many / how to cut, and grain lines.
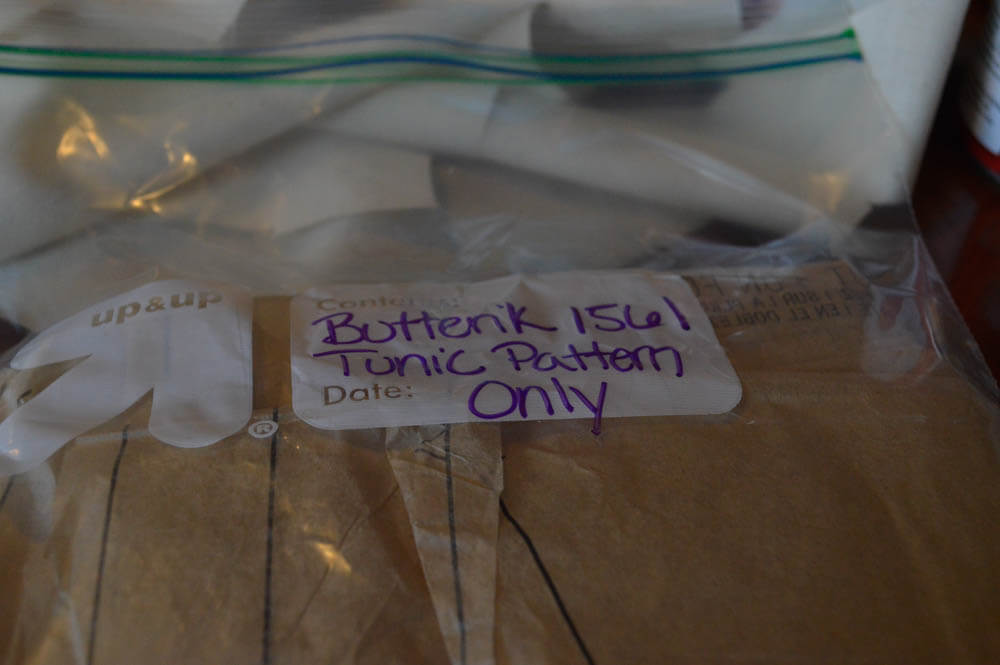
6) Your pattern will not fit in the original packet, so you will need to find another way to store it. I use large Ziploc bags, and I always store my muslin with the original paper pattern pieces and a copy of the sewing instructions.
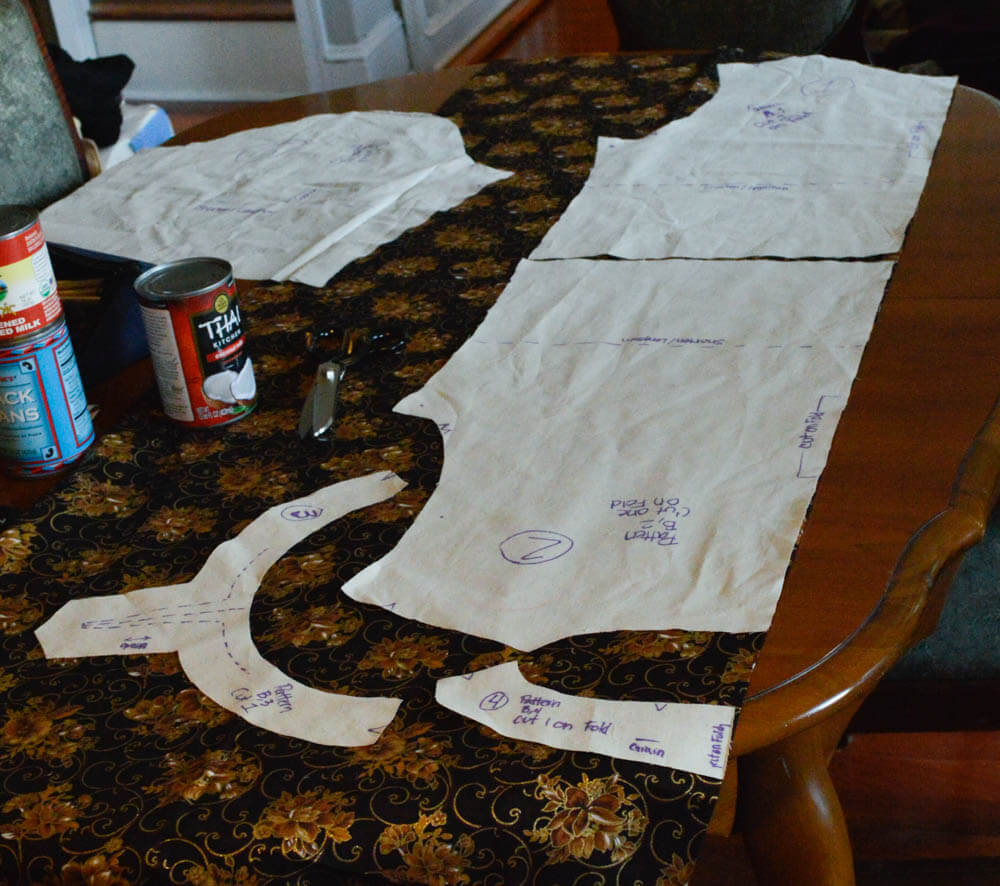
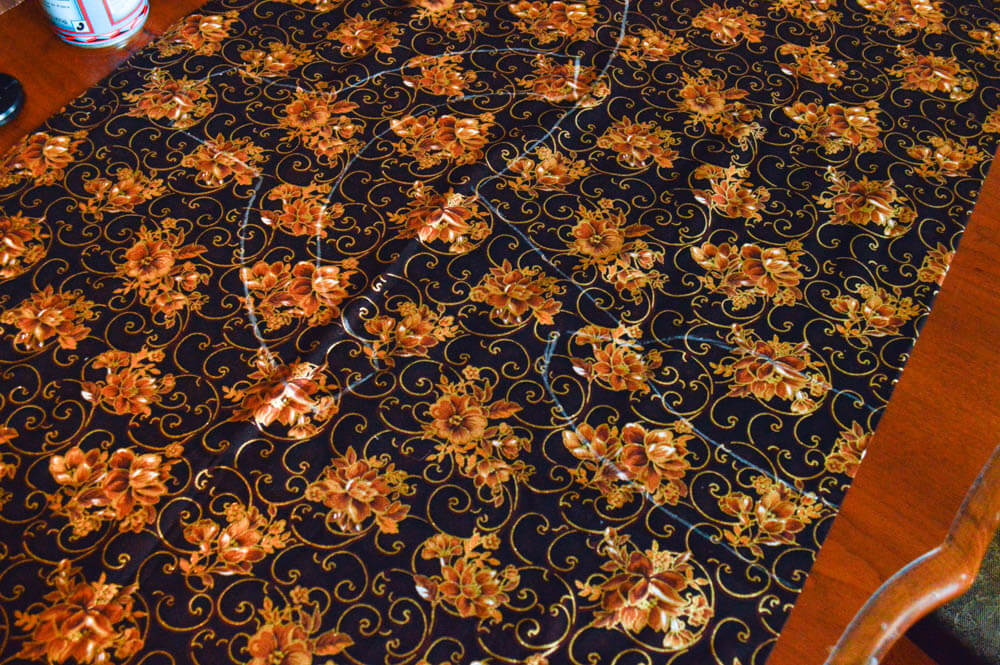
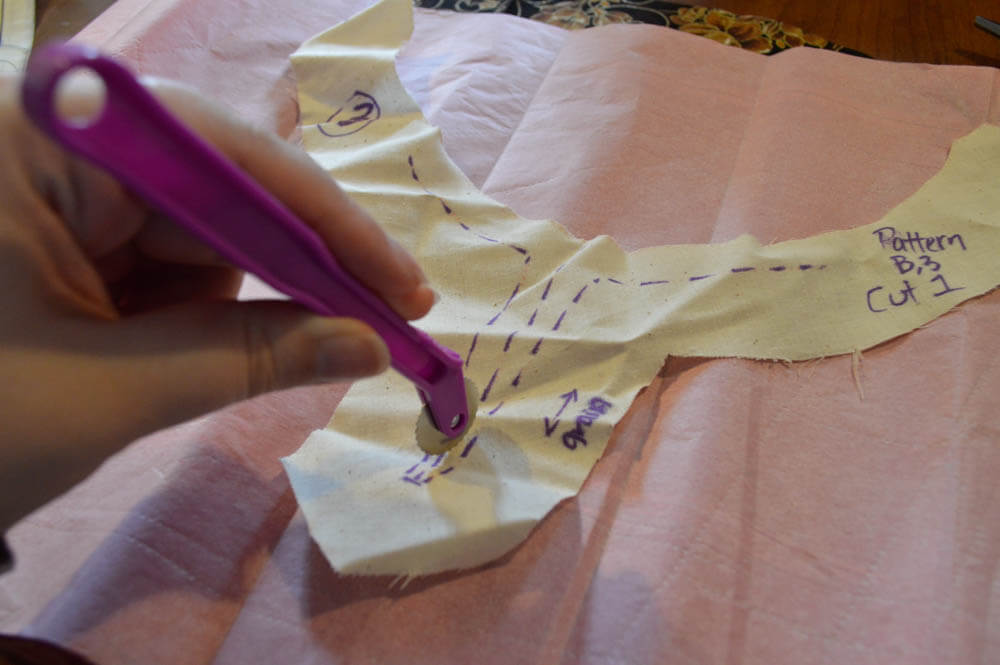
7) Fold fabric in half vertically and lay out all pattern pieces.
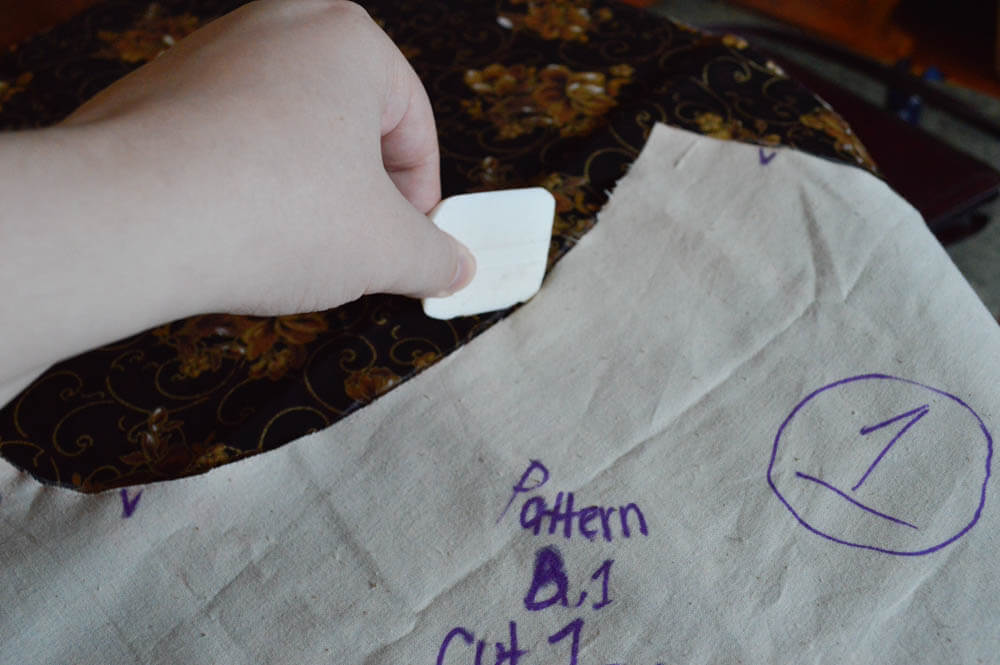
8) Using your tailor's chalk, trace around the edges of each pattern piece.
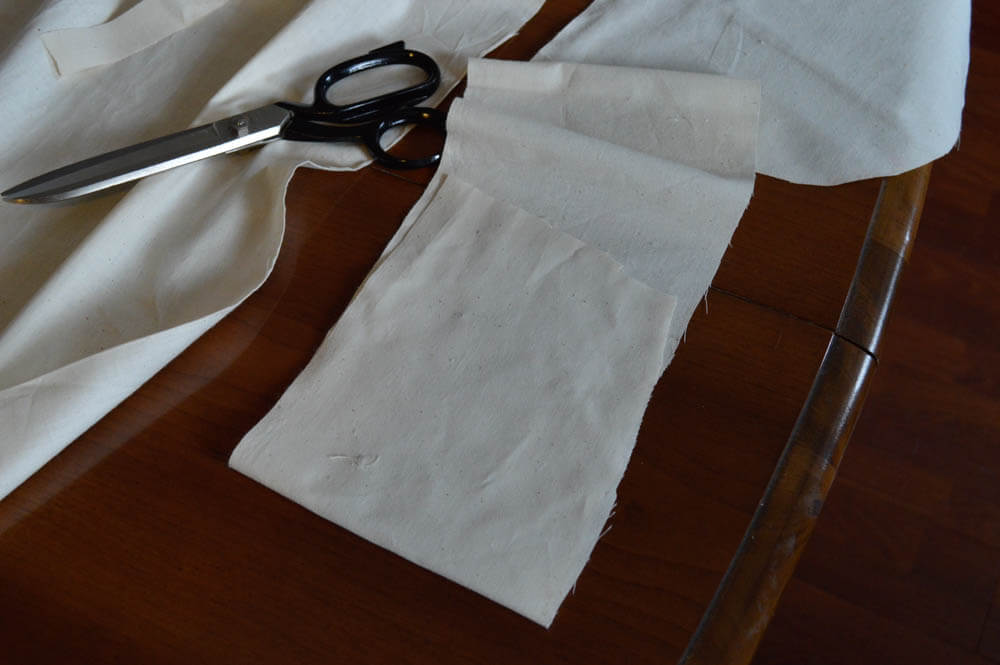
9) Cut out pattern pieces inside the lines.
10) Stay stitch the neckline on pattern pieces 1 and 2.
Note: I am using a French seam.
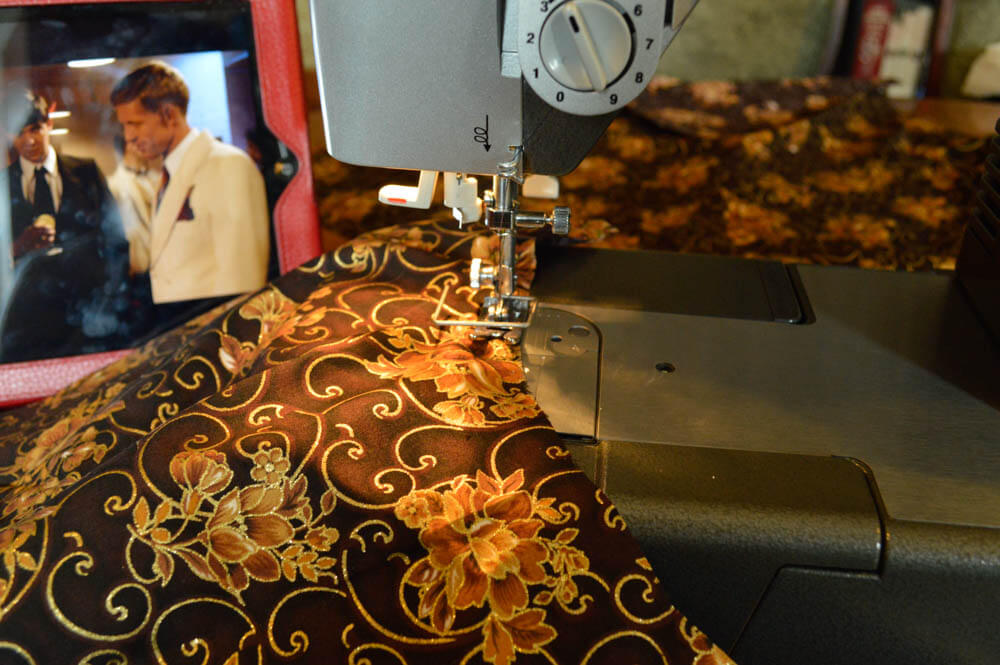
11) Pin and stitch the shoulder seams together.
12) Pin and stitch the sides seams together. You now have the bodice of the tunic.
13) Find pattern pieces 3 and 4.
14) Trace the dotted lines from pattern piece 3 on to the wrong side of the front facing.
15) Pin and stitch front and back facing together.
16) Pin facing to bodice around the neckline with right sides together.
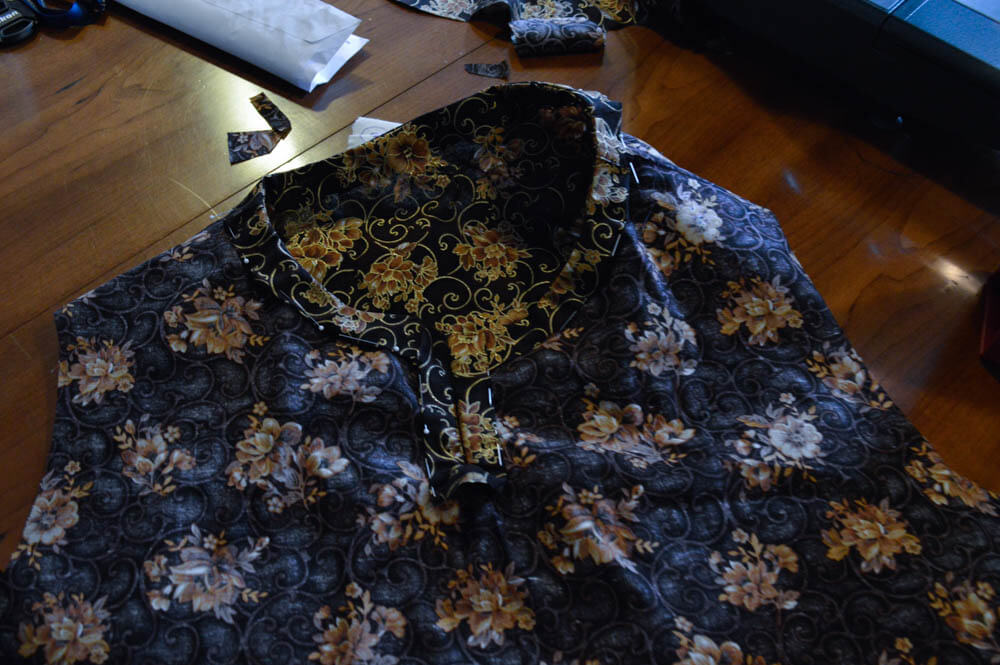
17) Stitch around the neckline, and cut the straight line at the center of the front facing. The neckline of this top includes a small opening in the center front. When stitching around the neckline, follow the v-shaped traced line around the center front facing. Do not stitch the straight line.
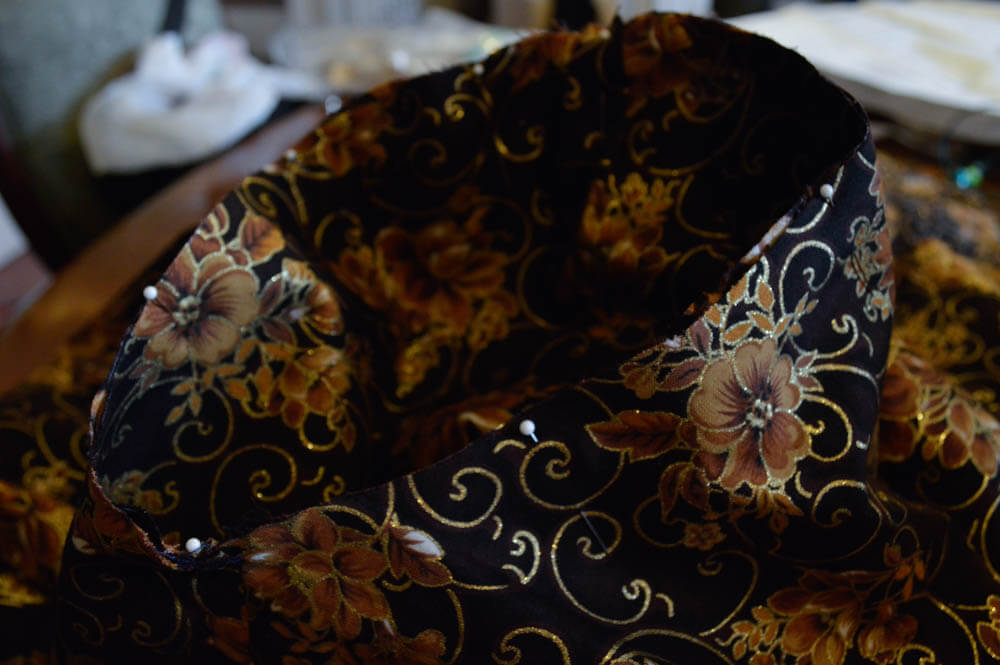
18) Fold the raw edges of the facing under, iron, pin, and stitch. Your raw edges should now be enclosed.
19) Admire your handiwork!

20) Grab pattern pieces 5 (you should have two). Each piece represents a sleeve. Fold the pattern vertically, matching up the straight edges. Pin and sew.
21) Pin and stitch the sleeve to the armhole of the bodice.
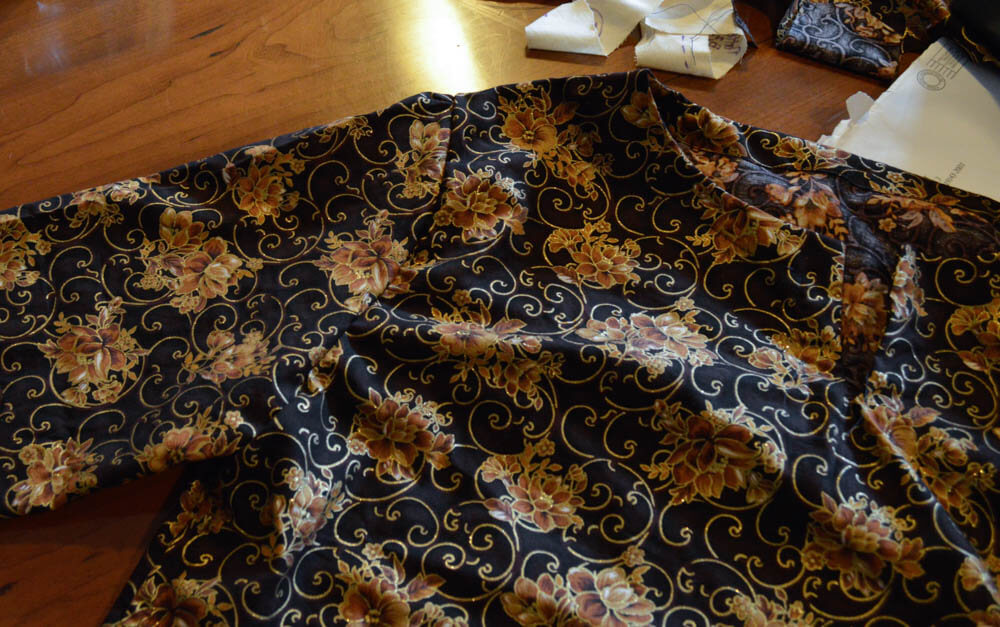
22) You should now have a tunic with unfinished hems.
23) Finish the hems on the sleeves and bodice, then move on to your next project!
Skills and techniques learned from this project:
- How to transfer your paper pattern onto muslin to increase pattern longevity.
- How to transfer a muslin pattern onto fabric.
- How to apply a facing around the neckline.
Project 5 Pants:
Last time, we made a pair of shorts out of woven materials. These pants follow the same pattern, so all of the instructions are the same. However, we are going to make the pants out of a knit fabric. Knit fabrics need to be handled just a little differently then wovens. You should always use a stretch stitch and be extra careful not to pull firmly on the fabric while stitching. Some machines come with specialty stretch stitches, but all you really need is the zig-zag stitch.

1) For the pants, you will need to cut two lengths of fabric and stack them with the right sides facing together. Make sure the grain is running vertically for optimal stretch. Using pattern piece 16, transfer your pattern onto your fabric.
2) Carefully cut your fabric. The lighter weight material will be slippery.
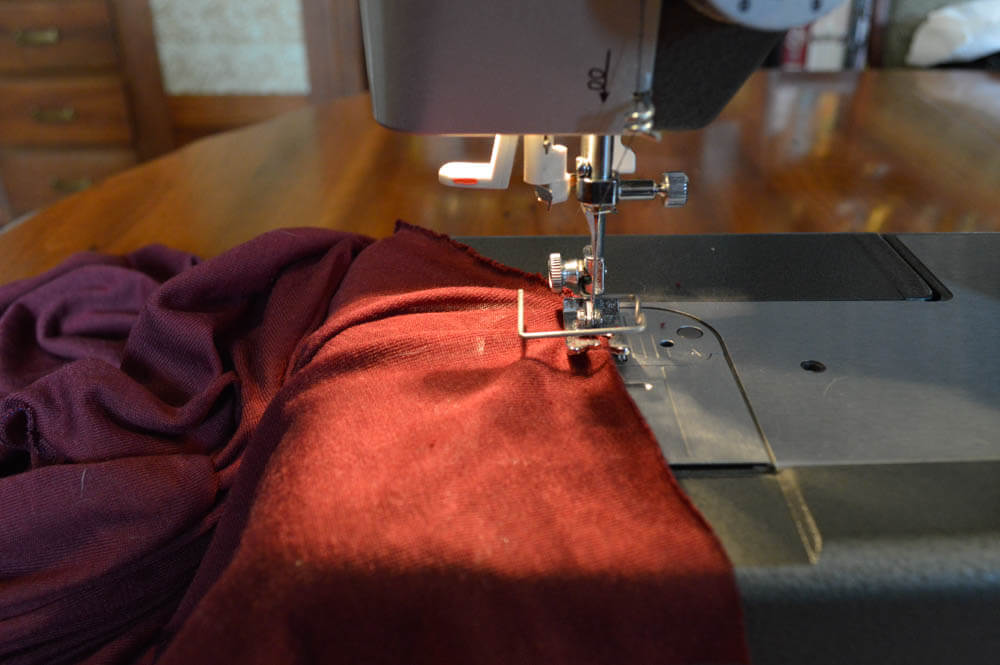
3) Set your machine to a zig-zag stitch, and stitch the edges of each pattern piece. This will help keep your fabric from unraveling.
4) Each pattern piece represents a side of the pants. Match up your notches or pins on the legs of the pattern.
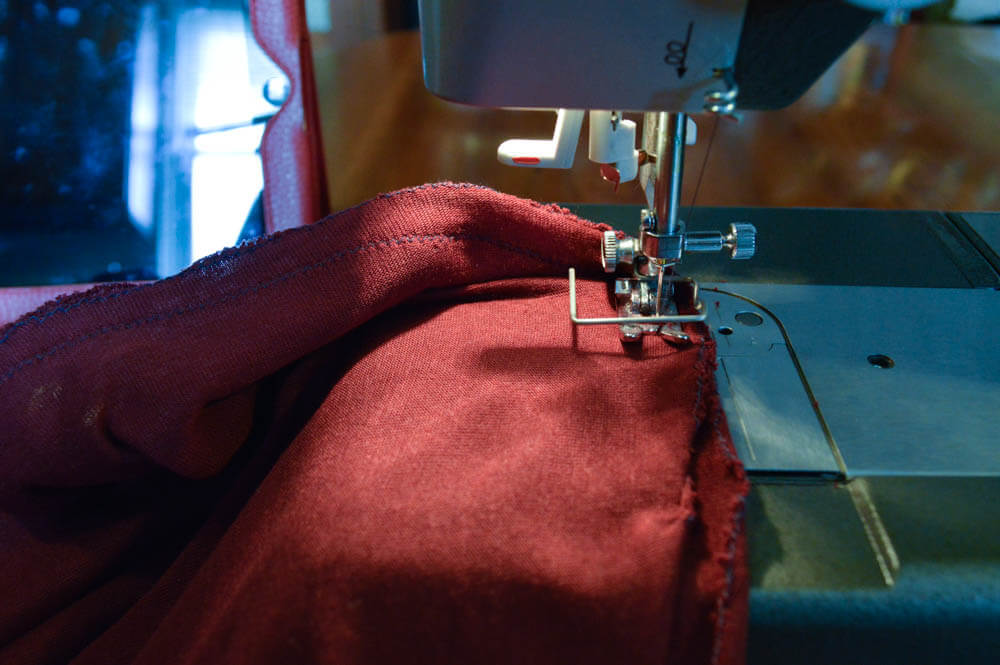
5) Pin and stitch. Note: I am using a standard seam.
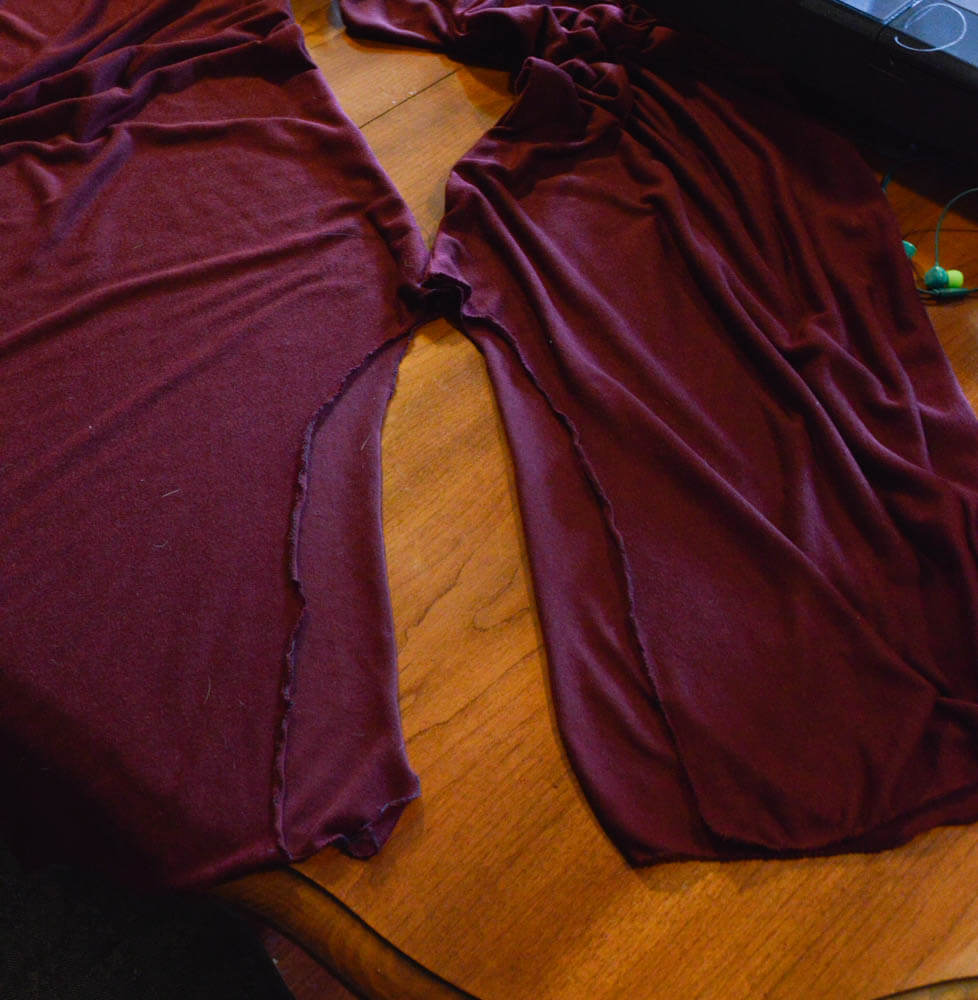
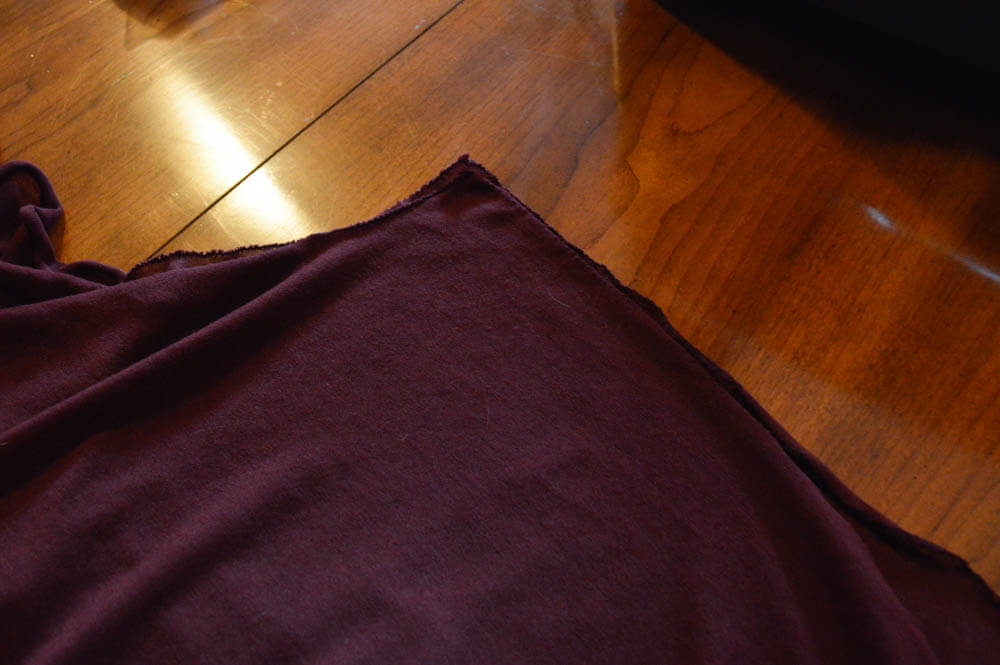
6) You should now have two pant legs.

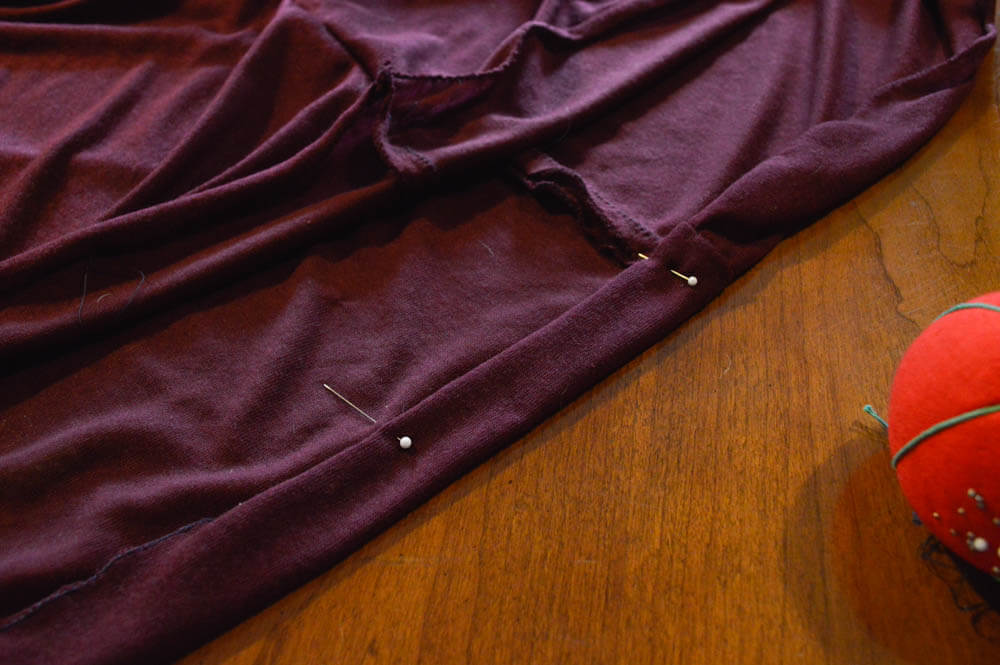
7) Pin the entire inner seam together.
8) You should now have an unfinished pair of pants.
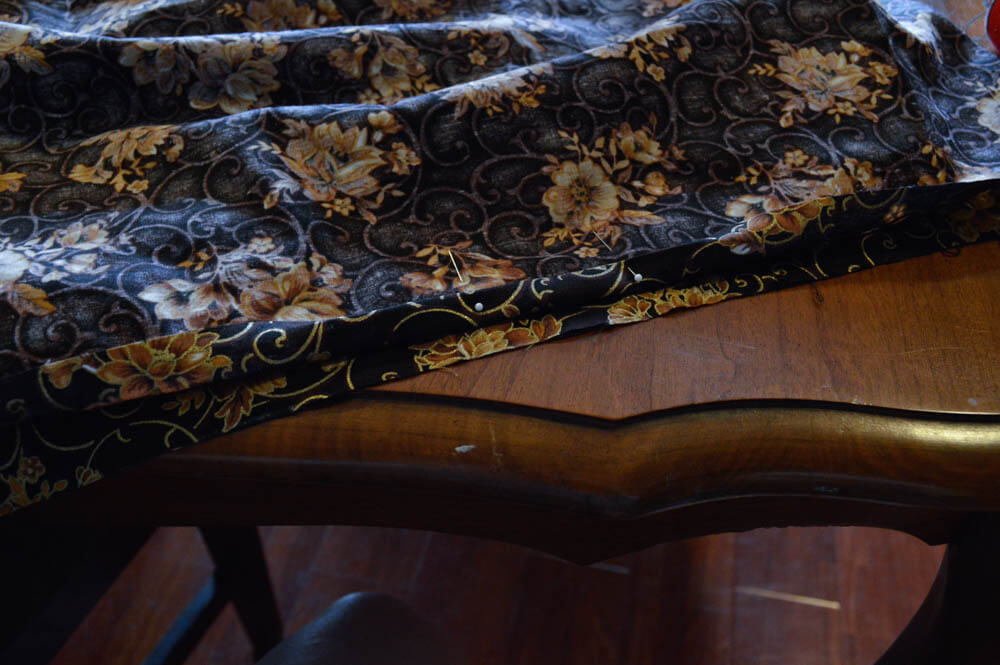
9) We still have to add the elastic around the waistband. Fold the fabric down about 5/8 of an inch, then tuck the raw edge under and iron. Pin in place.
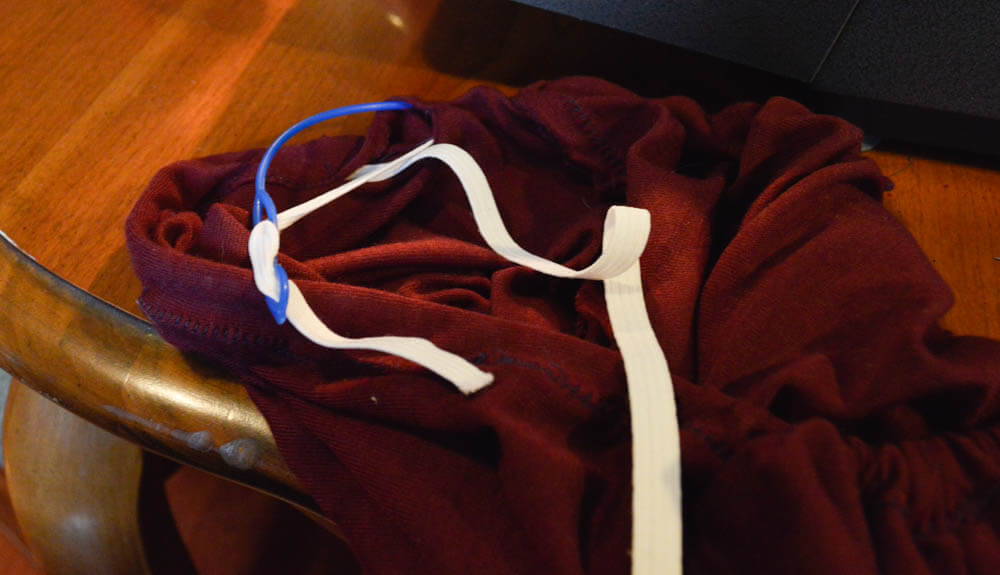
10) Stitch. but make sure to leave an opening to pull the elastic through.
11) Pull the elastic through using your drawstring threader. (If you don't have a drawstring threader, a pin or crochet hook will do.)

12) You now have pants with an unfinished hem. You may choose to hem up the pants, or move on to Project 6 and attach lace to the bottom!
Skills and techniques learned from this project:
- How to sew using knit fabric.
- How to finish edges/seams on knit fabric. (You can do this on woven fabric as well.)
Project 6 Lace Hems and Inserts:
I am going to teach you two different ways to add lace to the hem or near the hem of a garment. First is adding a lace trim to the bottom, followed by adding a lace inset near the bottom. This is a really simple yet lovely way to add something special to your undergarments. You can use these techniques to add lace to projects we have already made, or implement them in future projects. You can add lace to both woven and non-woven fabric. If you're planning on adding lace trims to a stretch garment, make sure to use stretch lace and a stretch stitch to sew it on.
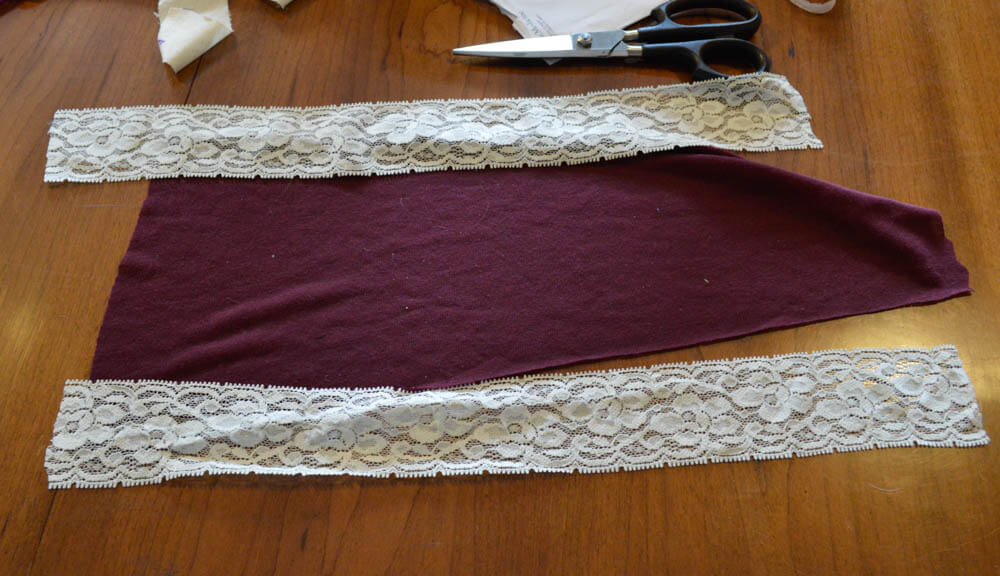
Lace Hems
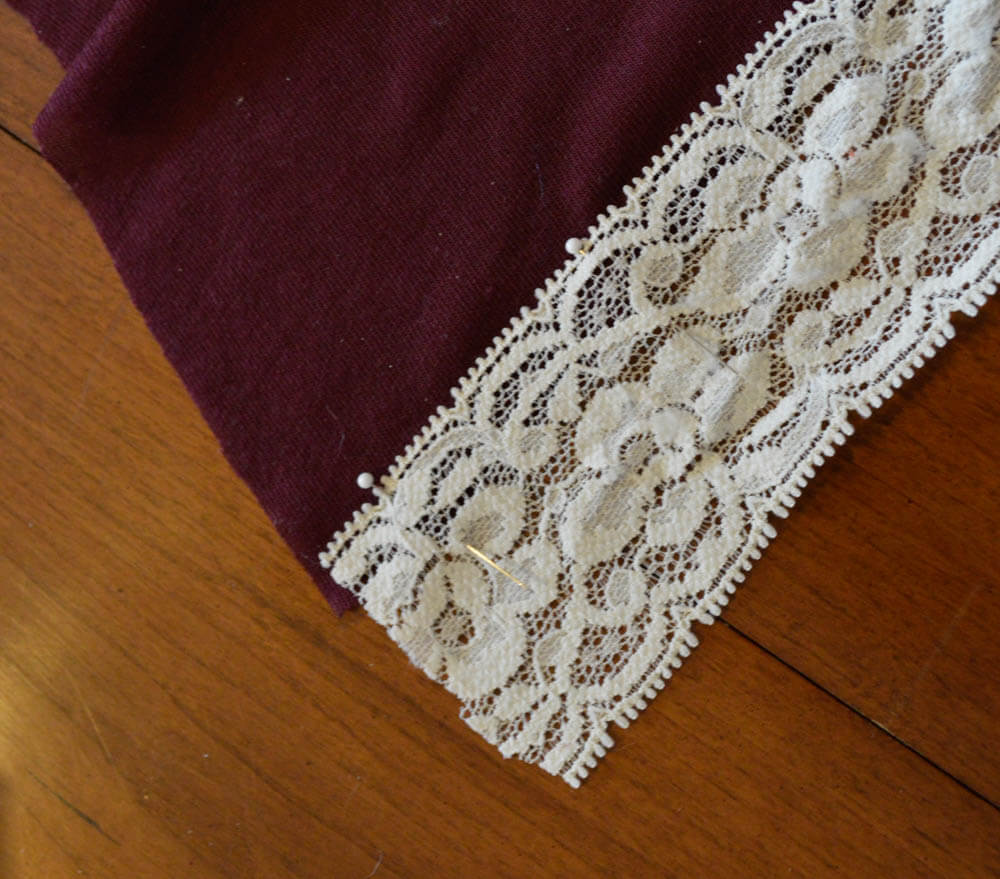
1) Pin the lace laying flat on top of the edge of your fabric.
2) Stitch: You can stitch in a straight line as demonstrated or, if you are looking for a more organic edge, you can stitch around the edges of the lace. Follow the contours and take it slow.
Lace Inset
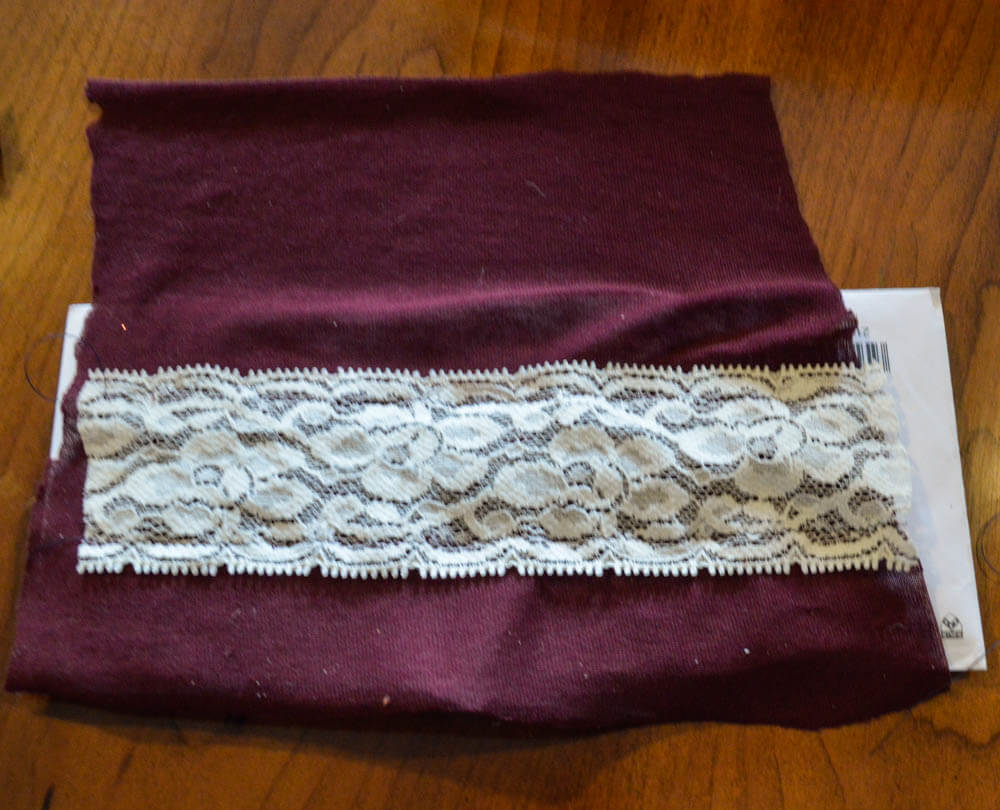
1) Pin your lace flat on top of your fabric, then stitch.

2) Flip your fabric over and take a look at your stitching. If your fabric is buckling like this, remove your stitches and try again. Your fabric should lay flat without buckling.
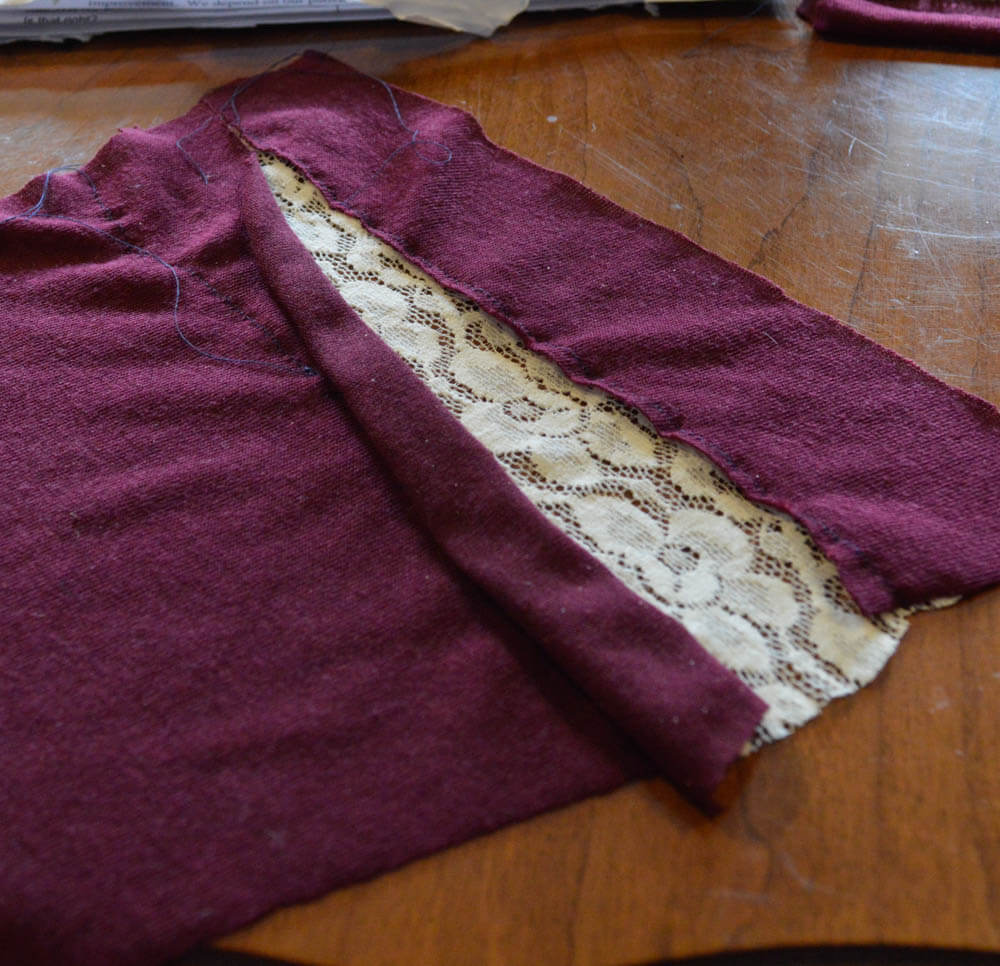
3) Once your lace is stitched properly, cut along the edges of your stitching.
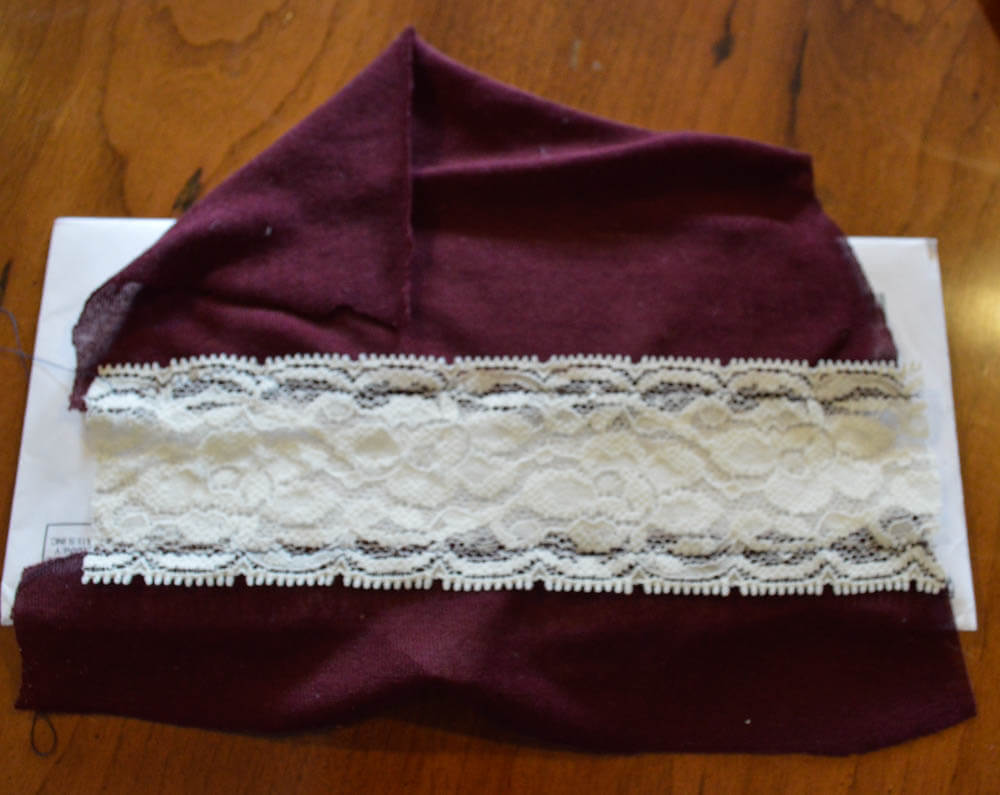
4) If you haven't done so already, hem the bottom of your garment.
Next time:
How to make your own robes! Next month is going to be all about taking a basic pattern and altering it to create a number of different looks. If you want to get ahead of the game and start purchasing your supplies now, I will be using this Vogue Pattern. If you are sized out of this pattern, take a look at this Simplicity pattern. They are literally the same robes. If you buy the Vogue pattern, make sure you pay attention to the size chart, as pattern sizes and dress sizes don't match up (I wear a 12/14 in off-the-rack clothing but am a 22 in this pattern).
I would love to hear from you, so if you have any requests, suggestions or questions please let me know!