How to Apply Your Makeup for Boudoir Photography: 10 Easy Steps
Model: Victoria Dagger
Makeup: Victoria Dagger
Photo: Joel Aron
Corset by Dark Garden
For a "fashion industry"-type person, of sorts, I can actually be kind of clueless about beauty stuff. I have about three products plus a razor in my shower, am 25 and only started wearing makeup regularly within the past couple years, and despite having about a yard of hair, I can only do a few things with it. But I've been modeling for more than three years now, and a makeup artist isn't a luxury I get every time. The following is a step-by-step of a very simple, clean, basic look, which will ensure that your skin and eyes read well on-camera. This look is very low-maintenance and will transition easily from a boudoir studio to most daily occasions. I've also included some of my favorite products for each step, all of which were affordable even on my old grad student budget (roughly $10-$20 each), though I didn't buy them all in a single shopping spree. Professional makeup artists, please forgive my simplification of your process!
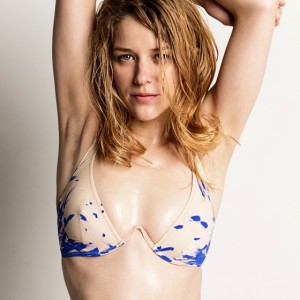
Model: Victoria Dagger
Makeup: Victoria Dagger
Photo: Joel Aron
Fascinator by Pop Antique
1. Brow shaping
If you read my first How to Have a Boudoir Photoshoot piece, you may remember that I mention to do your hair-removal ritual the day of or day before your shoot. This is particularly important for your face. Even if you are going for a natural-looking brow, tweeze the strays around the main brow shape. For a more dramatic style, you can get your brows done at a salon, but I like the control of doing them at home: just go slowly so you don't overtweeze or create an inadvertent asymmetry. Make sure you have a good light source, and a magnifying mirror is your friend. You can also use small scissors to trim the brow hairs for a cleaner shape. There are guidelines that say your brows "should" be a certain distance apart or length or arch in a specific place relative to your eye. Ignore them. Find the proportion and shape that works for your face and style. Research different periods of the 20th century and see if any decades had a brow shape similar to yours, then run with it.

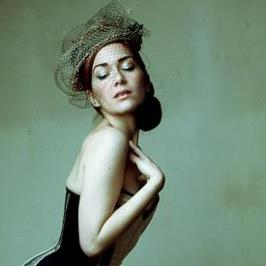
Model: Victoria Dagger
Makeup: Victoria Dagger
Photo: Joel Aron
Fascinator by Kalico Delafey
2. Start with a clean face
Make sure all traces of your previous makeup are gone. If you're going to use a pore-cleaning strip, this is another step that should be done the day before, otherwise makeup will get caught in and accentuate your newly cleansed pores. Don't forget to exfoliate! I just tried a CVS brand "Deep Action Power Cleanser" (a vibrating exfoliation device) and noticed an instant change in my skin's texture, from merely "soft" to "silky smooth."
3. Moisturizer
The day of your shoot, use a lightweight moisturizer over a freshly washed face to help anchor your makeup. I like Clinique's "Dramatically Different" moisturizer, which is weightless and has never given my complexion any problems. If you need something stronger (if your makeup slides a lot on its own or due to oily skin), try a primer. I like Too Faced's "Shadow Insurance" for all-day shadow coverage; they also make a face primer.
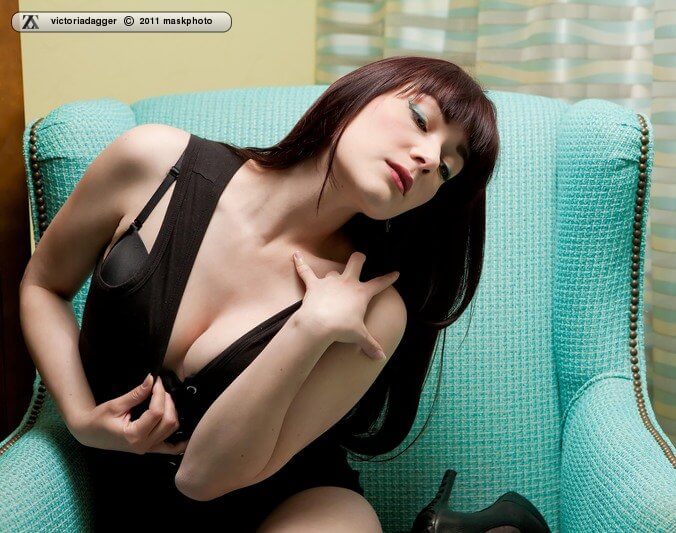
Model: Victoria Dagger
Makeup: Victoria Dagger
Photo: Mask Photo
4. Concealer
Next up, I brighten my eyes and even my complexion by adding concealer to spots where my skin is more translucent or a different tone. I'll blend my Clinique "line smoothing concealer" from the sides of my bridge of my nose (right between my eyes) to underneath my eyes, dabbing a few little dots then blending with my fingertips. Then I'll get the sides of my nose (around my nostrils), even the tip if I've perhaps gotten a bit too much sun recently. Again, just dab a bit and then gently spread it, so you don't get too cake-like of a look. Lastly, hit any other small blemishes you might have. However, if you're looking to conceal any scars, leave them be: concealer will actually make them more conspicuous, not less, and they should be an easy fix for your photographer in post-production.
5. Powder
To finish smoothing out skin tone, add a layer of powder on top. If you prefer foundation over moisturizer and powder, that's also viable, but I like the lightness and ease of a translucent powder, such as Clinique's "Stay-Matte Sheer Pressed Powder." (Base or foundation also often has to be applied to the neck and ears, whereas with the powder I can just blend to the edges of my face.)
Model: Victoria Dagger
Makeup: Victoria Dagger
Photo: Joel Aron
6. Shaded brows
The single step that I have found makes the most apparent difference, both on- and off-camera, is shading my brows. They add a lot of expressiveness and distinction to a face, and without shading, light will go straight through your brows and make them look patchy. Select a matte eyeshadow that matches your hair --- you may even want to blend a couple of shades together --- and apply with an angled brush. I use a simple Sephora brand eyeshadow, which seems to last forever when applied in the quantity it takes for even my dramatic brows, and the angled brush from Sephora's "Face & Eye Travel Tool Kit" is a very convenient shape and proportion for the job. Check for symmetry again at this step and cheat your coverage accordingly.
7. Eyeliner
With dramatic brows, you'll find your lashline looking a bit naked. How heavily you line your top and bottom lid will be determined by your eye shape and personal style. Wingtips or a cat-eye are always classic, but if you've never done them before it takes a lot of practice to apply symmetrically. I recommend placing a dot at the point where you'd like the wingtip line to end and then connecting down to your lash line. Regardless of your liner shape and weight, lining the inside of your upper lid will add (the illusion of) length to your lashes. Sephora's "Retractable Waterproof Eyeliner" has a nice balance between smudgeability and staying power, and it's great to not have to deal with a sharpener. Just be careful that you don't lose the cap, or your liner will dry out and become hard. I also love their Waterproof Smoky Liner in matte black, applied with the same angled brush I use on my brows.
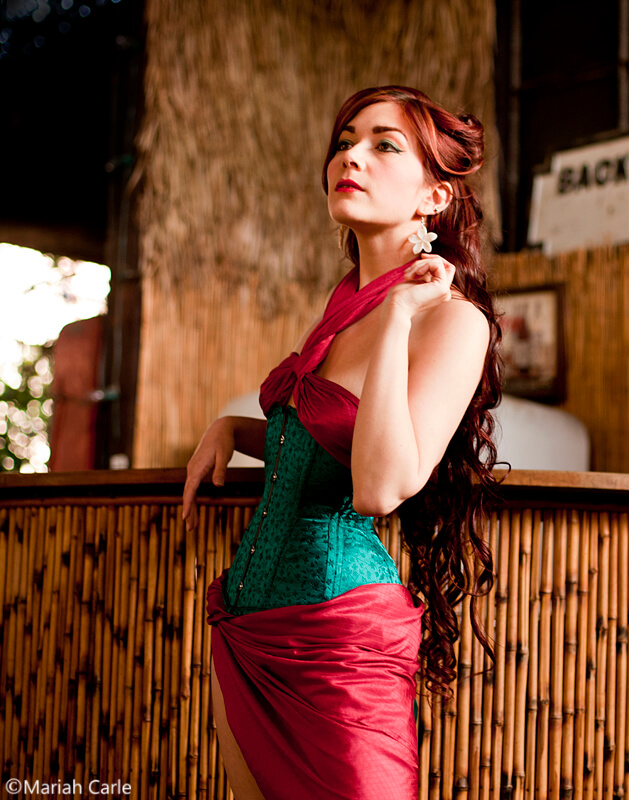
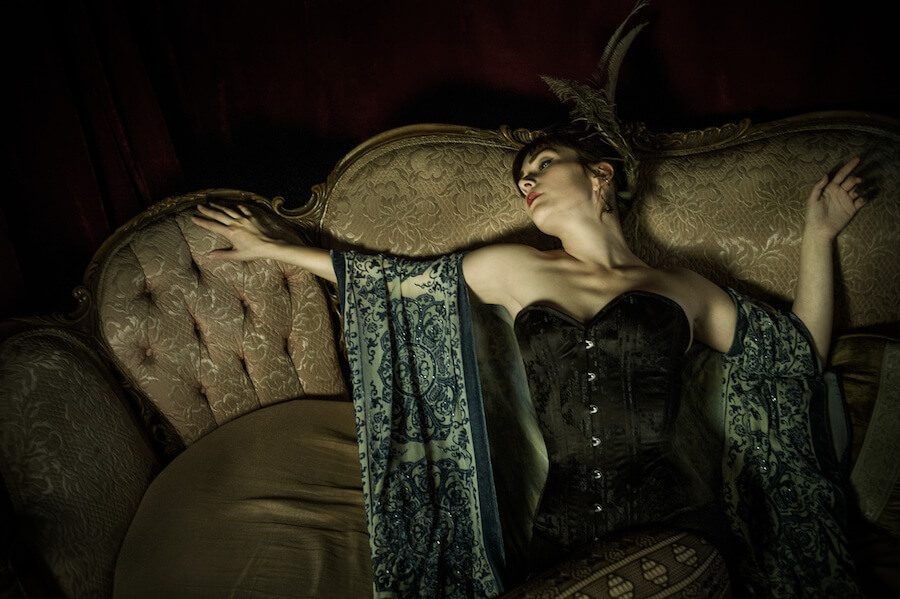
Model: Victoria Dagger
Makeup: Victoria Dagger
Photo: Mariah Carle
Hair: Danielle Blanchet
Corset by Dark Garden
8. Lash Curling
I've always thought eyelash curlers looked like arcane torture devices, but they do have their use! Make sure you curl your lashes before applying mascara, lest the mascara cause your lashes to stick to your curler as if they were glued (ouch).
9. Mascara
I actually really hate the feeling of most mascaras --- they make me want to pull my eyelashes out, which is sort of the opposite of the desired effect. Lately I've been using Buxom Lash, which is comfortably lightweight and non-clumpy, but still definitely has a lengthening and thickening effect. I end the day with as many lashes as I started because it's so comfortable to wear that I forget it's on.
10. Lips
Lip color is not a mandatory part of the process --- the pink of your lips will read on camera with or without pigment. But I wanted to share my favorite drugstore lip colors, both of which are good for hours of wear with no bleeding (a hazard with cheaper colors). Revlon ColorStay Overtime is a combination color-plus-sealing gloss: Nonstop Cherry and Infinite Raspberry are two of my favorite shades. Covergirl Outlast Lipstain is a single-layer stain; it doesn't stay in place quite as long but has a lighter feel on the mouth. I like Wild Berry Wink (440) for a perfect red (approved by my favorite, "redorexic" makeup artist), or Saucy Plum (450) for a deeper, richer crimson.
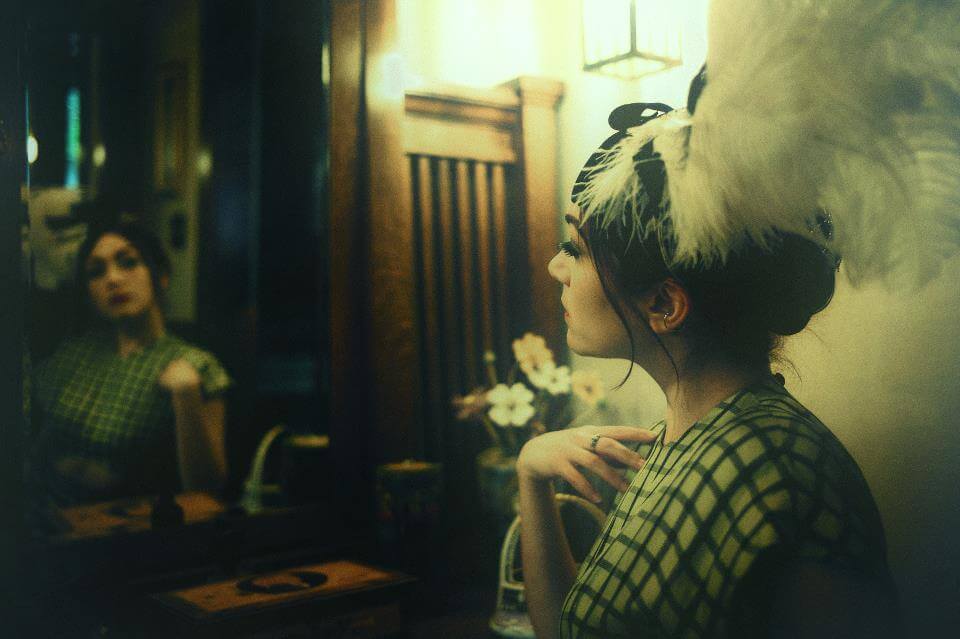
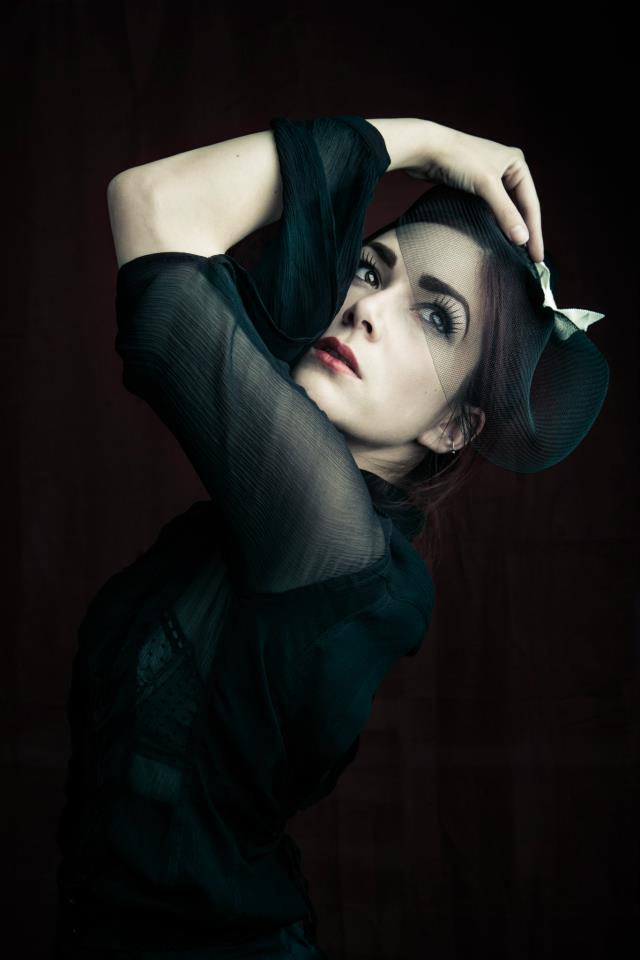
Model: Victoria Dagger
Makeup: Victoria Dagger
Photo: Joel Aron
Fascinator by Kalico Delafey
PS: When it's makeup remover time, I once again turn to Clinique, with "Take the Day Off Makeup Remover", but you can also get by with any oil (such as the extra virgin olive oil or coconut oil you may use for cooking, both of which can actually be good for your skin).
PPS: You might also be interested in last month's How to Style Your Boudoir Shoot for tips and a checklist for wardrobe selection, or my How to Book a Boudoir Photoshoot interview with boudoir photographer Mariah Carle.
What are your favorite makeup tips and brands? Share in the comments below!